A ferry ride and a couple hour drive away brings you to beautiful forests, Olympic Mountain peaks and views of the ocean and the San Juan islands if it's clear out.
Read MoreMaple Pass Loop and Blue Lake Fall Day Hikes
A fall car camping weekend full of hiking, larches and beautiful blue skies.
Read MoreEagle Lakes Backpacking Trip
An overnight fall trip in the Sawtooth Wilderness to see the amazing fall larches.
Read MoreSahale Glacier Camp Overnighter
Sahale Glacier Camp in North Cascades National Park. 12 miles and 4000 feet of elevation gain.
Read MoreEnchanted Valley 3 Day Backpacking Trip
33 mile backpacking trip in Olympic National Park with old growth, moss, giant trees and a chalet made in 1931.
Read MoreSummiting Mt. Adams
5 women take on a Mt. Adam's attempt with success in a two day approach. 12,276 feet never felt so good!
Read MoreMt. Dickerman Day hike
A day hike located less than 2 hours from Seattle brings you beautiful views of the North Cascades, alpine meadows and even a bear if you're lucky!
Read MoreBackpacking Blanca Lake
Blanca Lake is a lake in Henry M. Jackson wilderness. With the road closure, it's 12 miles and 3,583 feet elevation gain.
Read MoreBackpacking Ozette Triangle to Yellow Banks
Ryan somehow got a 3 day weekend the weekend before 4th of July, so we had to take advantage of the time off and plan a trip. I have wanted to backpack on the coast for a long time now. We faxed in our permit application for Ozette Triangle (old school) and within a day we got an email confirmation that we got the permits we wanted! Permits are $8/ person/ day. We would camp one night on the Ozette Triangle (Cape Alava) and then one night at Yellow Banks to extend it a bit and add in some more miles. Friday we left very early to make a 8:30 or so ferry. I will never drive around the peninsula and not take the ferry now. Even though it is a little price, it's so worth it and an experience in itself. We got to Port Angeles by 11:00 and stopped at the ranger station. For all permits you have to stop here to pick up your physical permit. I was annoyed we had to do this at first, but the ranger was super helpful in giving us all the information we would need to know about this trip like best campsites, water sources, toilets, ect. He gave us a tide chart as well and explained when it would be safe to head out. We recently bought a bear canister, so this was full of our food, but we picked up wine and more food so borrowed another one for free from the ranger station. A little excessive, but needed for all our food, wine and toiletries. They are big and annoying but also nice to not deal with hanging food. They also double as a chair as well. Score.
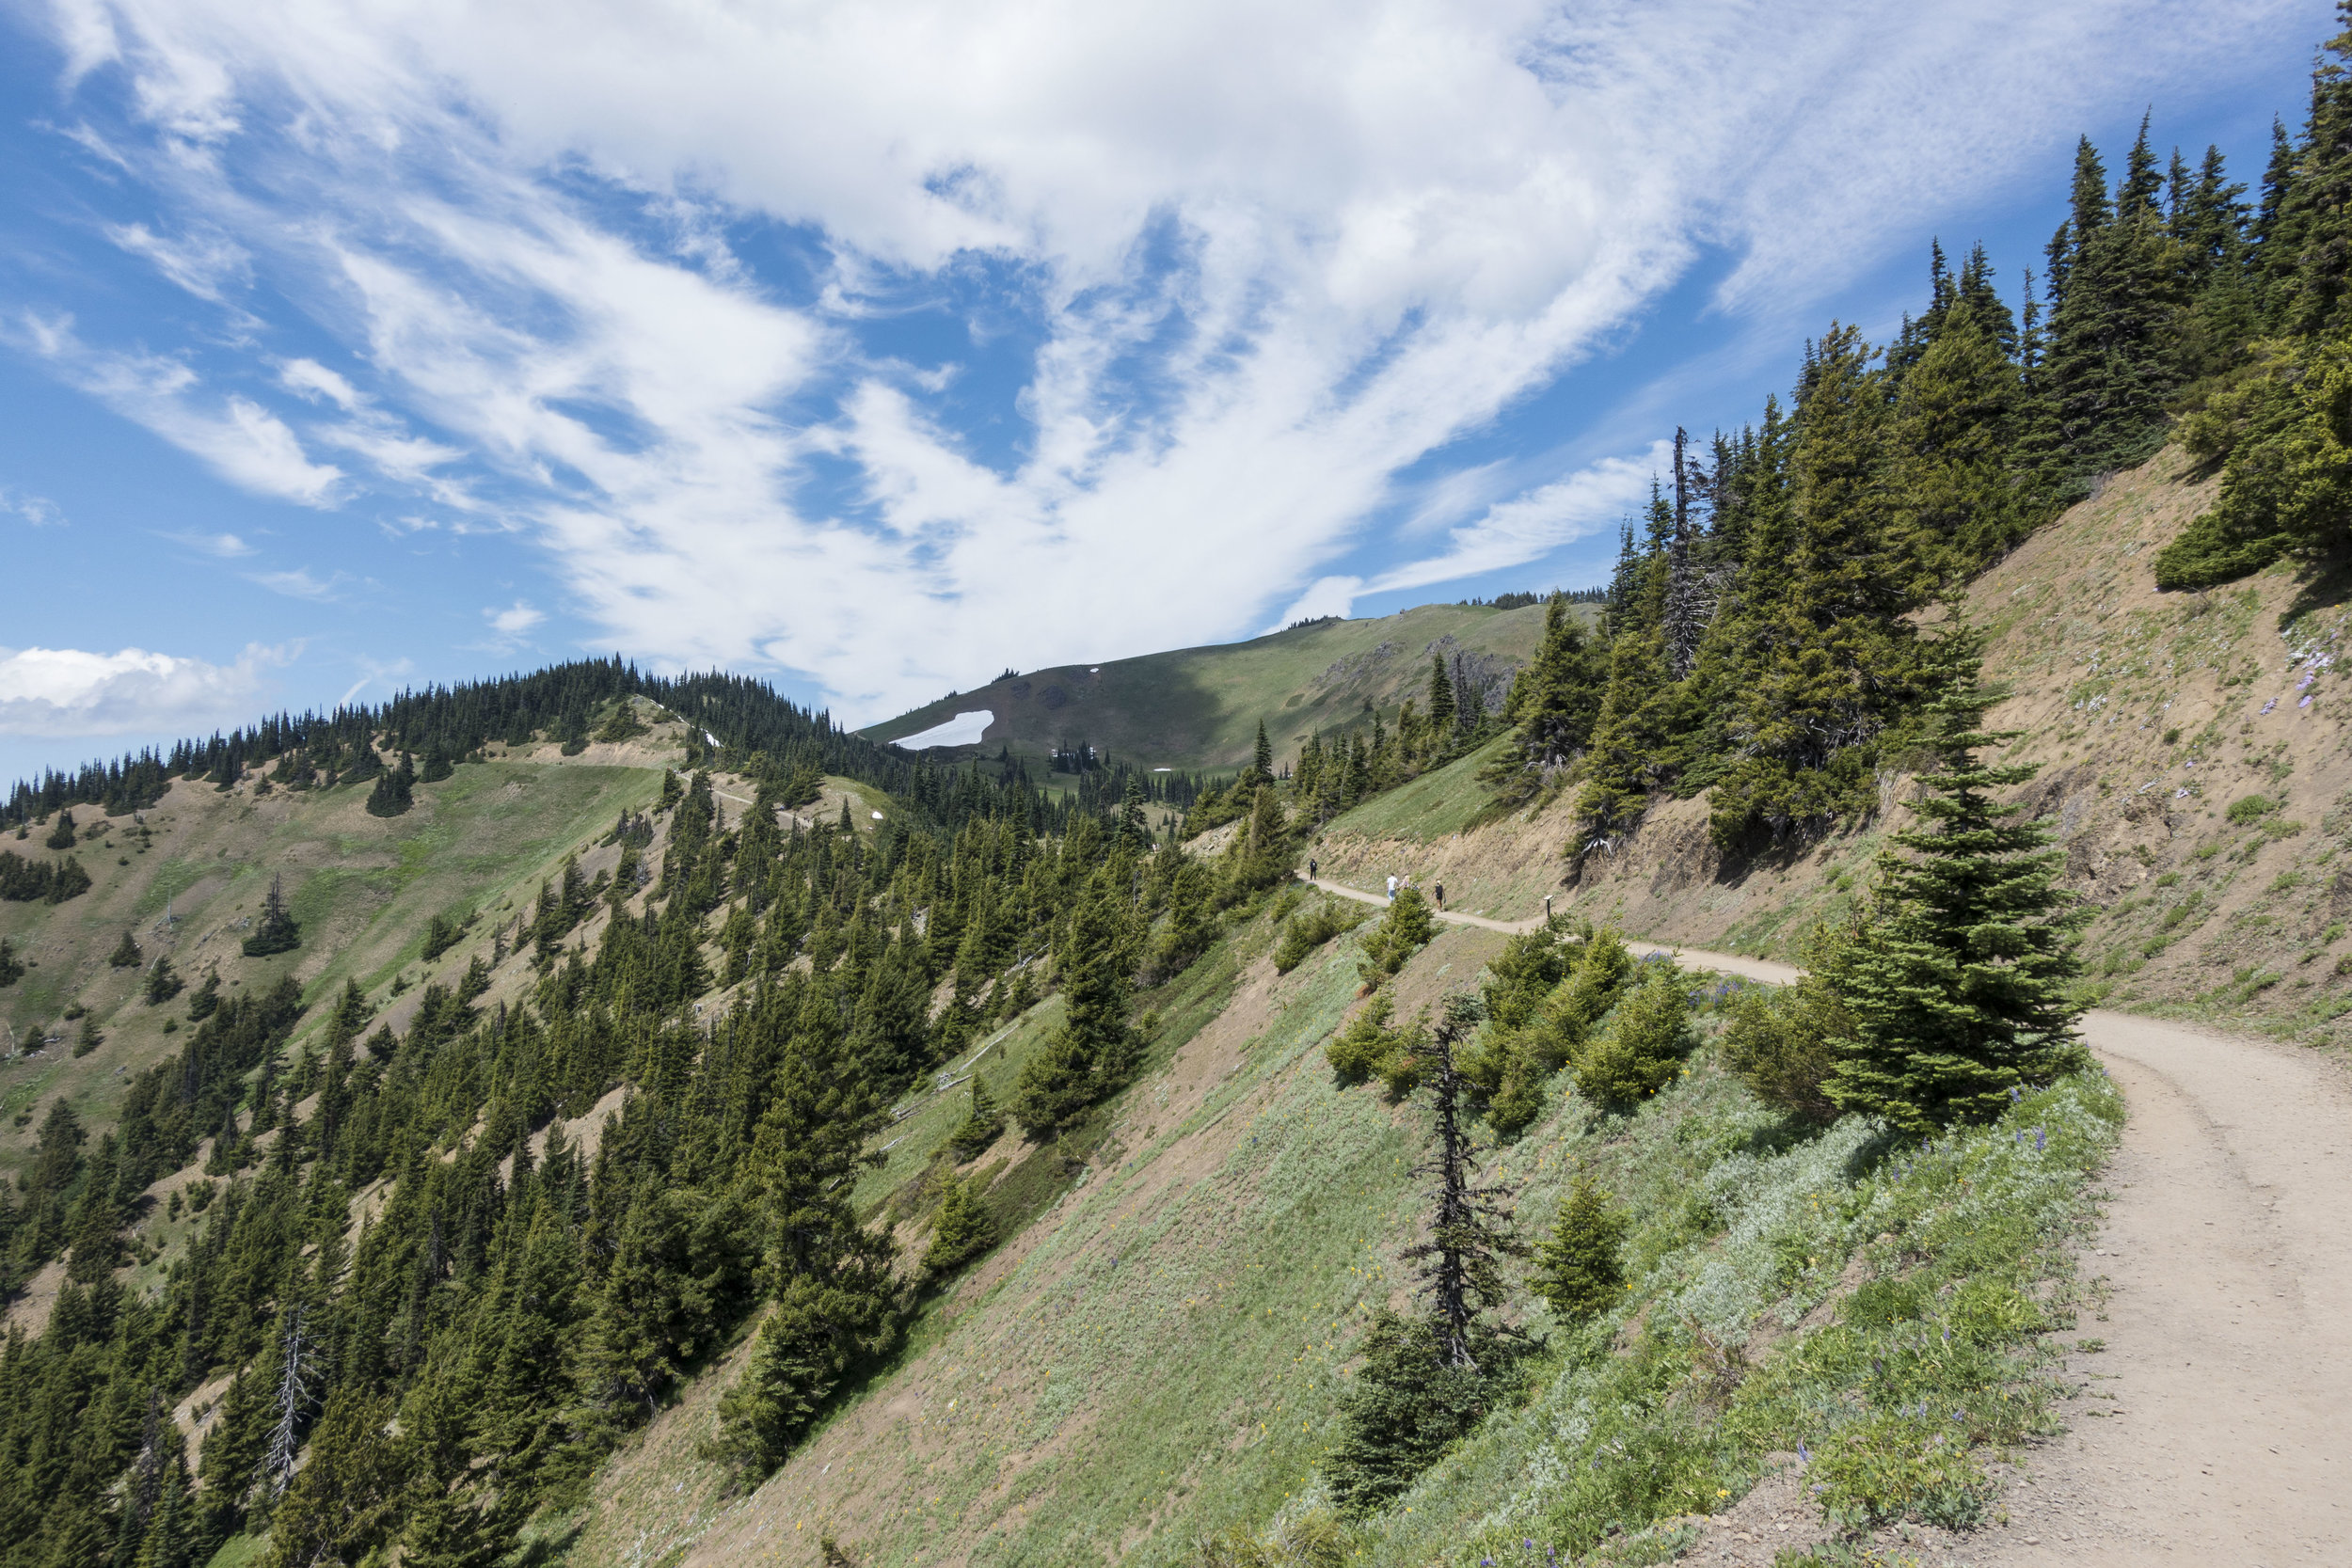
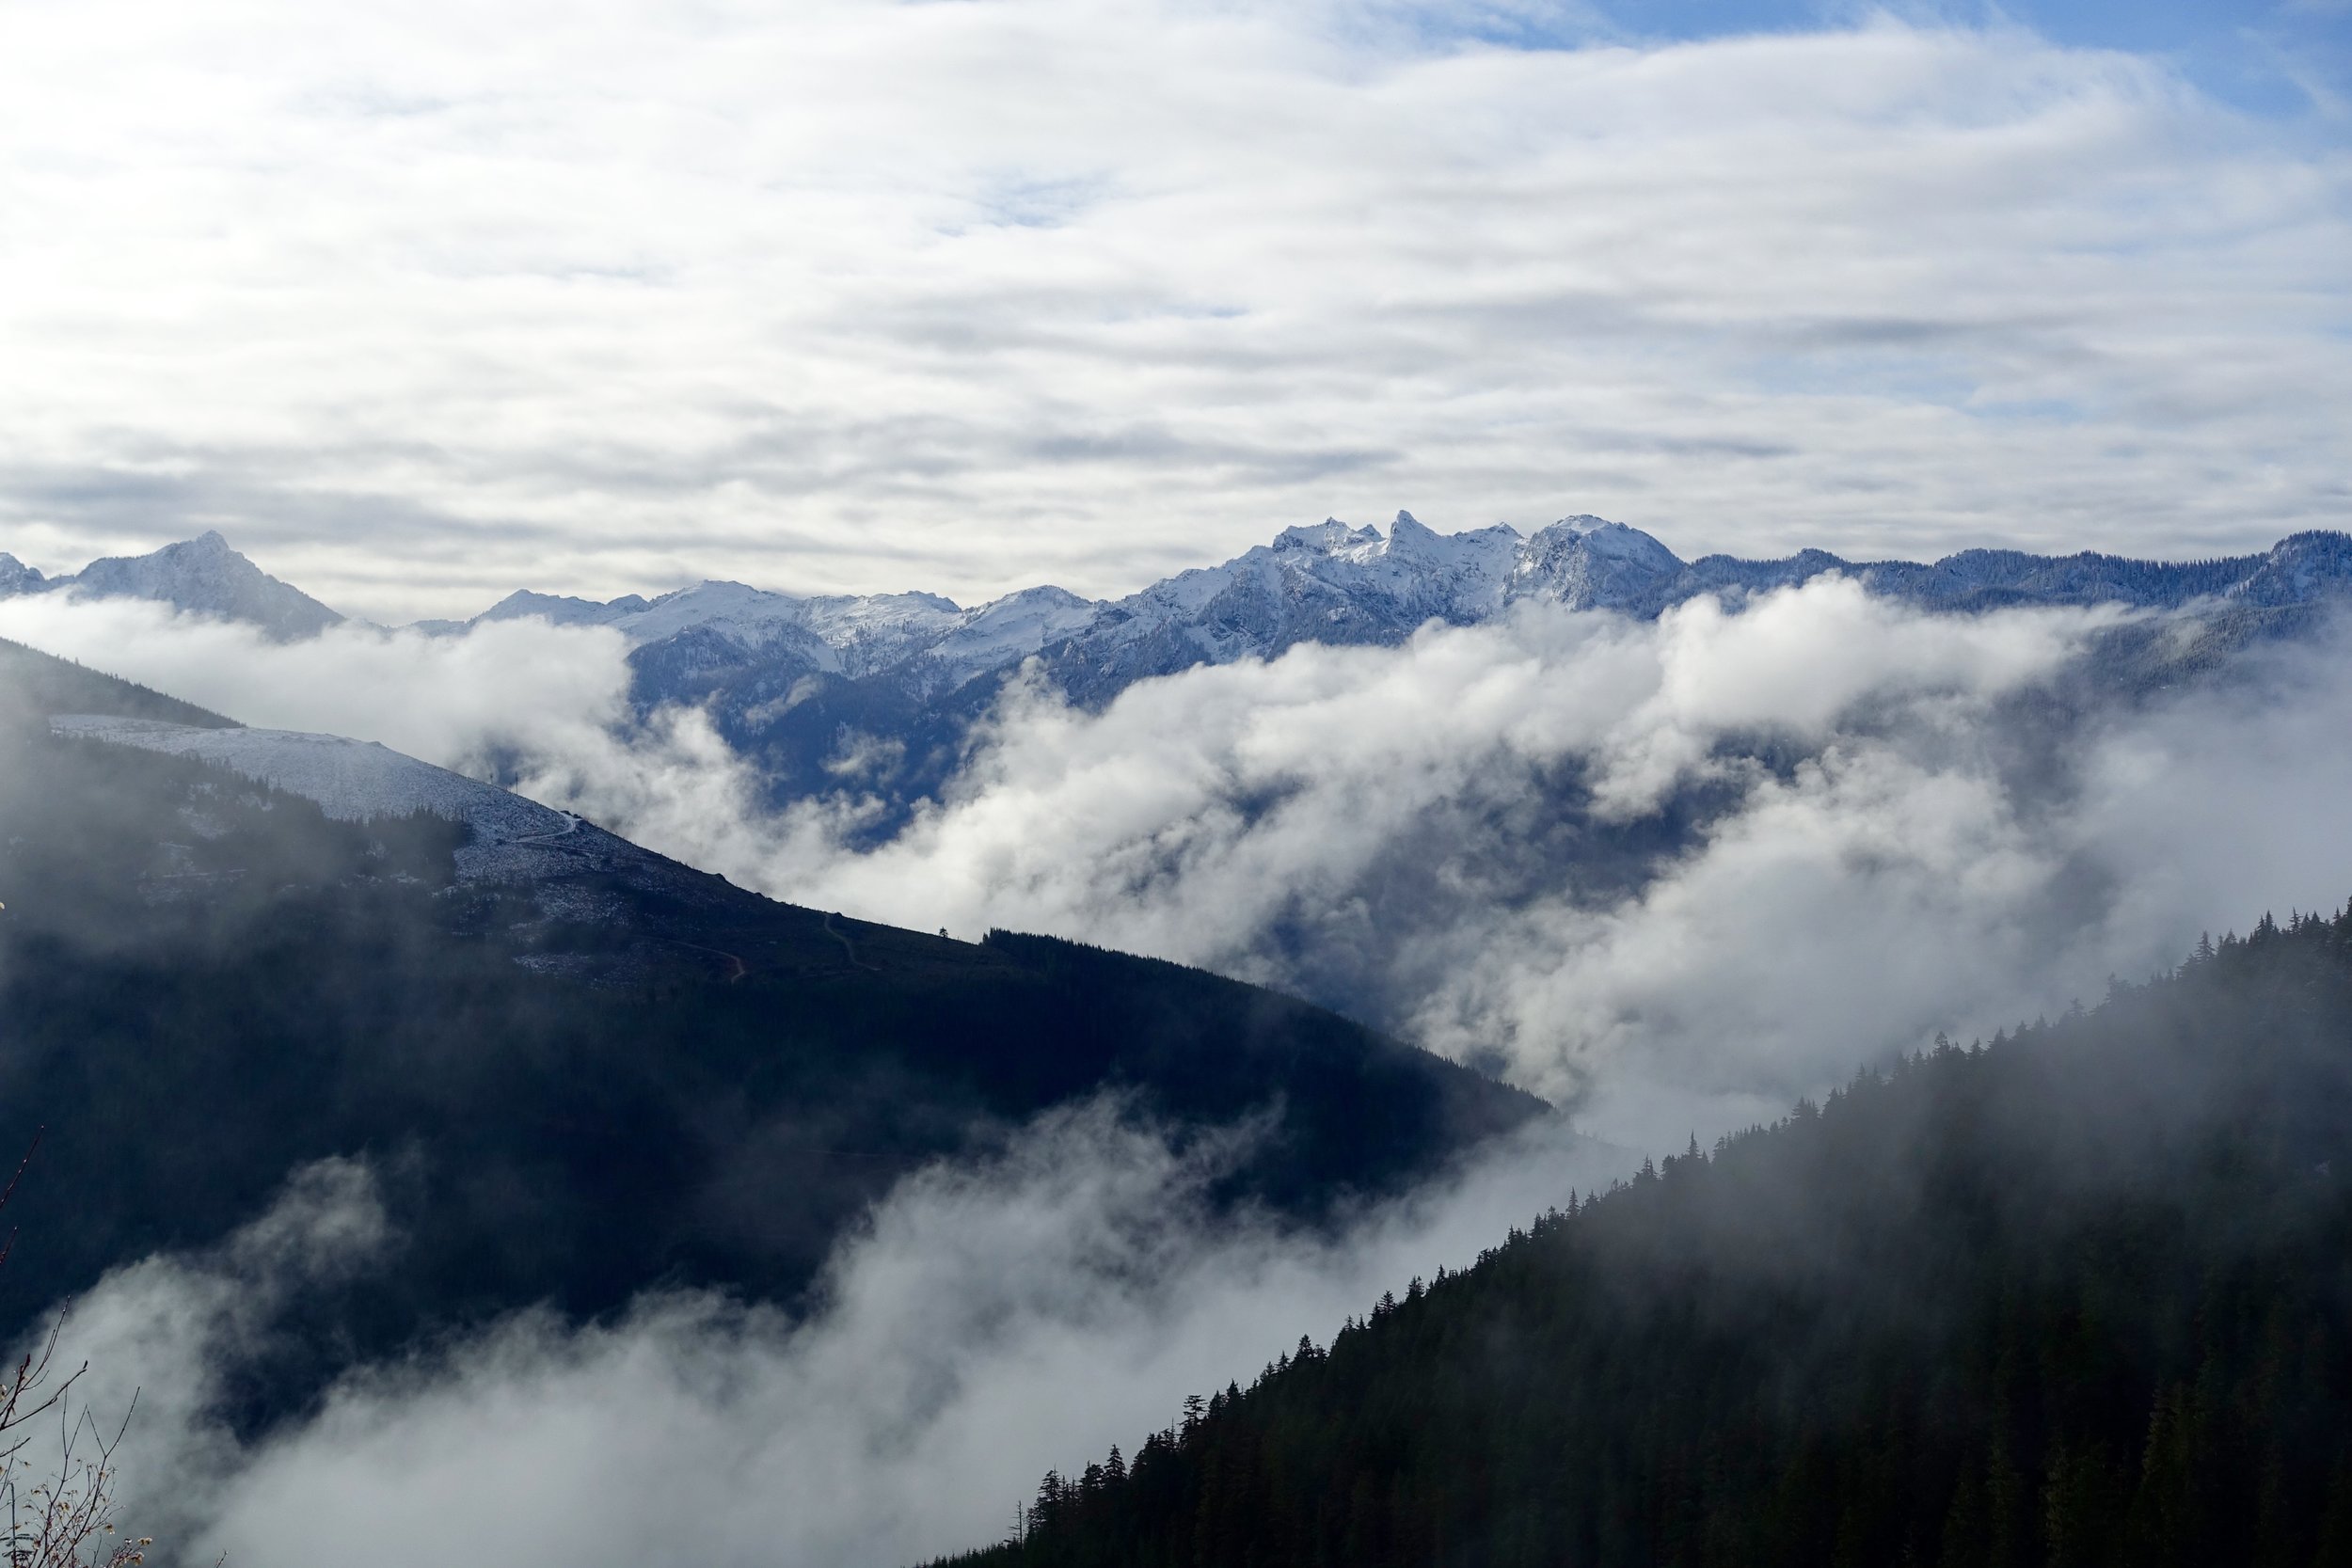
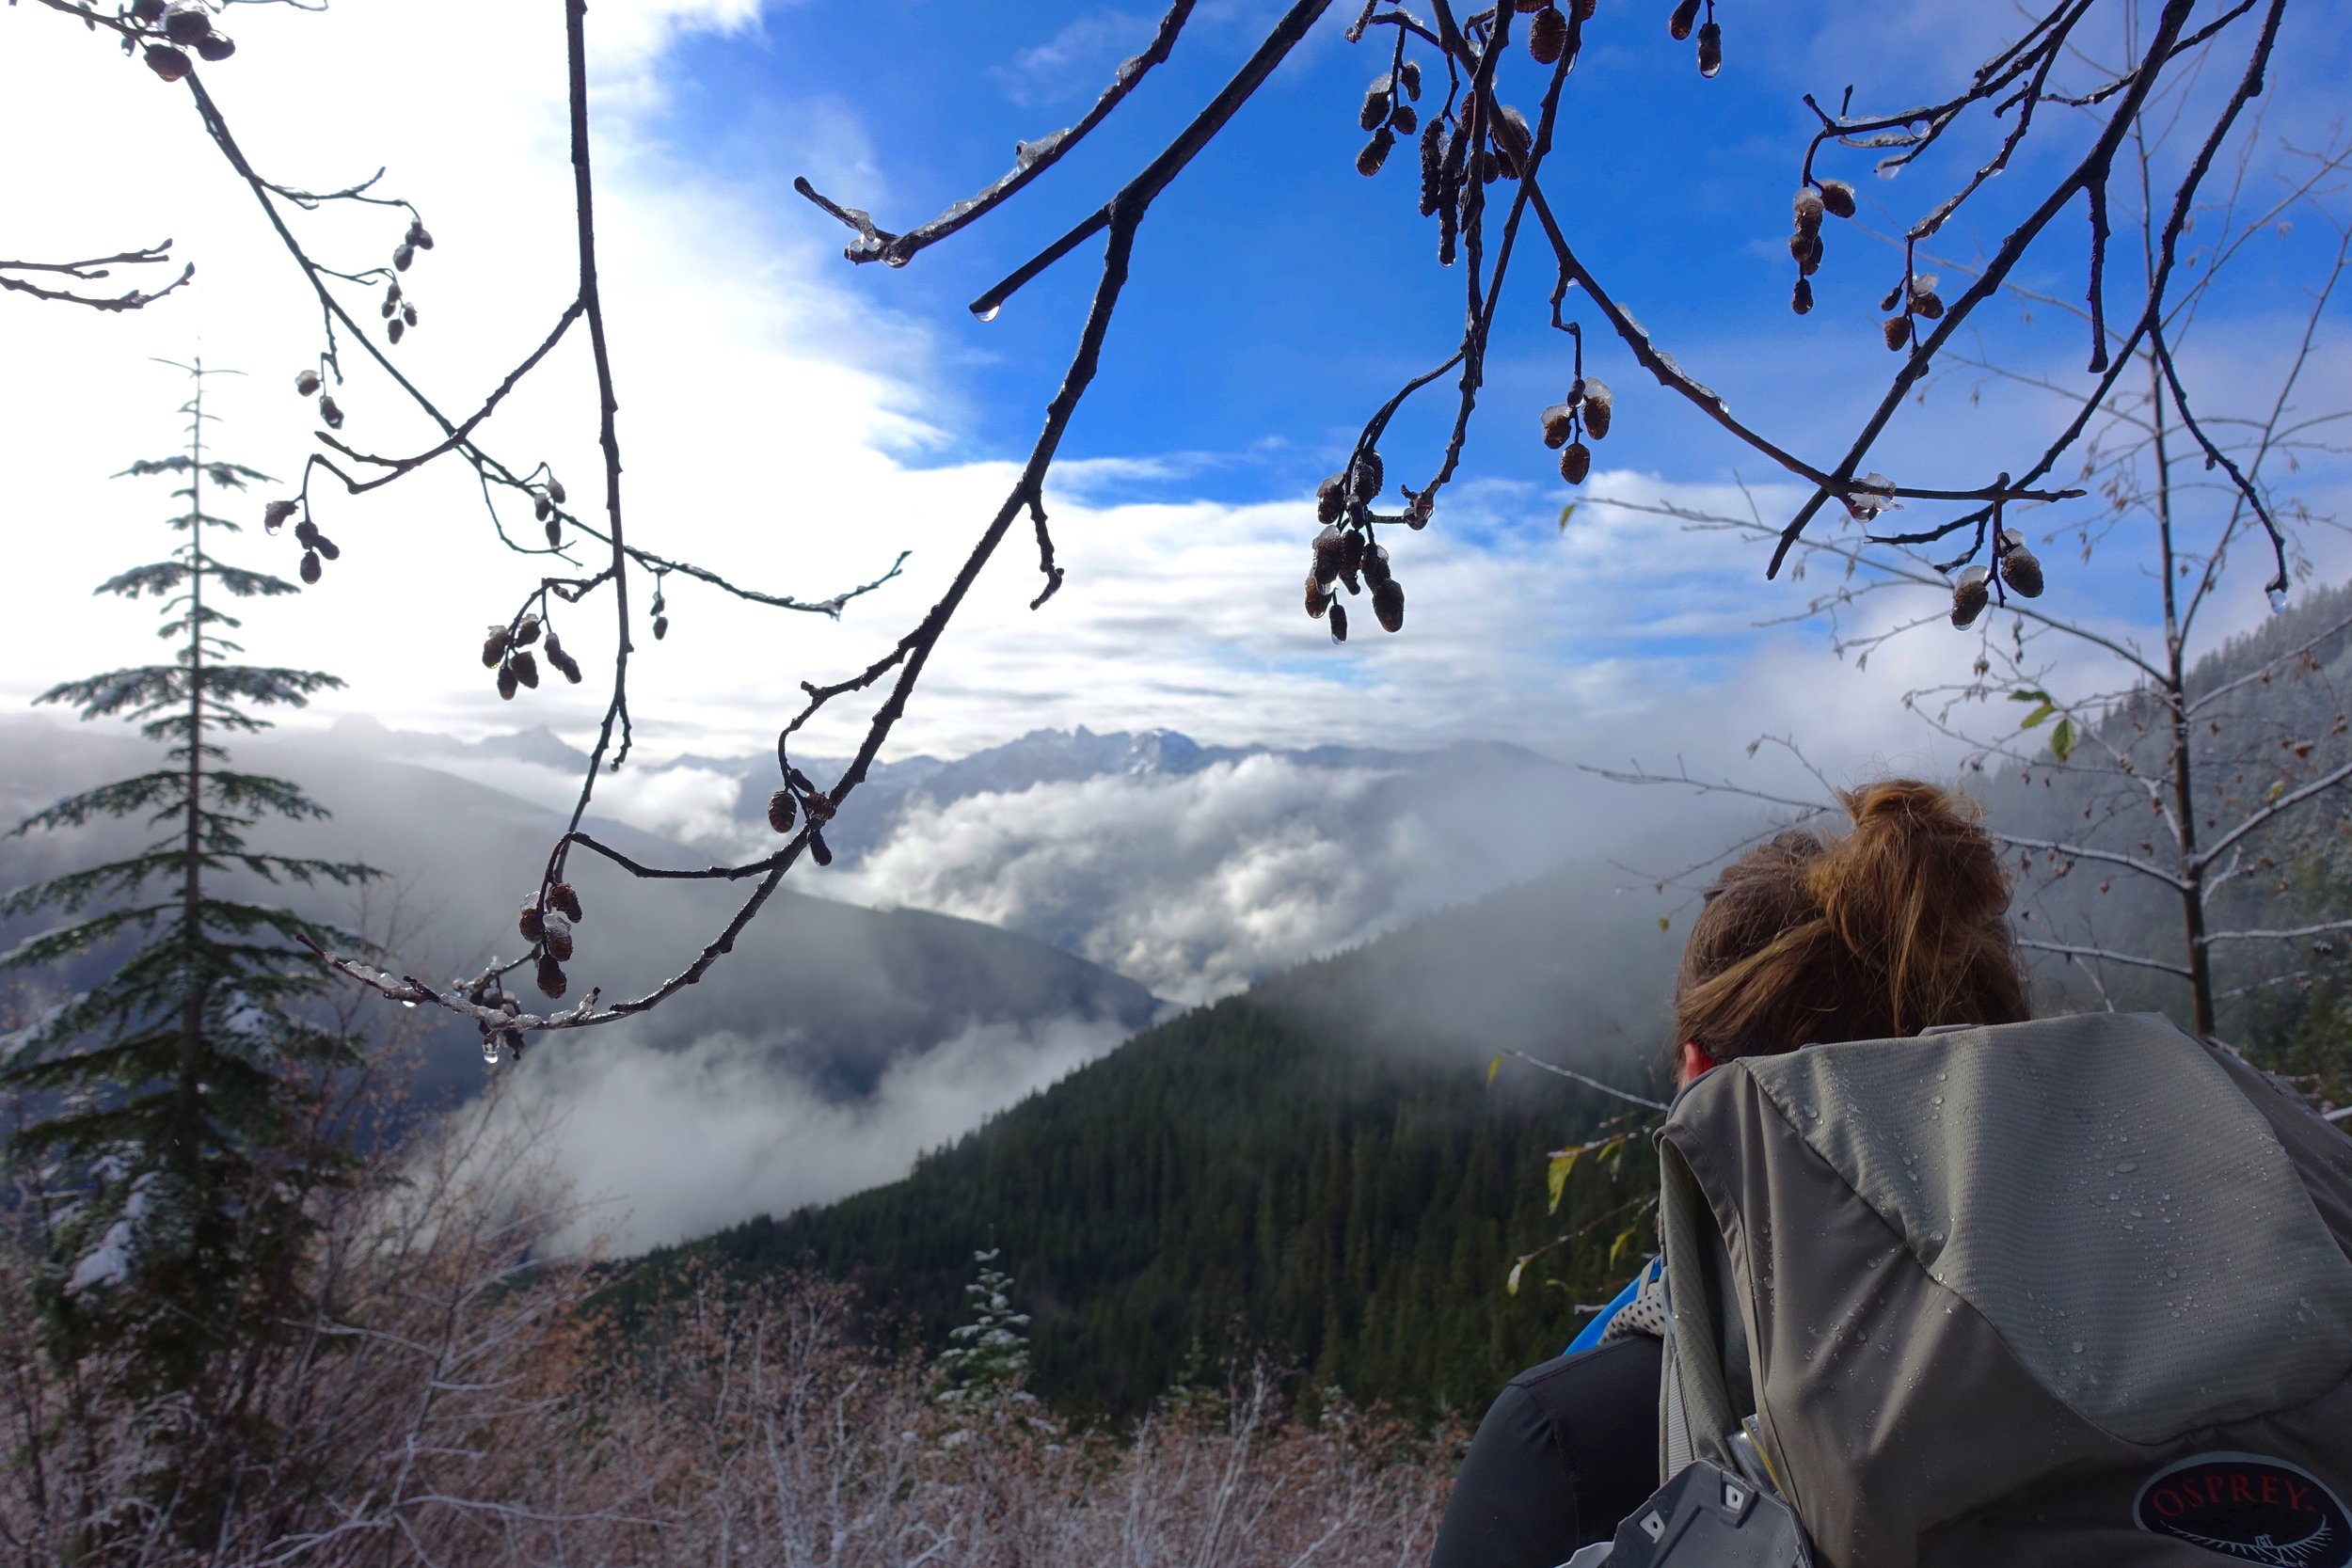
It was beautiful out so we took a pitstop to Hurricane Ridge that is right by the ranger station. It's about a 20-25 min drive up with expansive views of the Olympic Mountains. We did Hurricane Hill hike that was 3 miles/ 1000 EG. Such a beautiful hike.
DSC08428

DSC08479

19620345_10154856980668940_5015863611653000345_o

IMG_9065

DSC08481
After this it was a 2 hour drive still to the coast. 4.5 total from Seattle. This road is long and takes forever as you can't go very fast, but we finally pulled into the parking lot. There is a camp ground here if you need to plan to pull in late and sleep there the night before. It was now 6:00 or so and with packs loaded we hit the trail. The 3 miles to the coast is mostly boardwalk, flat and old growth forest.

DSC08507

DSC08510
We made it to the coast and ran into a ranger right away that checked our permits. A first in the backcountry for me. She said most of the spots up ahead were taken, so to take one that was pretty much by the entrance. It was right on the trail but also 7:30 at this point so we didn't feel like looking and set up camp there. It wasn't the worst spot, but annoying being on trail with no privacy.

DSC08538
Once camp was set up, we strolled the beach to take in the little sunset there was. There were plenty of taken, better spots further down. Some right on the beach. You are allowed to camp anywhere on the beach as long as you aren't camping where high tide comes in.

DSC08550
We woke up the next morning and had our nutritious breakfast of poptarts and coffee. Backcountry dining at it's finest. We hit the trail by 9:00 something for the 5.5 mile trek to yellow banks. The tide would be low 10-6, so no rush to get over there. The first part to wedding rocks was very rocky and slow going. Walking on low tide pools mostly and not beach as we had to navigate around many large down trees. If you were to cross some of these sections during high tide there are overland passes, but not everywhere.

DSC08599

DSC08600
We stopped for lunch at Sand point. This is where the triangle meets on the other side. The campsites here are in the woods. As we hiked on we hiked past South Sand point campsites and these were much nicer on the beach. If someone where to camp on the triangle I would recommend camping here. Huge beautiful beaches that stretched forever. We didn't get much sun this day, mostly overcast which I'm ok with as the usual prediction for the coast it lots of rain. We got no rain on this trip!

DSC08629
The nice easy beach walking ended as we approached yellow banks. Had to climb some big/ slippery rocks here. Very important to do this at low tide. We also relied on our app on our phone for GPS as to where we were and what bank was yellow banks.

DSC08632
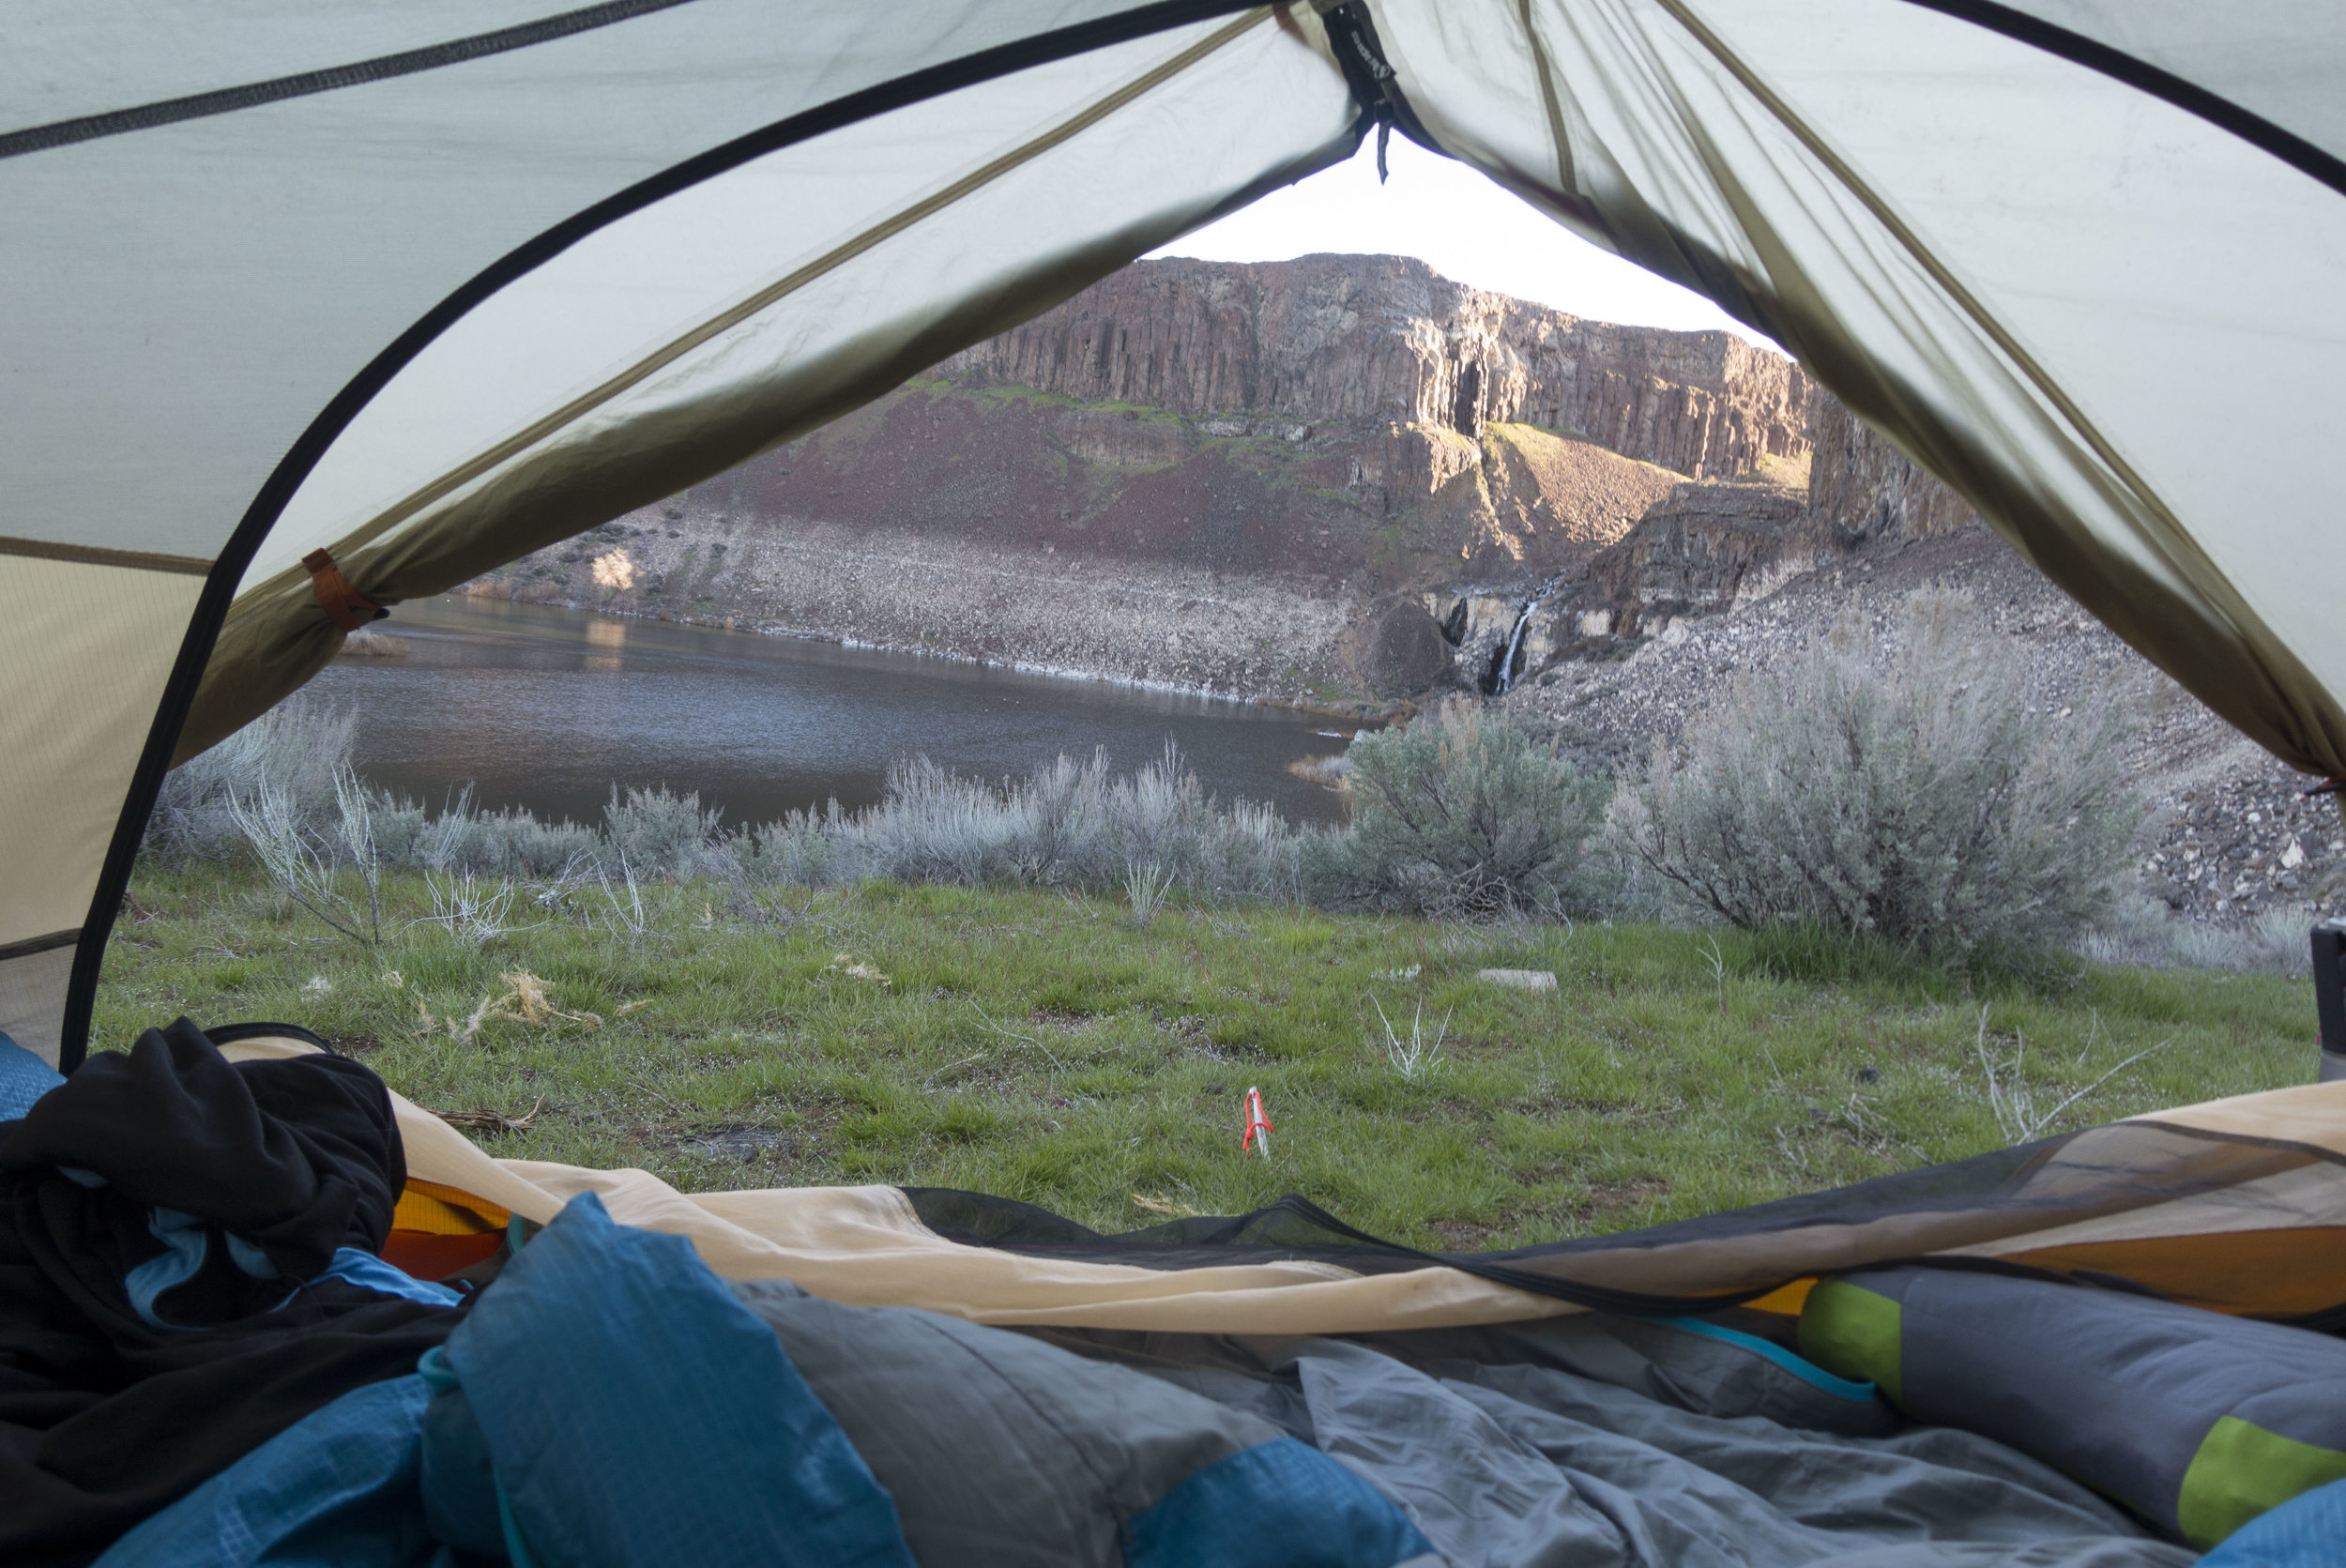
The ranger in Port Angeles had told us of a campground at yellow banks that was amazing. He said it would be the first one when you come in. When we got there all we saw was beach and bluffs. We were very confused on where this site was. We hiked a little further and I saw a faint trail go up a bluff with a rope to get up it (was very steep). We went up there and found our own little oasis. There were 2 large plank platforms, one more sturdy than the other to set up a tent on. A perfect spot for a hammock as well. We couldn't believe no one else had claimed this by 1:00, but it was also really hard to find.

DSC08642

DSC08650

DSC08665

DSC08683

DSC08686

FullSizeRender 2

FullSizeRender
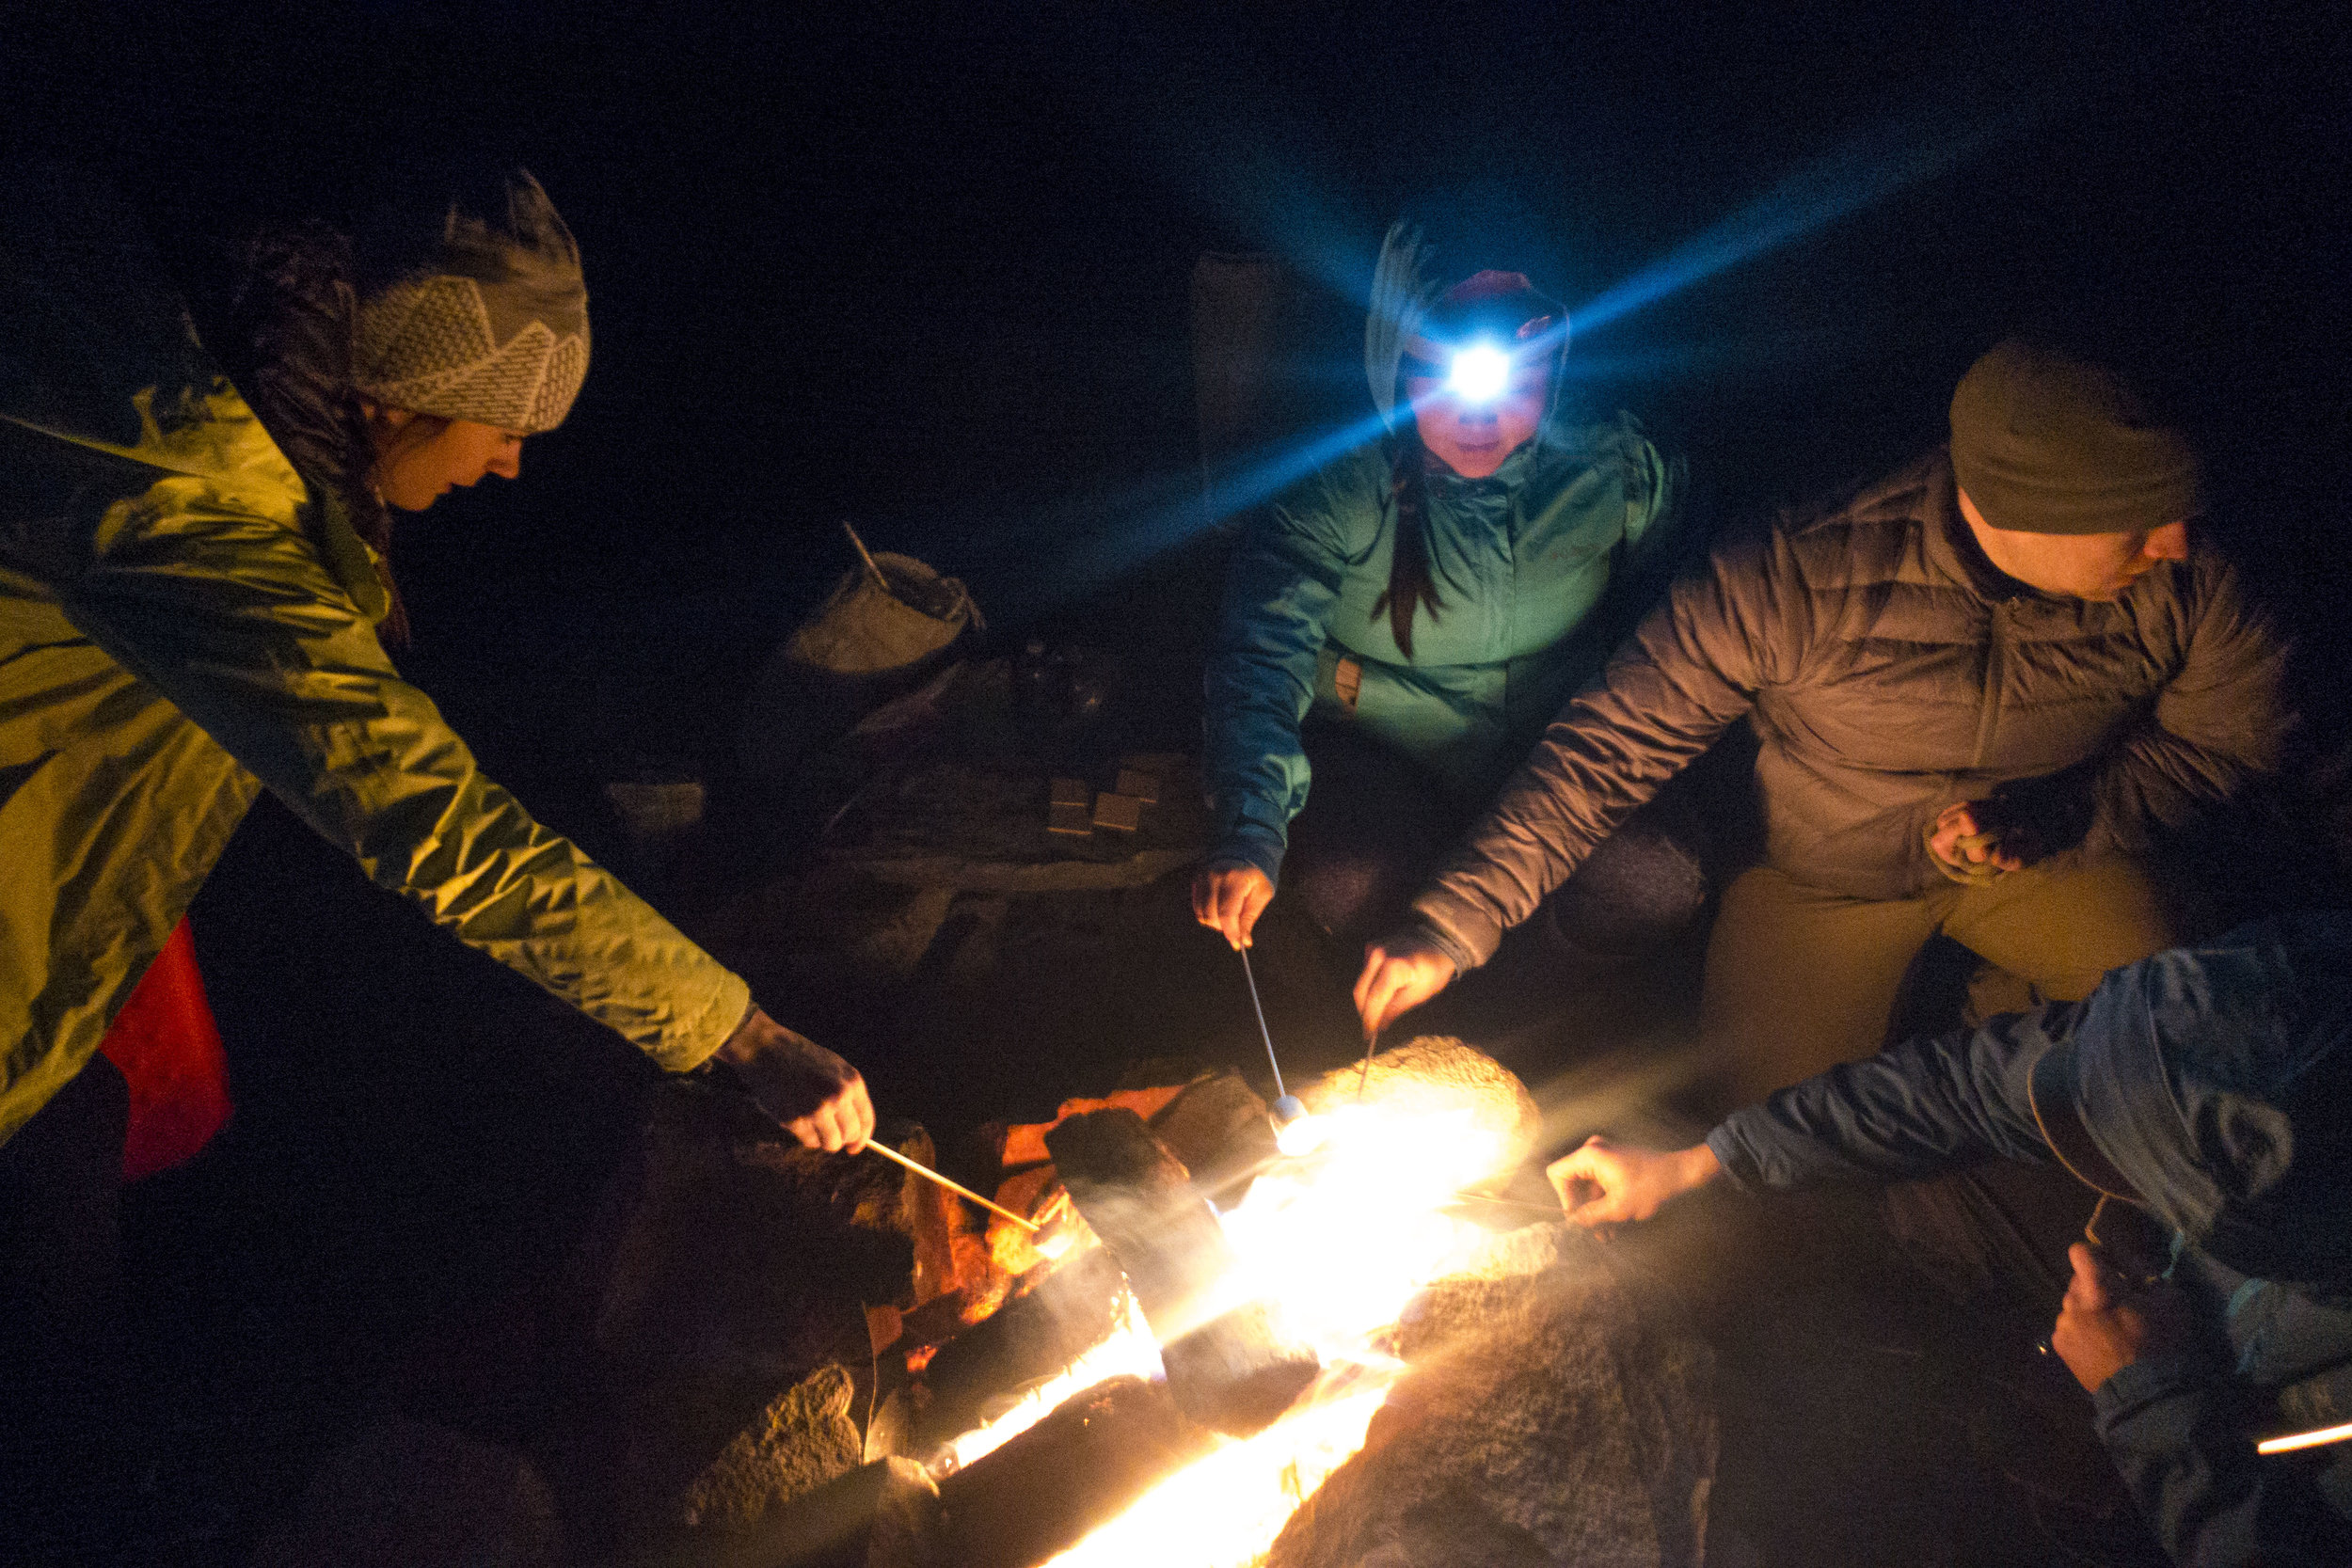
We set up camp, had ramen, a 1.5 hour nap in the hammock, then set out to filter some water. We carried in 3 liters each and were just now running out. There is a water source at Cape Alava, but the water there was brown and murky. We hiked half way down the beach and found a good stream coming in and filtered 4 liters of water. This lasted us the rest of the trip. We could not see any more campsites even walking down the beach that far. The rest are at the other end of the beach in the woods or on the sand I assume. We saw a group of 7 stroll in at 6 or so and make their way down there to the other end. It basically felt like we had the beach to ourselves. The ranger said there are permits for 12 on this beach. We made another mountain house meal then gathered drift wood for a fire. Fires are allowed at Cape Alava and Yellow Banks, but no where between. There was so much drift wood at yellow banks. This was our first beach fire and it was amazing!

IMG_5219
Wine, fire and the ocean. What's better?!

IMG_5225
The ranger said the next morning we wouldn't be able to leave between 7-9 because of high tide. So we slept in and were out of there by 9:40. Yellow banks also has no toilets, so be aware of this. It was rough getting over the tough rocks getting out of Yellow Banks, but the rest of the 5.5 miles back to the car were smooth going. On this trip we heard a seal barking Friday night, but never saw it. We saw lots of crabs, eagles, hawks and deer. We saw seals just before leaving as someone pointed them out laying on rocks. We brought binoculars with that were perfect to watch them. We also saw a fox on the beach just before exiting to the woods as well.

IMG_5228
Overall about 15 miles of easy/ moderate hiking. The tough part was our heavy packs. Need to work on that before the wonderland. I would love to come back to the coast to explore other parts of it as well. Washington is so magical and never disappoints no matter what adventure you choose.
Summiting Mt. St. Helens
Since I got into hiking I have had Mt. St. Helen's on my radar. The permits open up for it every year in February. You have to get online right away to claim yours as within the first couple of hours all the weekends of the season get taken. I had originally gotten permits for a May date, but with 20+ inches of fresh snow that week and day, there was no chance of us going. Still determined to hike this mountain this year, I got in with another group as a permit opened up for me. They are $22/ piece. You can buy/sell them on purmit.com as well, so not all hope is lost if you get bad weather. The training:
I was recently asked can anyone hike this and how do you do it?! It can be an overwhelming goal if you are starting from scratch, so that's why I put a lot of work into training and conditioning to make this a reality. I consistently try to hike every weekend and try to increase my mileage/ elevation gain as well if I am training for something. A couple weeks before I did Camp Muir, which is a great training hike for this. During the week I tried to lift 2X a week and do cardio 2-3 extra times running, stairs or elliptical.
The weekend:
A group of 8 of us headed down to Mt. St. Helen's on 6/23/17. I drove from Seattle and it took 4.5 hours with lots of traffic. The summer route was still not open yet, so we had to take the winter route and go to the sno-park. Catherine and I decided to sleep in the back of my outback, which proved to be rather comfortable. 2 more rolled in and we tried to wait for the rest of the group, but we hit the hay by 11:00. Wake up time was 3:15 and we were all fed and caffeinated and ready to go by 4:30. It was already getting light and and we barely had to hike with our headlamps on. My pack was super heavy with 5 liters of water, lots of food, glissading/snow gear, an ice axe and more. I weighed it before leaving and it was 23 pounds. My actual gear list for Helen's is as follows:
- buff
- gloves
- rain jacket
- rain pants
- gaiters
- ice axe
- spikes
- poles + snow baskets
- pack cover
- head lamp + batteries
- sit pad
- glacier sunglasses
- base ball cap
- external battery charger for phone
- camera
- sunscreen/ chap stick with SPF
- enough food for 10-11 hours of hiking
- 5 liters of water
- Extra pair os socks
The first 3 miles went quickly all on dirt. We enjoyed the sunrise over Mt. Hood and the valley surrounding us.

DSC08254

DSC08257

DSC08269
We continued to hike up a ridge line and it got to be more rocky/ scree like. This stuff was very annoying to hike on as it just took forever and slid around a lot.

DSC08285

DSC08293

DSC08297

DSC08314
Another big marker is hitting the weather station. After this it was mostly snowfields all the way up. Two in our group turned around shortly after this as one wasn't feeling well. The 6 of us continued on our way up the mountain.

DSC08346

DSC08358
There was only one very steep section and it was on the way up to the false summit. There was good kick steps made on the way up until a snowshoer went ahead of me and ruined them making it dangerous for me to get footing.

DSC08369
One last push to the real summit!

DSC08372
Views from the summit with 6 other volcanoes in sight. Amazing!

DSC08377

DSC08378

DSC08382

DSC08392

DSC08398
This was the longest day hike I have ever done at 12 miles/ 5,700 elevation gain. It took me almost 4 hours 30 min to get up, hung out at the top for almost 2 hours, and then we started our way down. The safest and fasted way down is to glissade. To do this you need an ice axe and waterproof protection over your pants. I am still getting the hang of glissading and find it rather terrifying most of the time. We went down one super steep section that was hard to control speed on that was very scary. It is important to know how to self arrest in these situations if need be. Thousands of glissading down and we got the the rock sections again, which were even slower going on the way down with trying not to slip and fall. By this time it was 90 degrees and we were ready to be off the mountain! Doris and I were off the mountain by 4:30, so 12 hours on the mountain total. I drank 3.5/5 liters of water. This day is what we call type 2 fun. So many moments were grueling/ mental game/ struggle fest, but looking back at it, it was so awesome to see what we accomplished together and what our bodies are possible of. I would do this hike again, but would want more snow to not deal with the rock/scree fields.
One volcano down, more to come? We shall see.
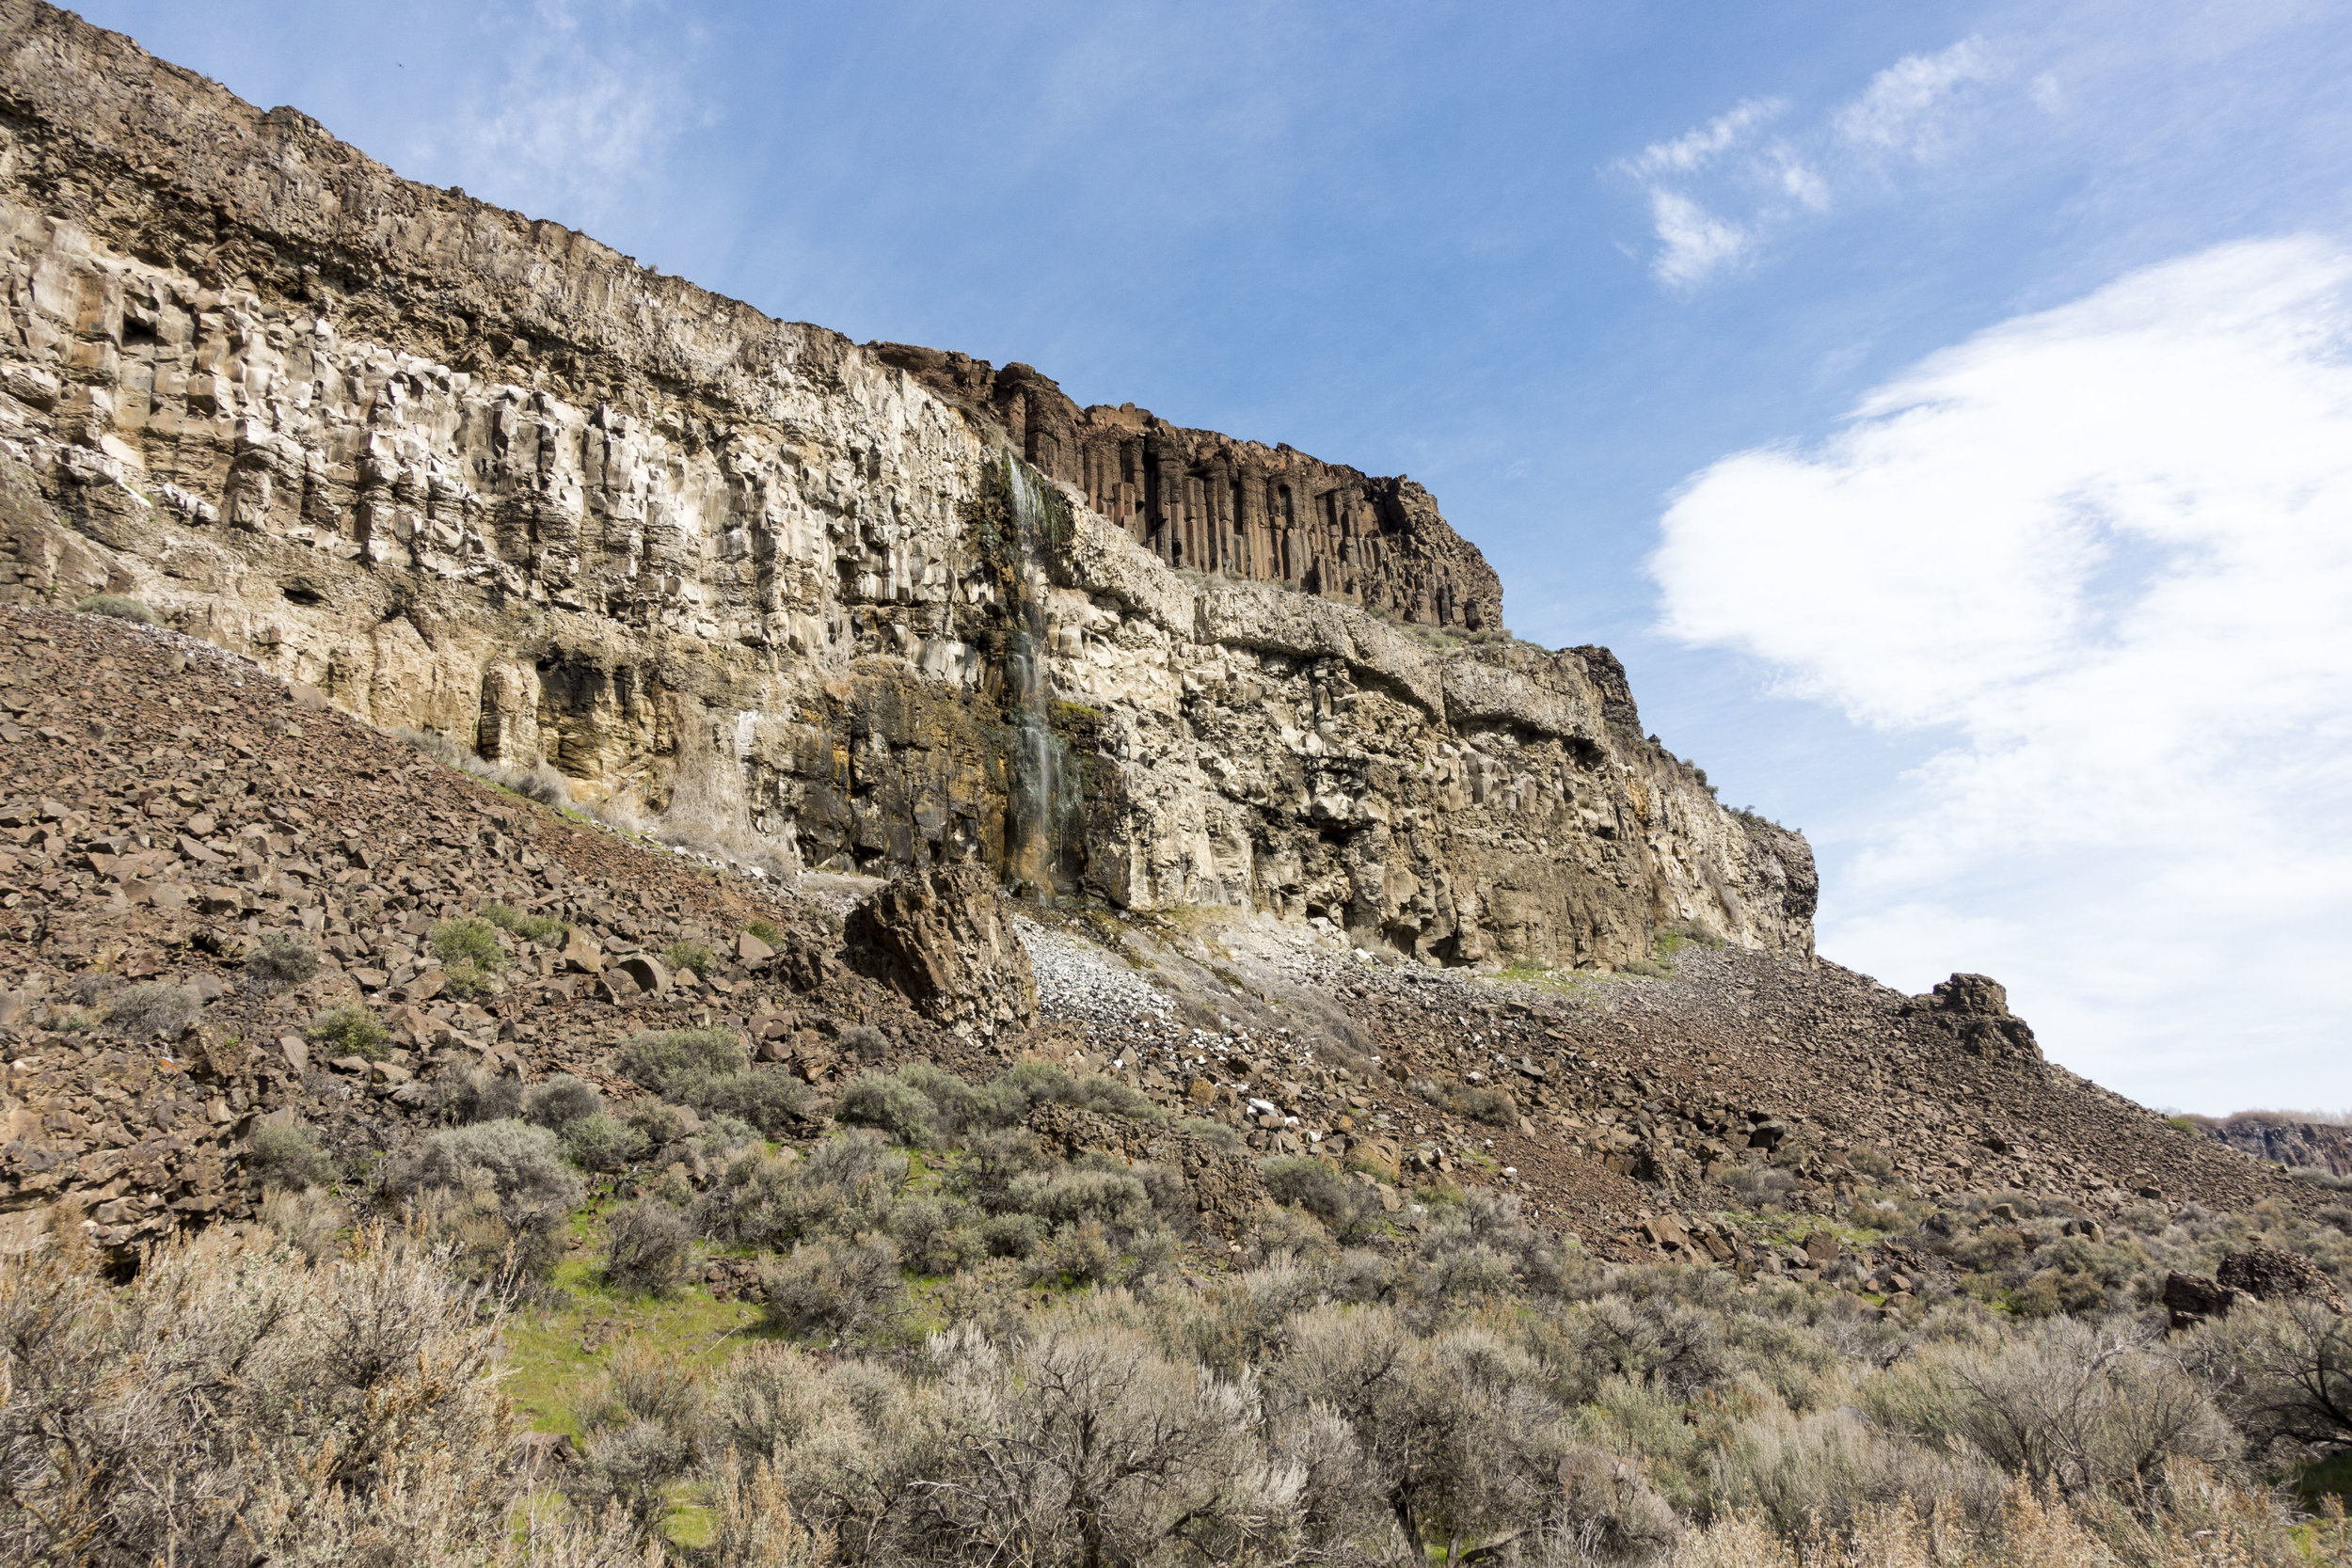
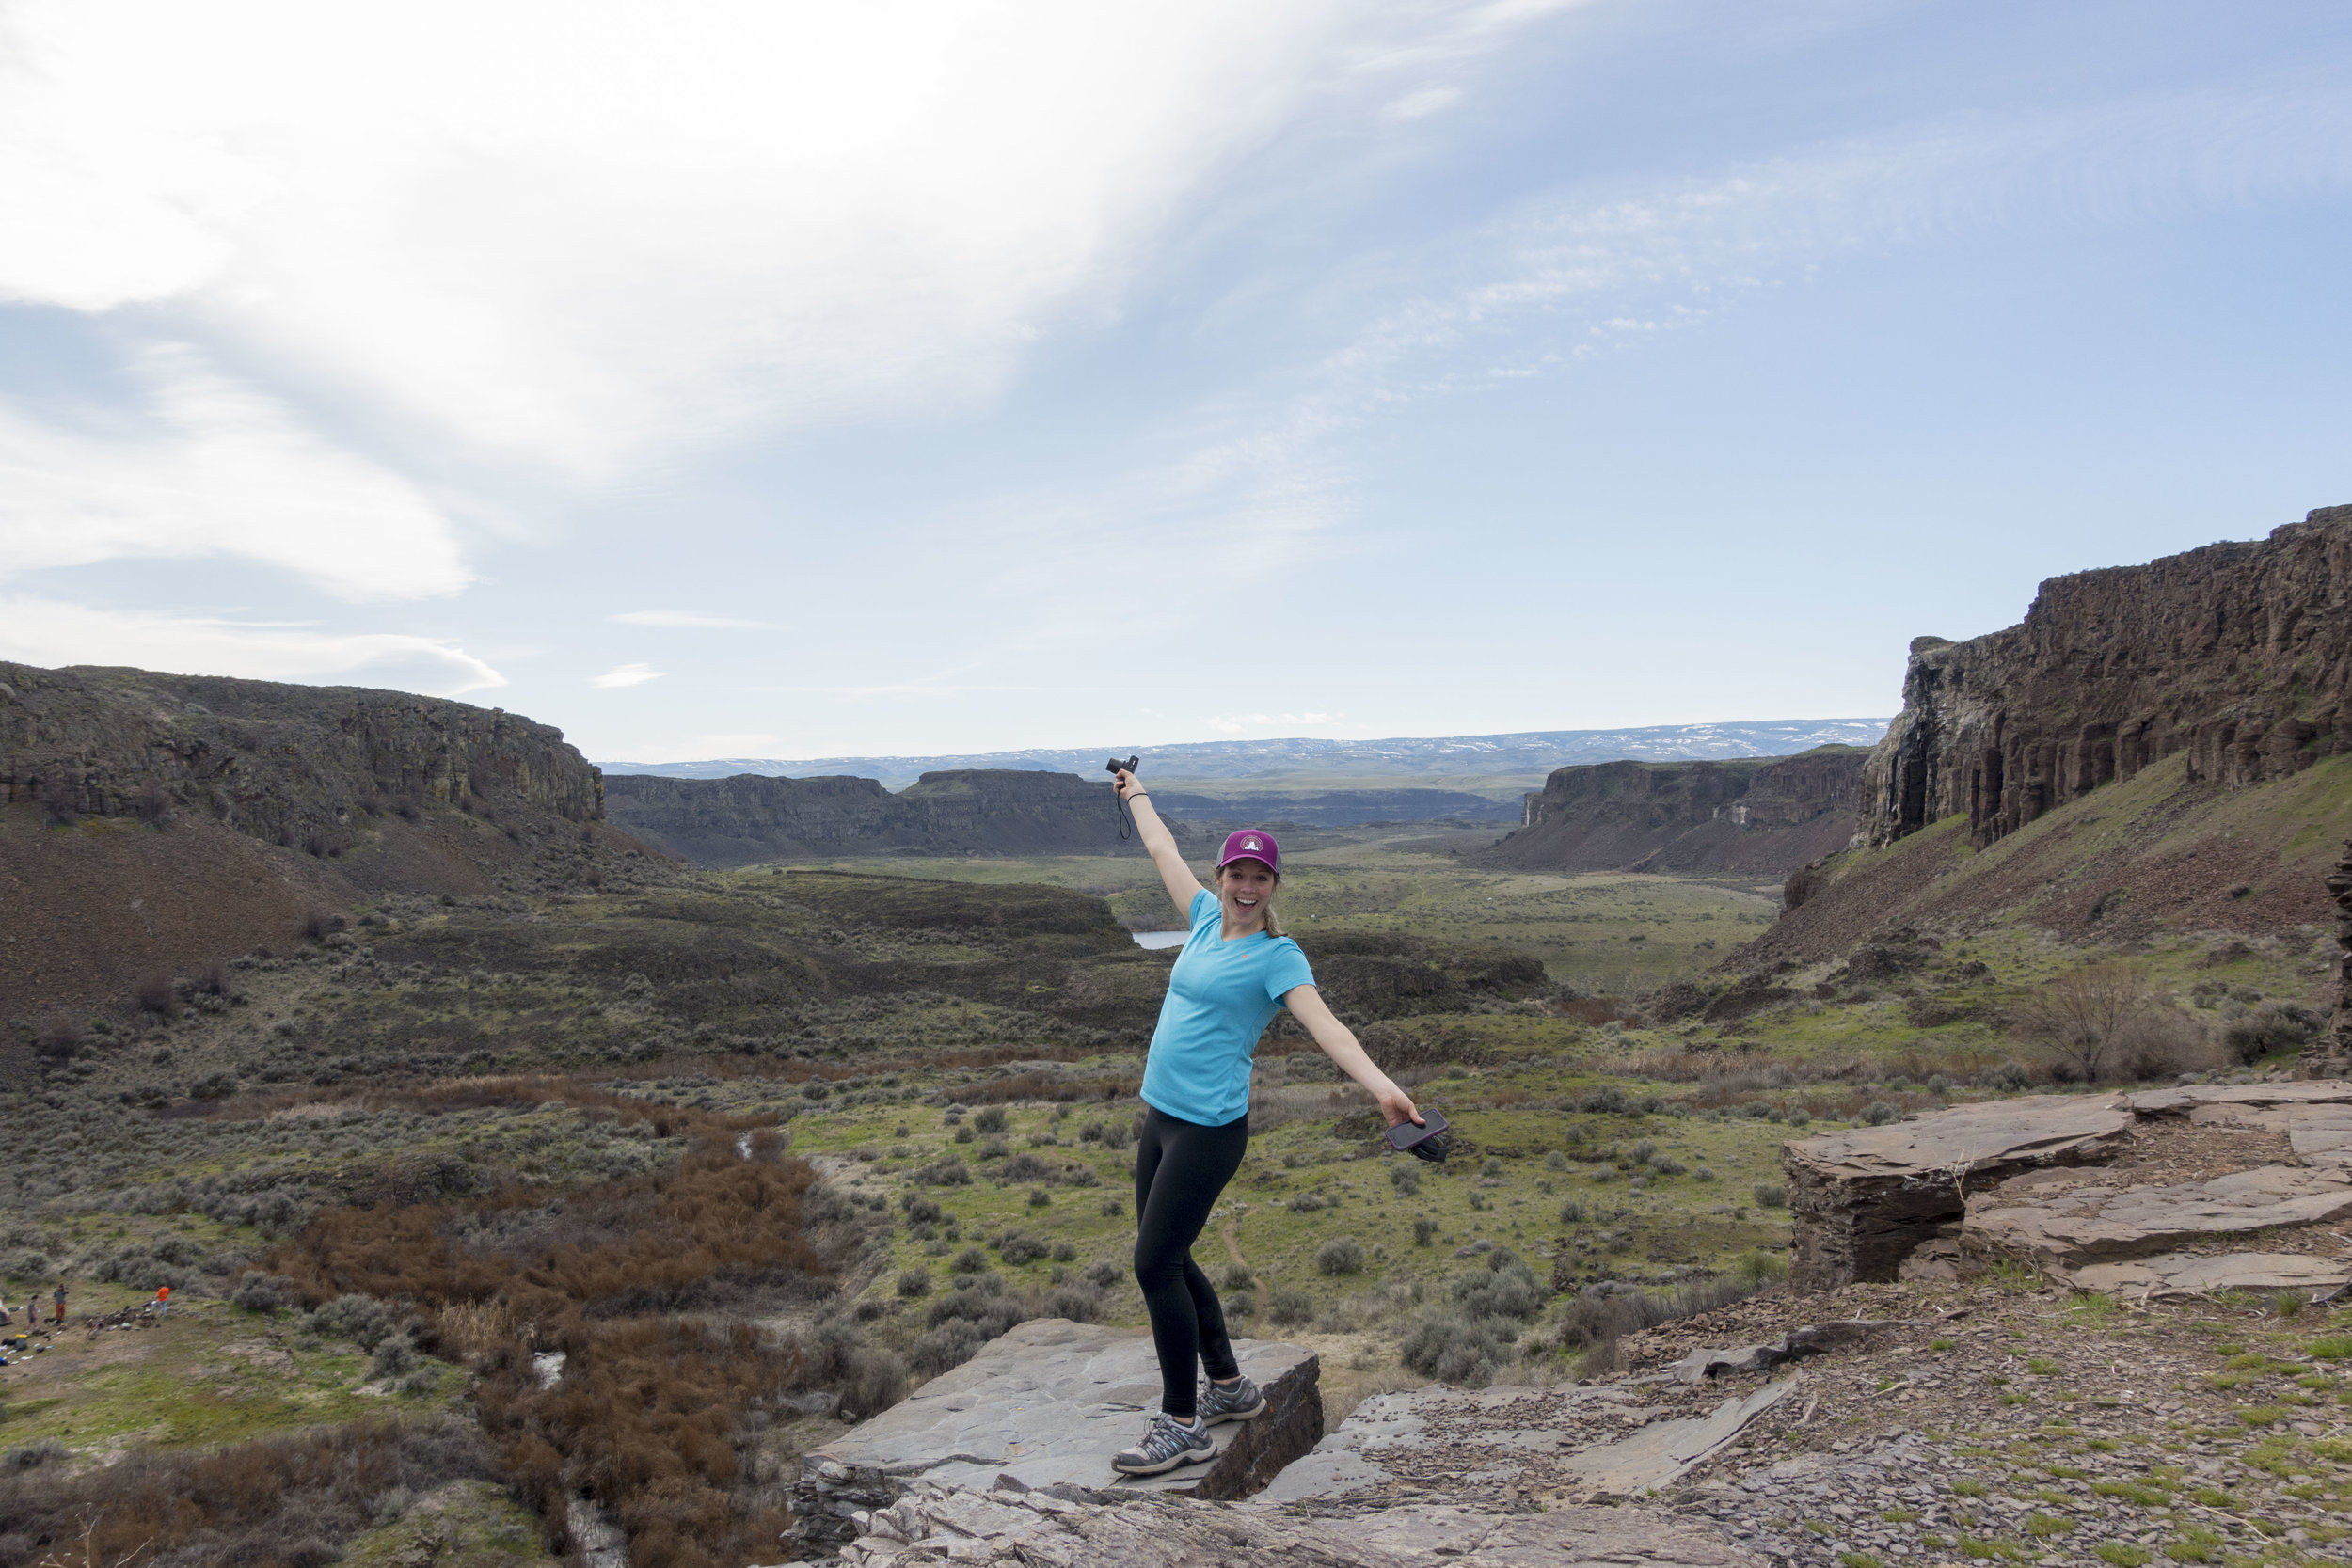
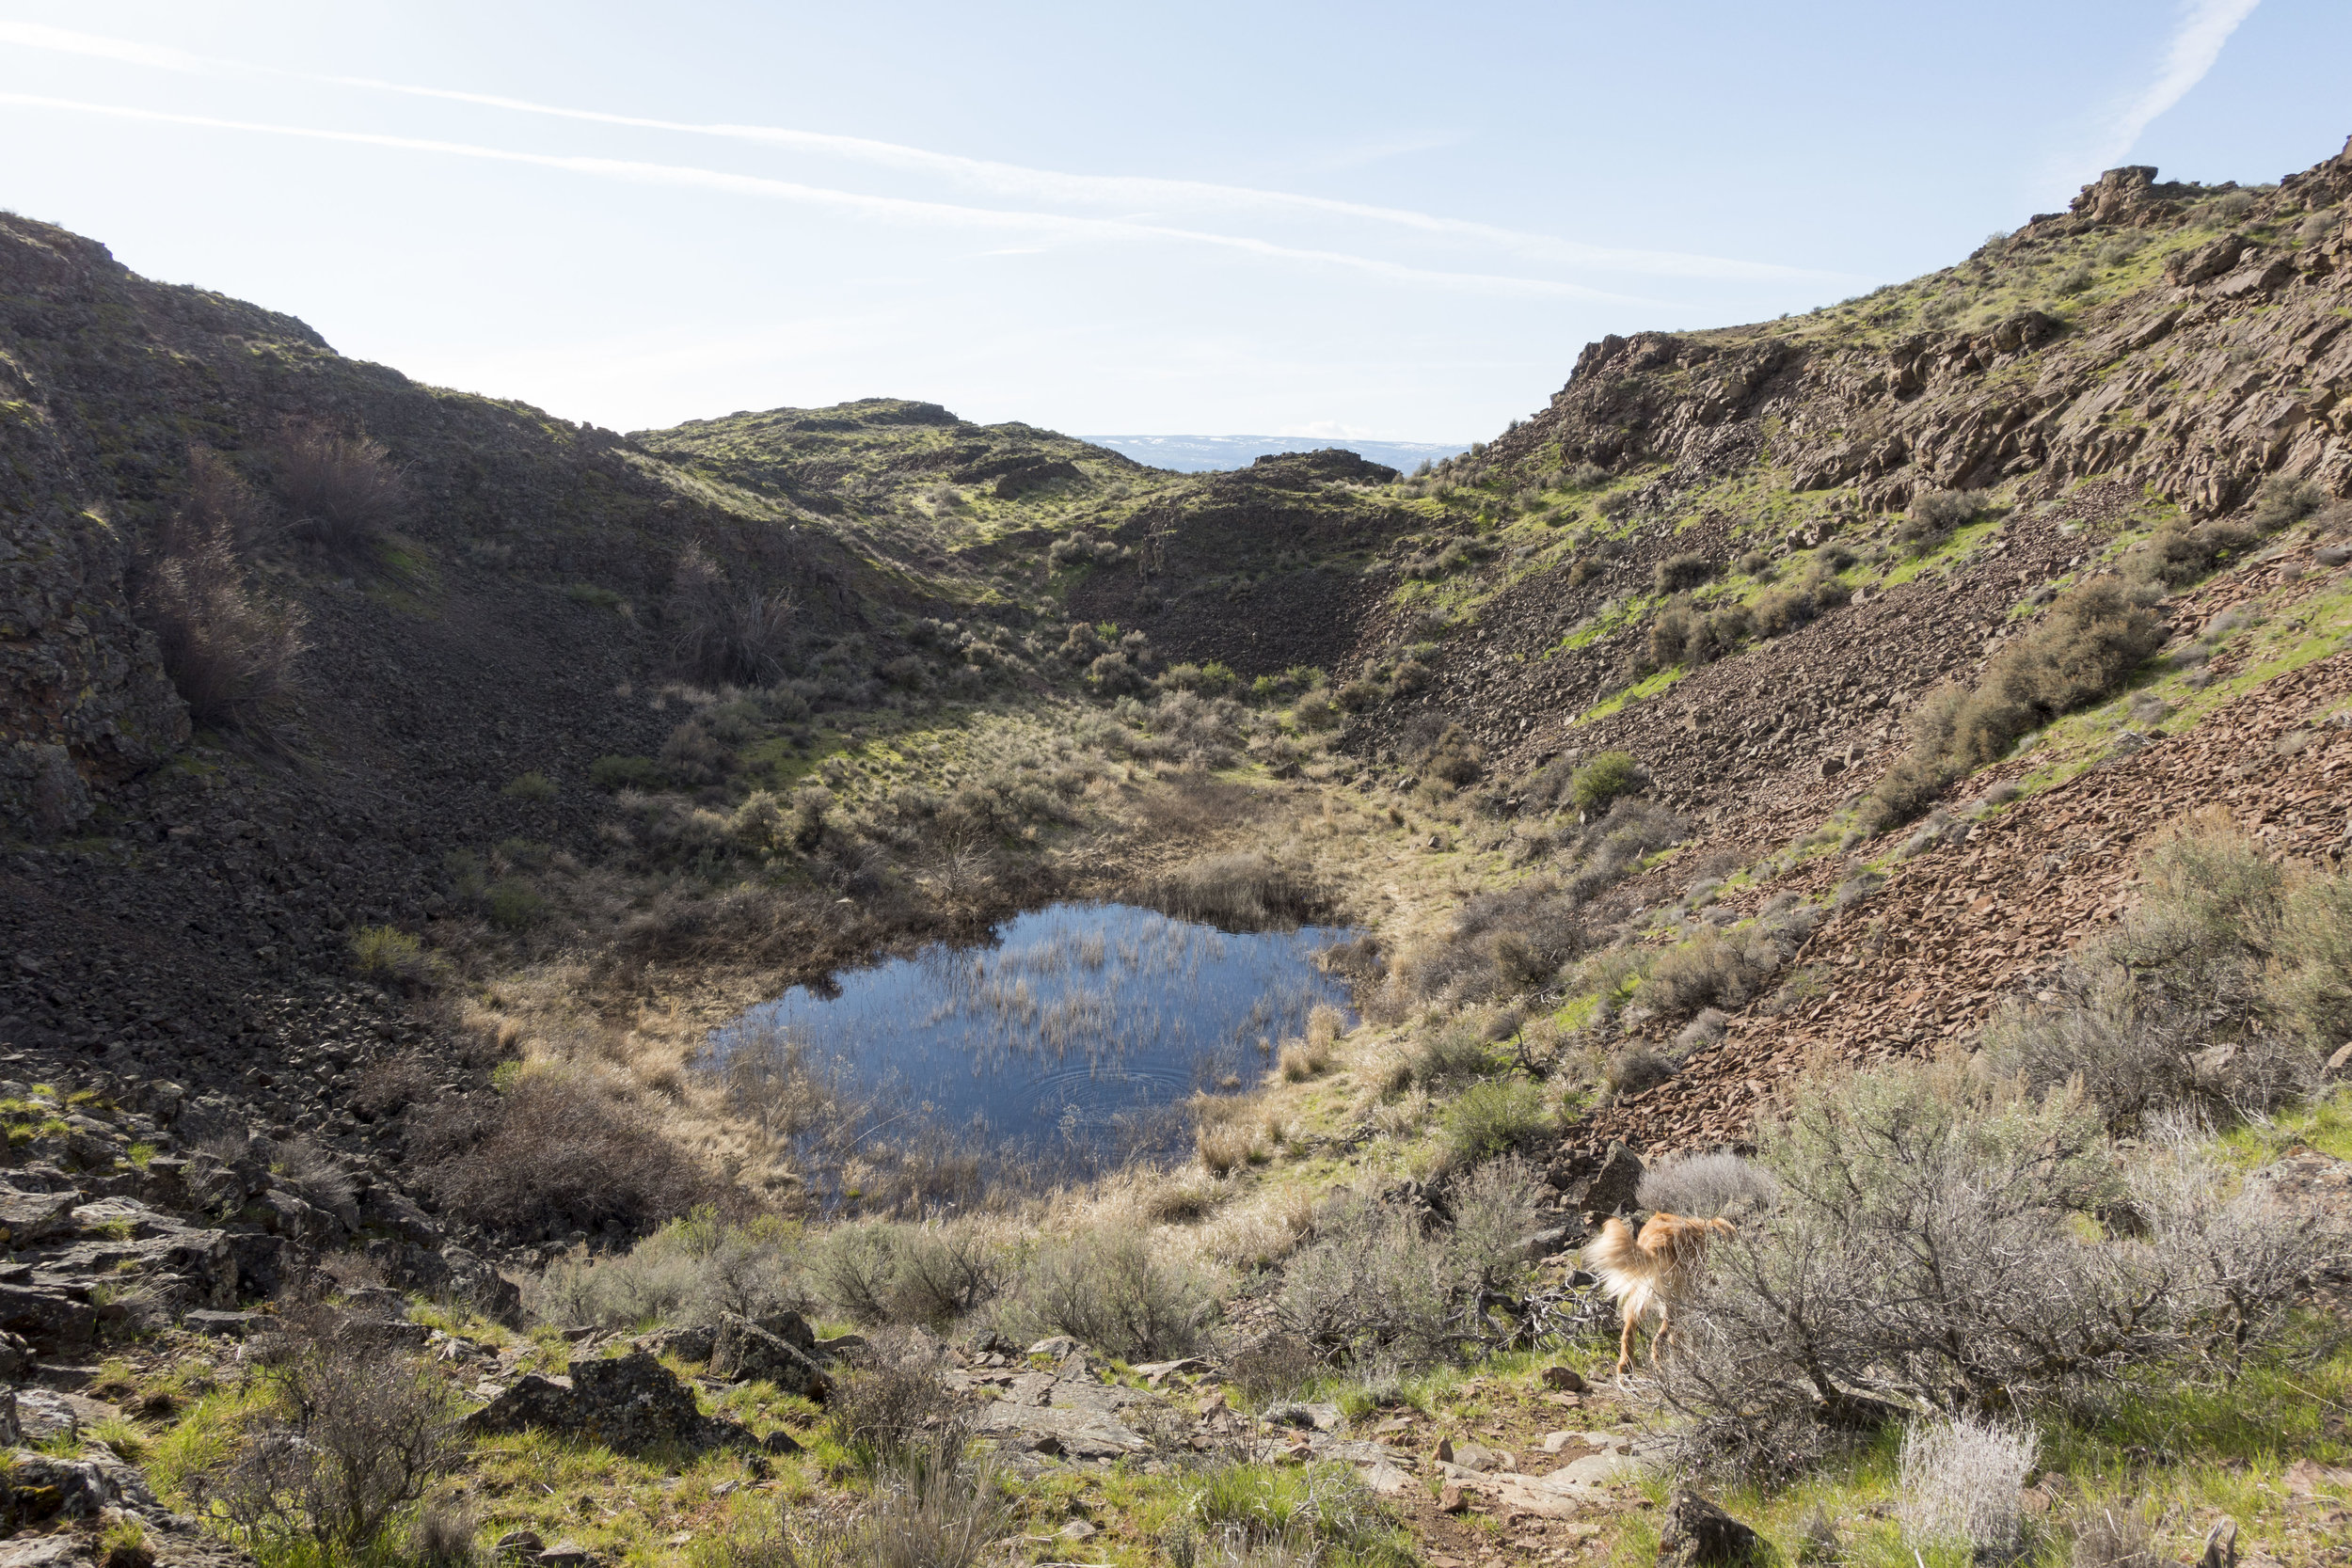
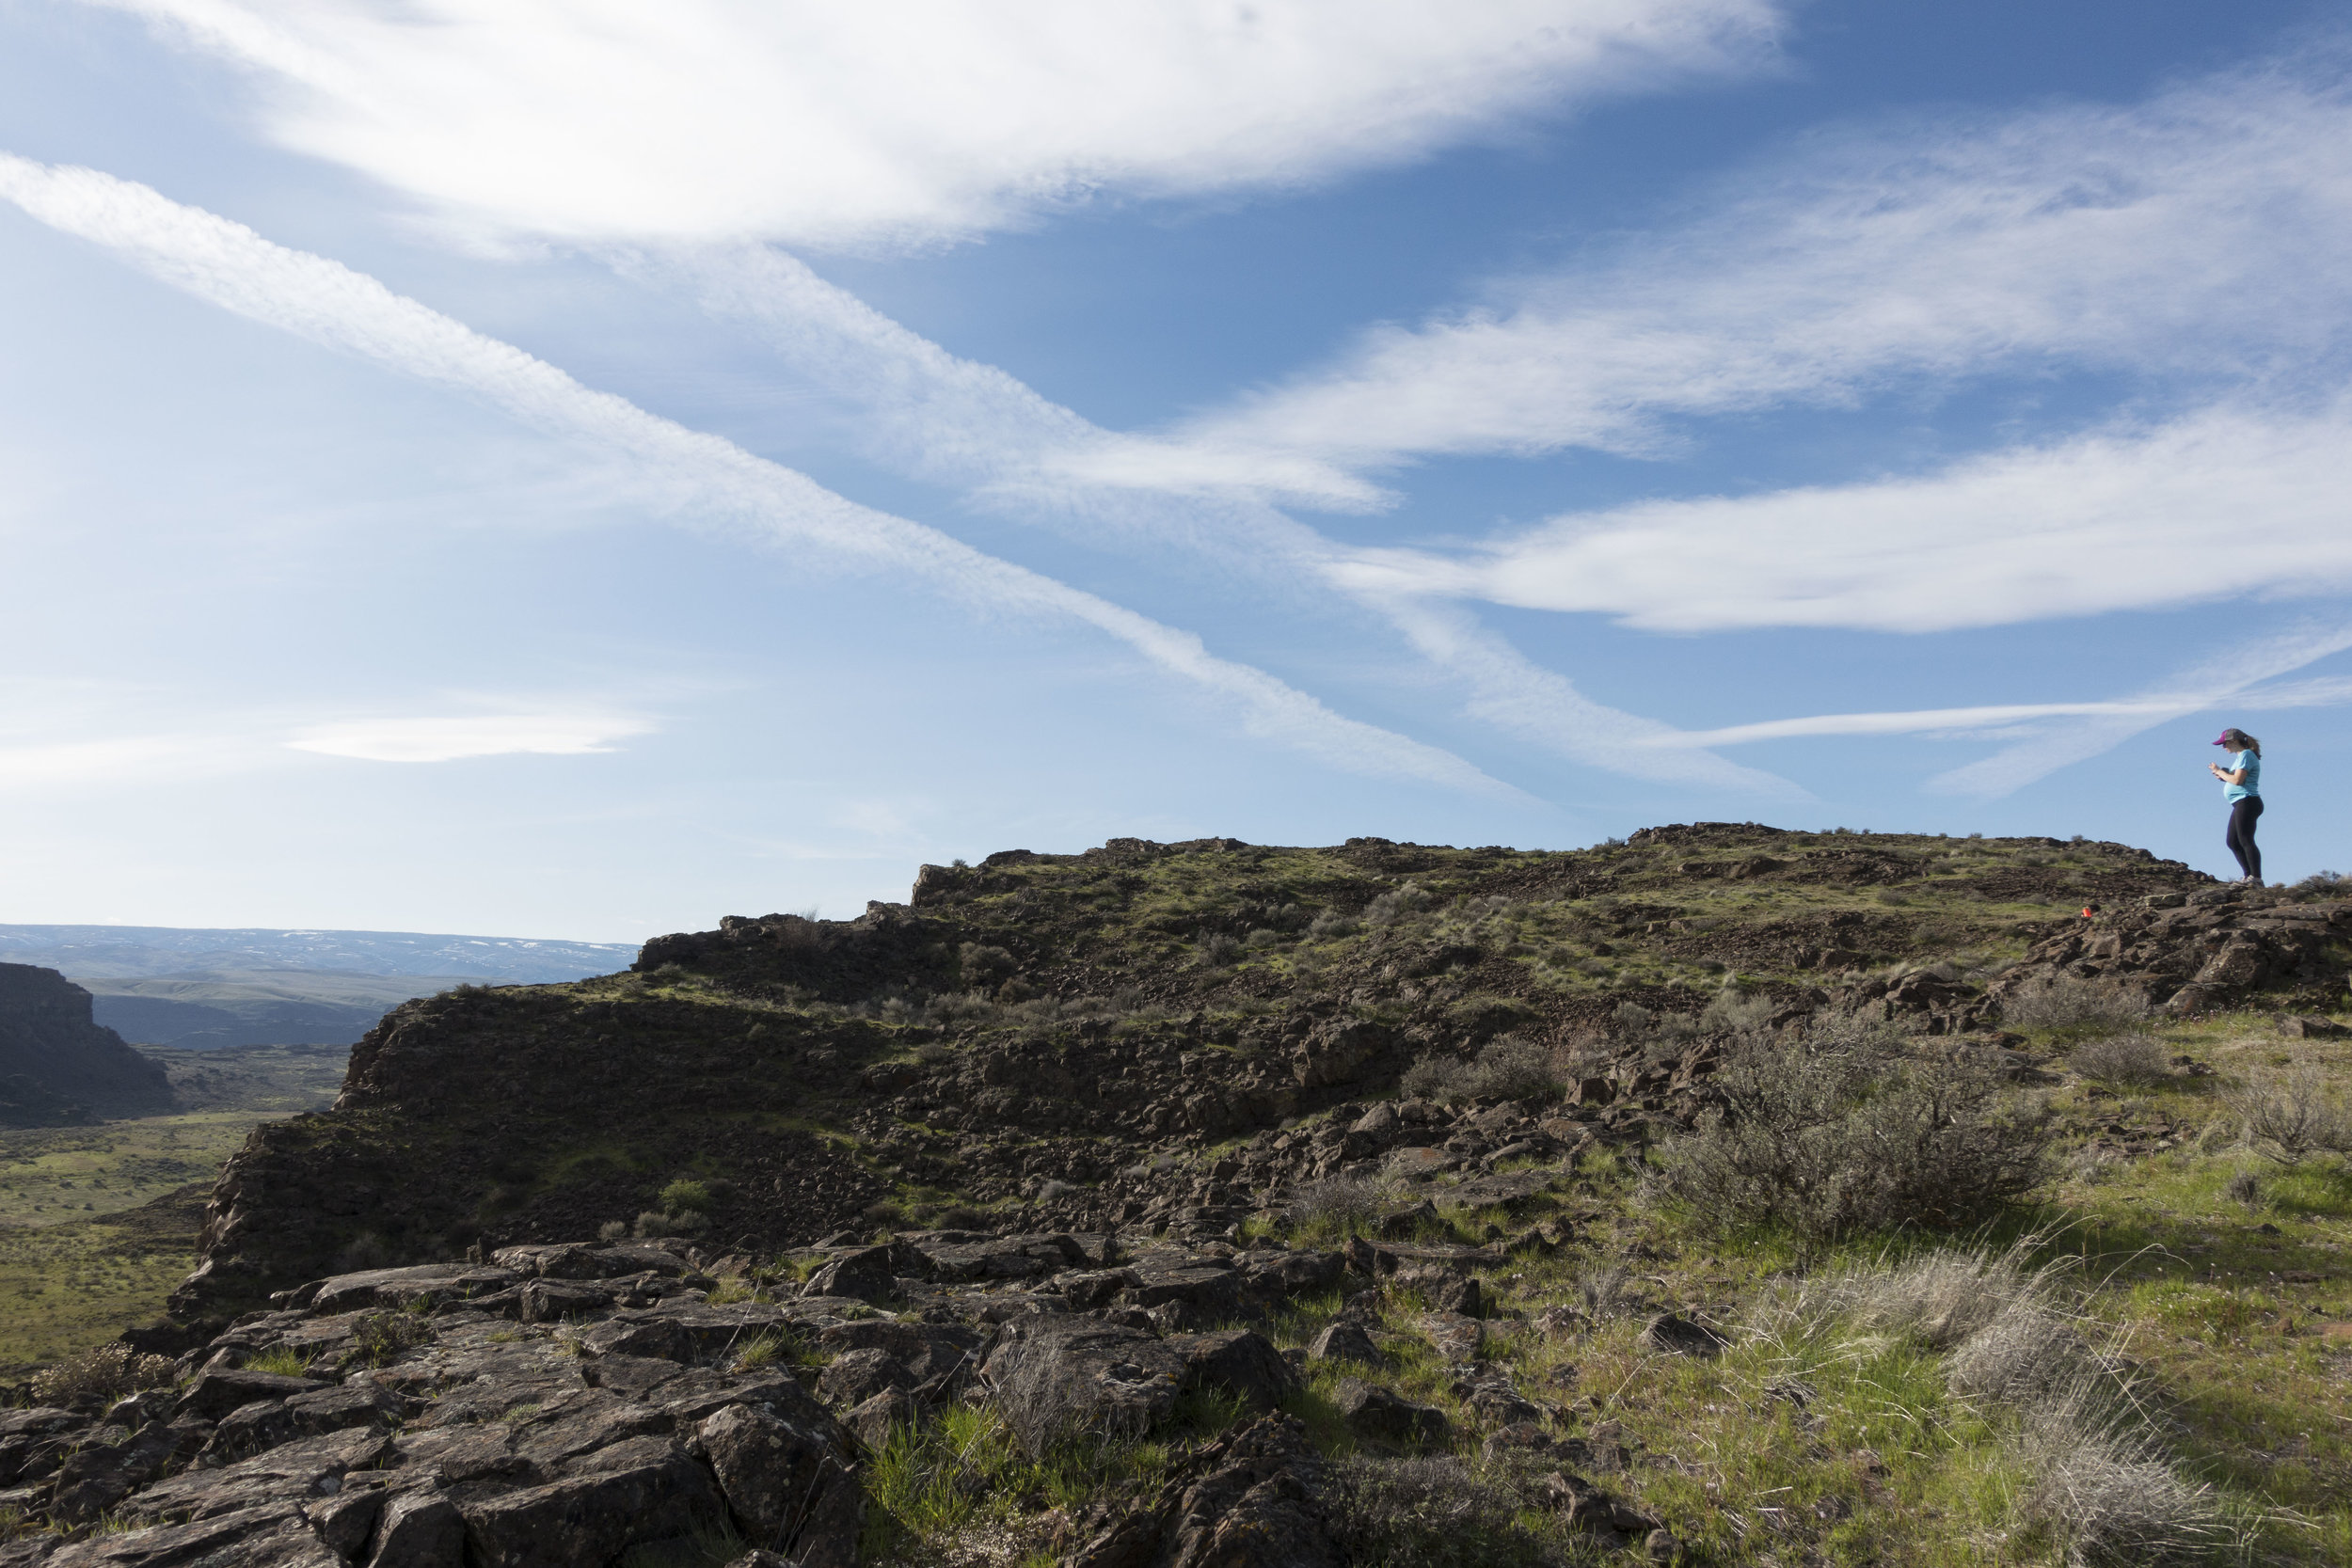
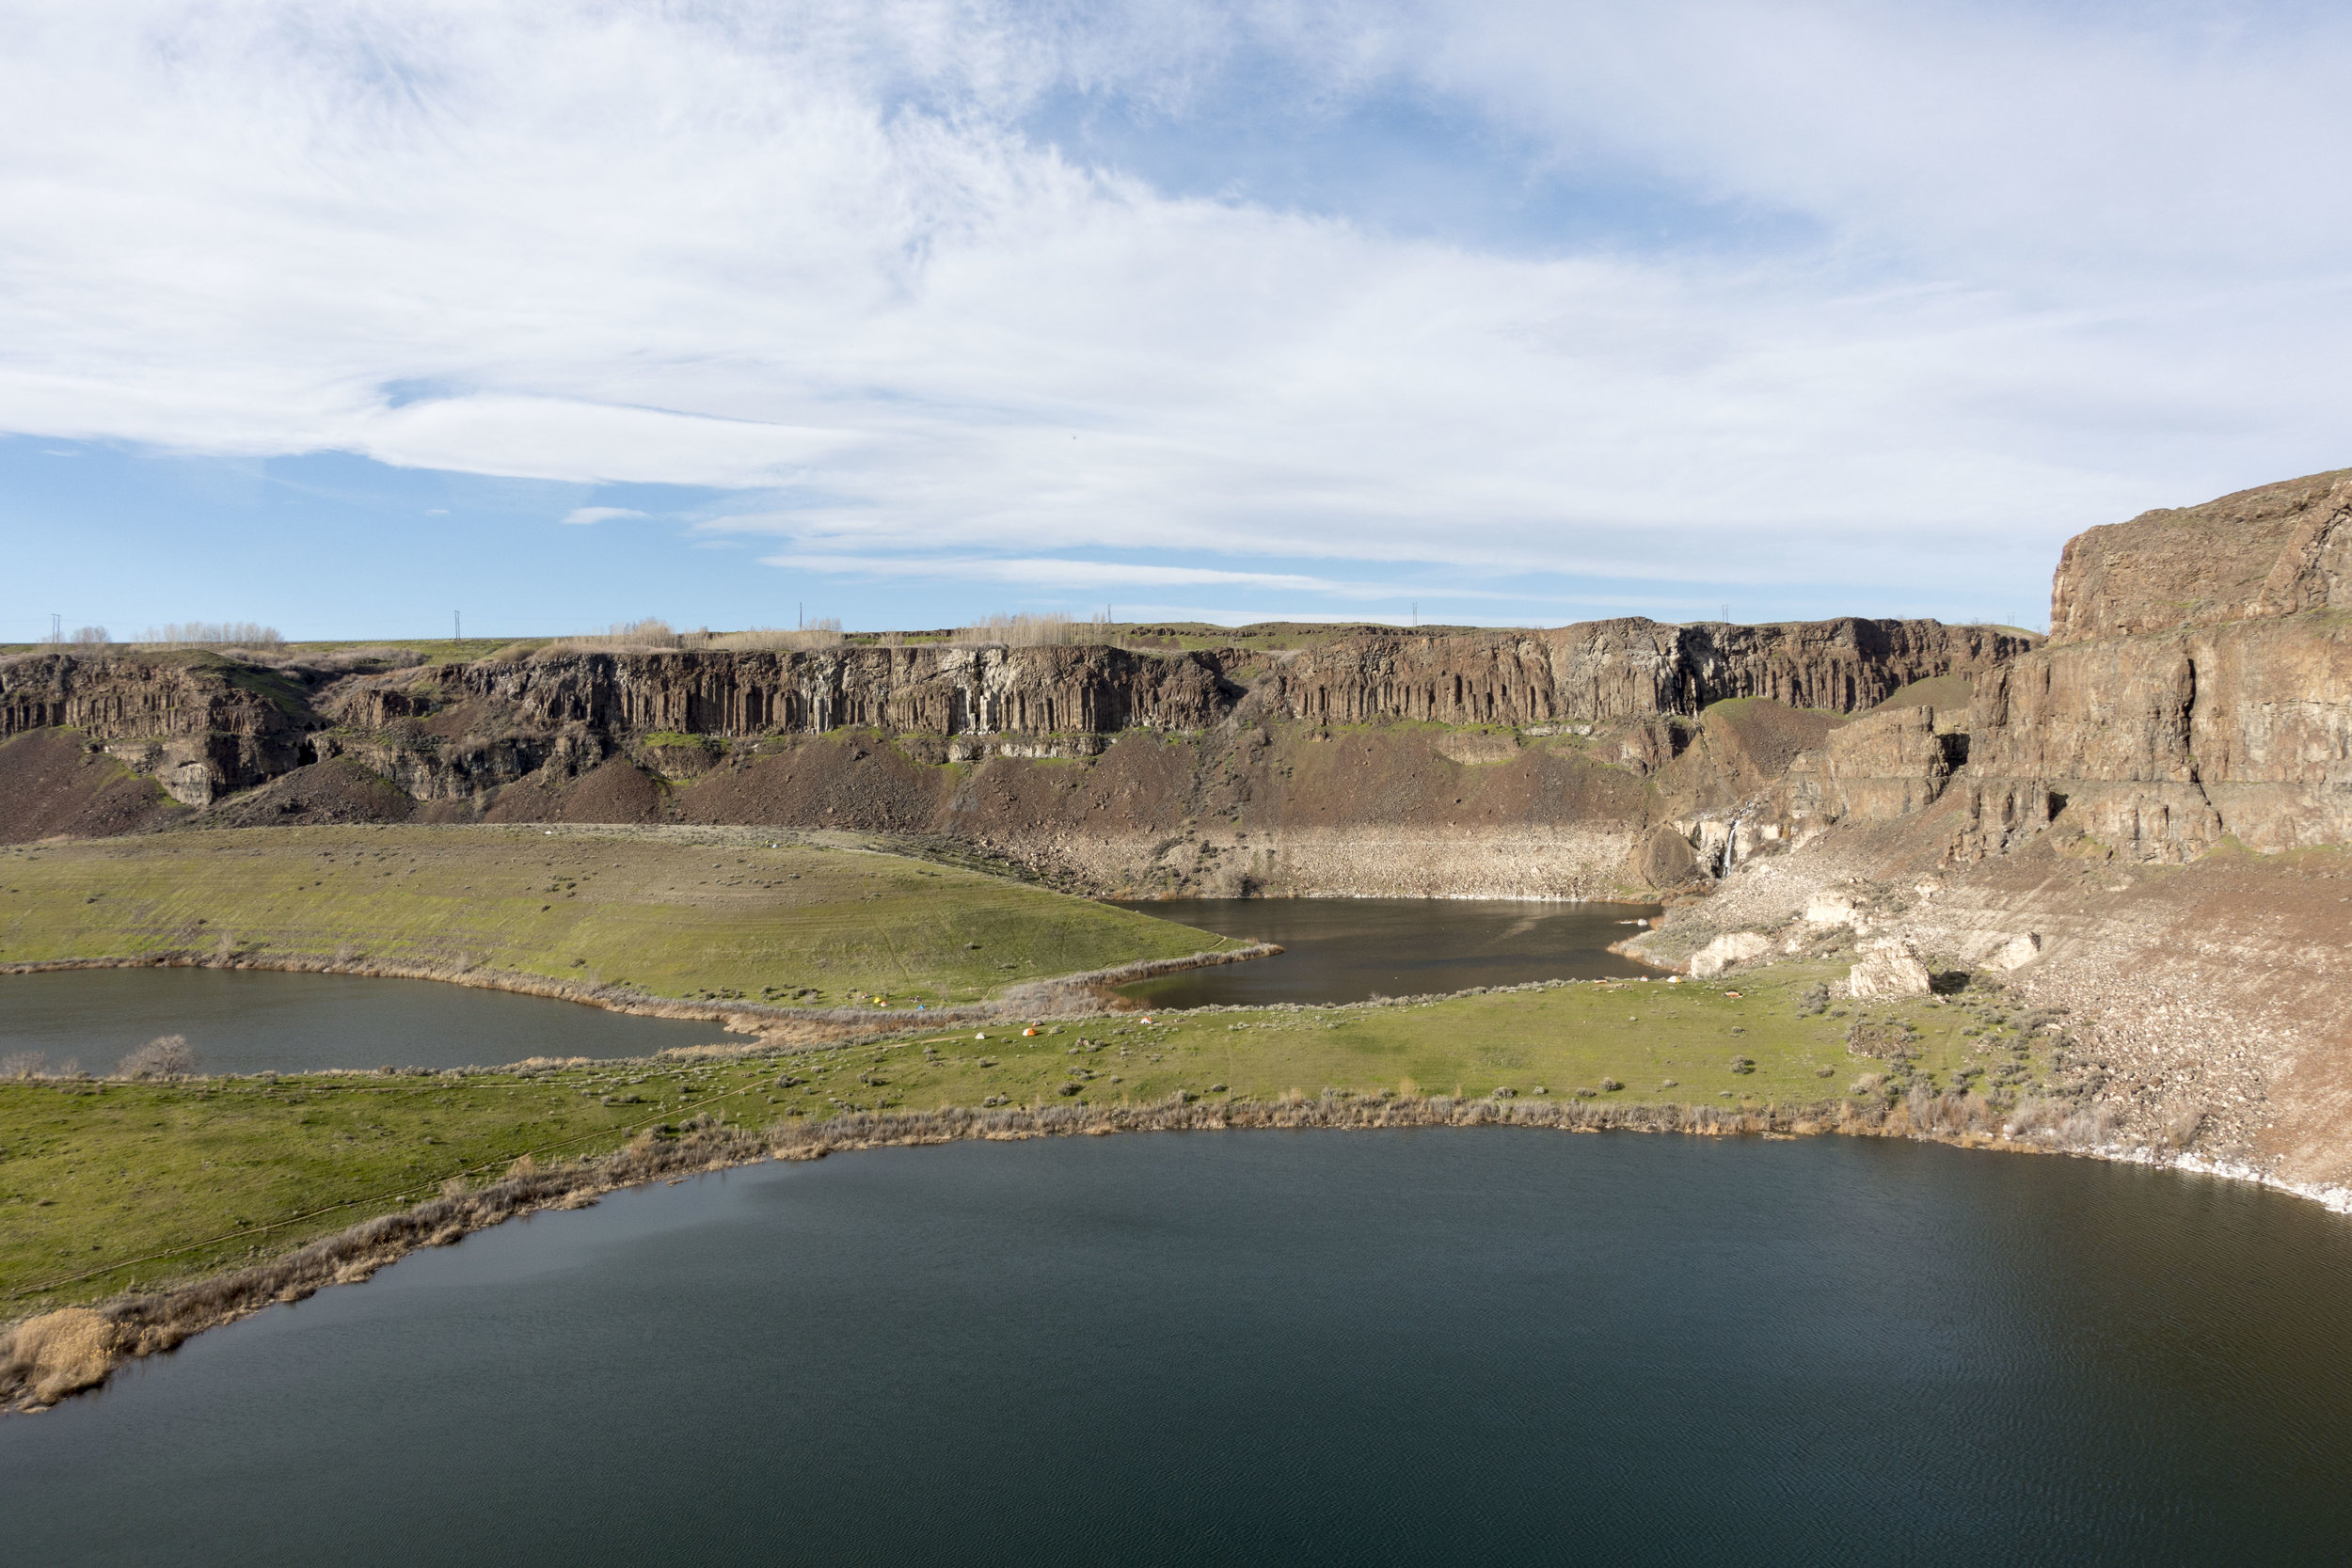
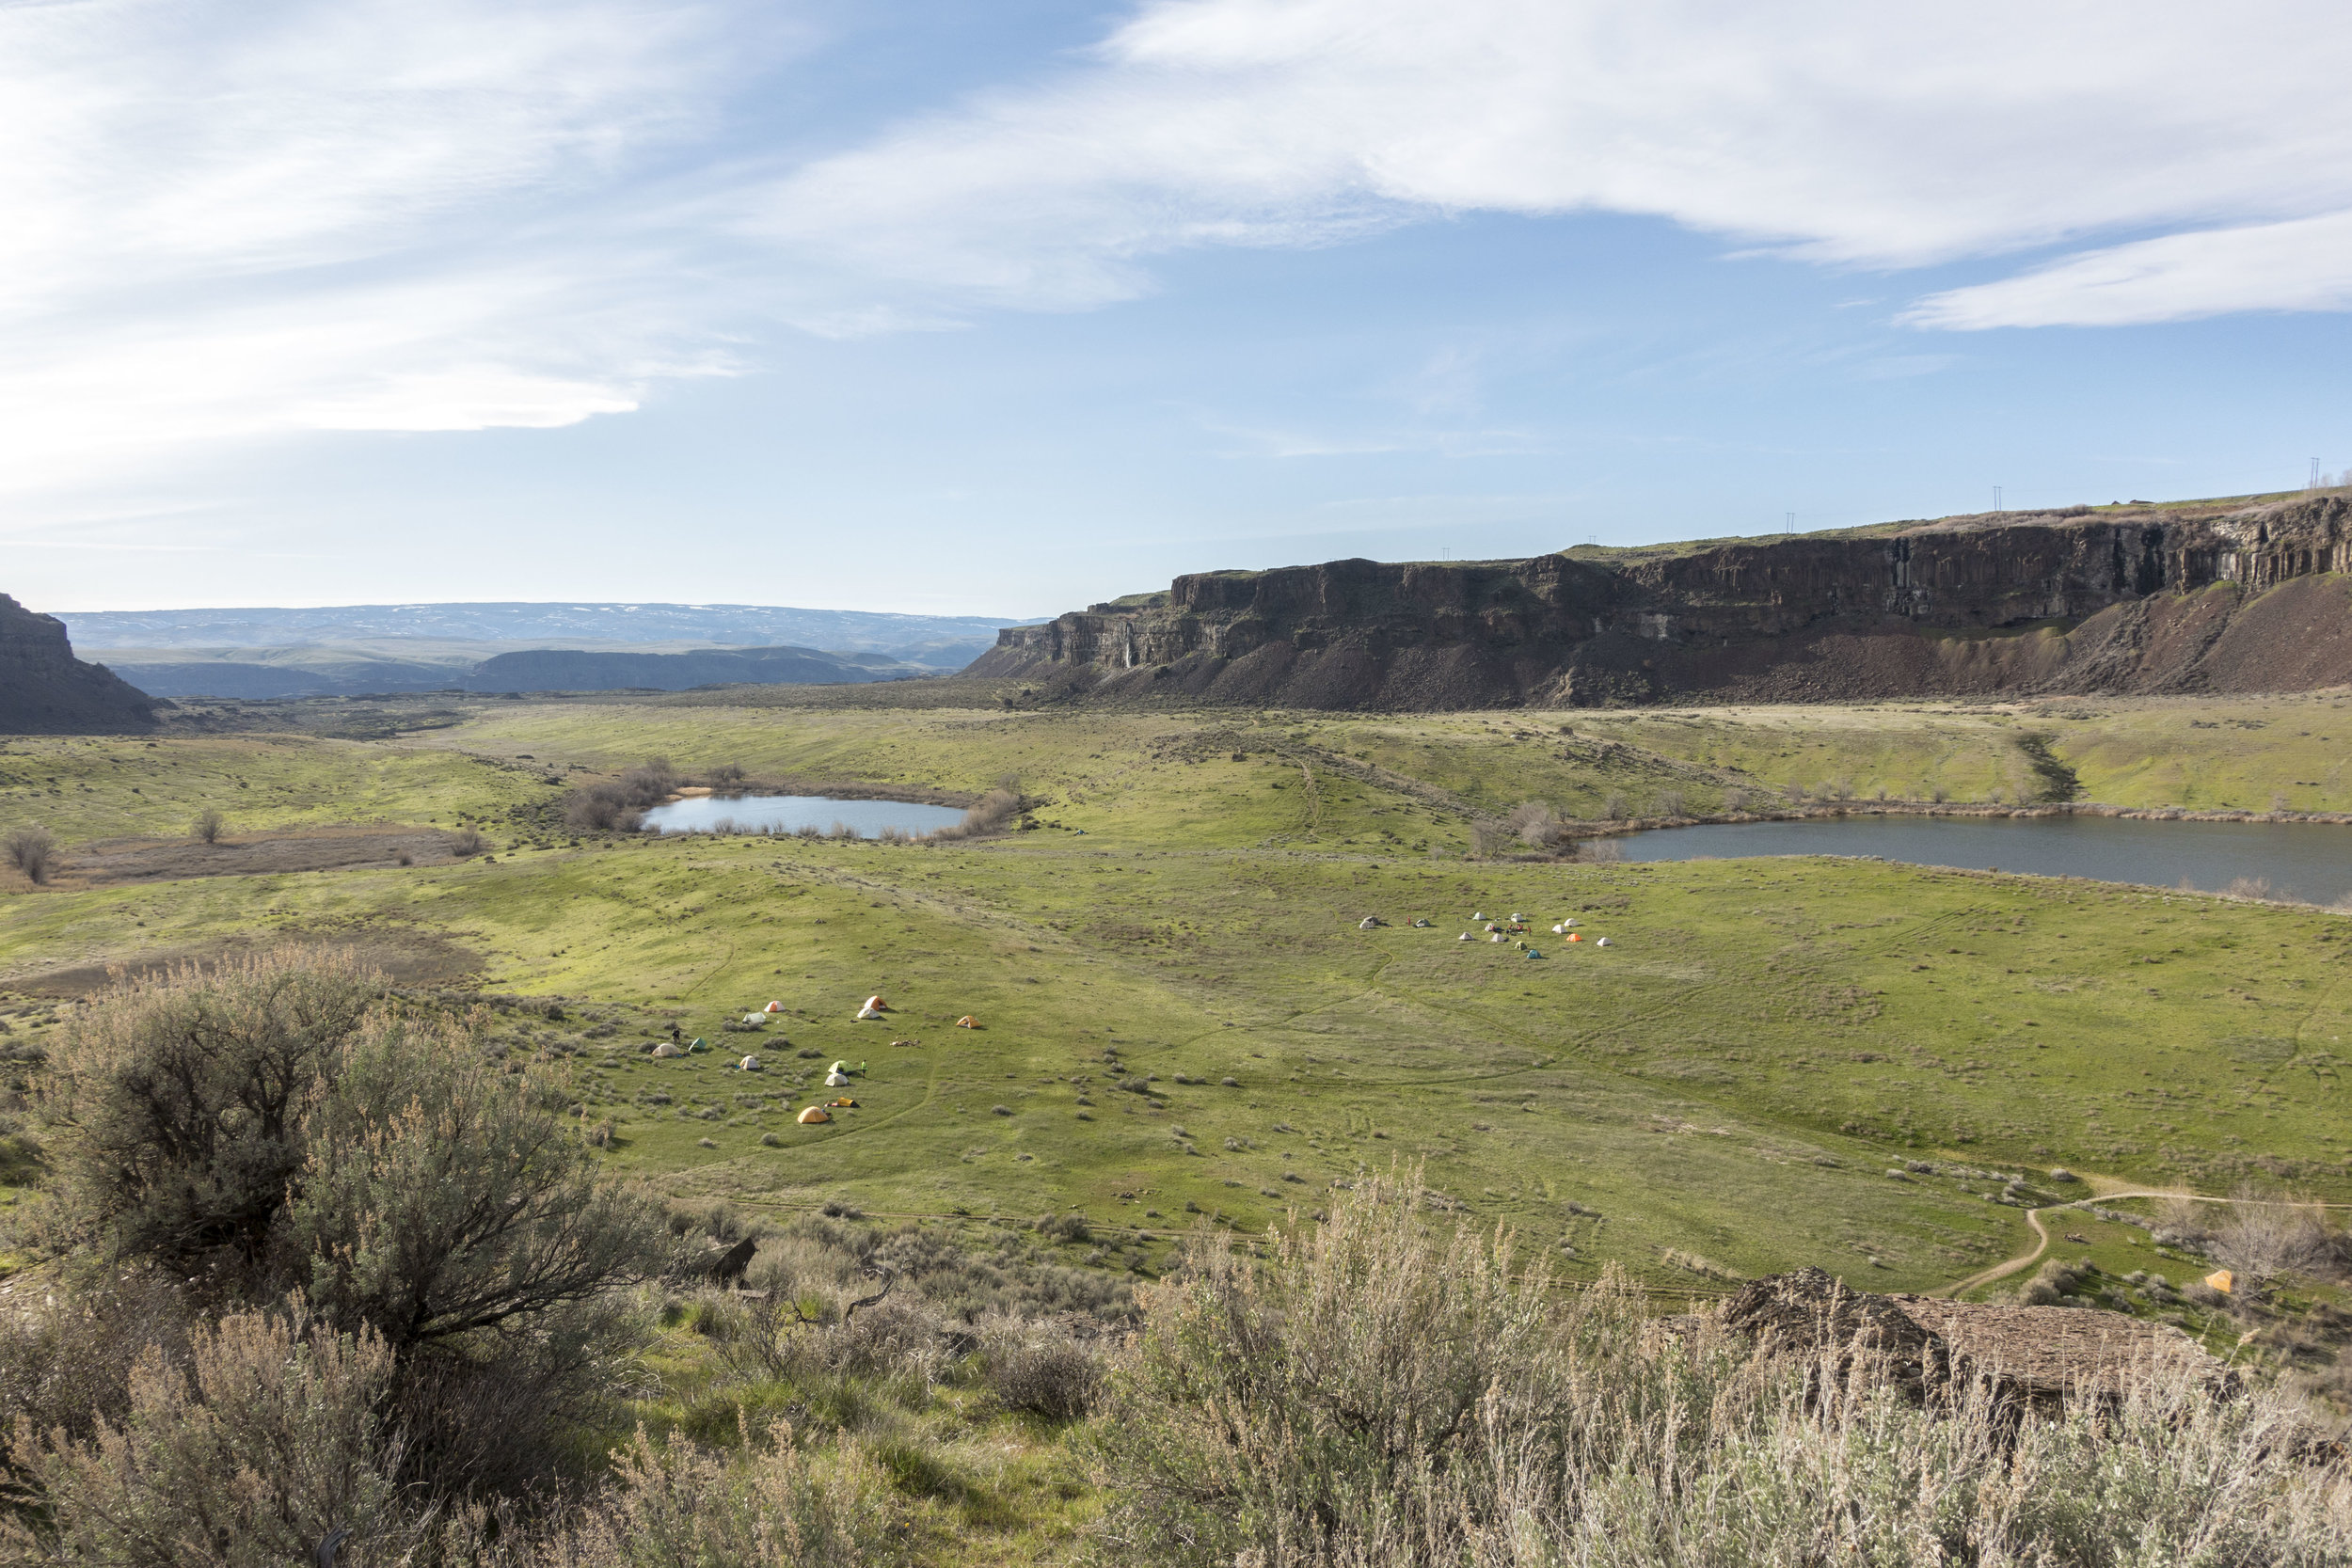
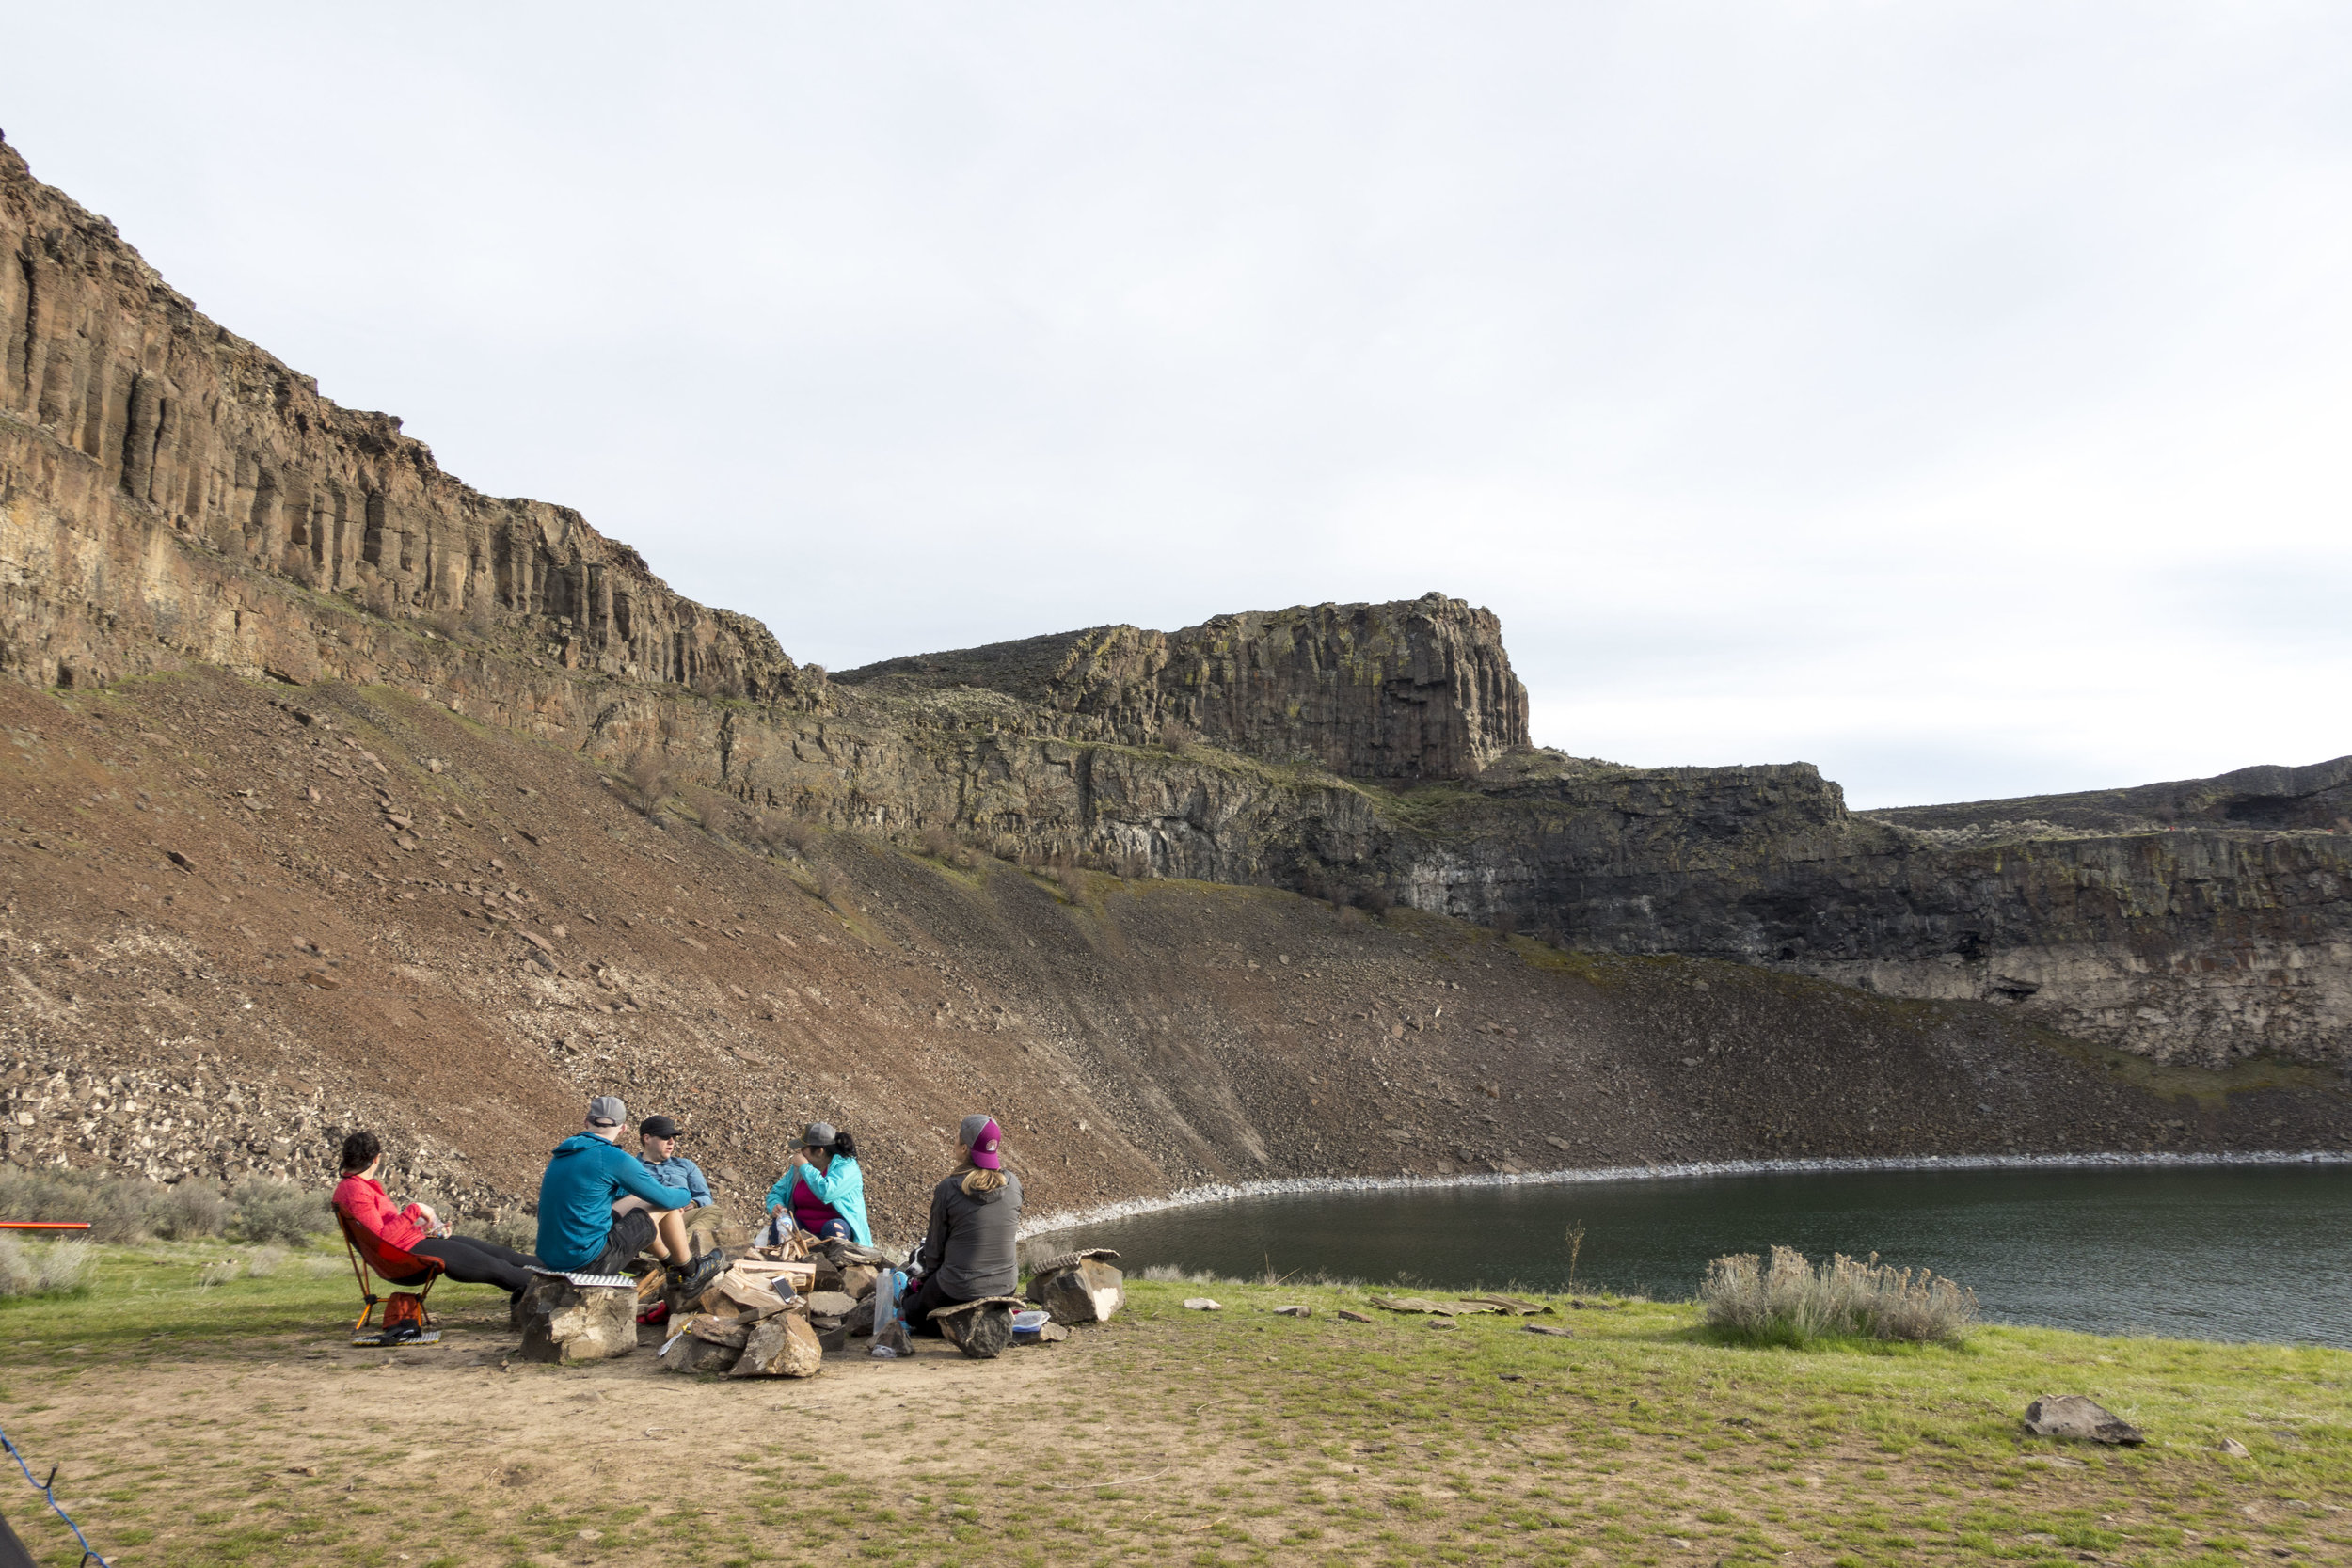
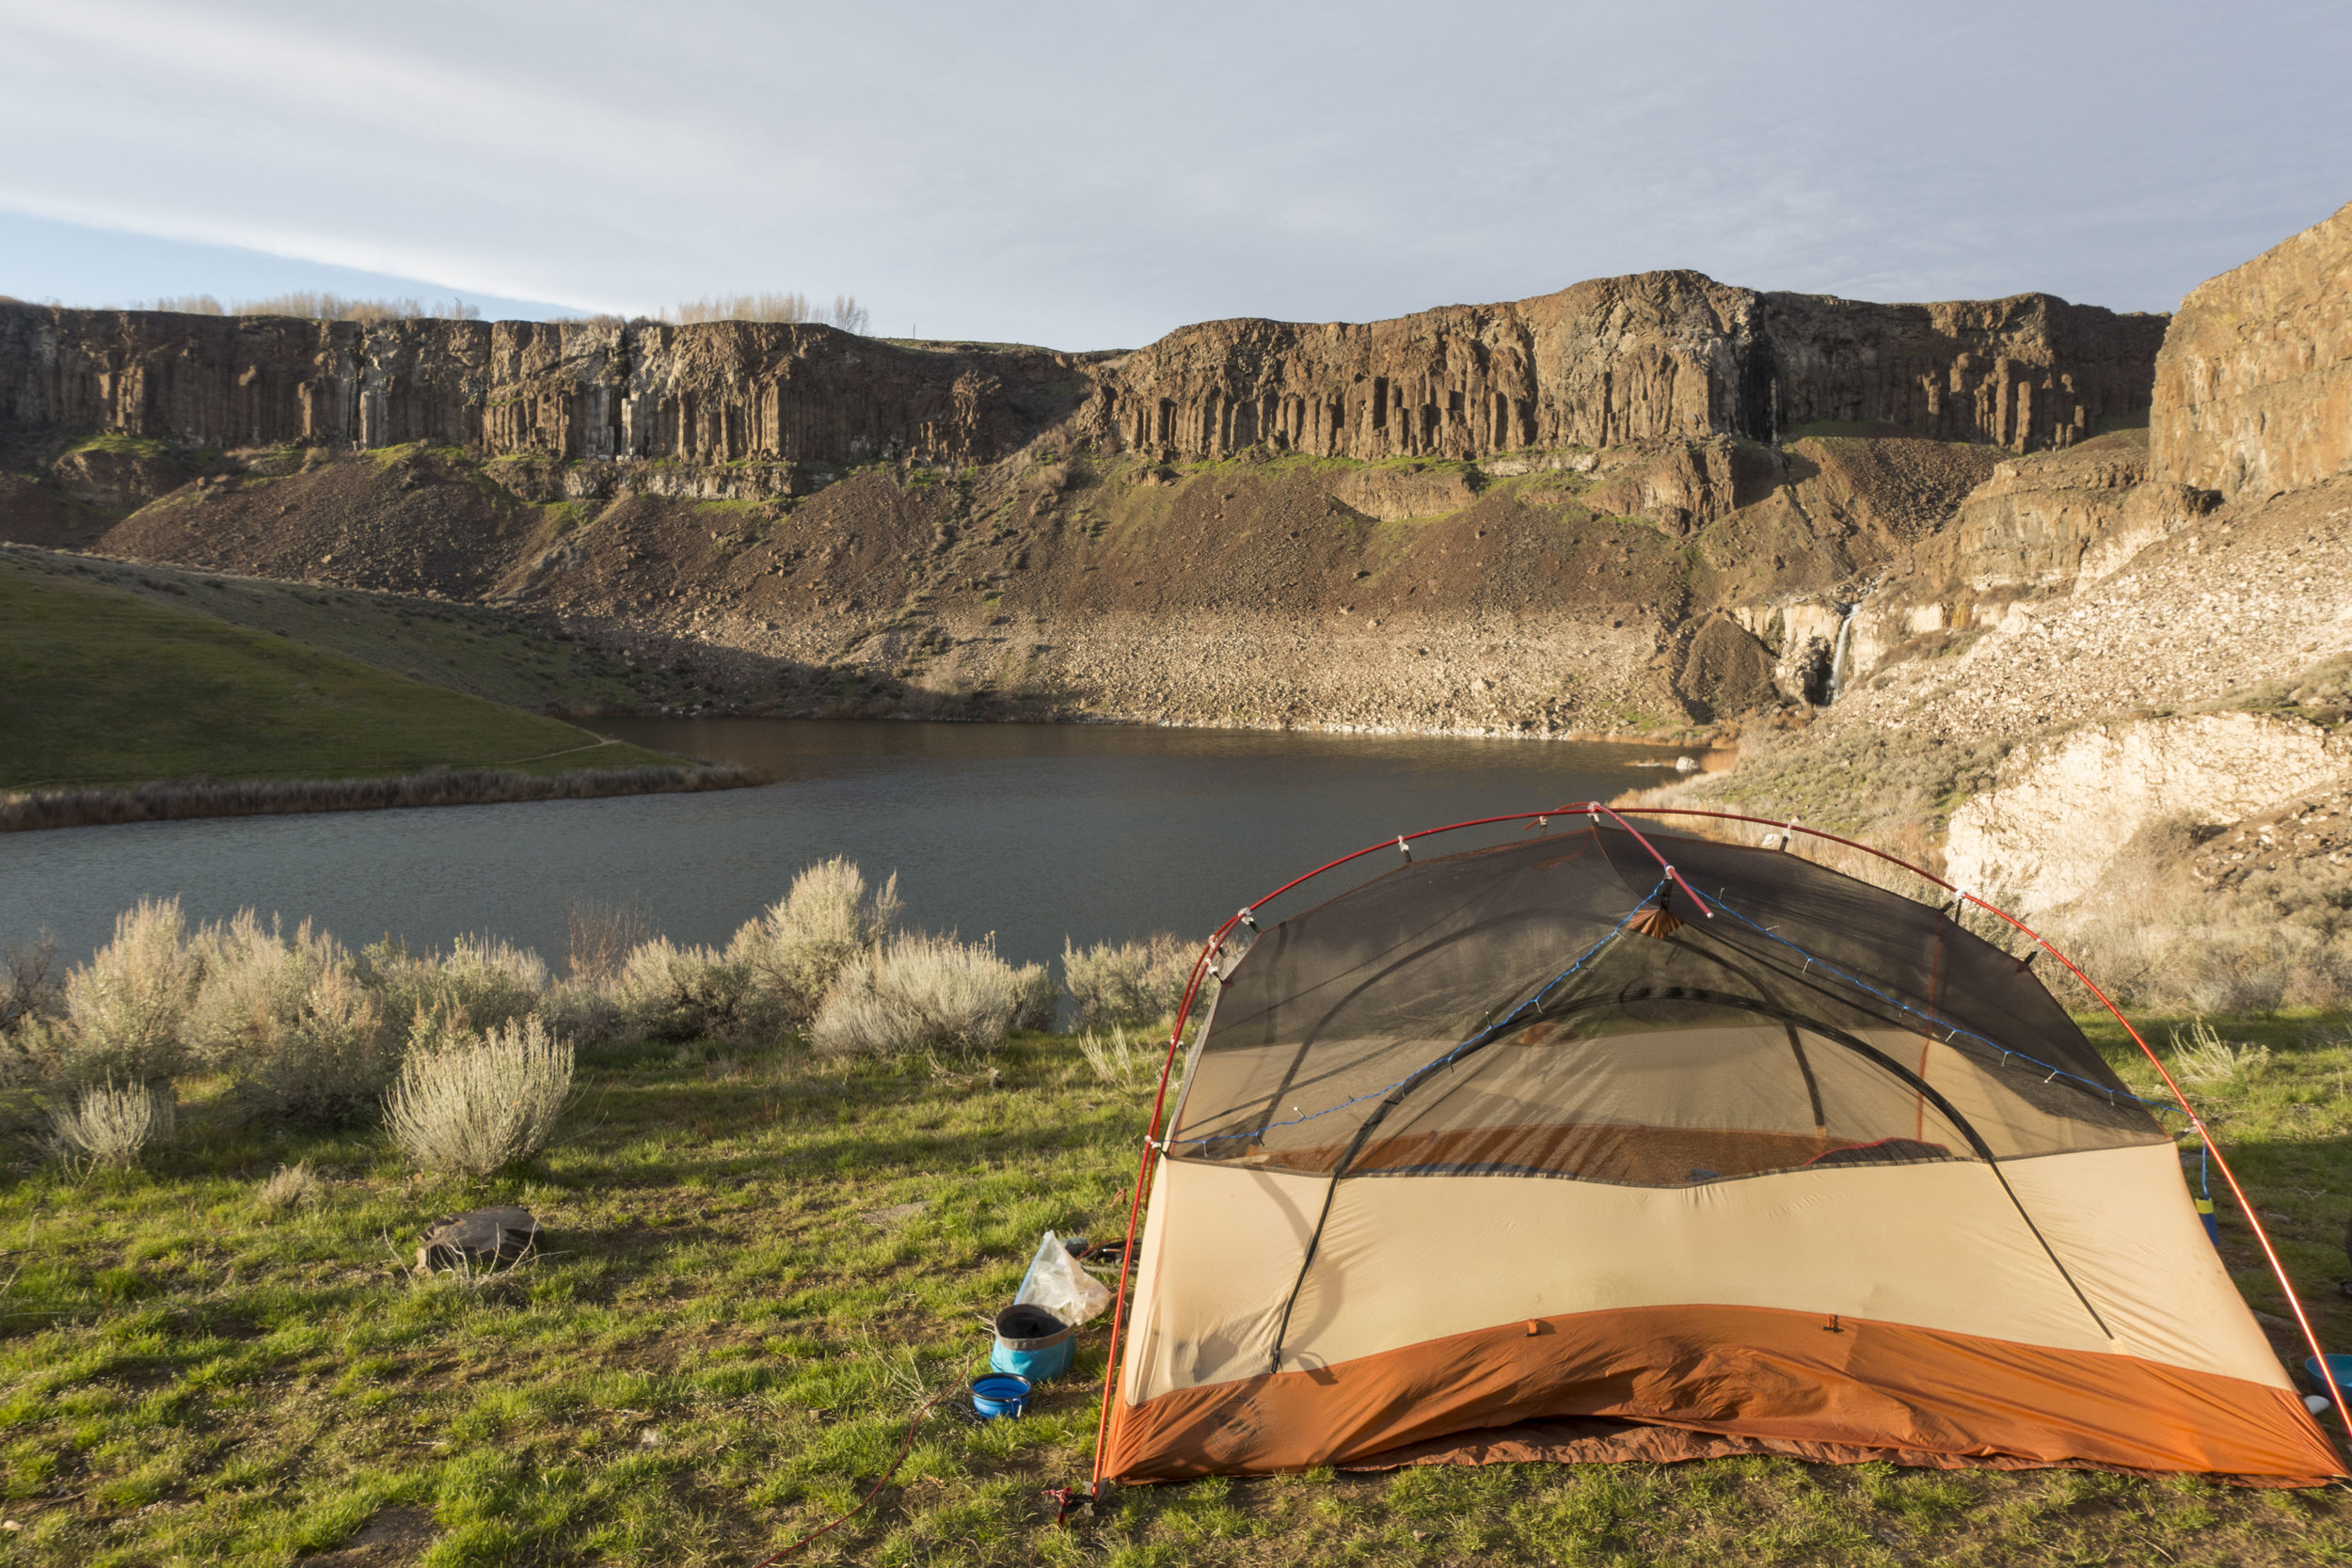
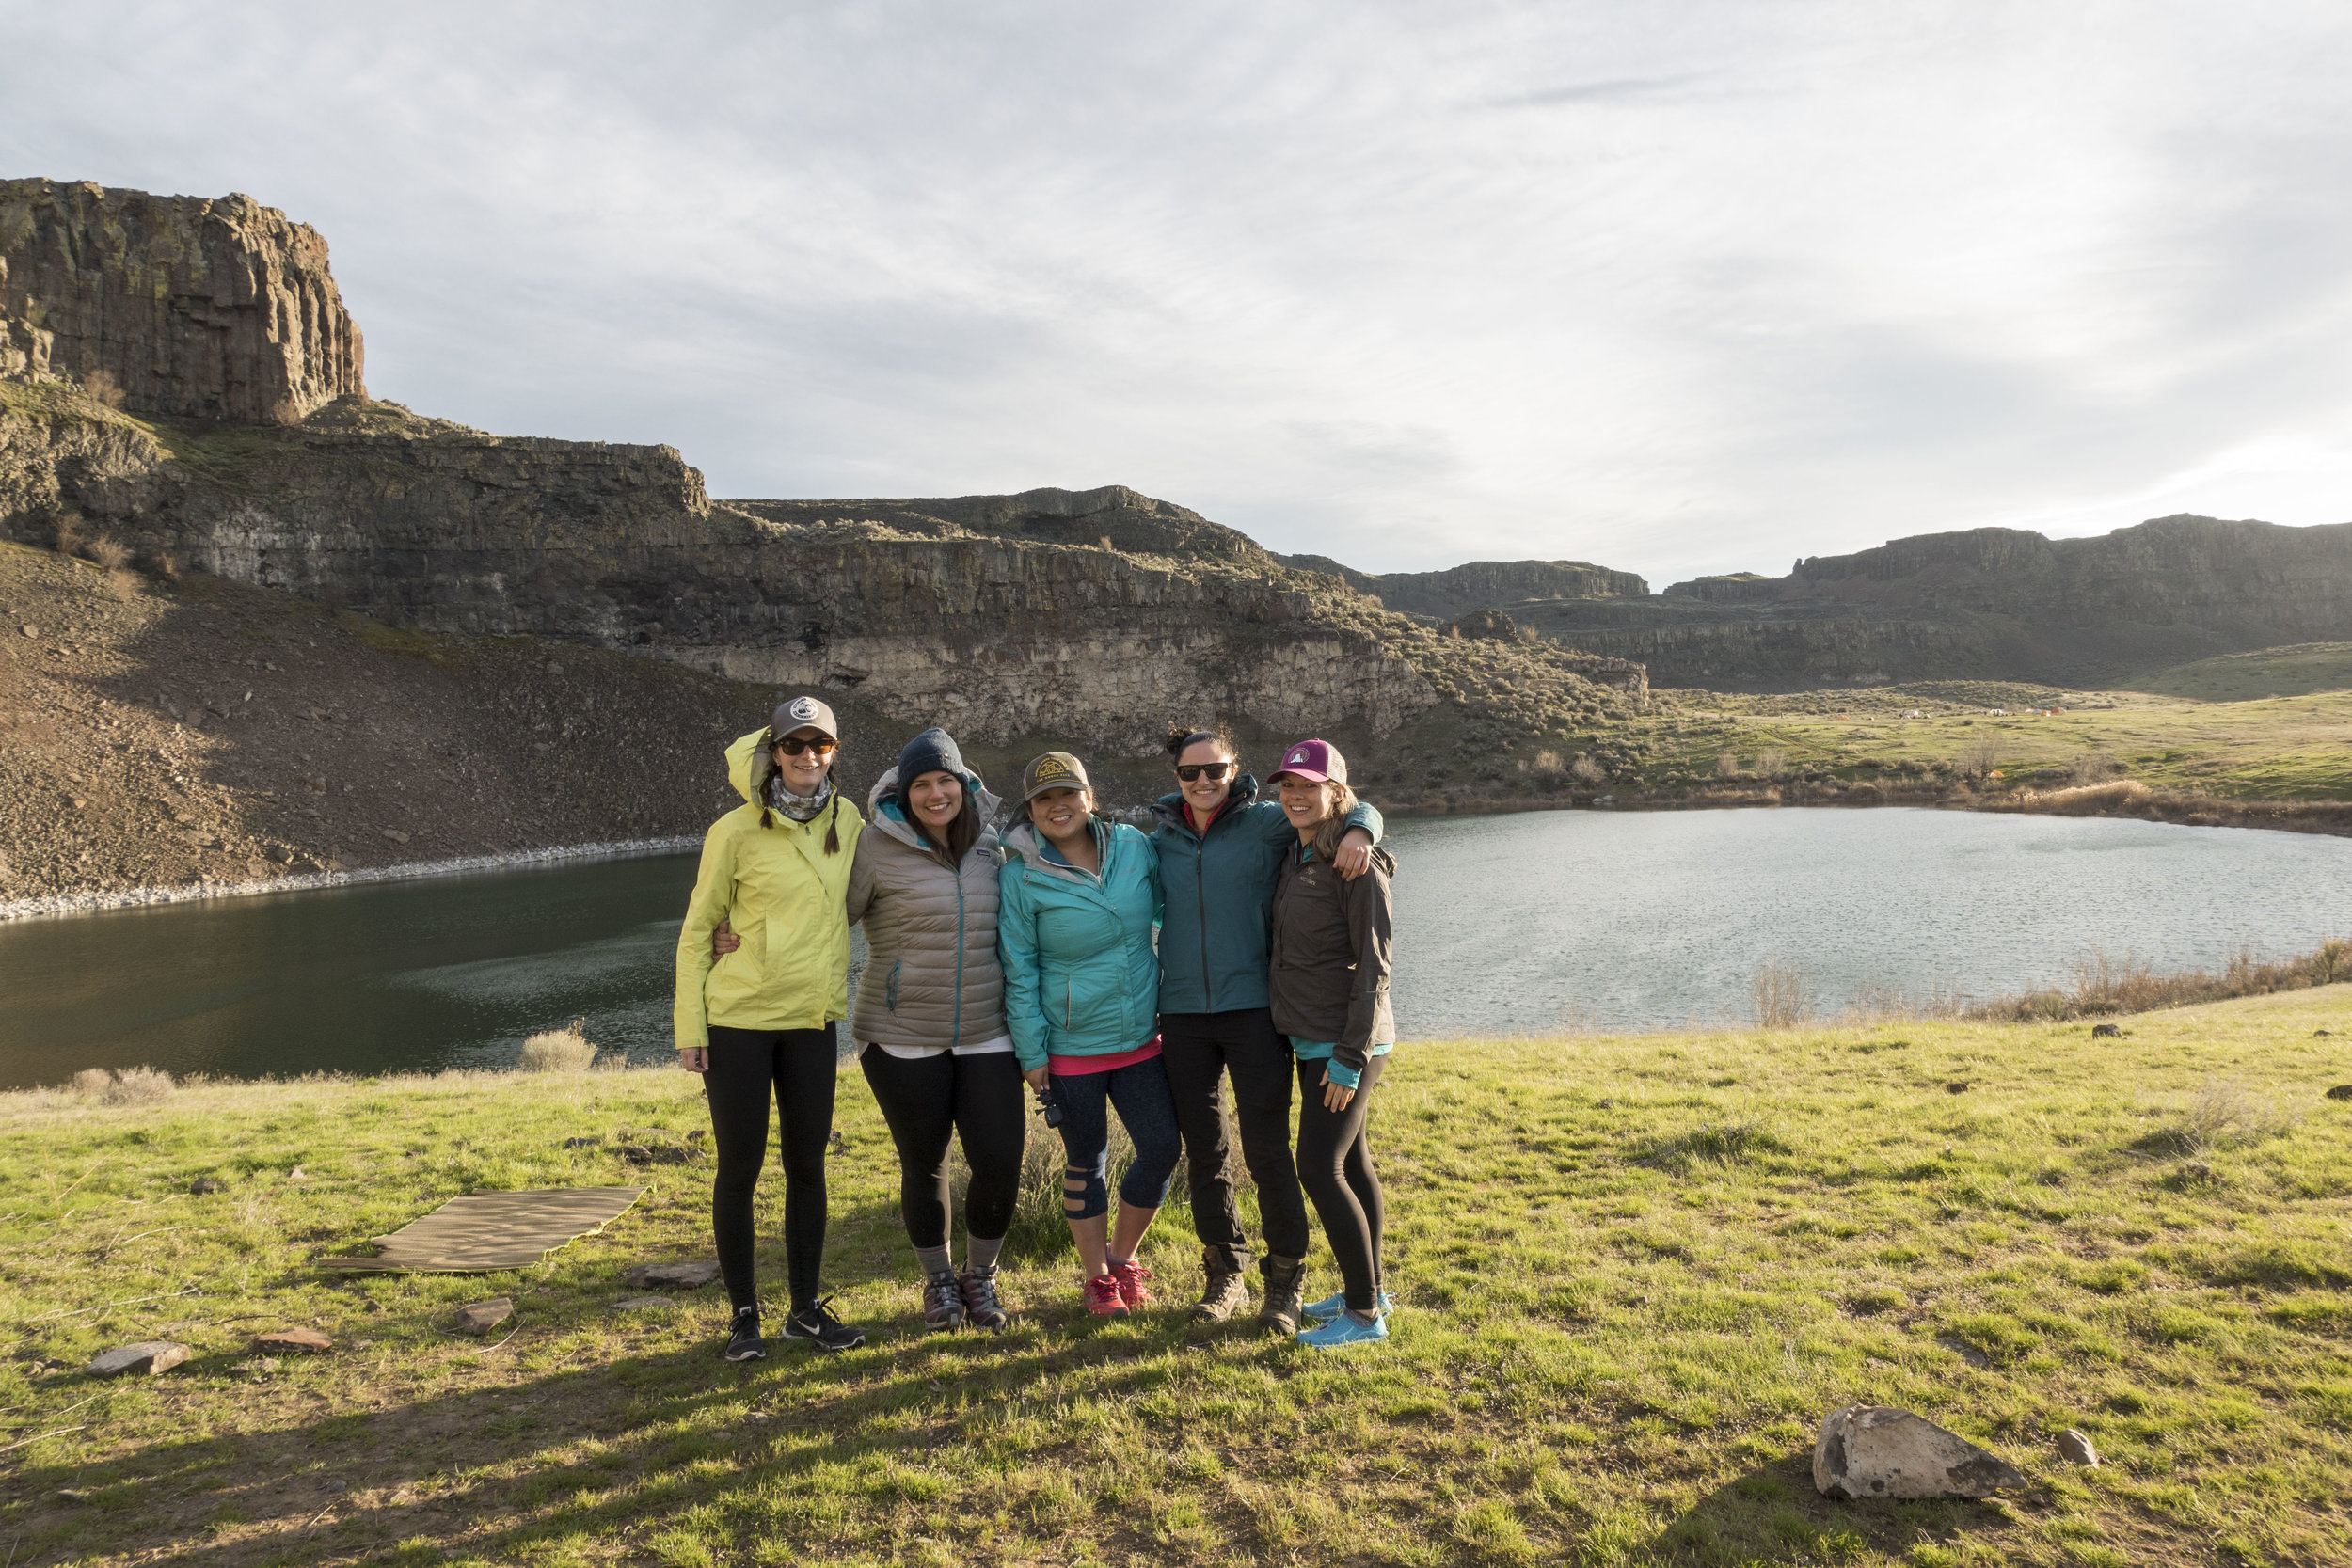
Ancient Lakes Round 2
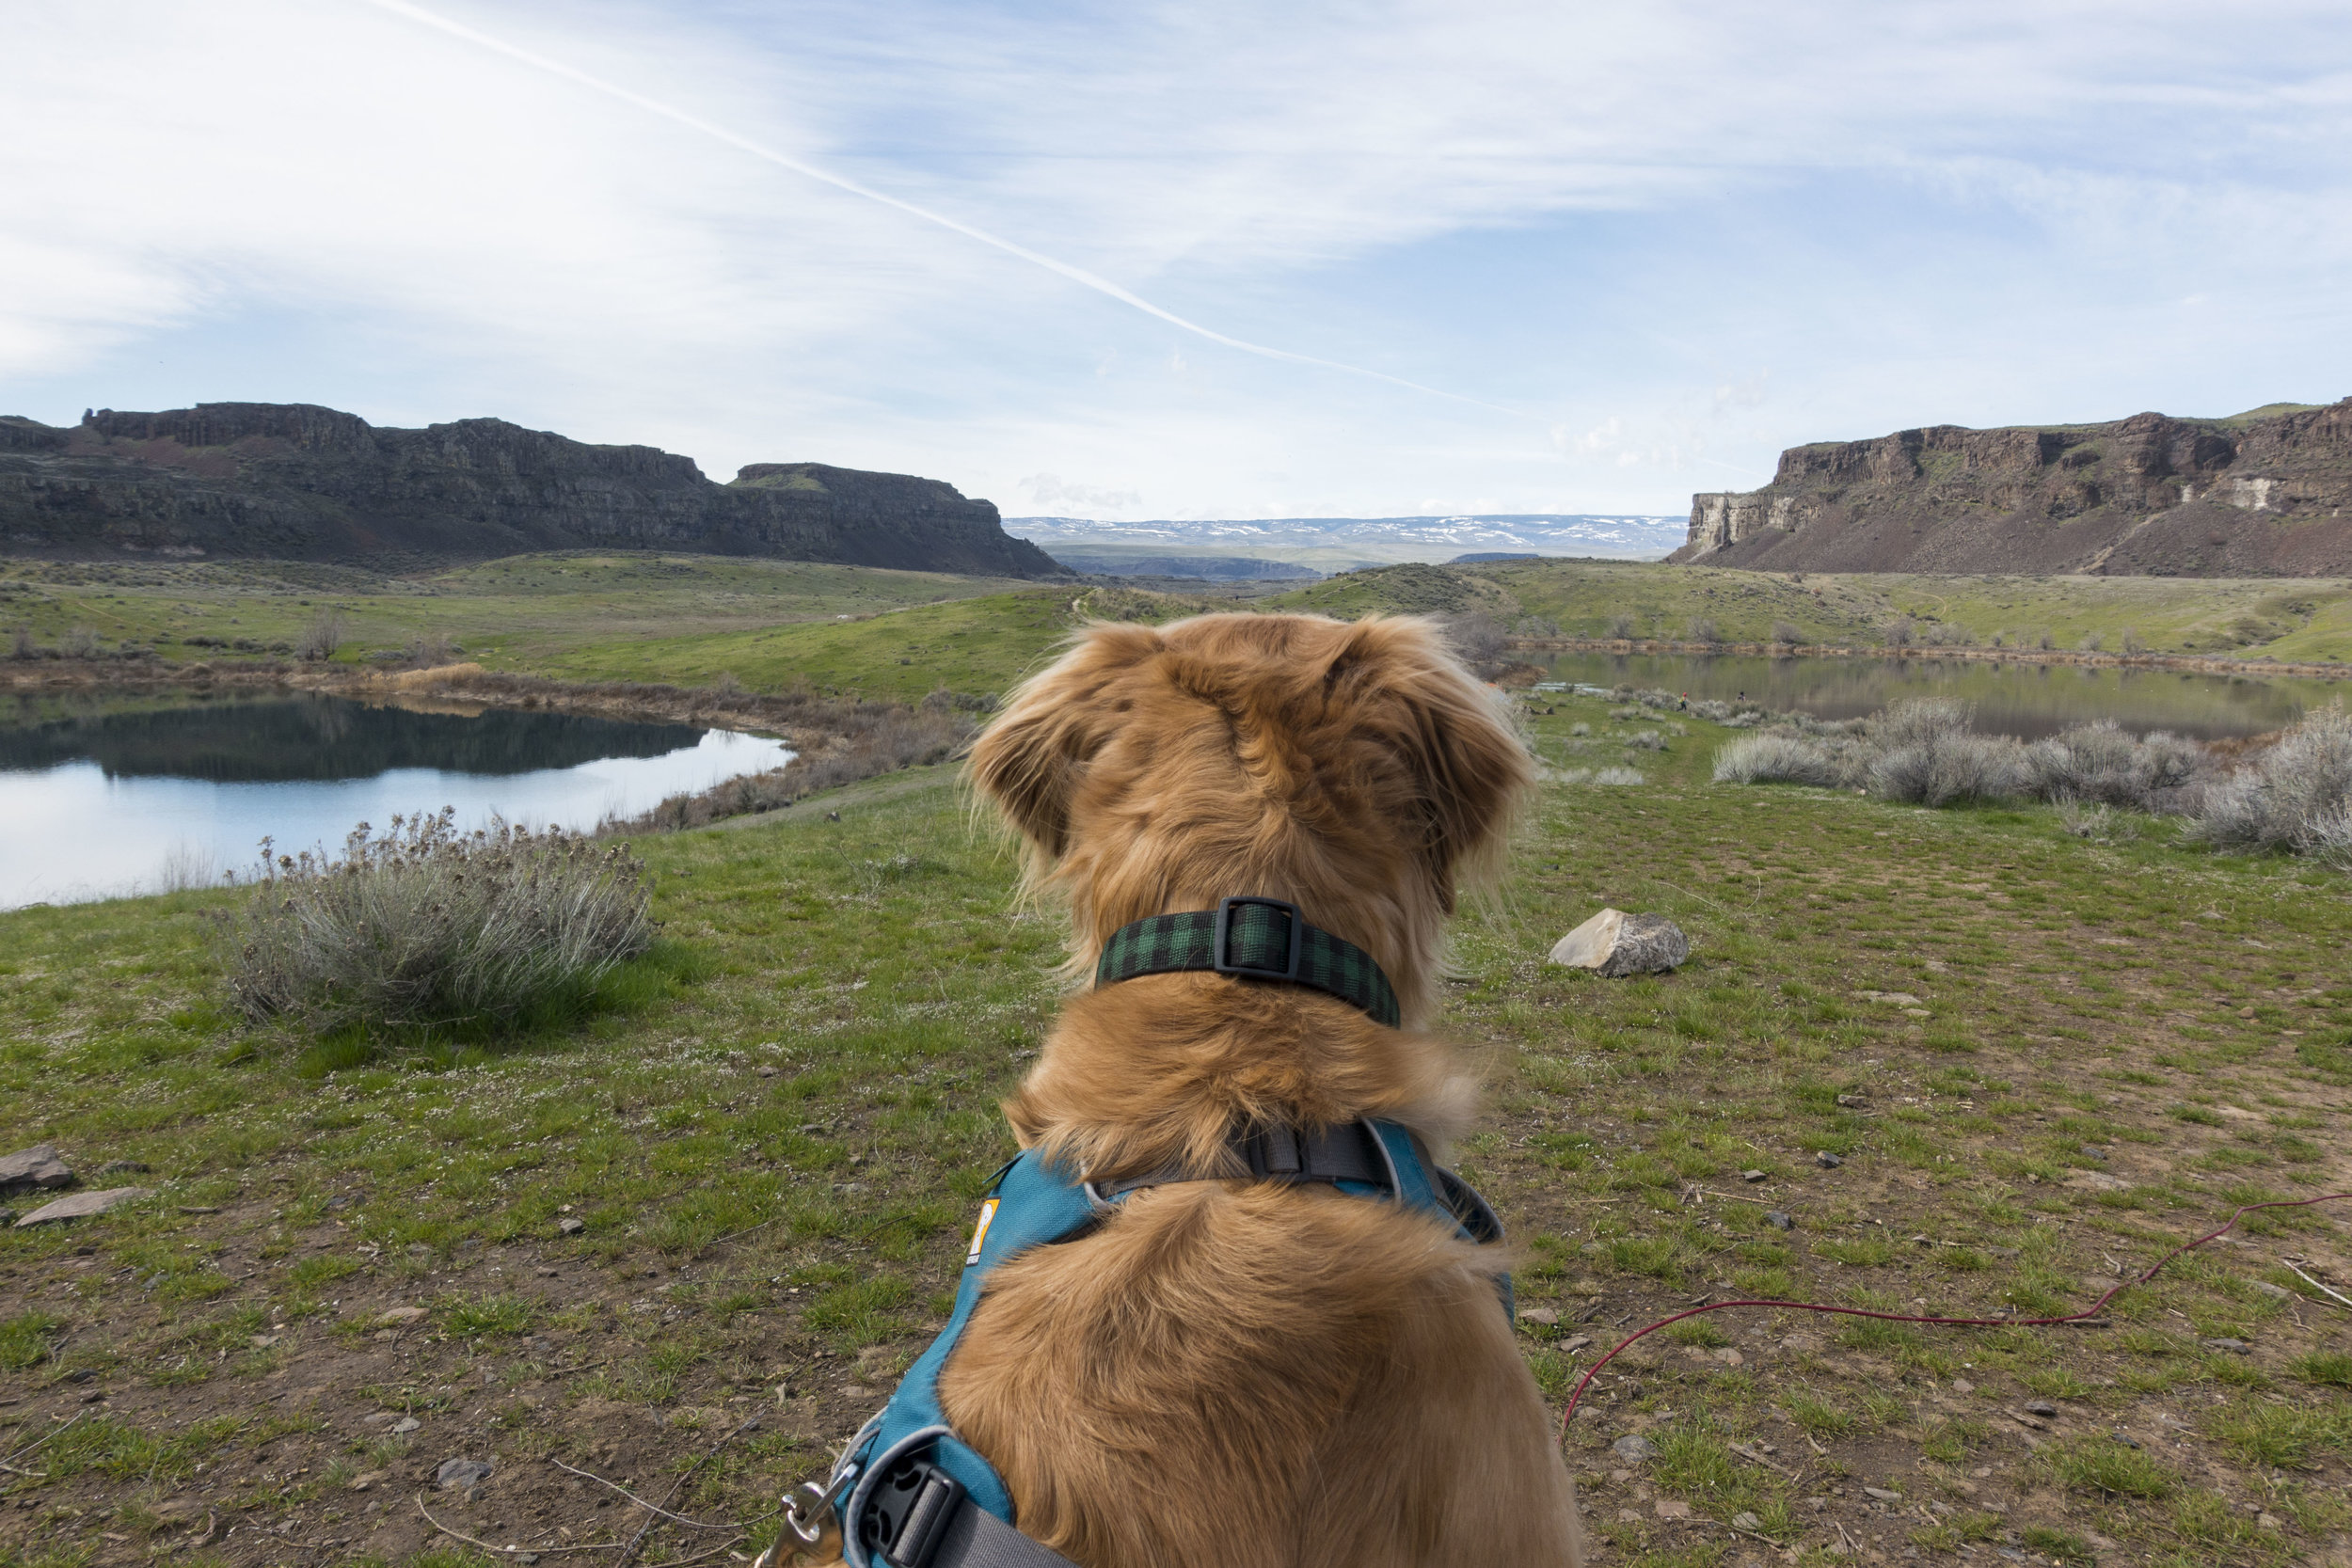
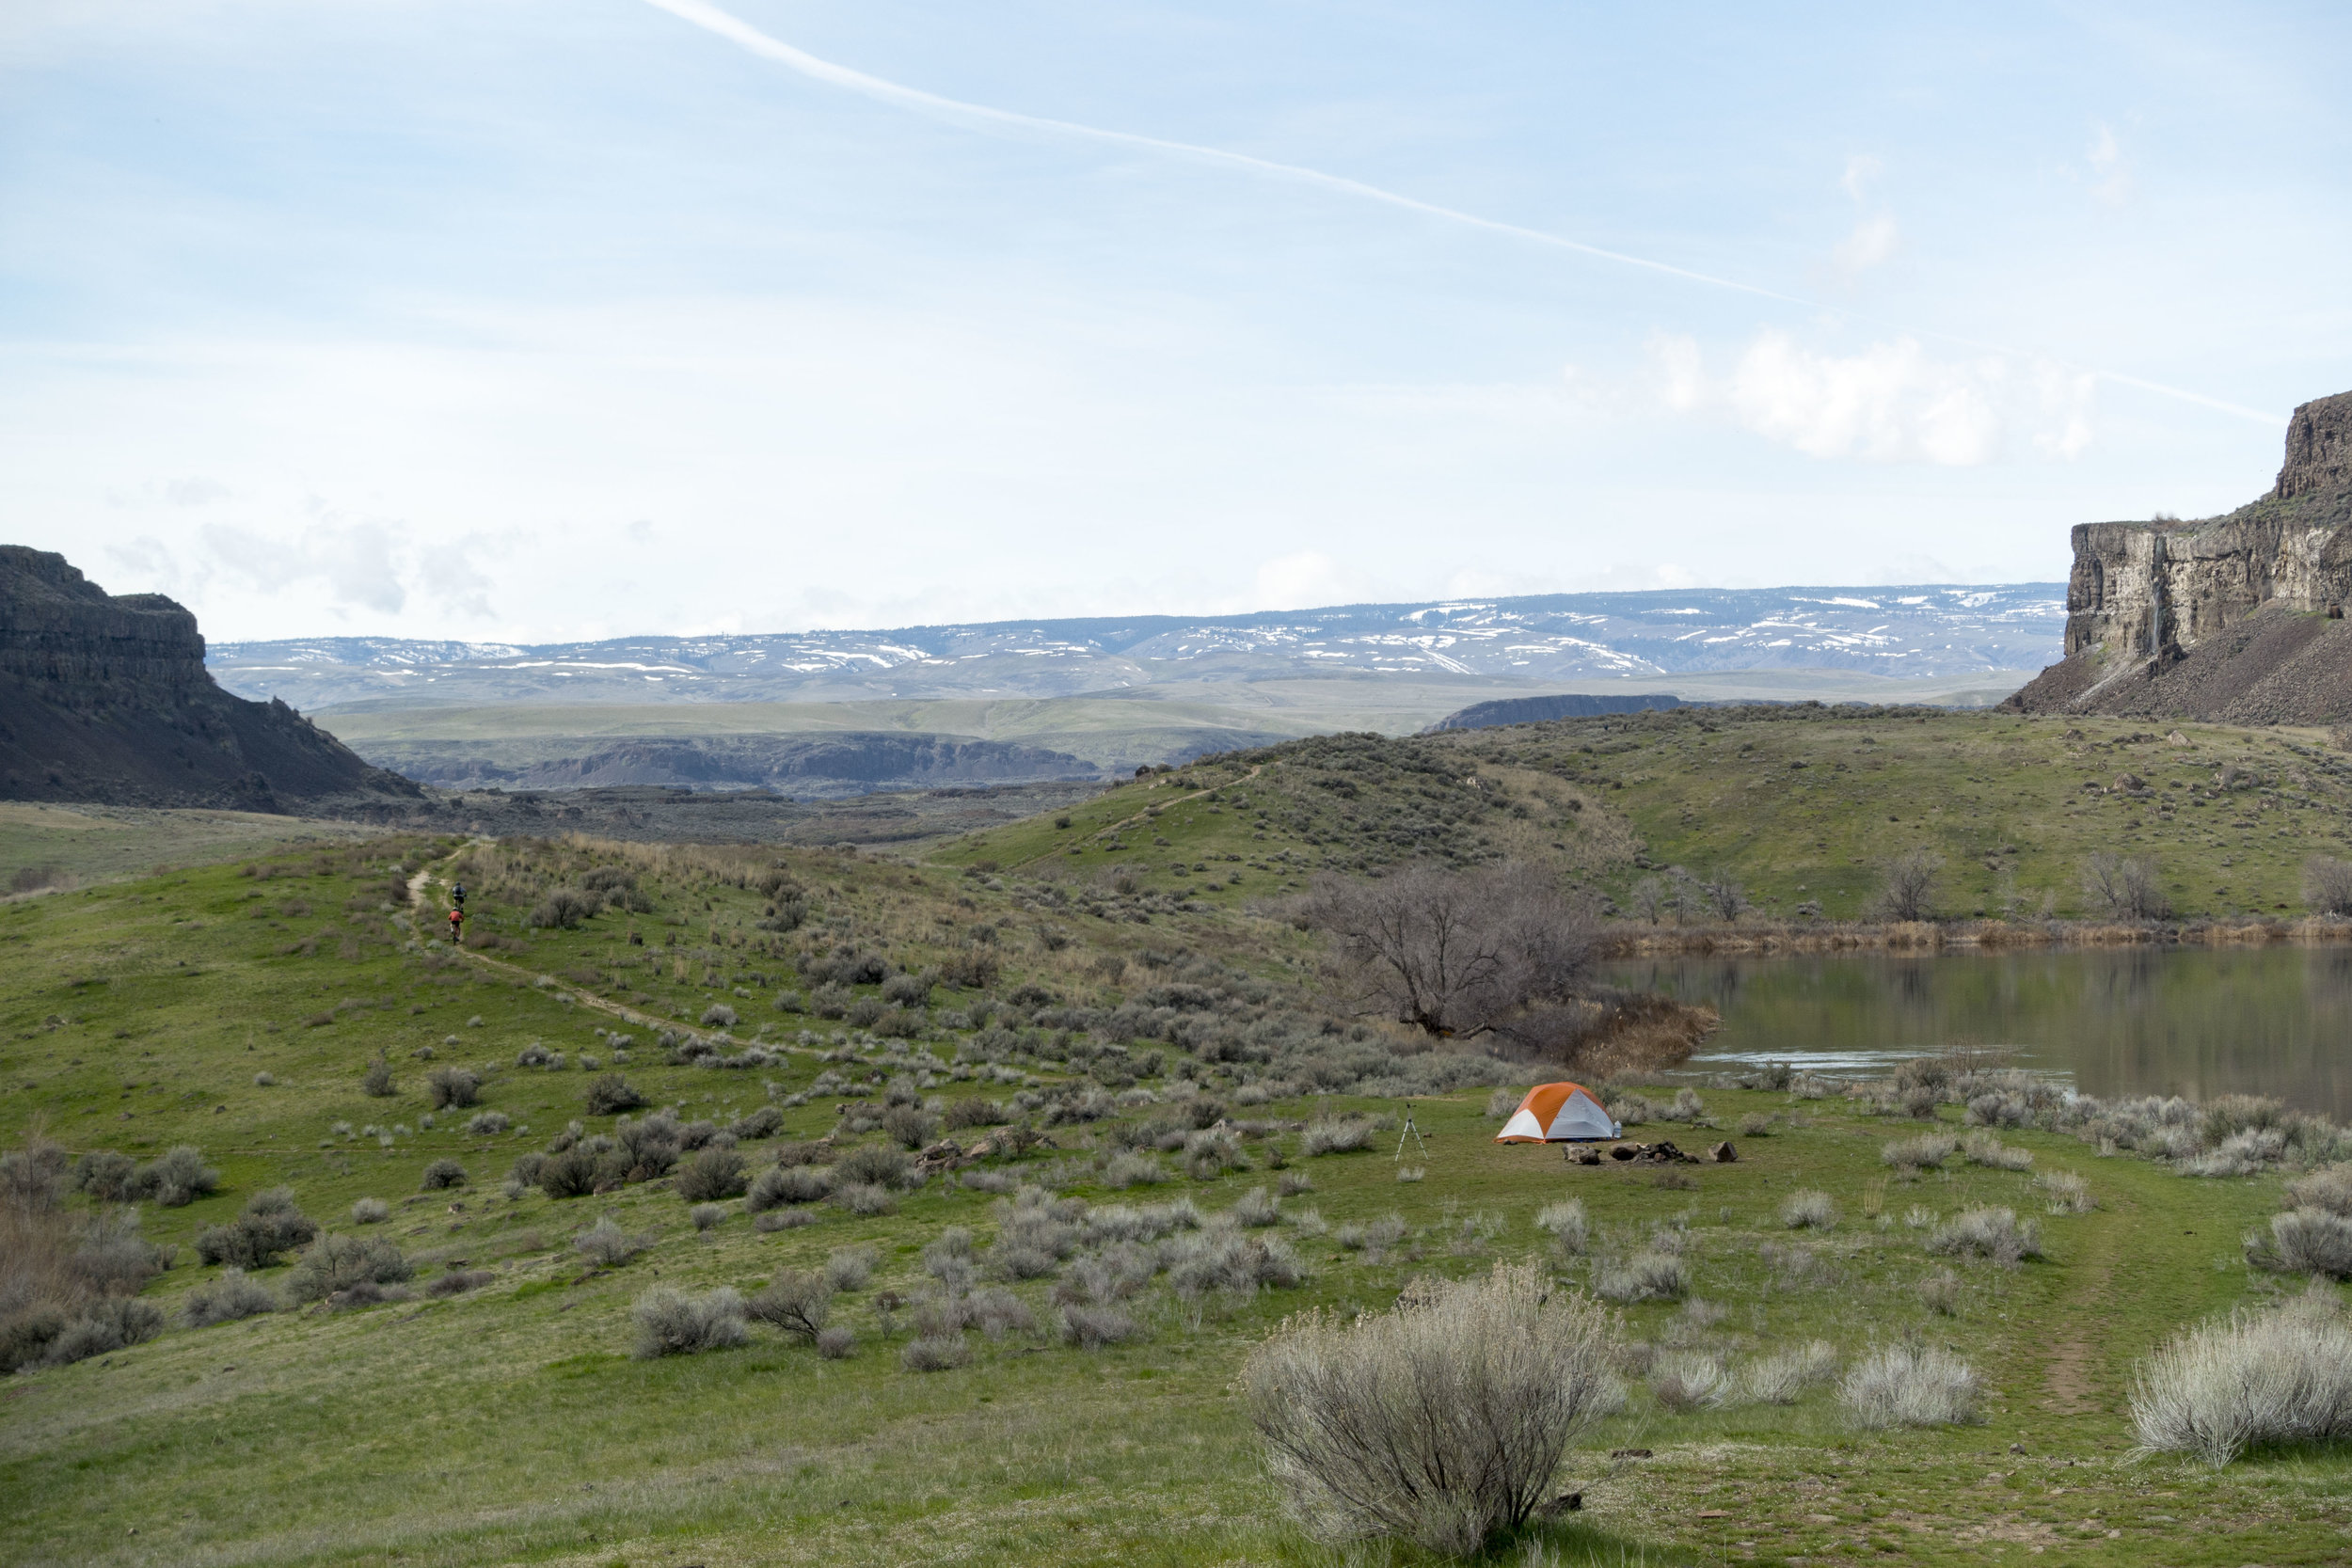
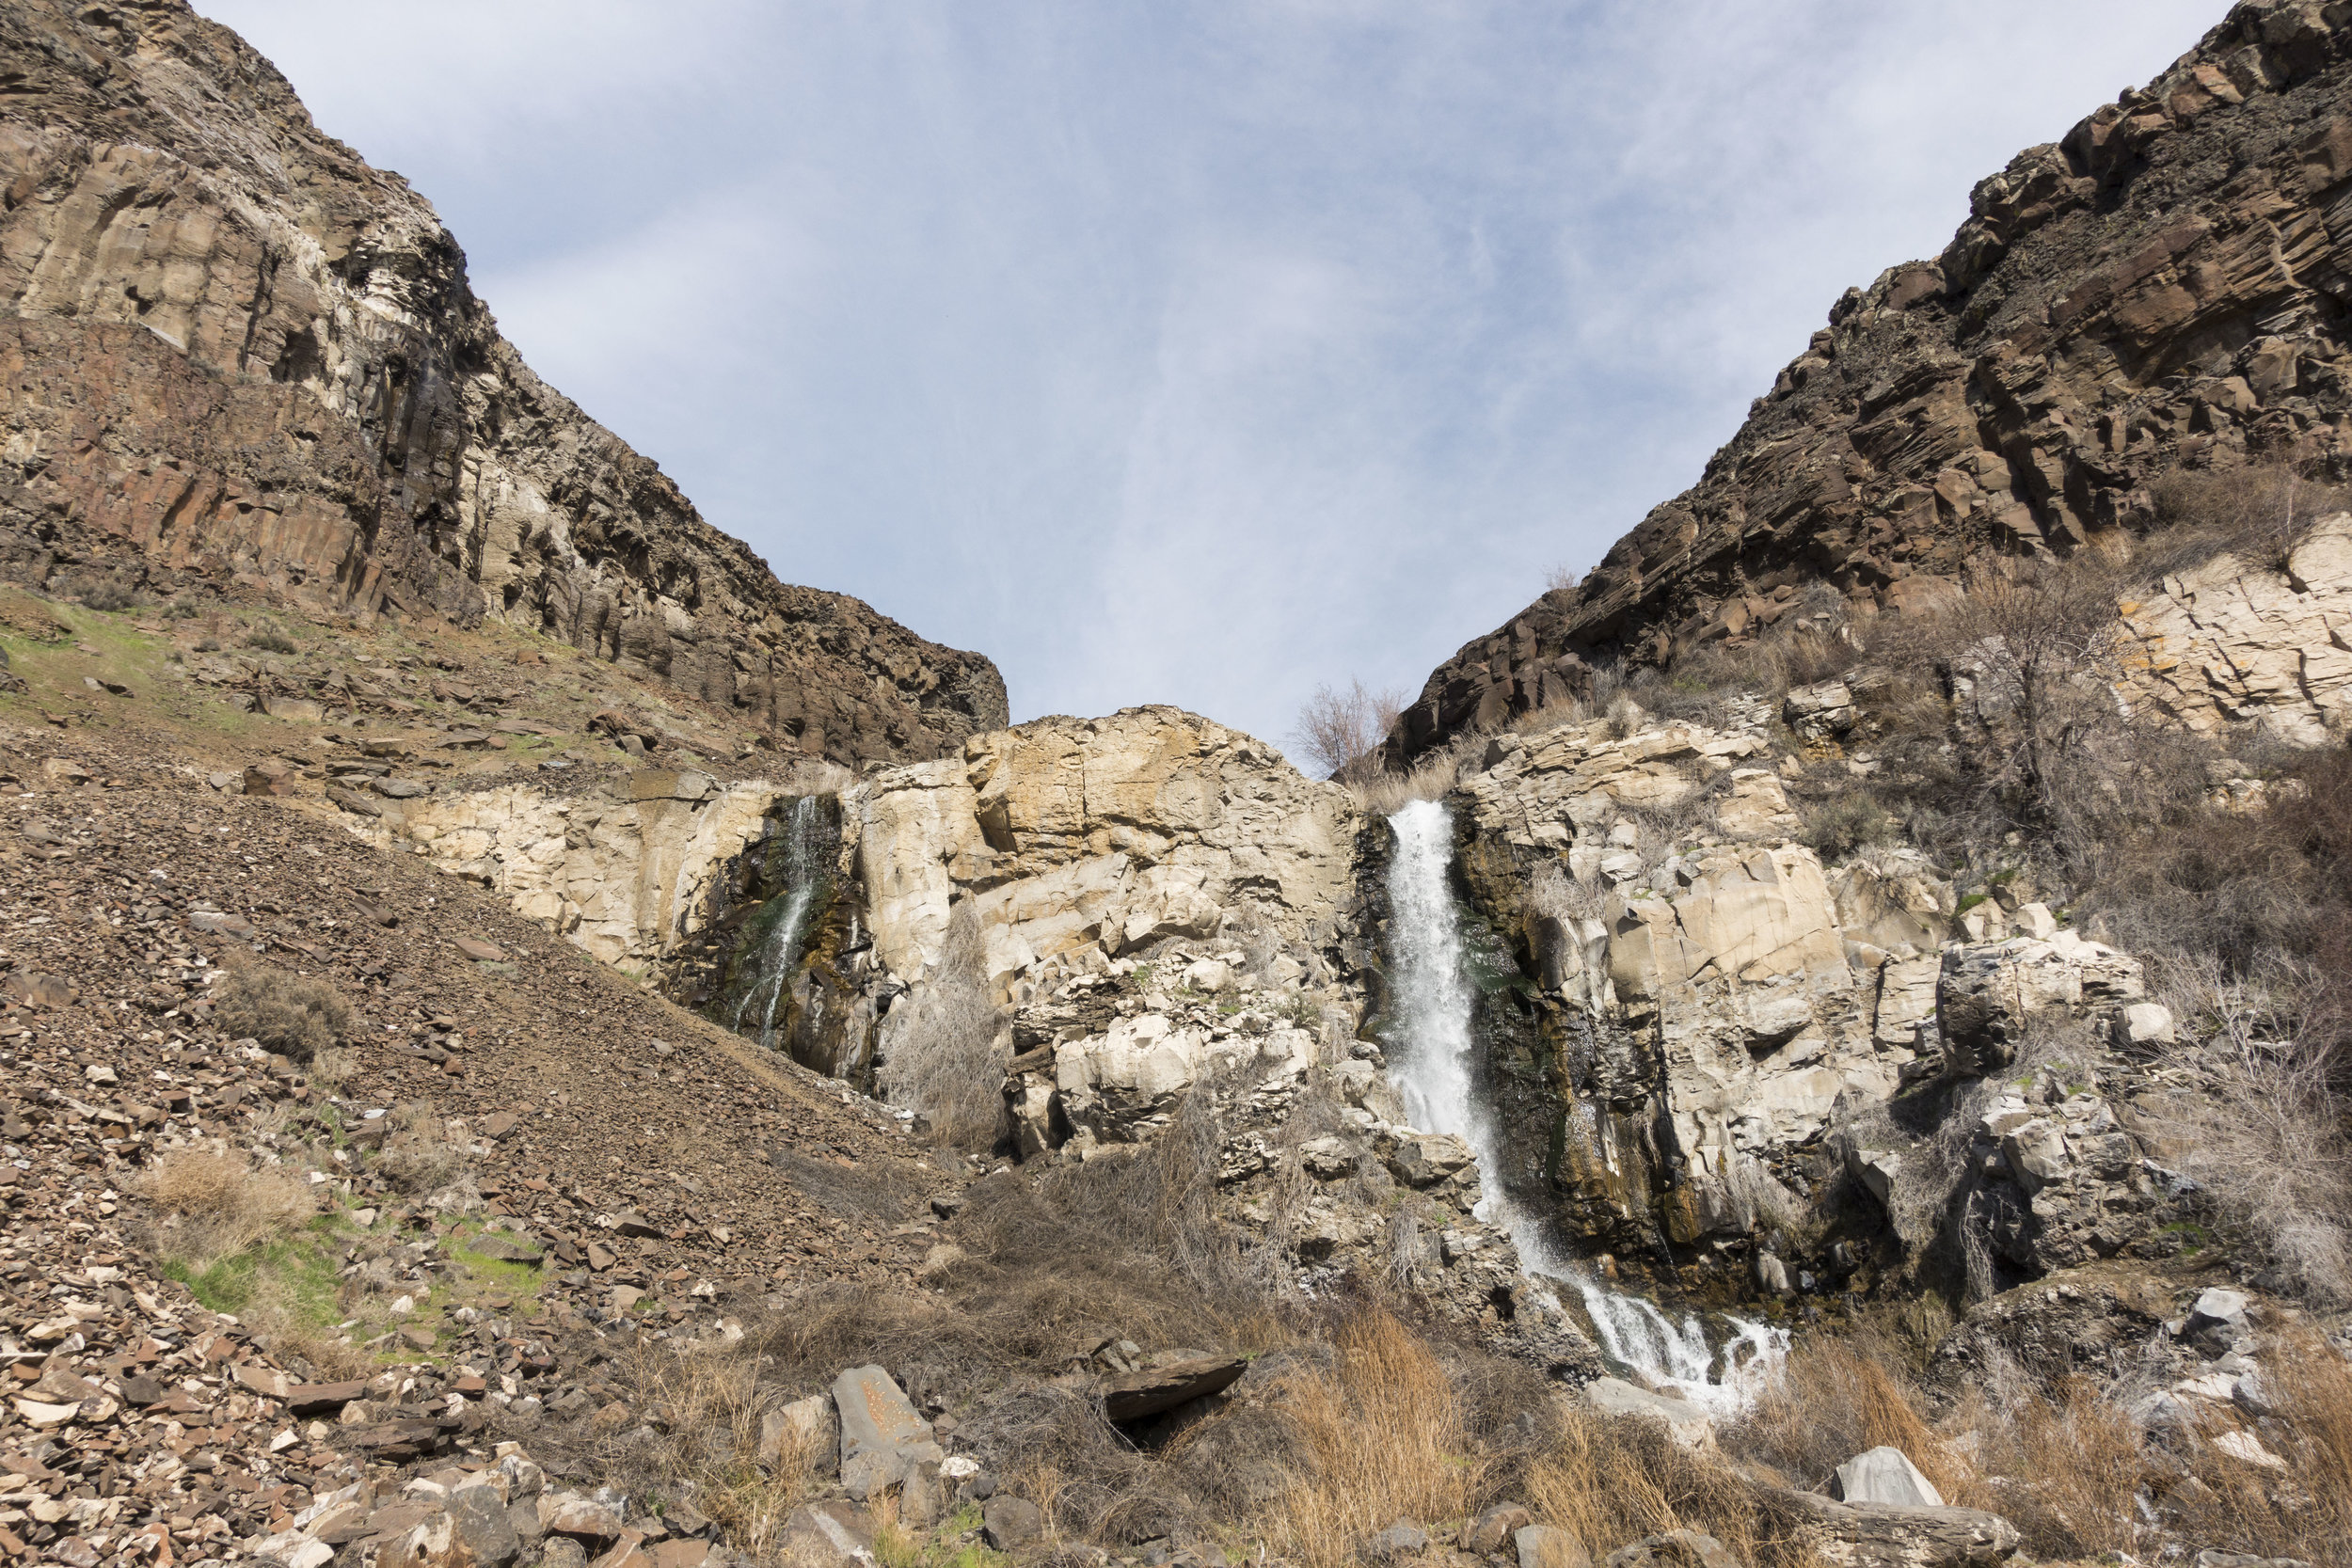
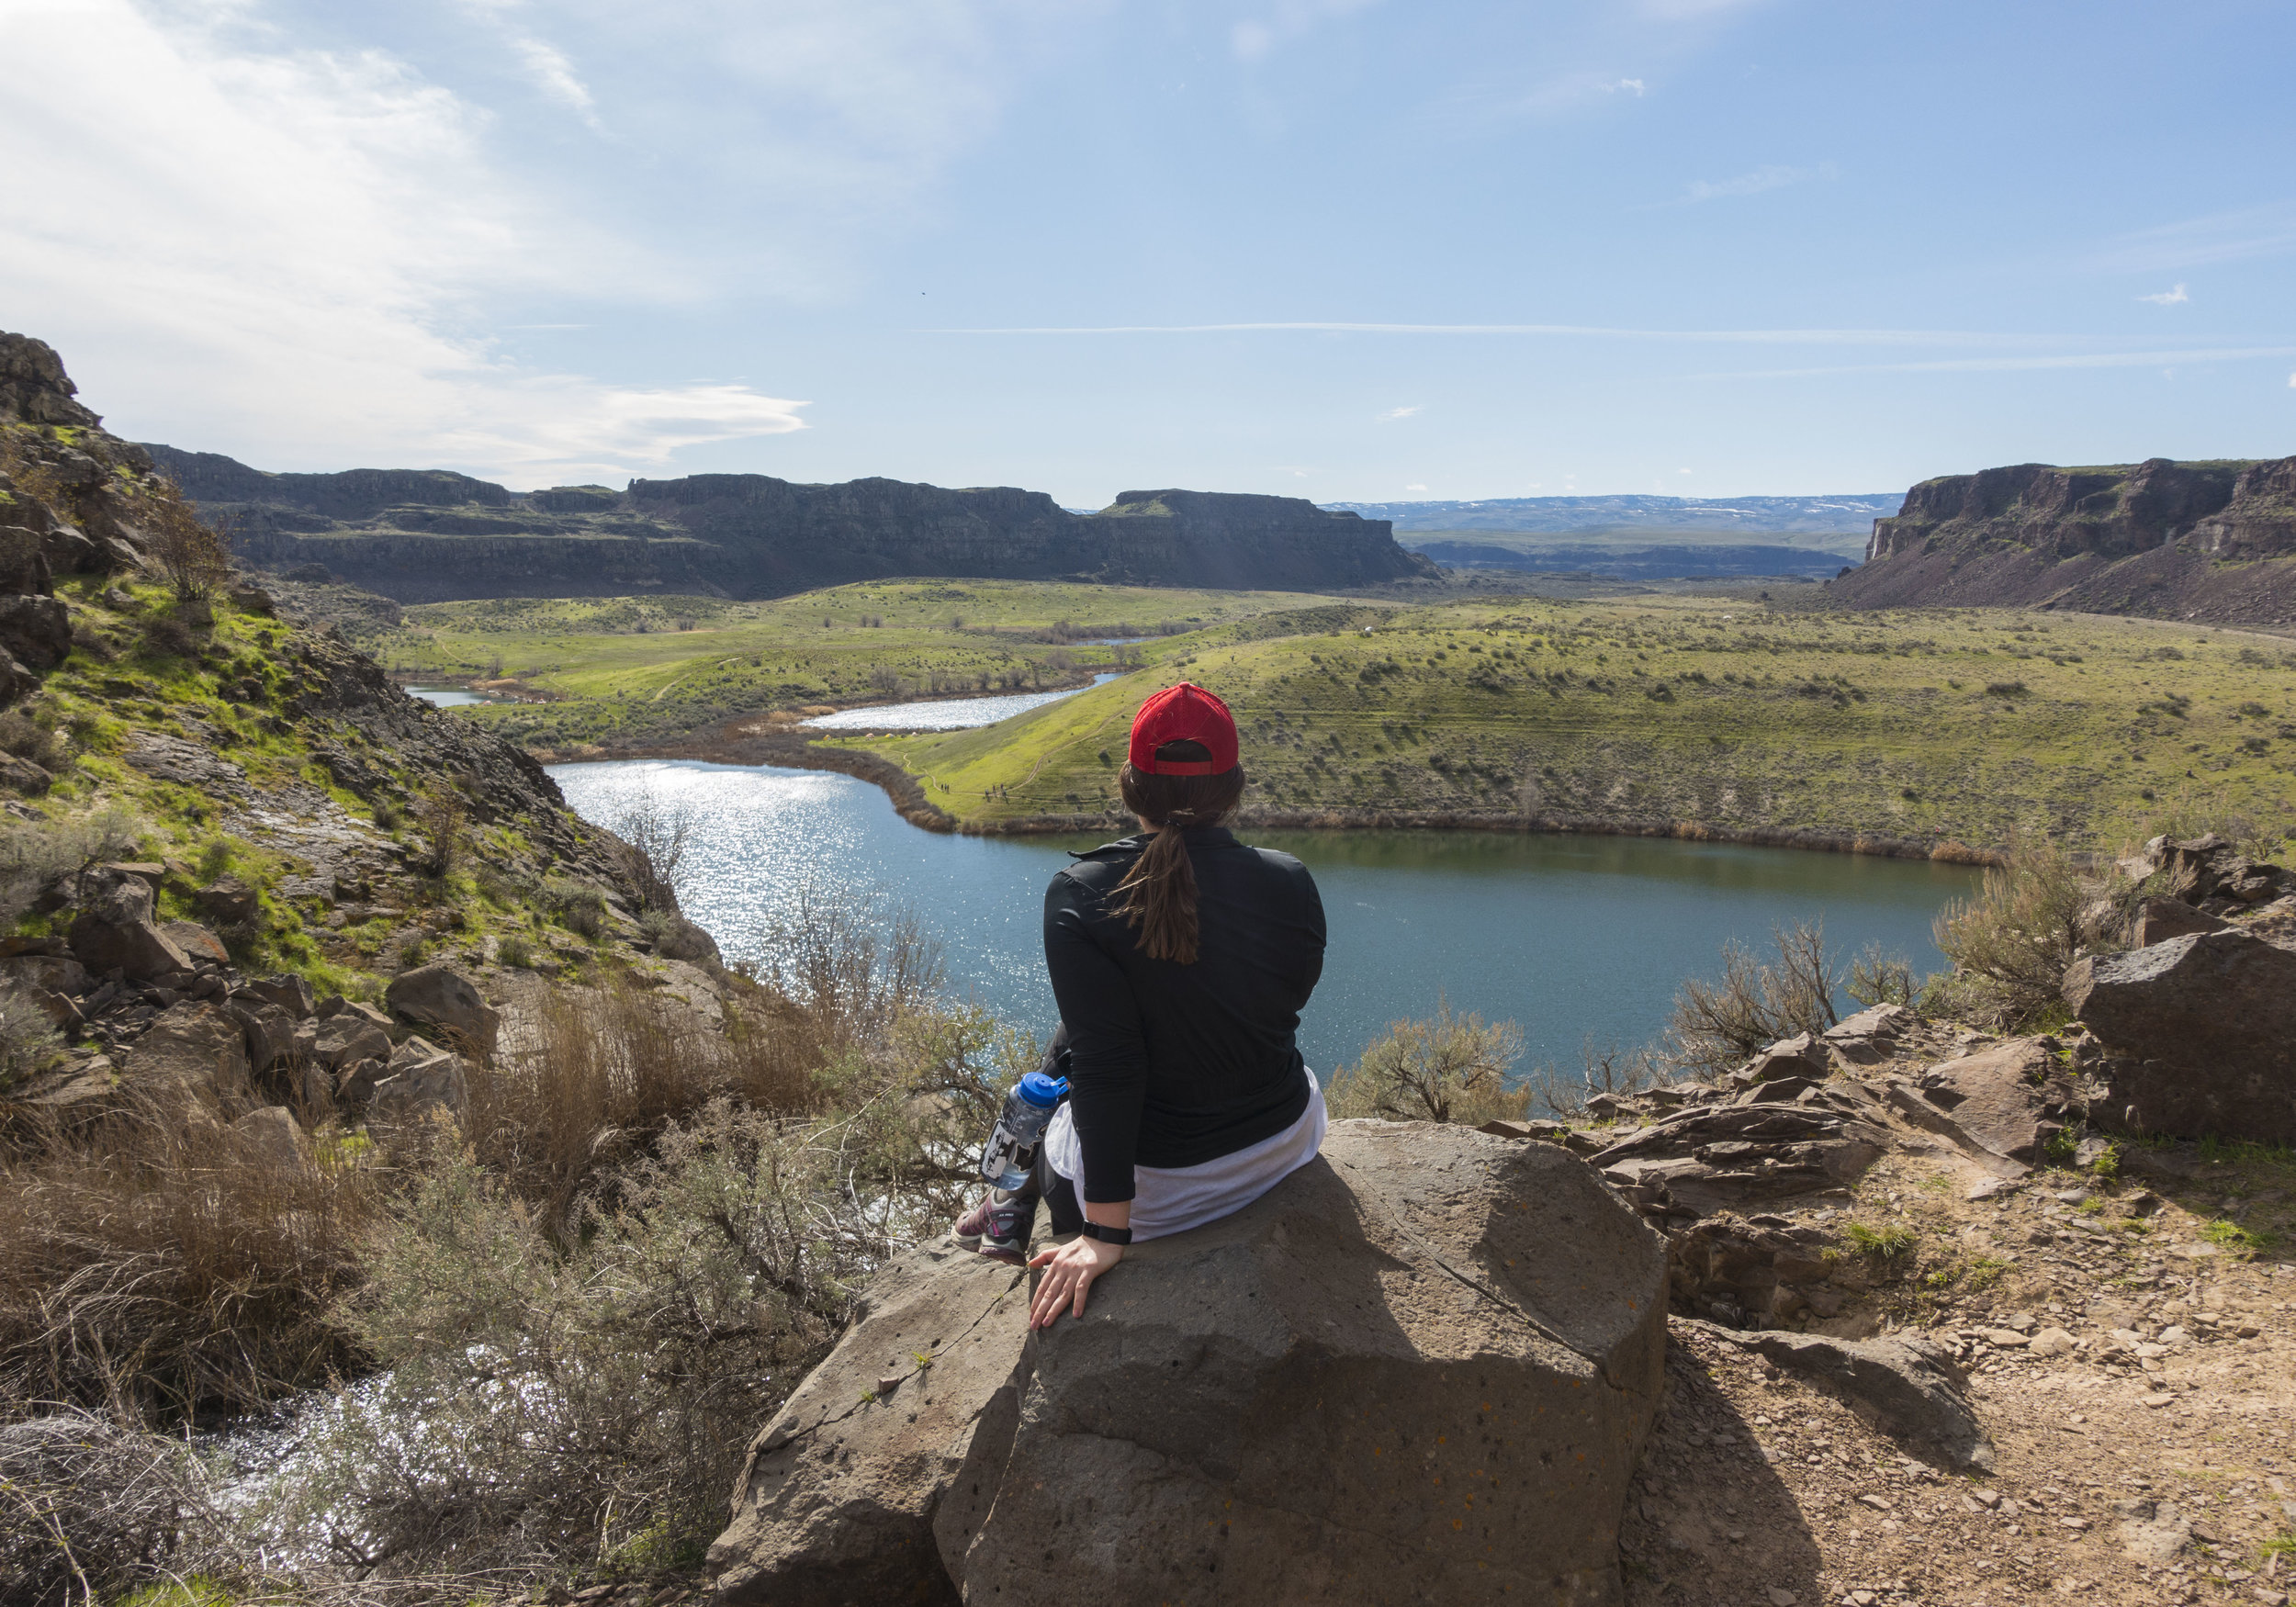
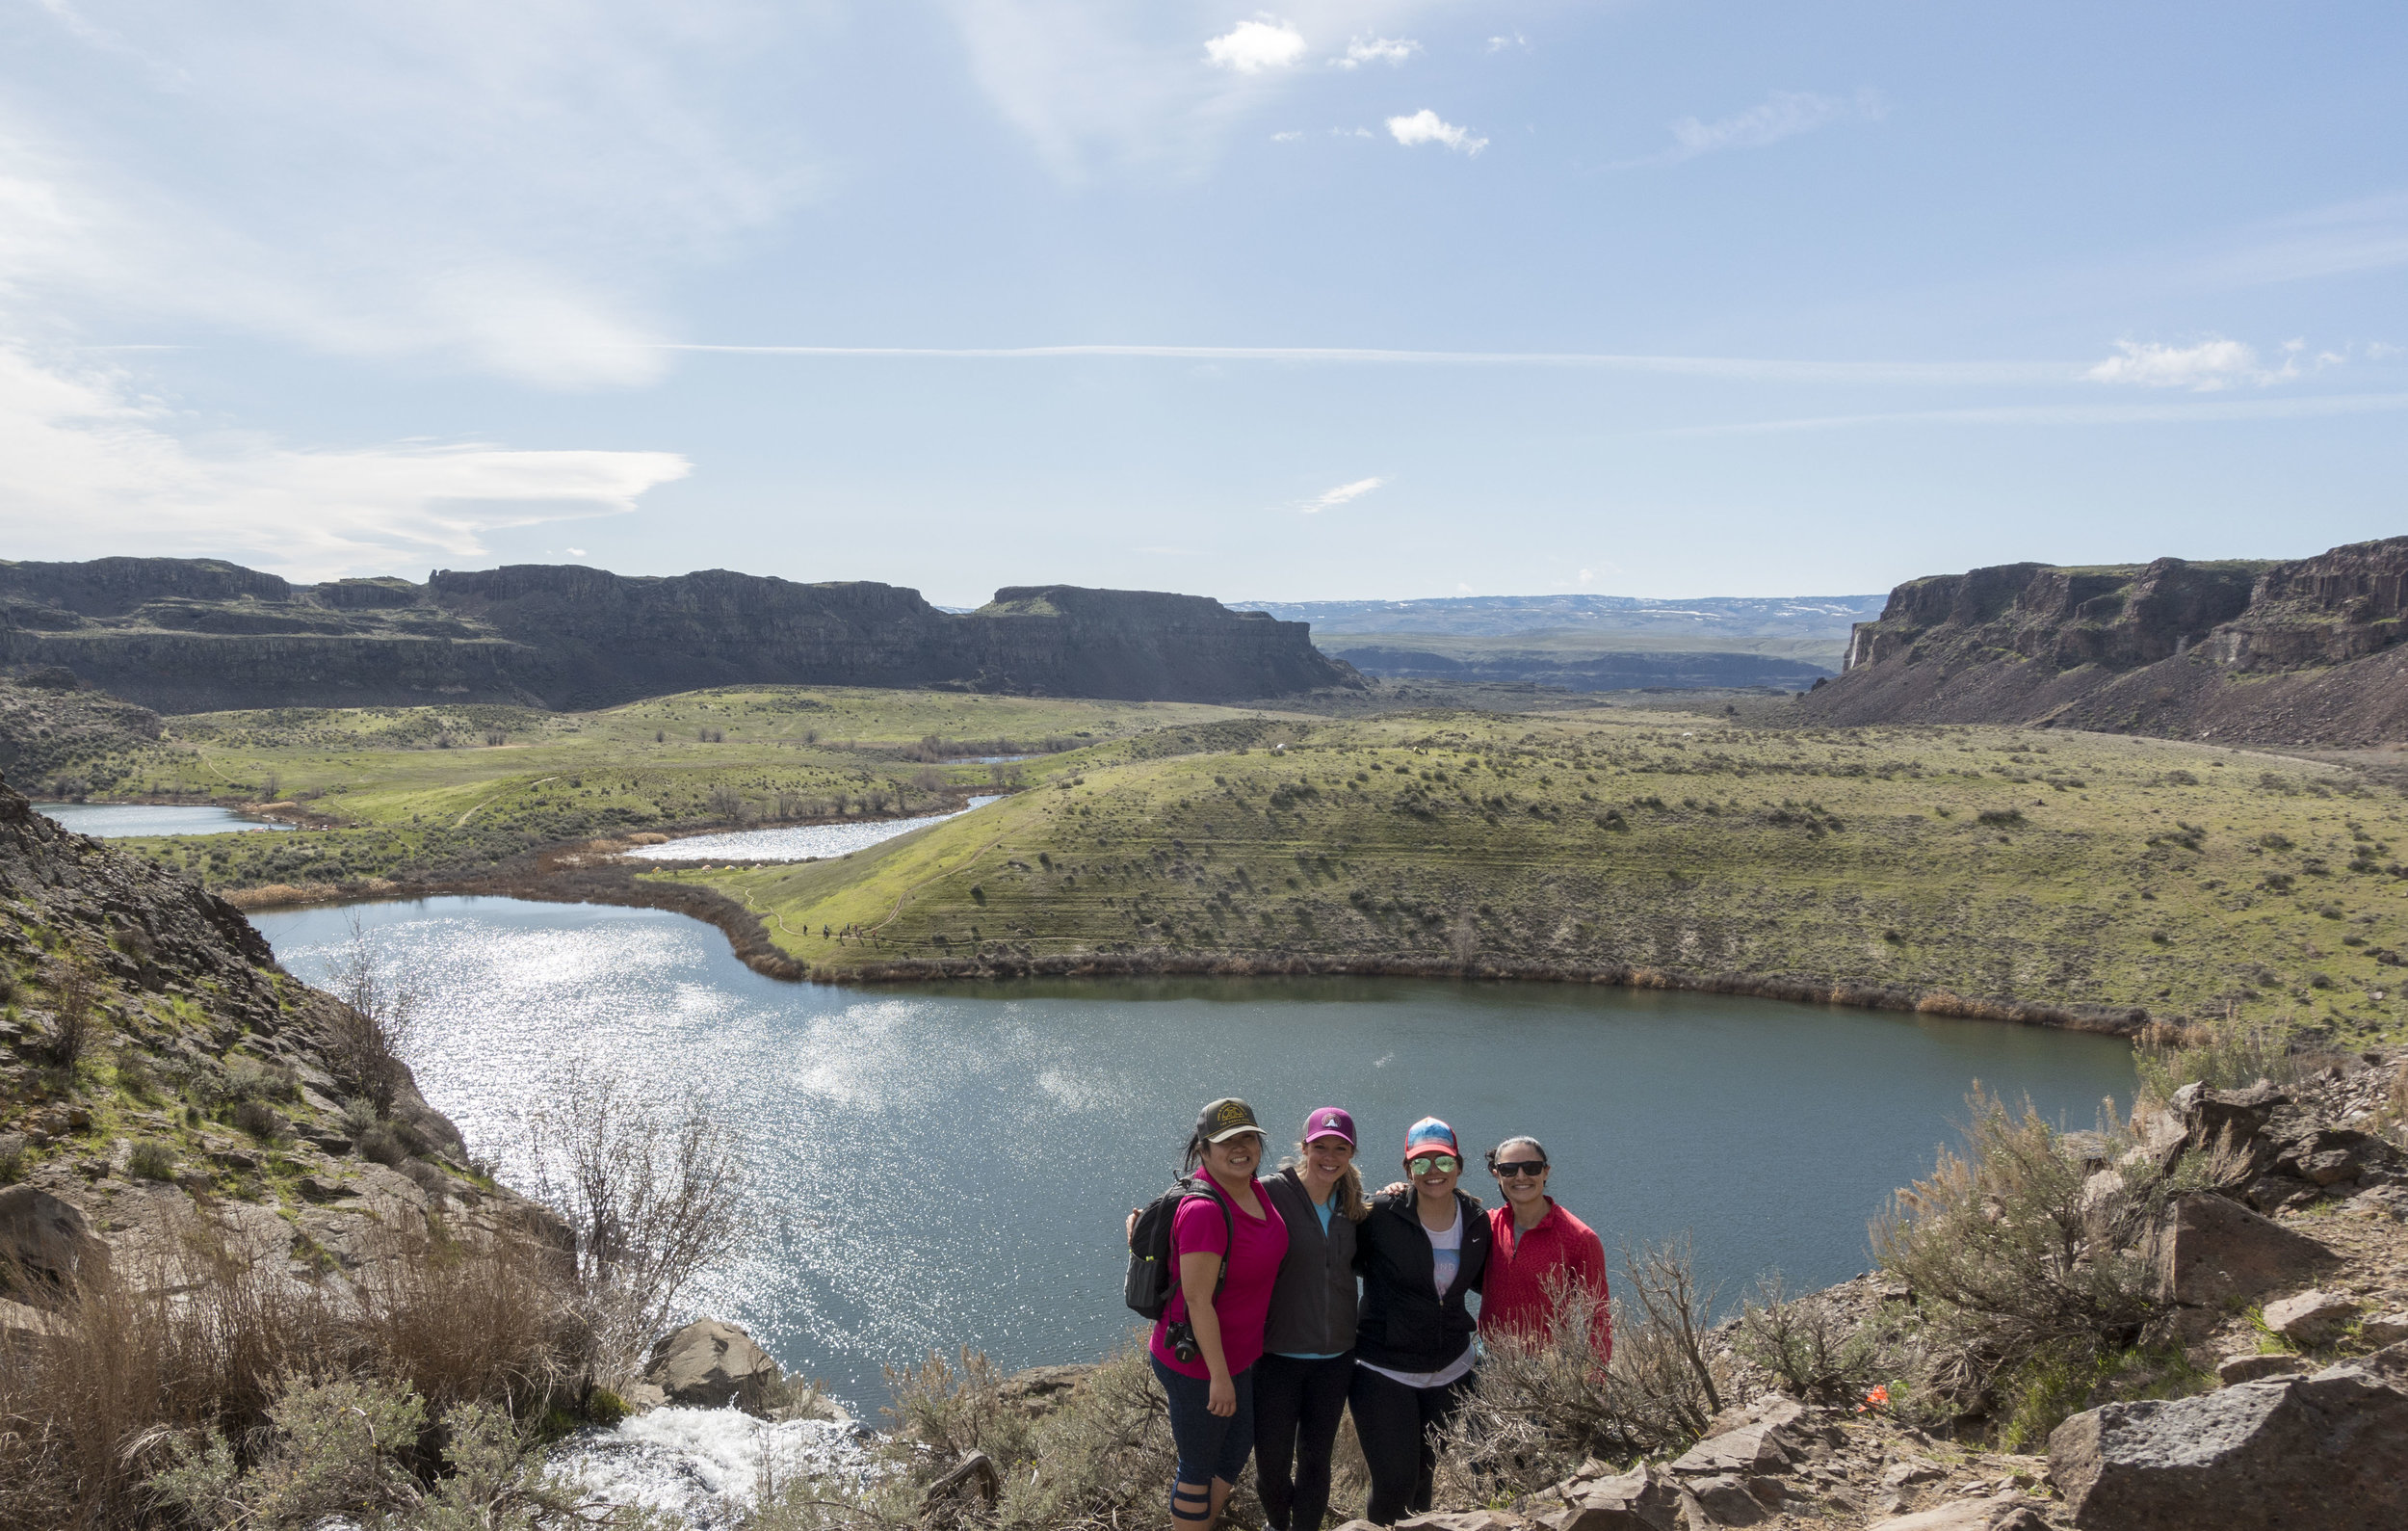
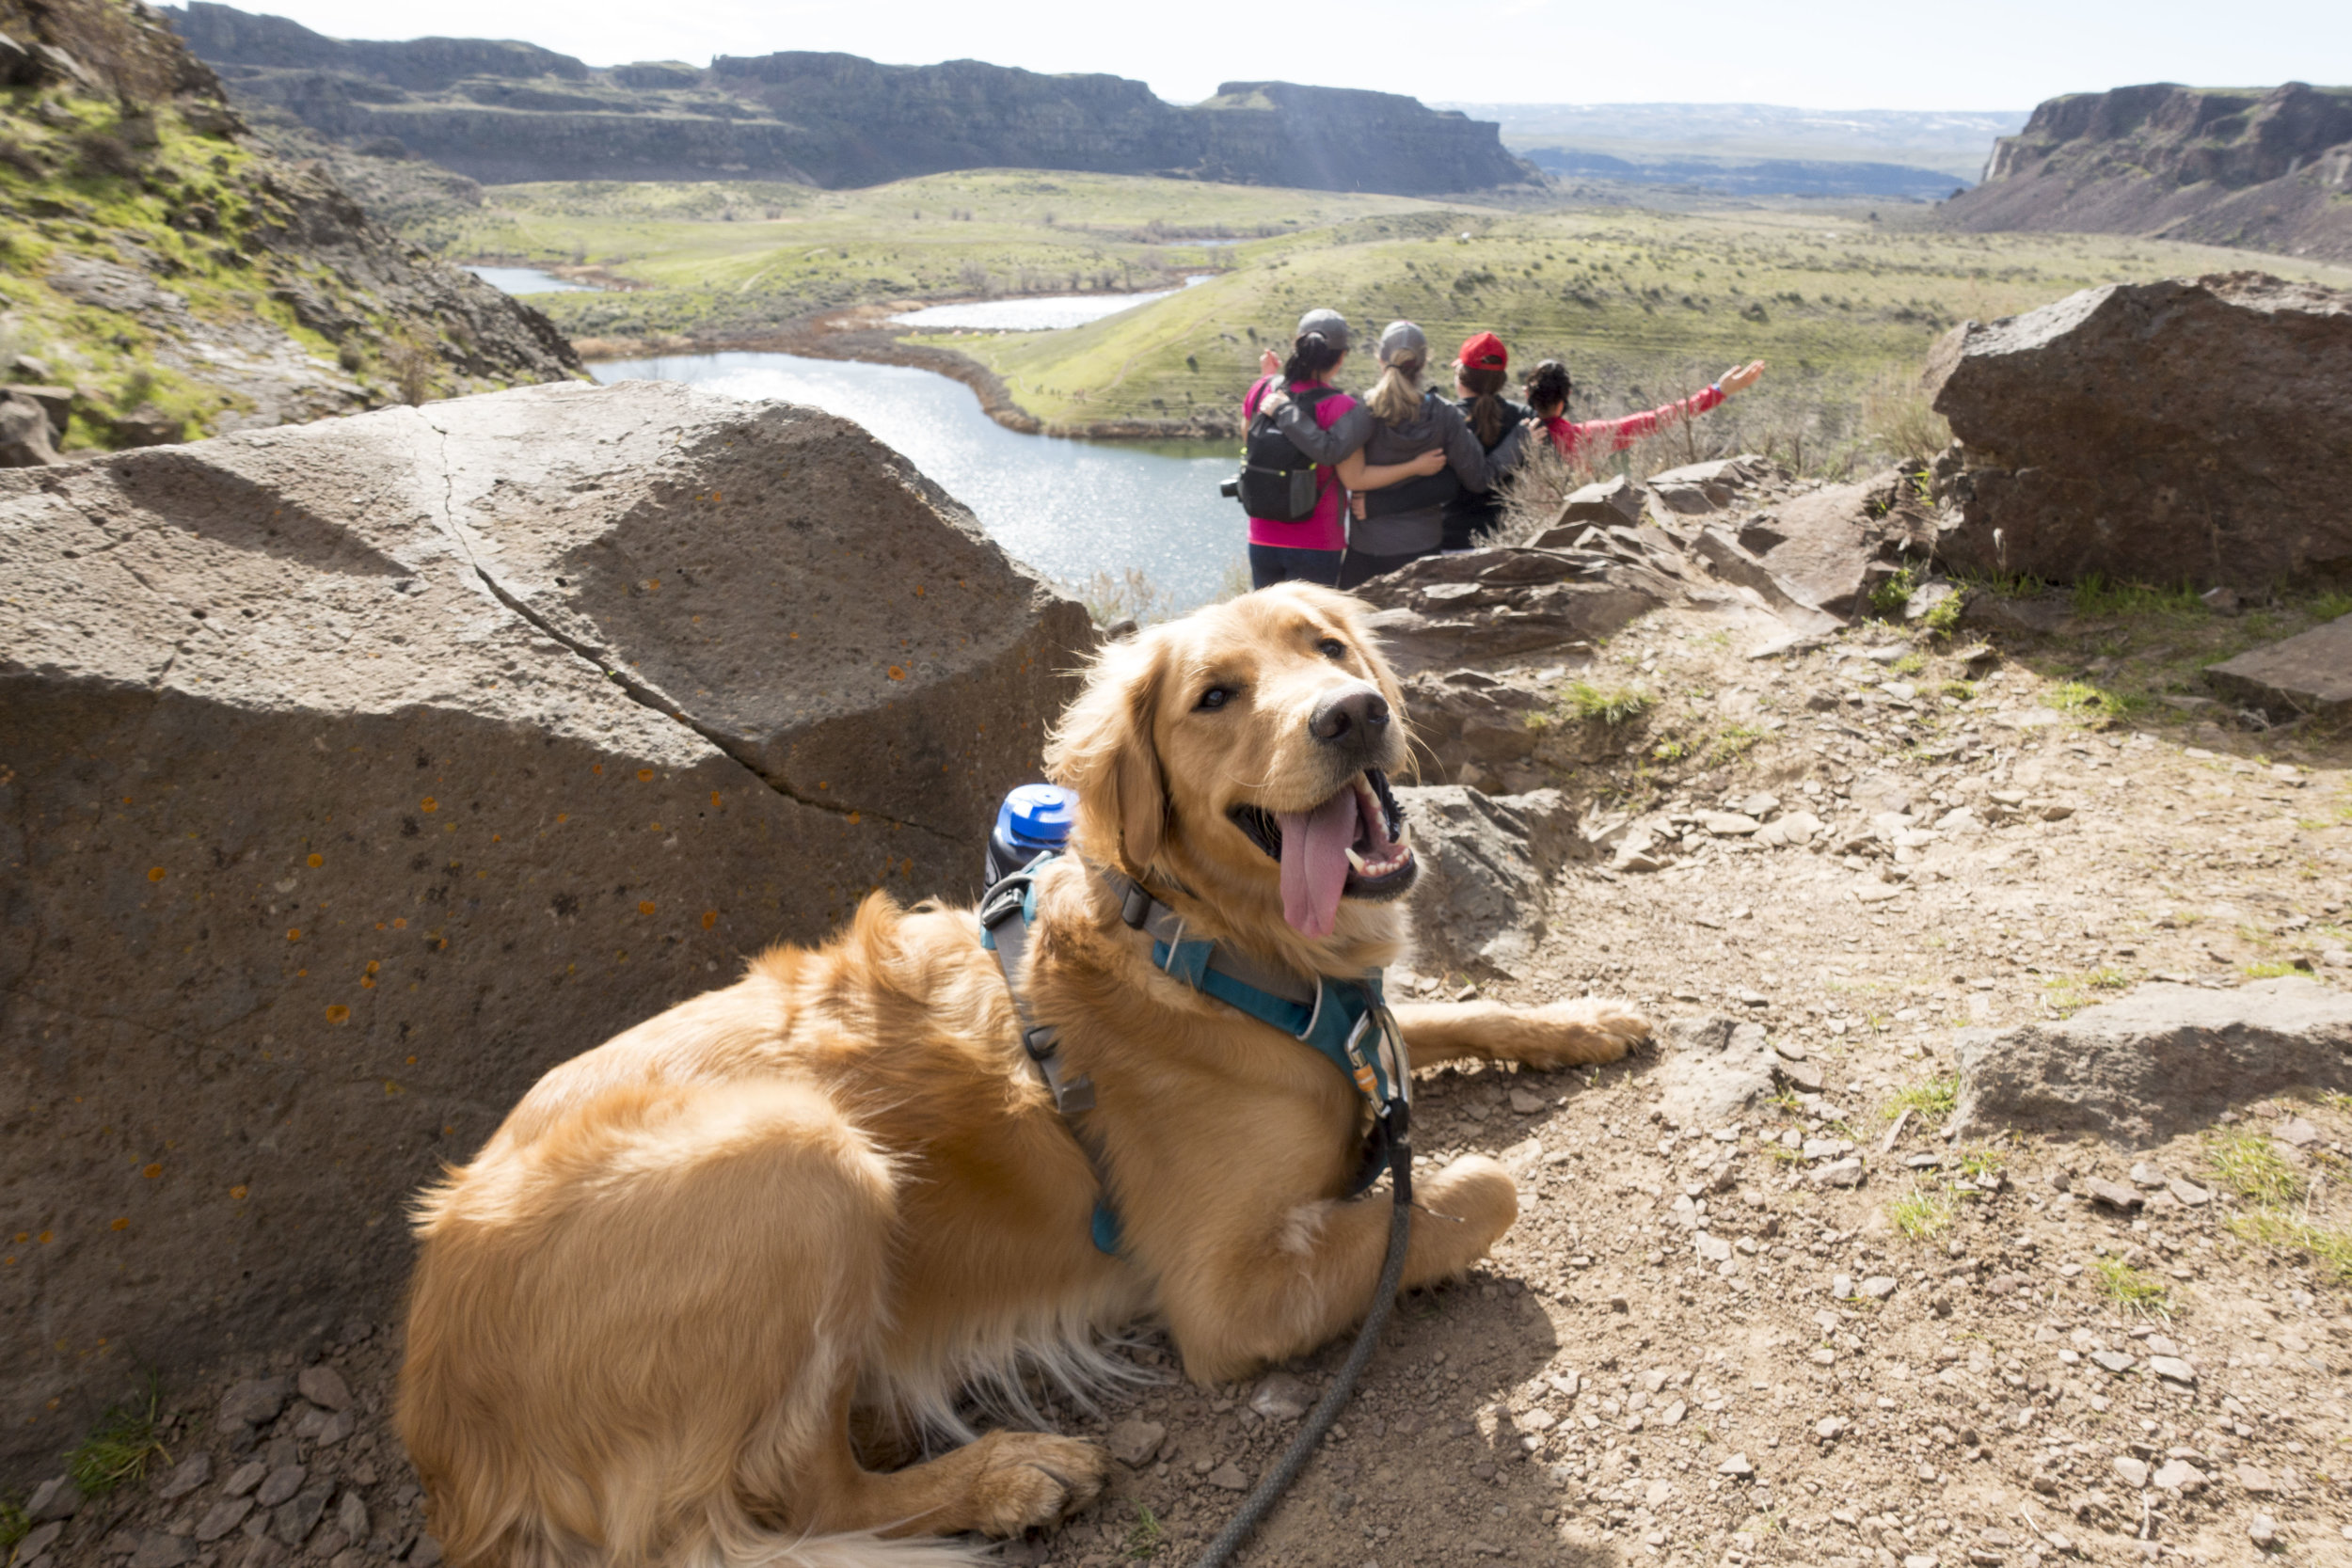
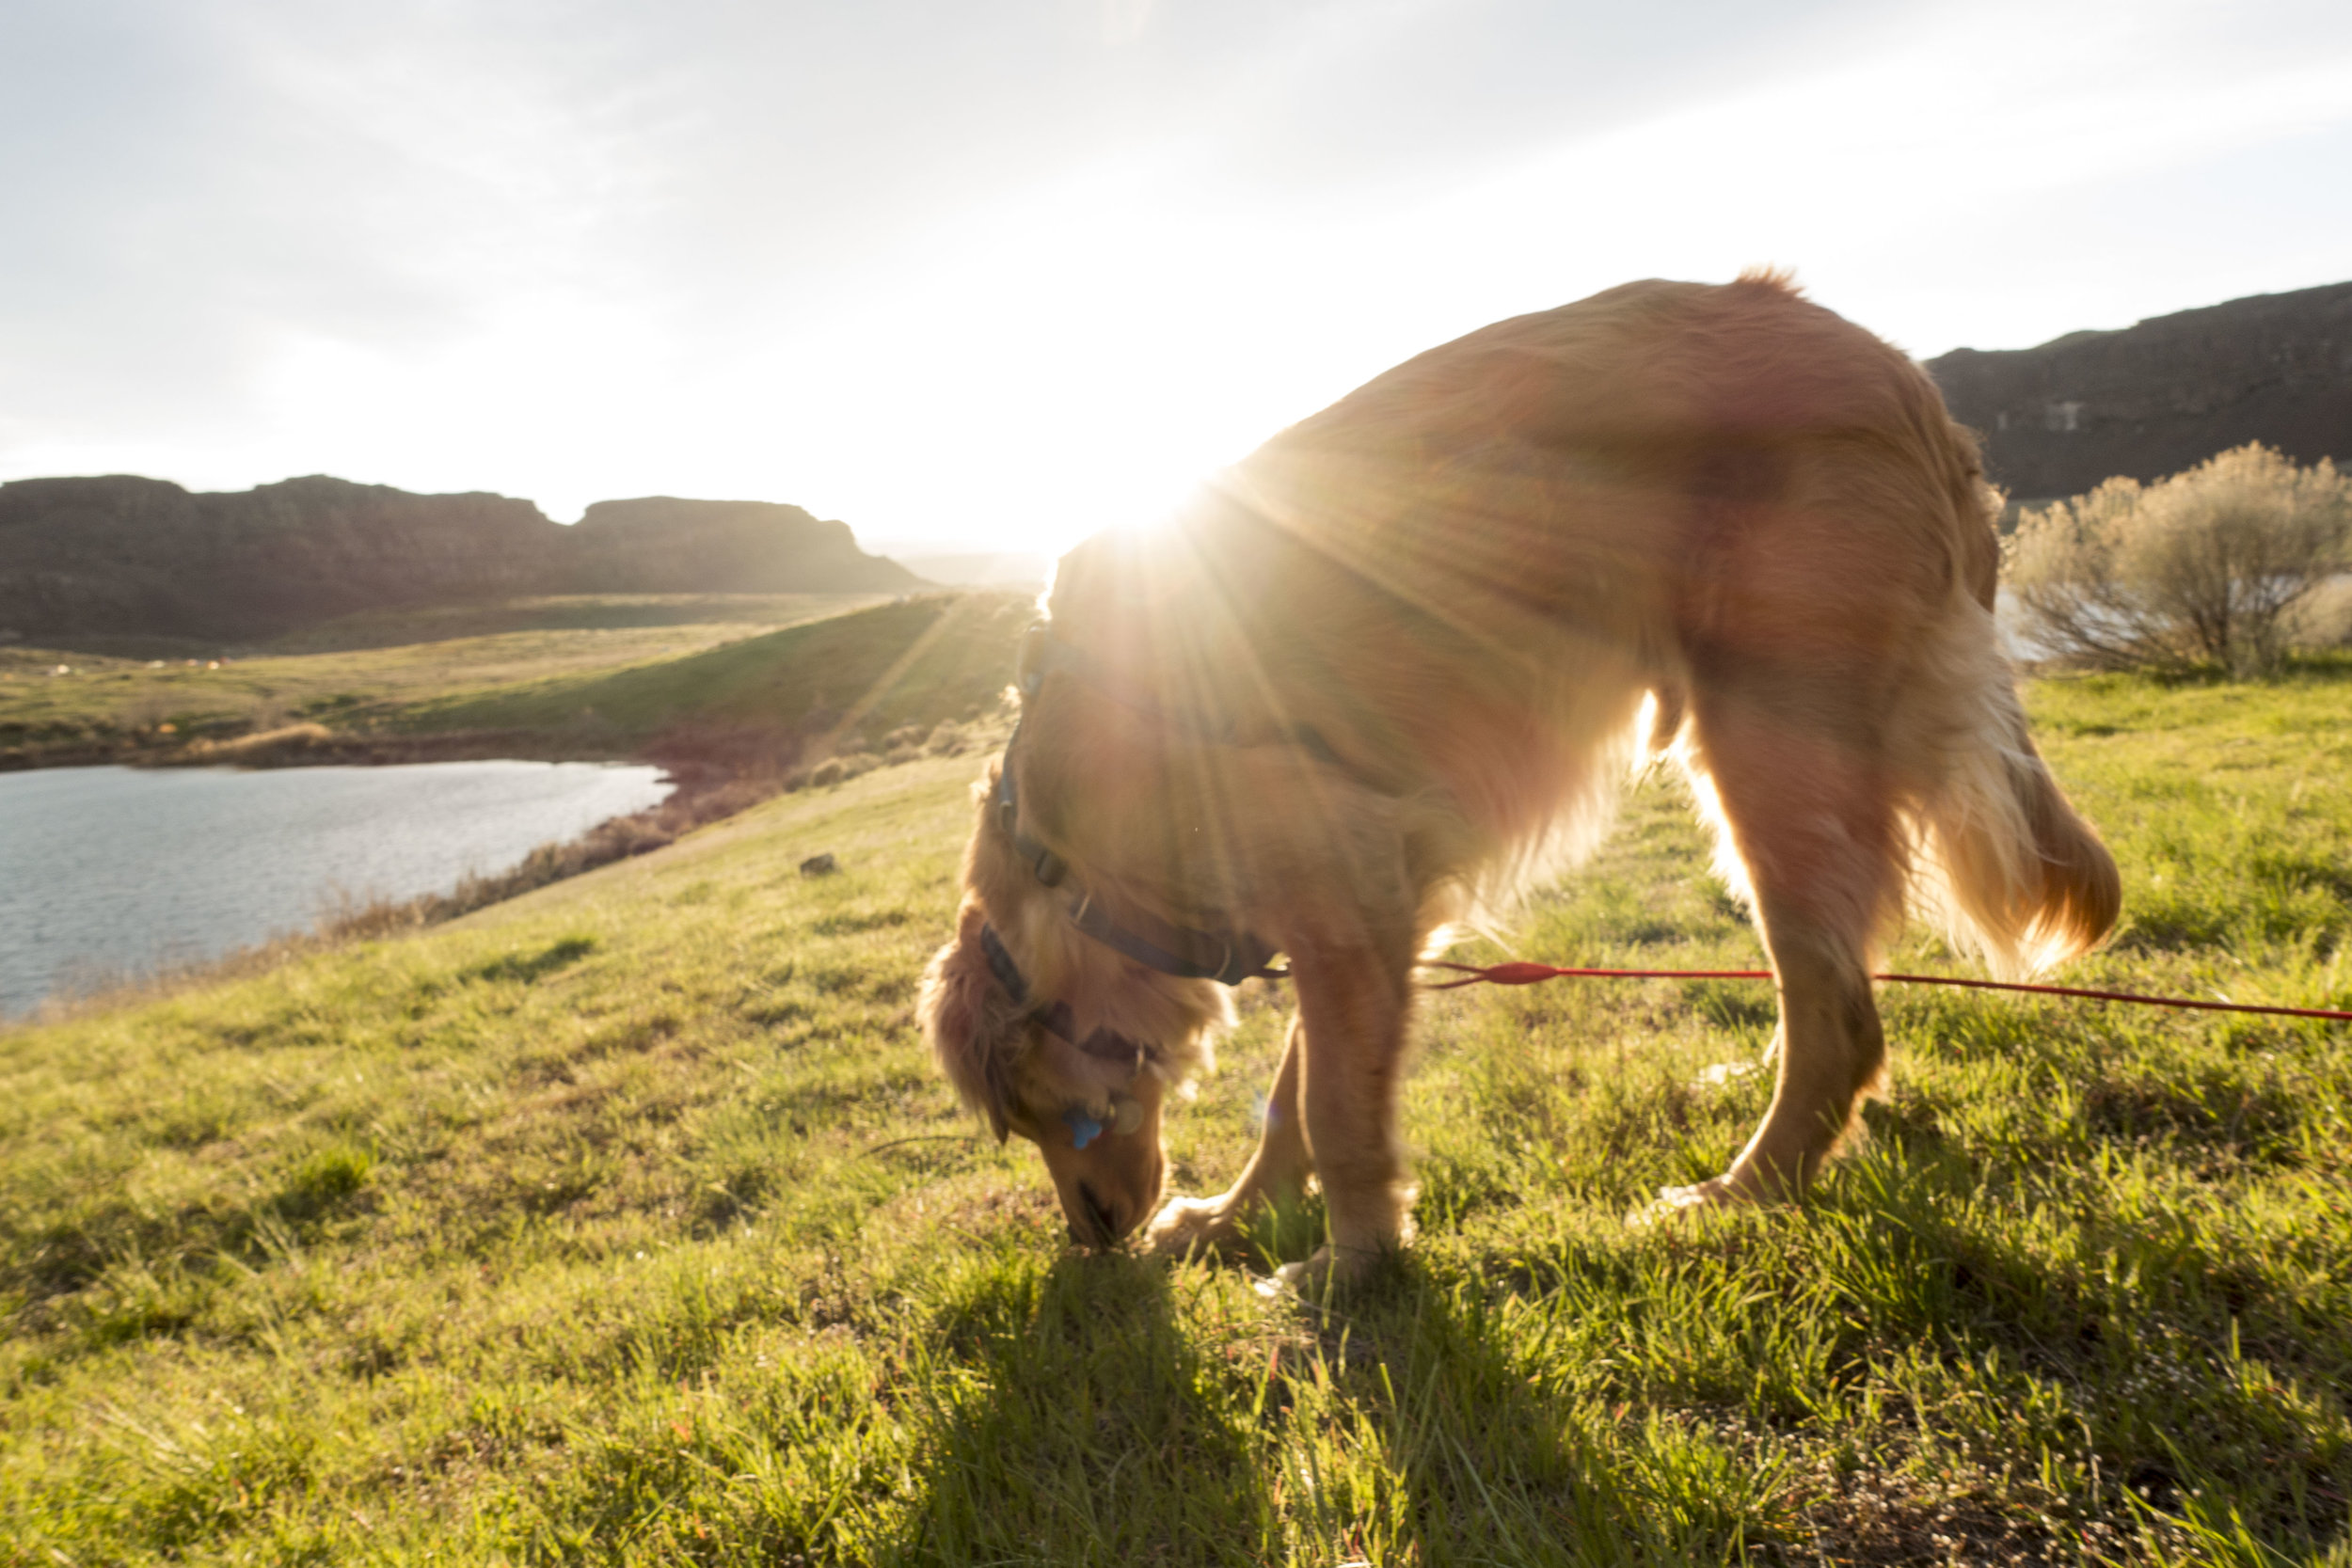
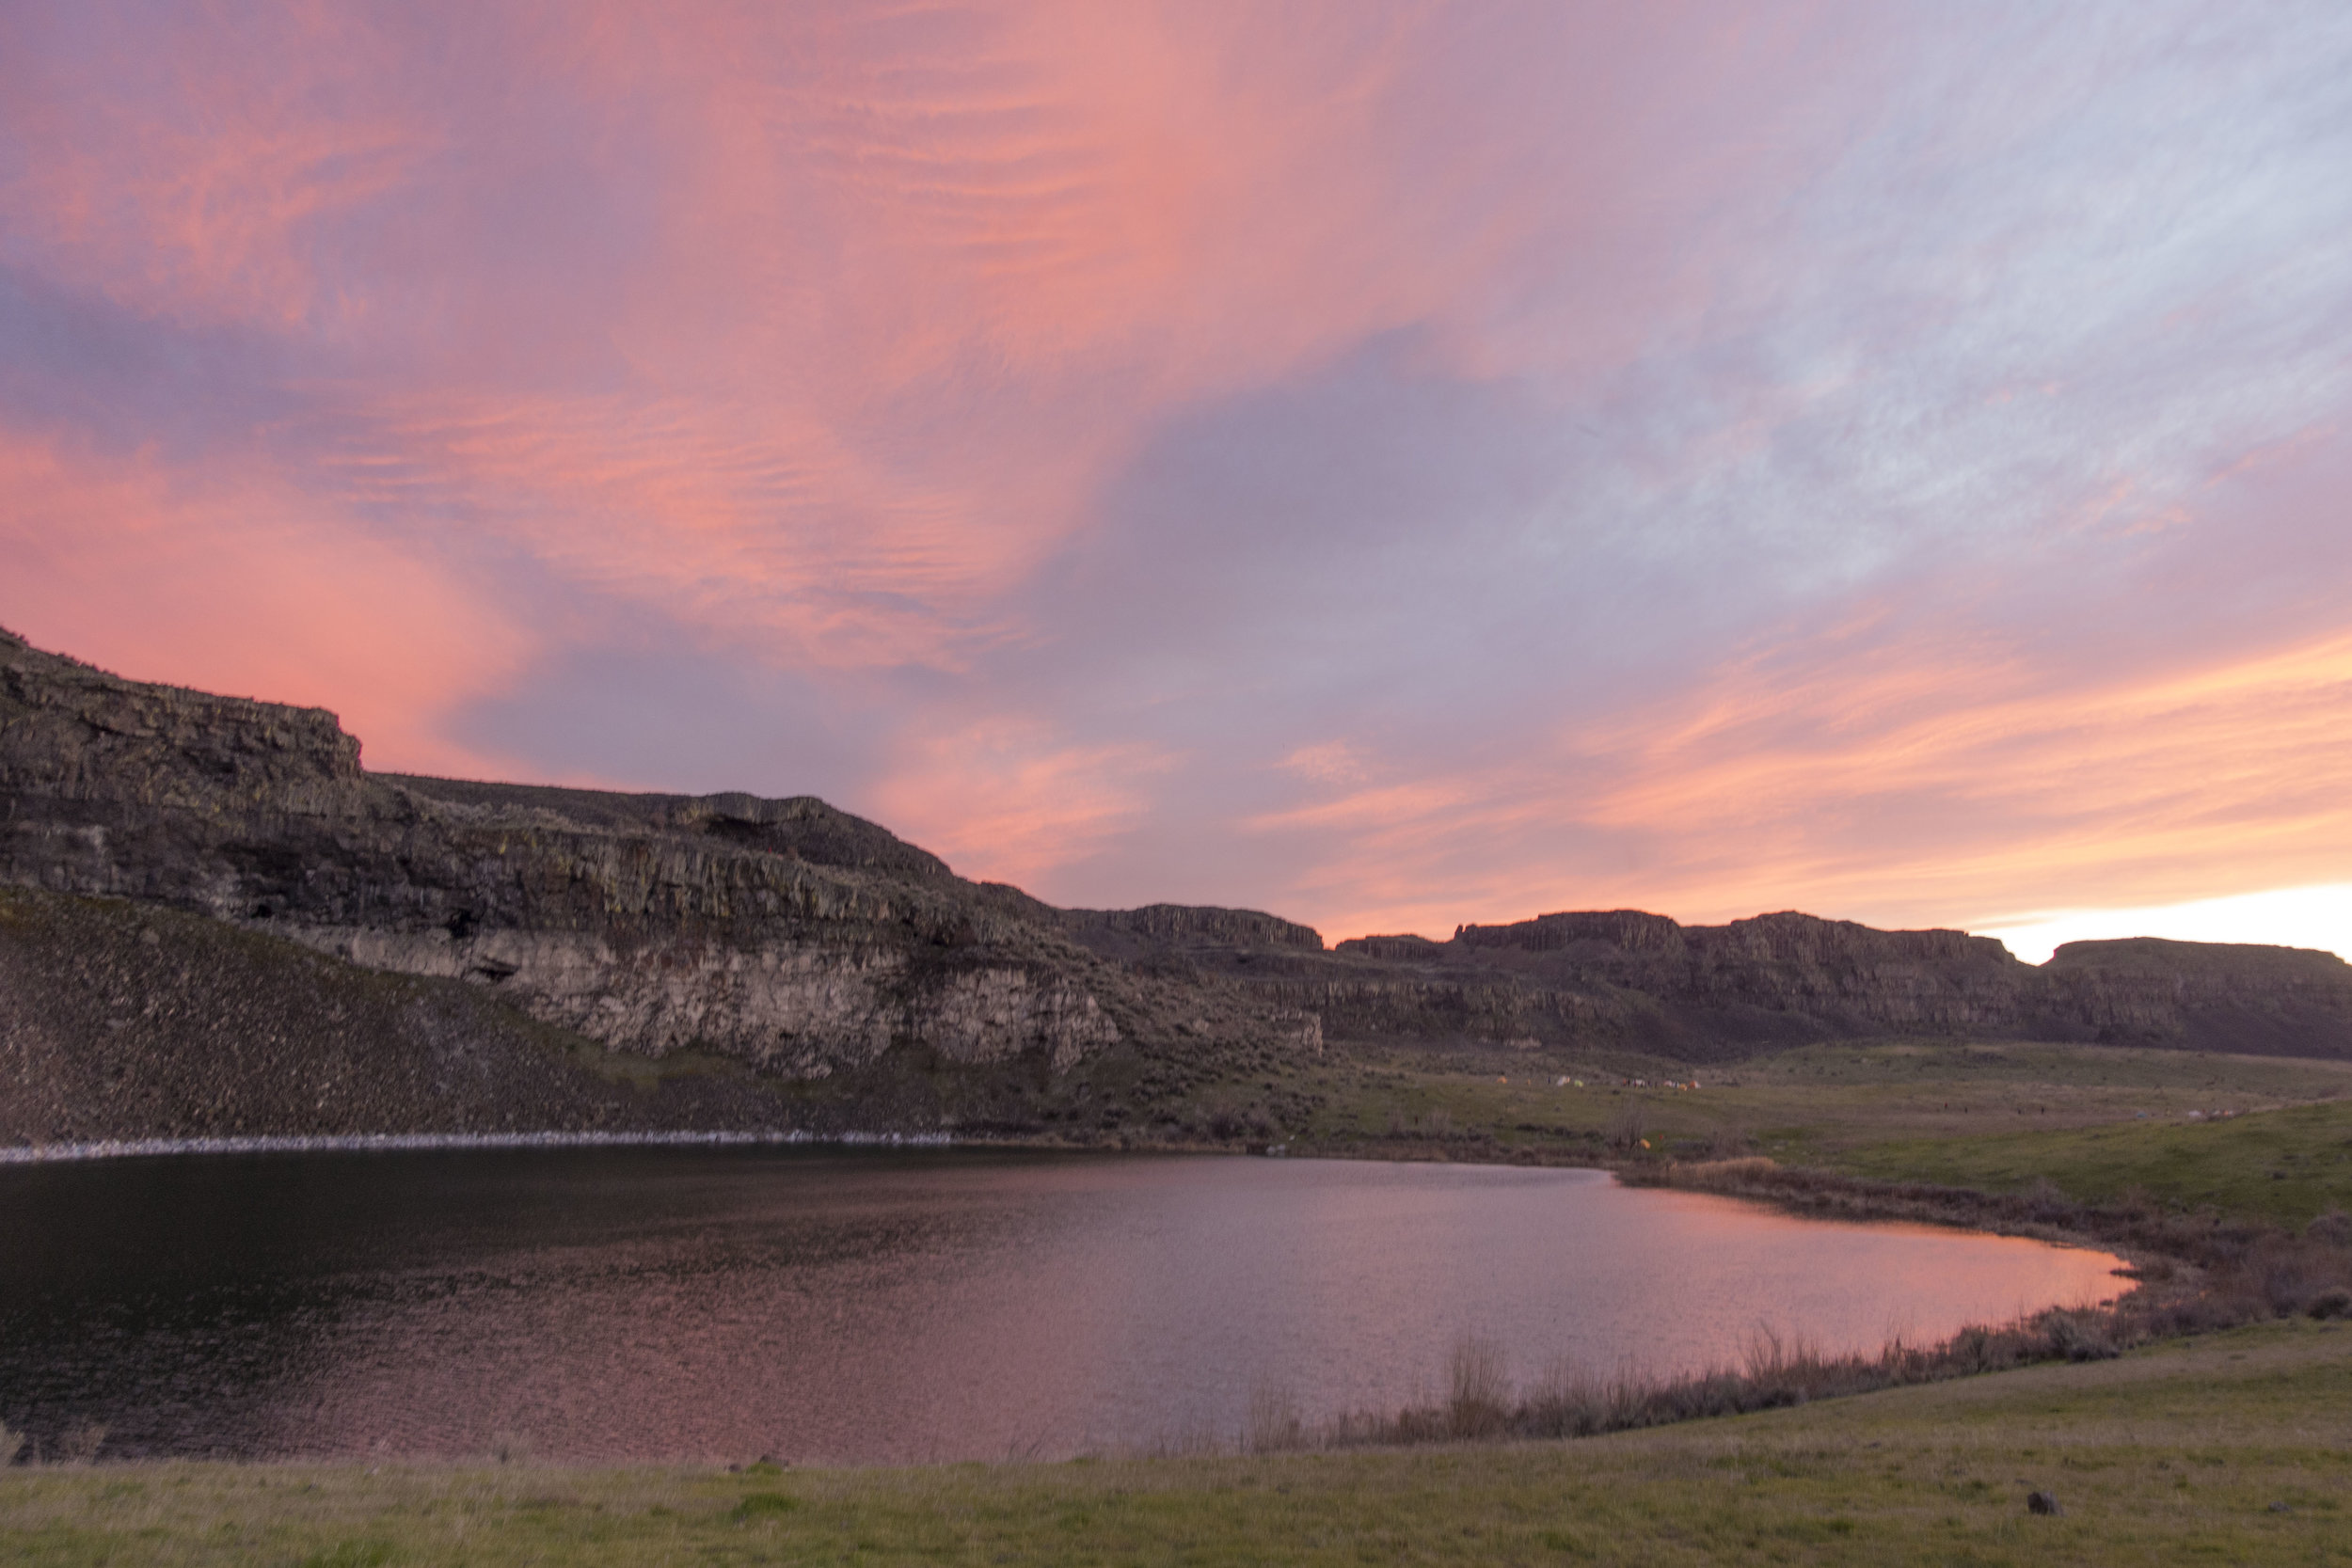
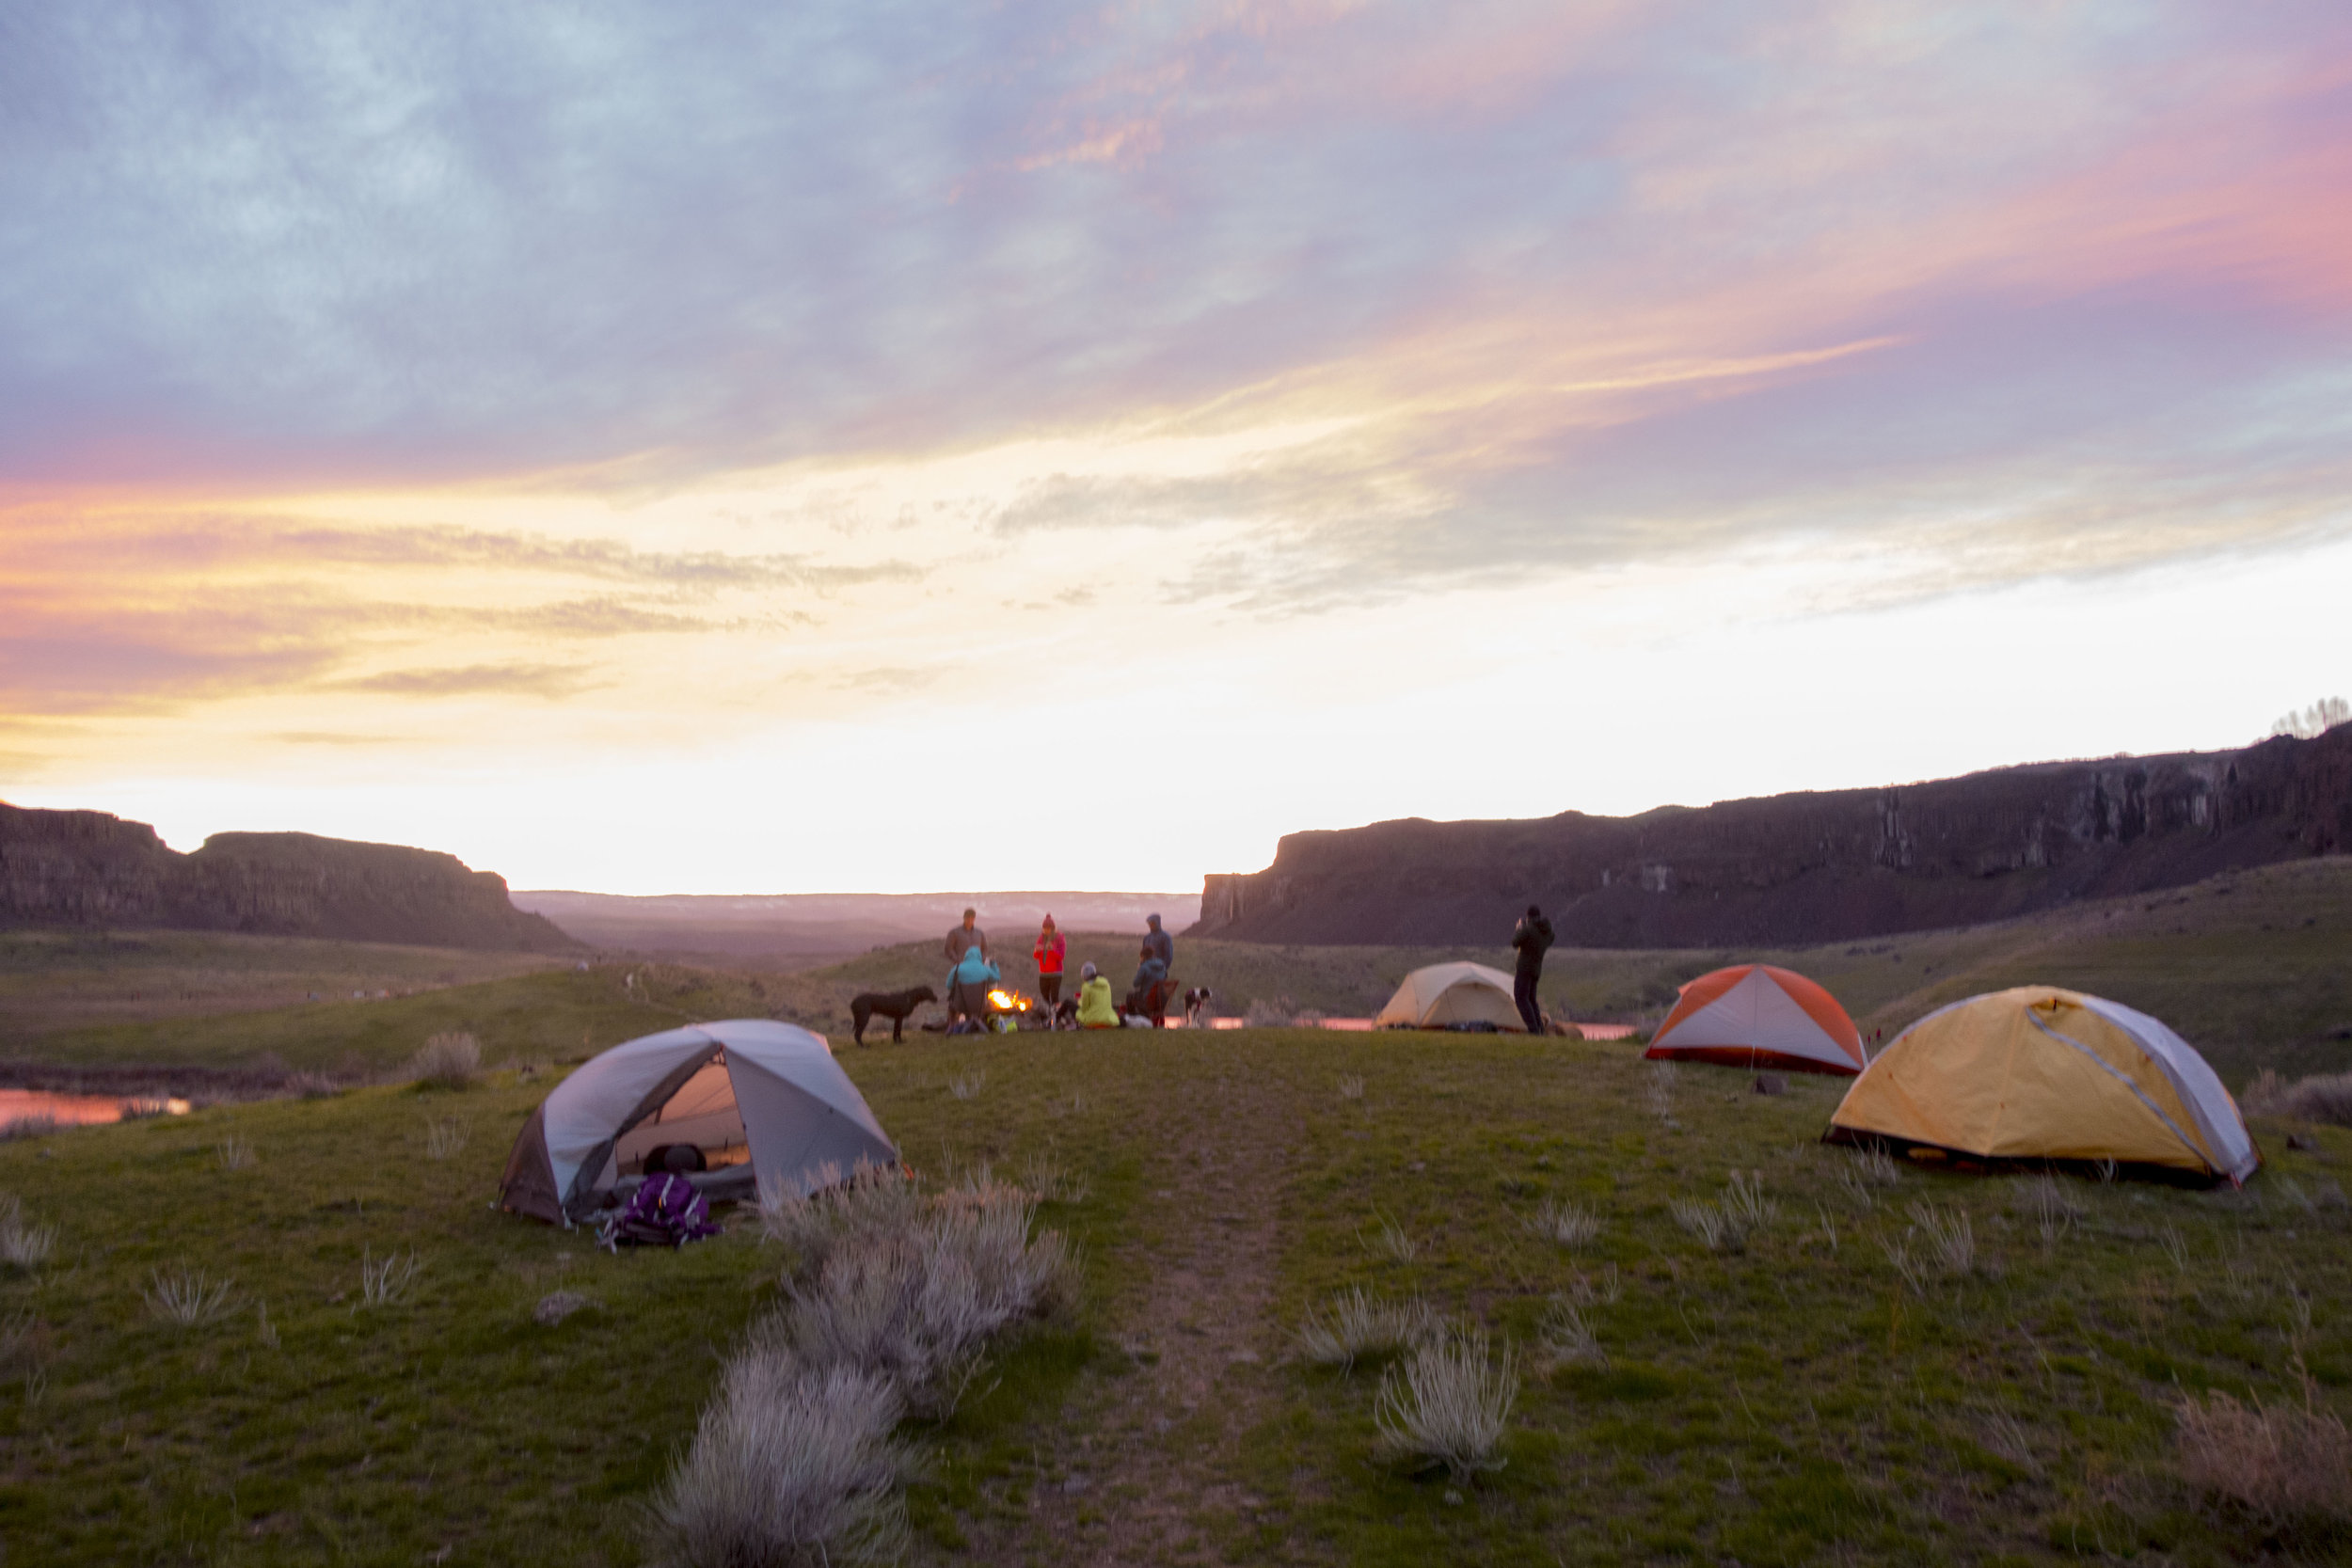
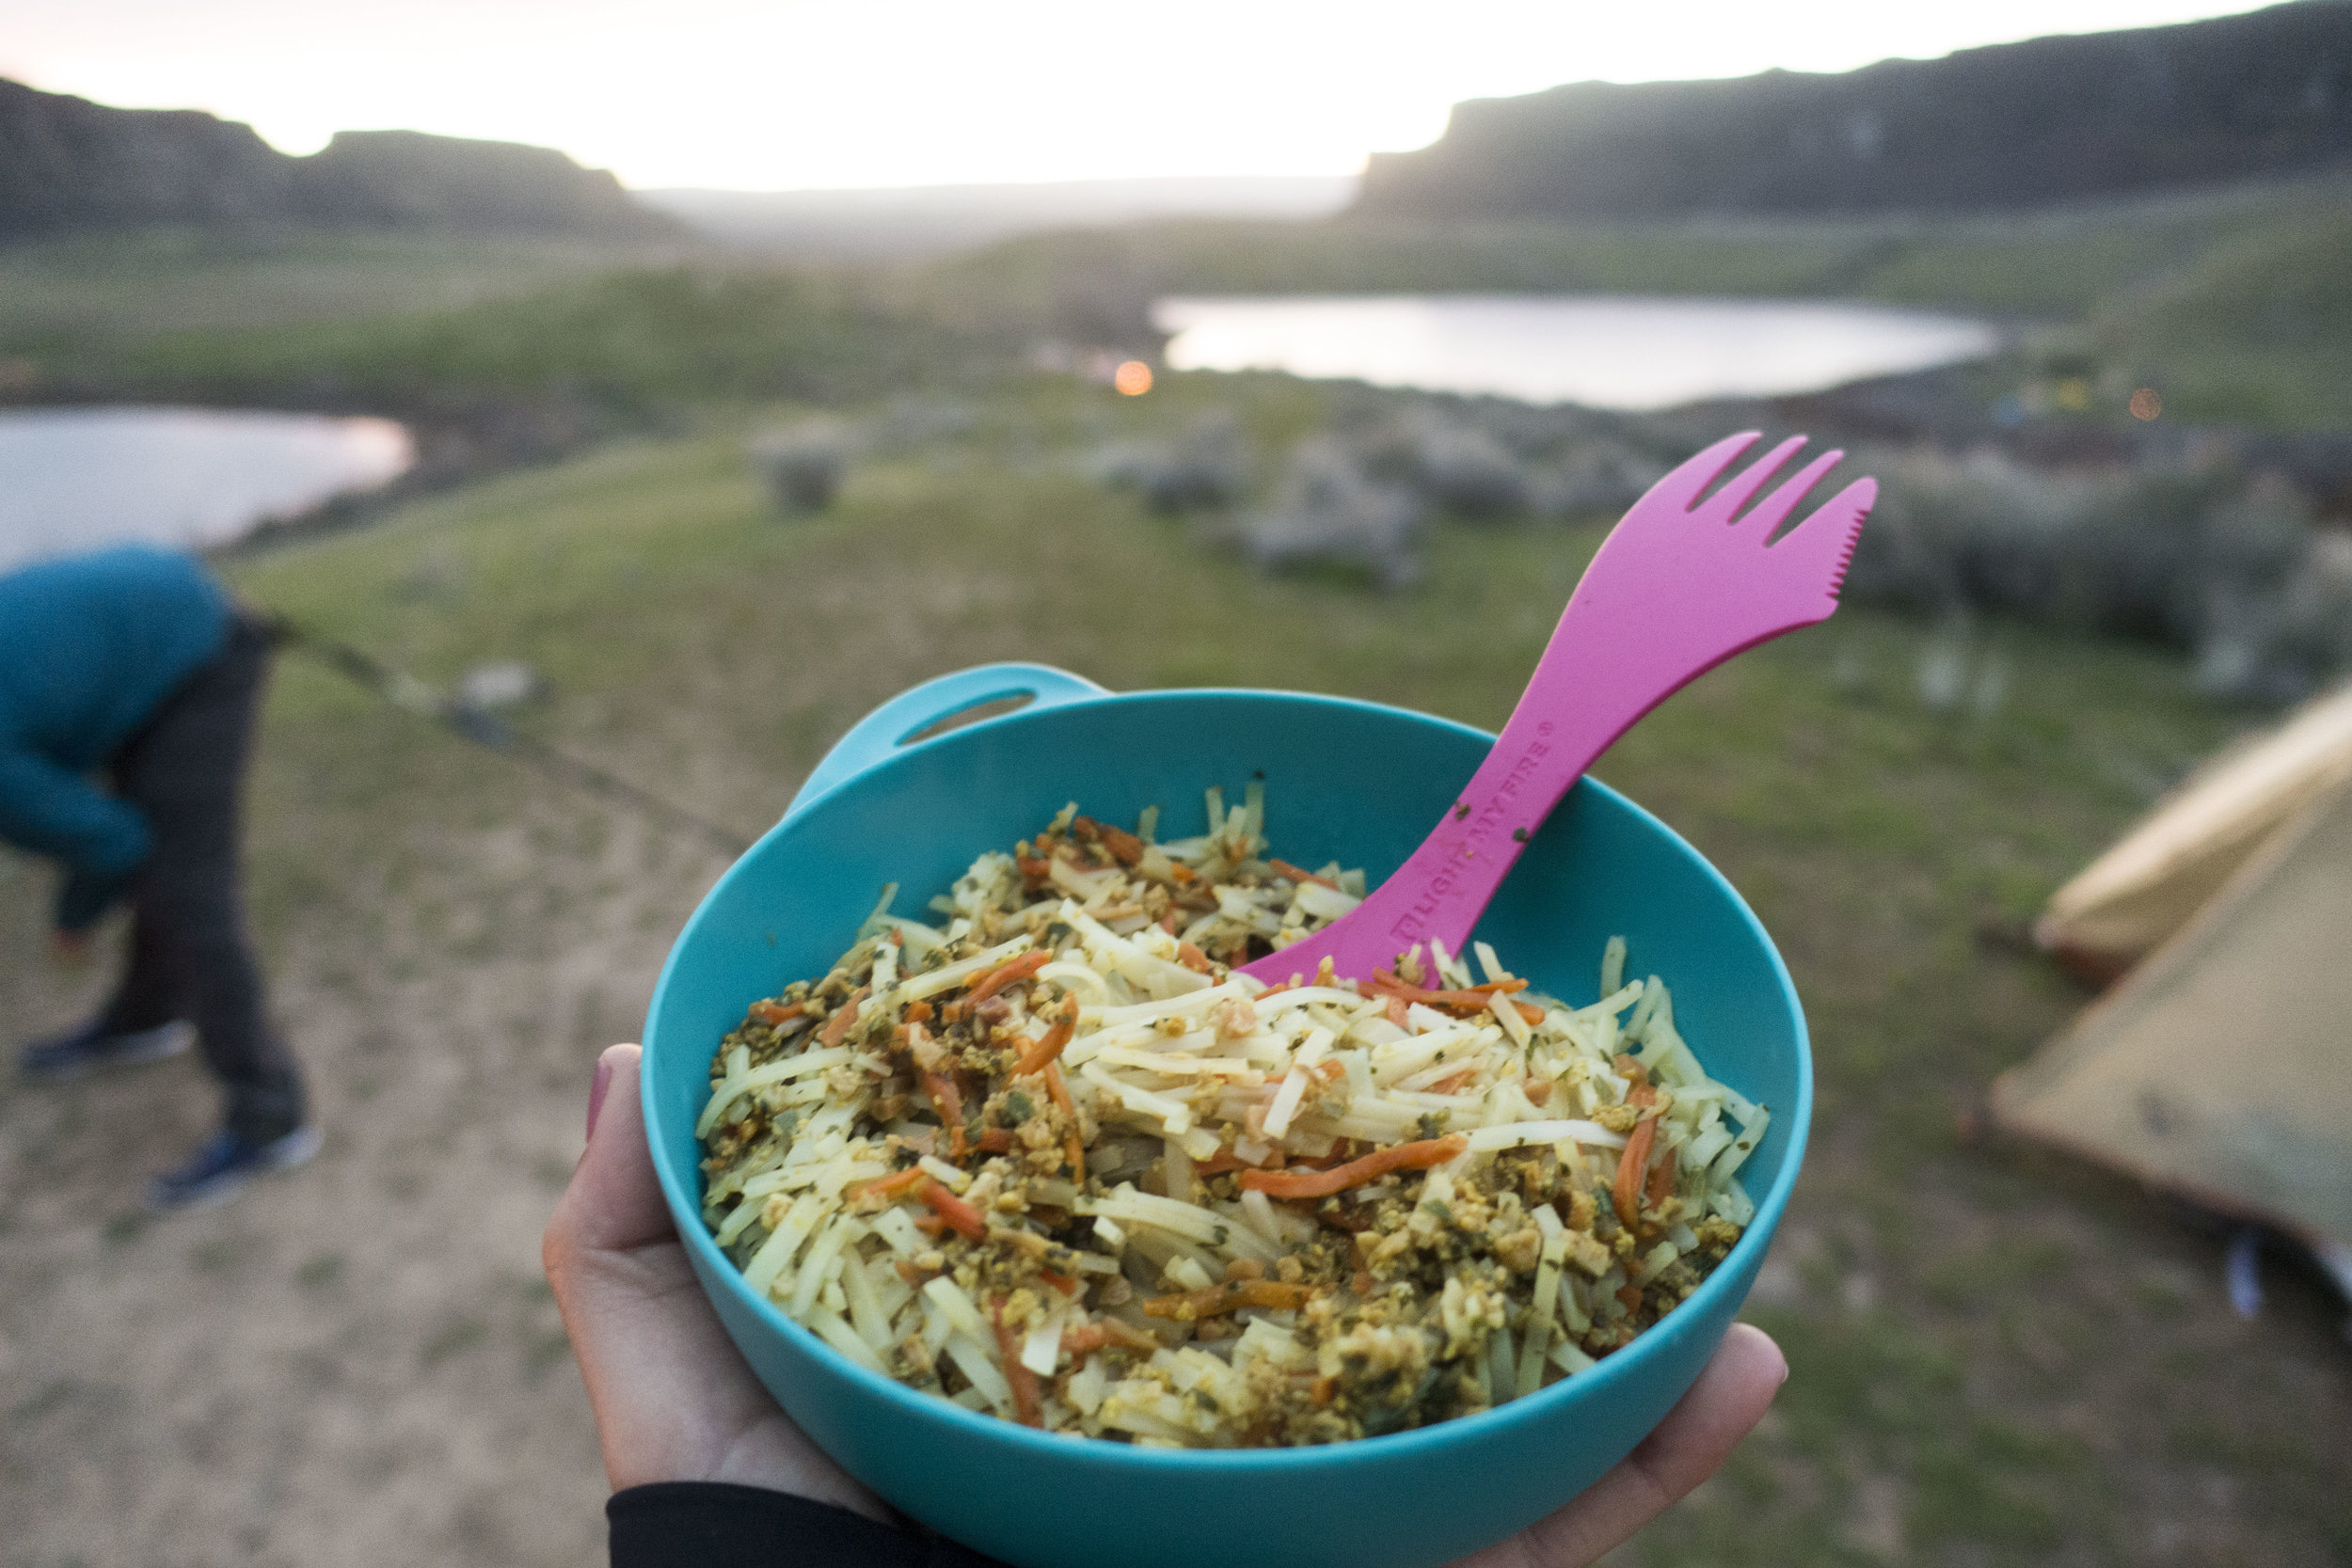
So it has now become a tradition to backpack Ancient Lakes when the weather is finally warm enough on the eastern side of the state and it's still crappy on the western side. Such a nice, easy first backpacking outing of the season that it will need to be a tradition for as long as we are in Seattle! This was the first time backpacking a place for the second time for me, so it's really nice knowing the route and the camp spots and going back to something familiar. A group of 8 of us + 3 dogs made our route from Seattle to Ancient Lakes, just under 3 hours away and left rain and gloom for sun and warmth. The hike in is just 2 miles, and then we found a spot on top of a hill to set up camp with great views to boot. It even had a great fireplace with rock "chairs" set up. I forgot to mention that all of us logged out a piece of wood, or if you're my husband you bring the whole bundle in your arms on the hike out and do a constant bicep curl for 40 minutes. This year we were prepared for an epic fire unlike the last. Most places in Washington it seems you can't have fires in the backcountry, so this was a real luxury. After setting up camp and eating lunch we decided to hike the loop we did last year as well. You think that after doing it last year the route would be clear, but it's actually quite confusing and just feels like you are off trail the entire time. We went up left of the big waterfall and climbed up a steep, loose rock section, that was rewarded with fantastic views at the top. We hiked further back to another waterfall and climbed up this section as well for even better views. We then meandered through the back around a lake, up more sketchy rocks and then down to what was a dried out lake last year and is now a small lake. Once we climbed out of that area we then could eventually see the massive area that all the tents were at and where we were camped. It was not as busy as last year when we went, so I think it is better to go before the mass of crowds make their way out there. We made dinner, hot toddy's, had a fire and s'mores, and great company made for an awesome night. The sun and warmth was a great reminder that the gloom of winter will not last forever in western Washington and that indeed summer will eventually come. It will still be a long time until we can make it into the high country for backpacking, but there are some great low land options in the mean time. Be careful with dogs out in this area though, Cooper brought home a tick for us- yuck! They are already out there. As the summer heats up this area gets rattlesnakes as well.
Mt. Rainier Snow Camping
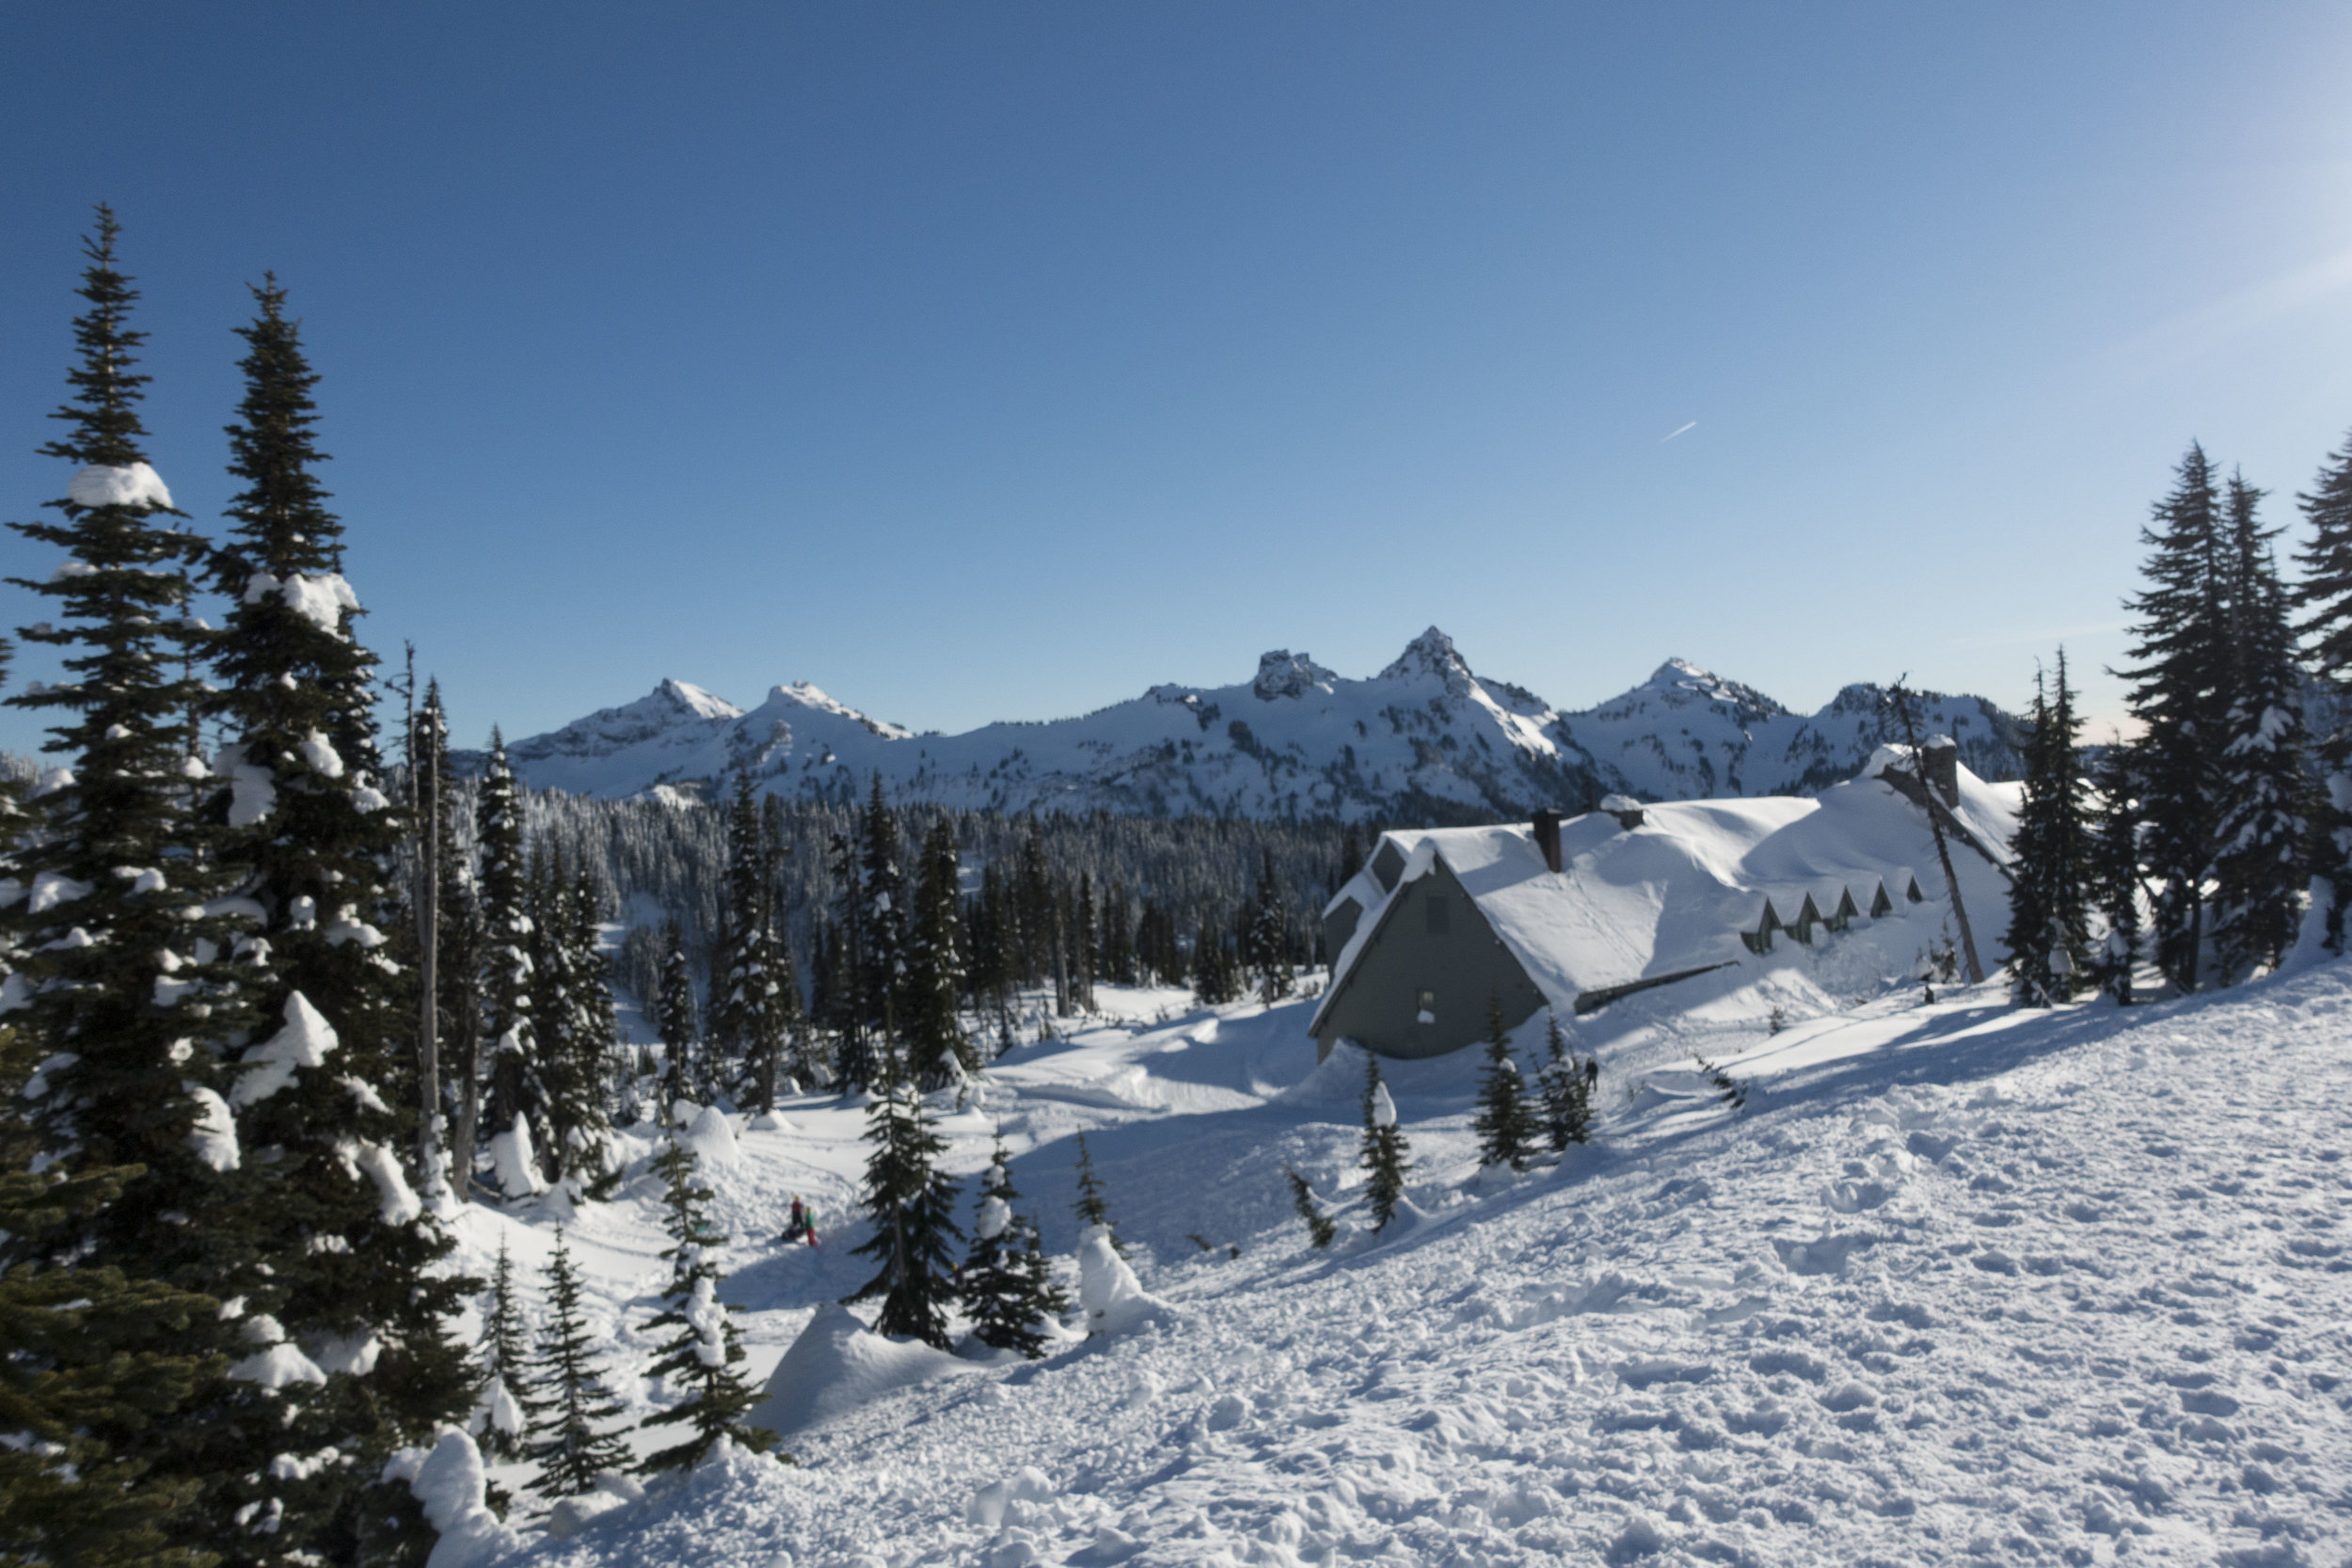
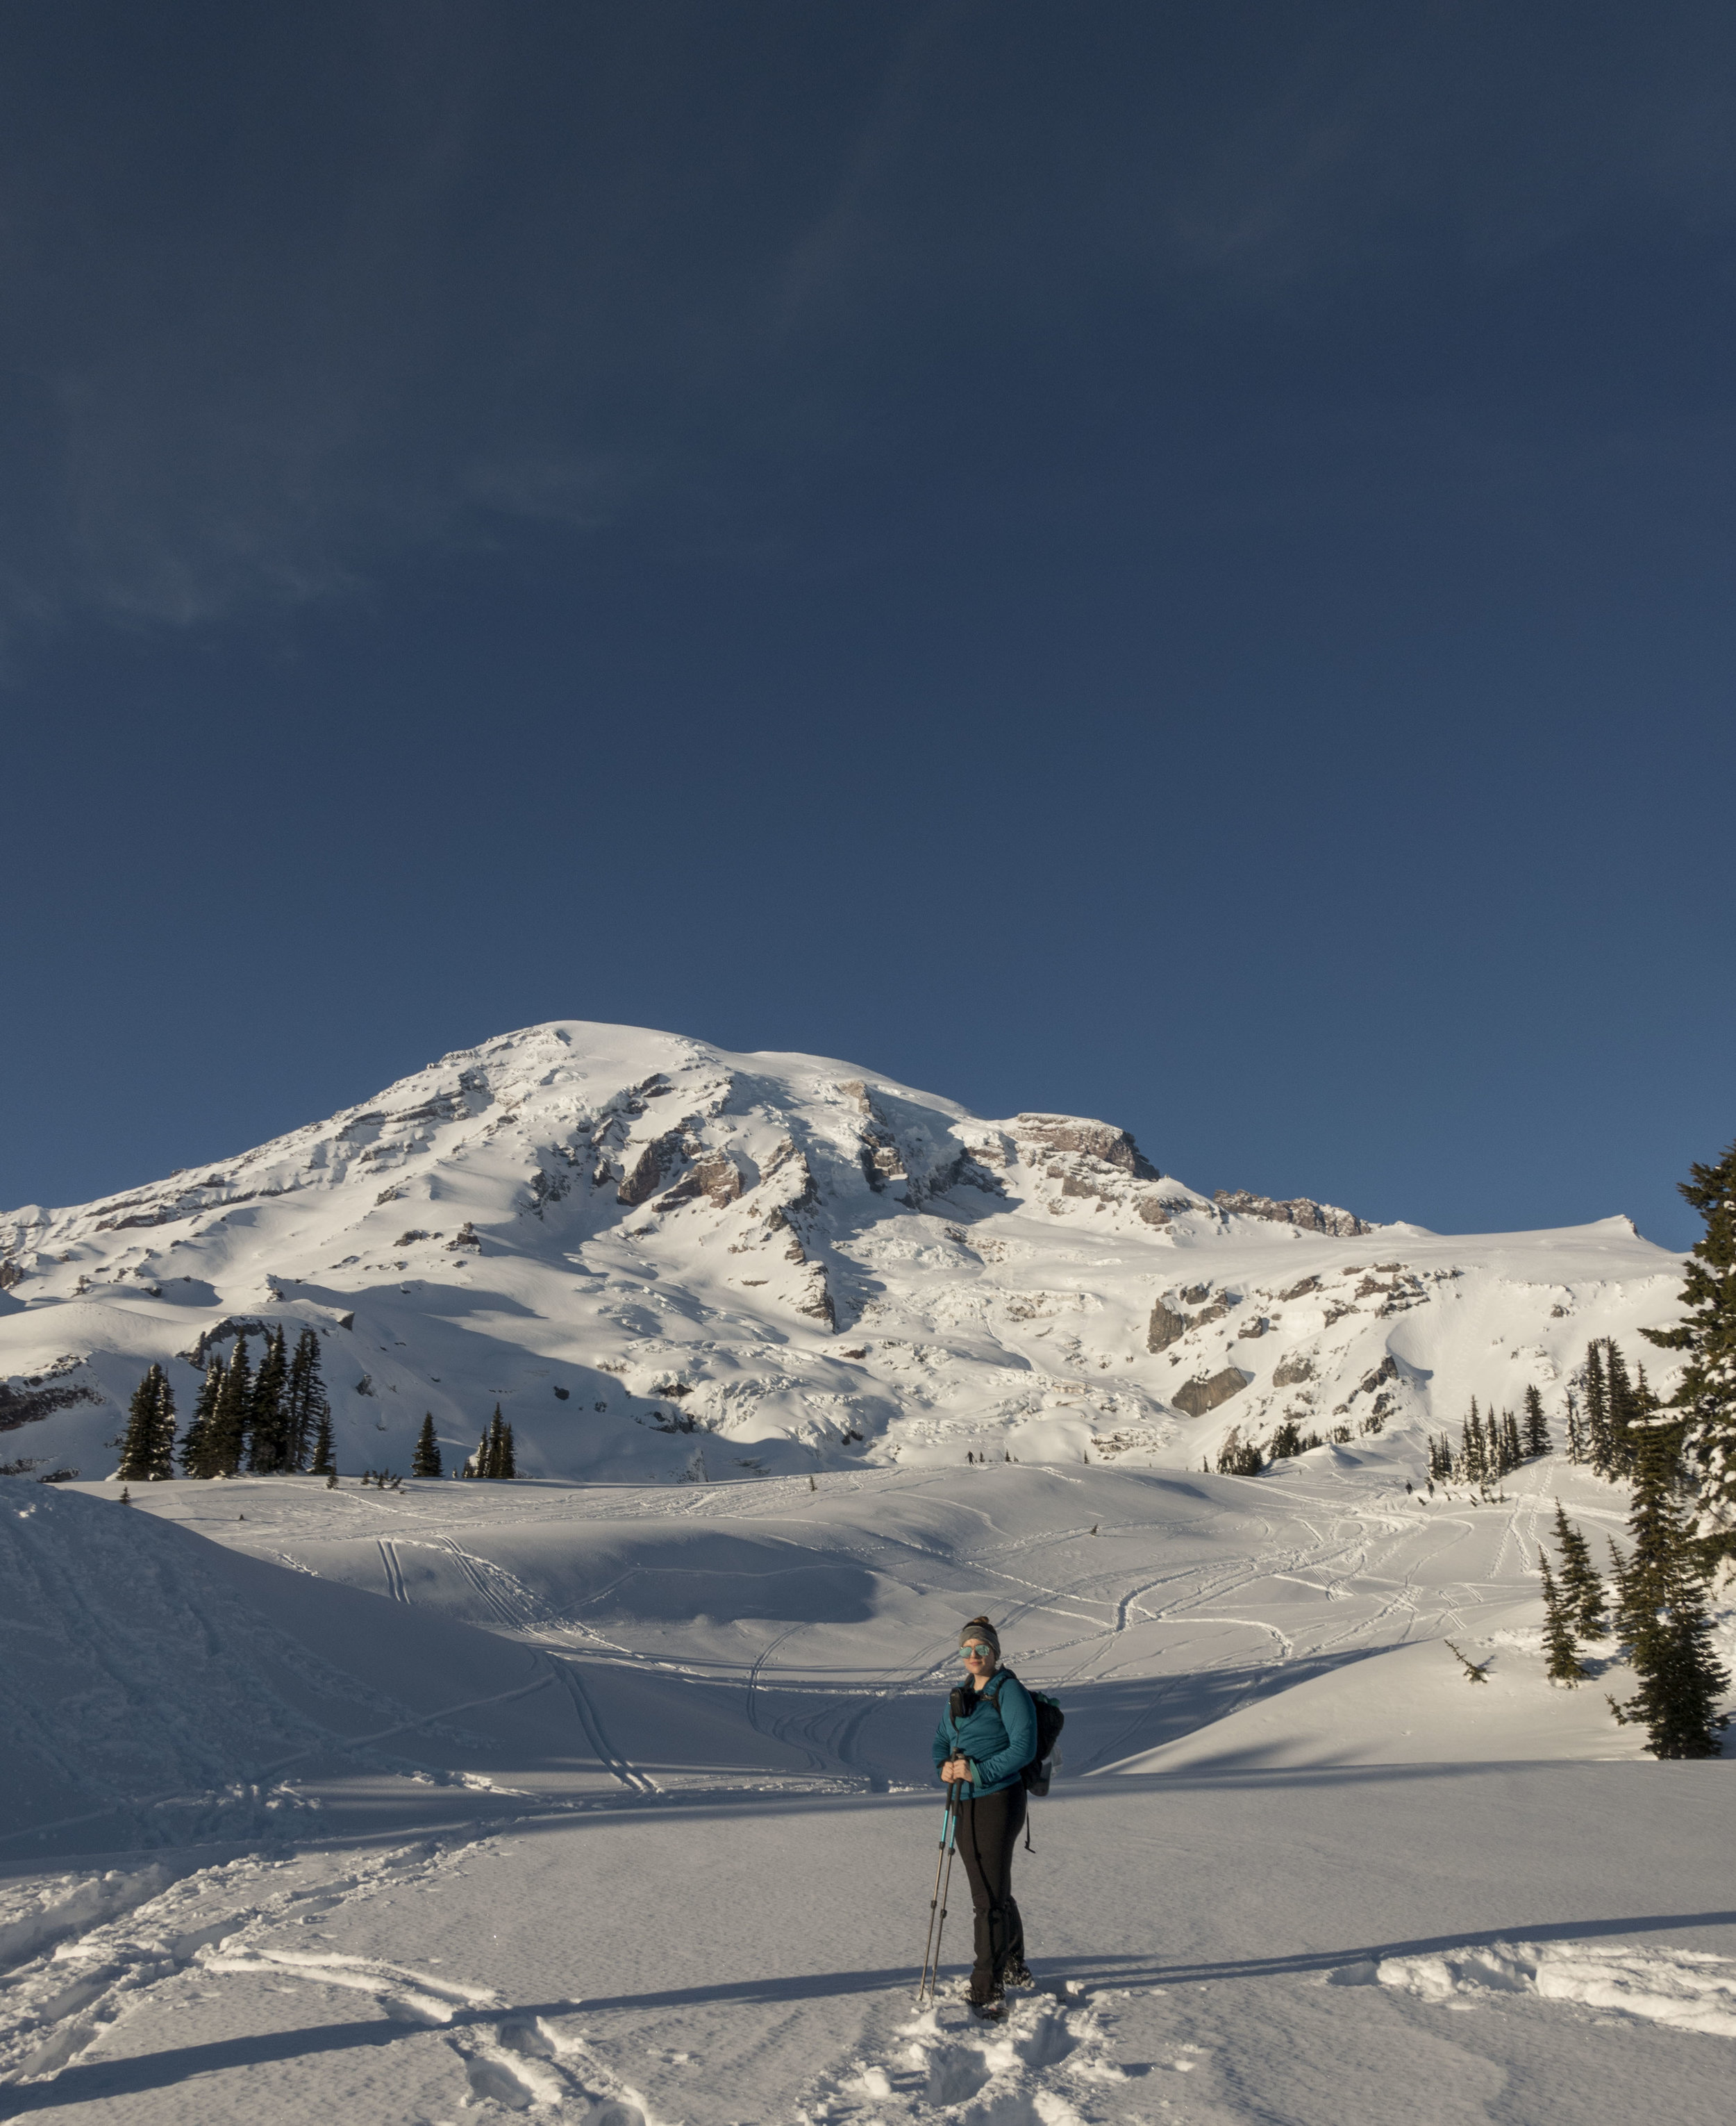
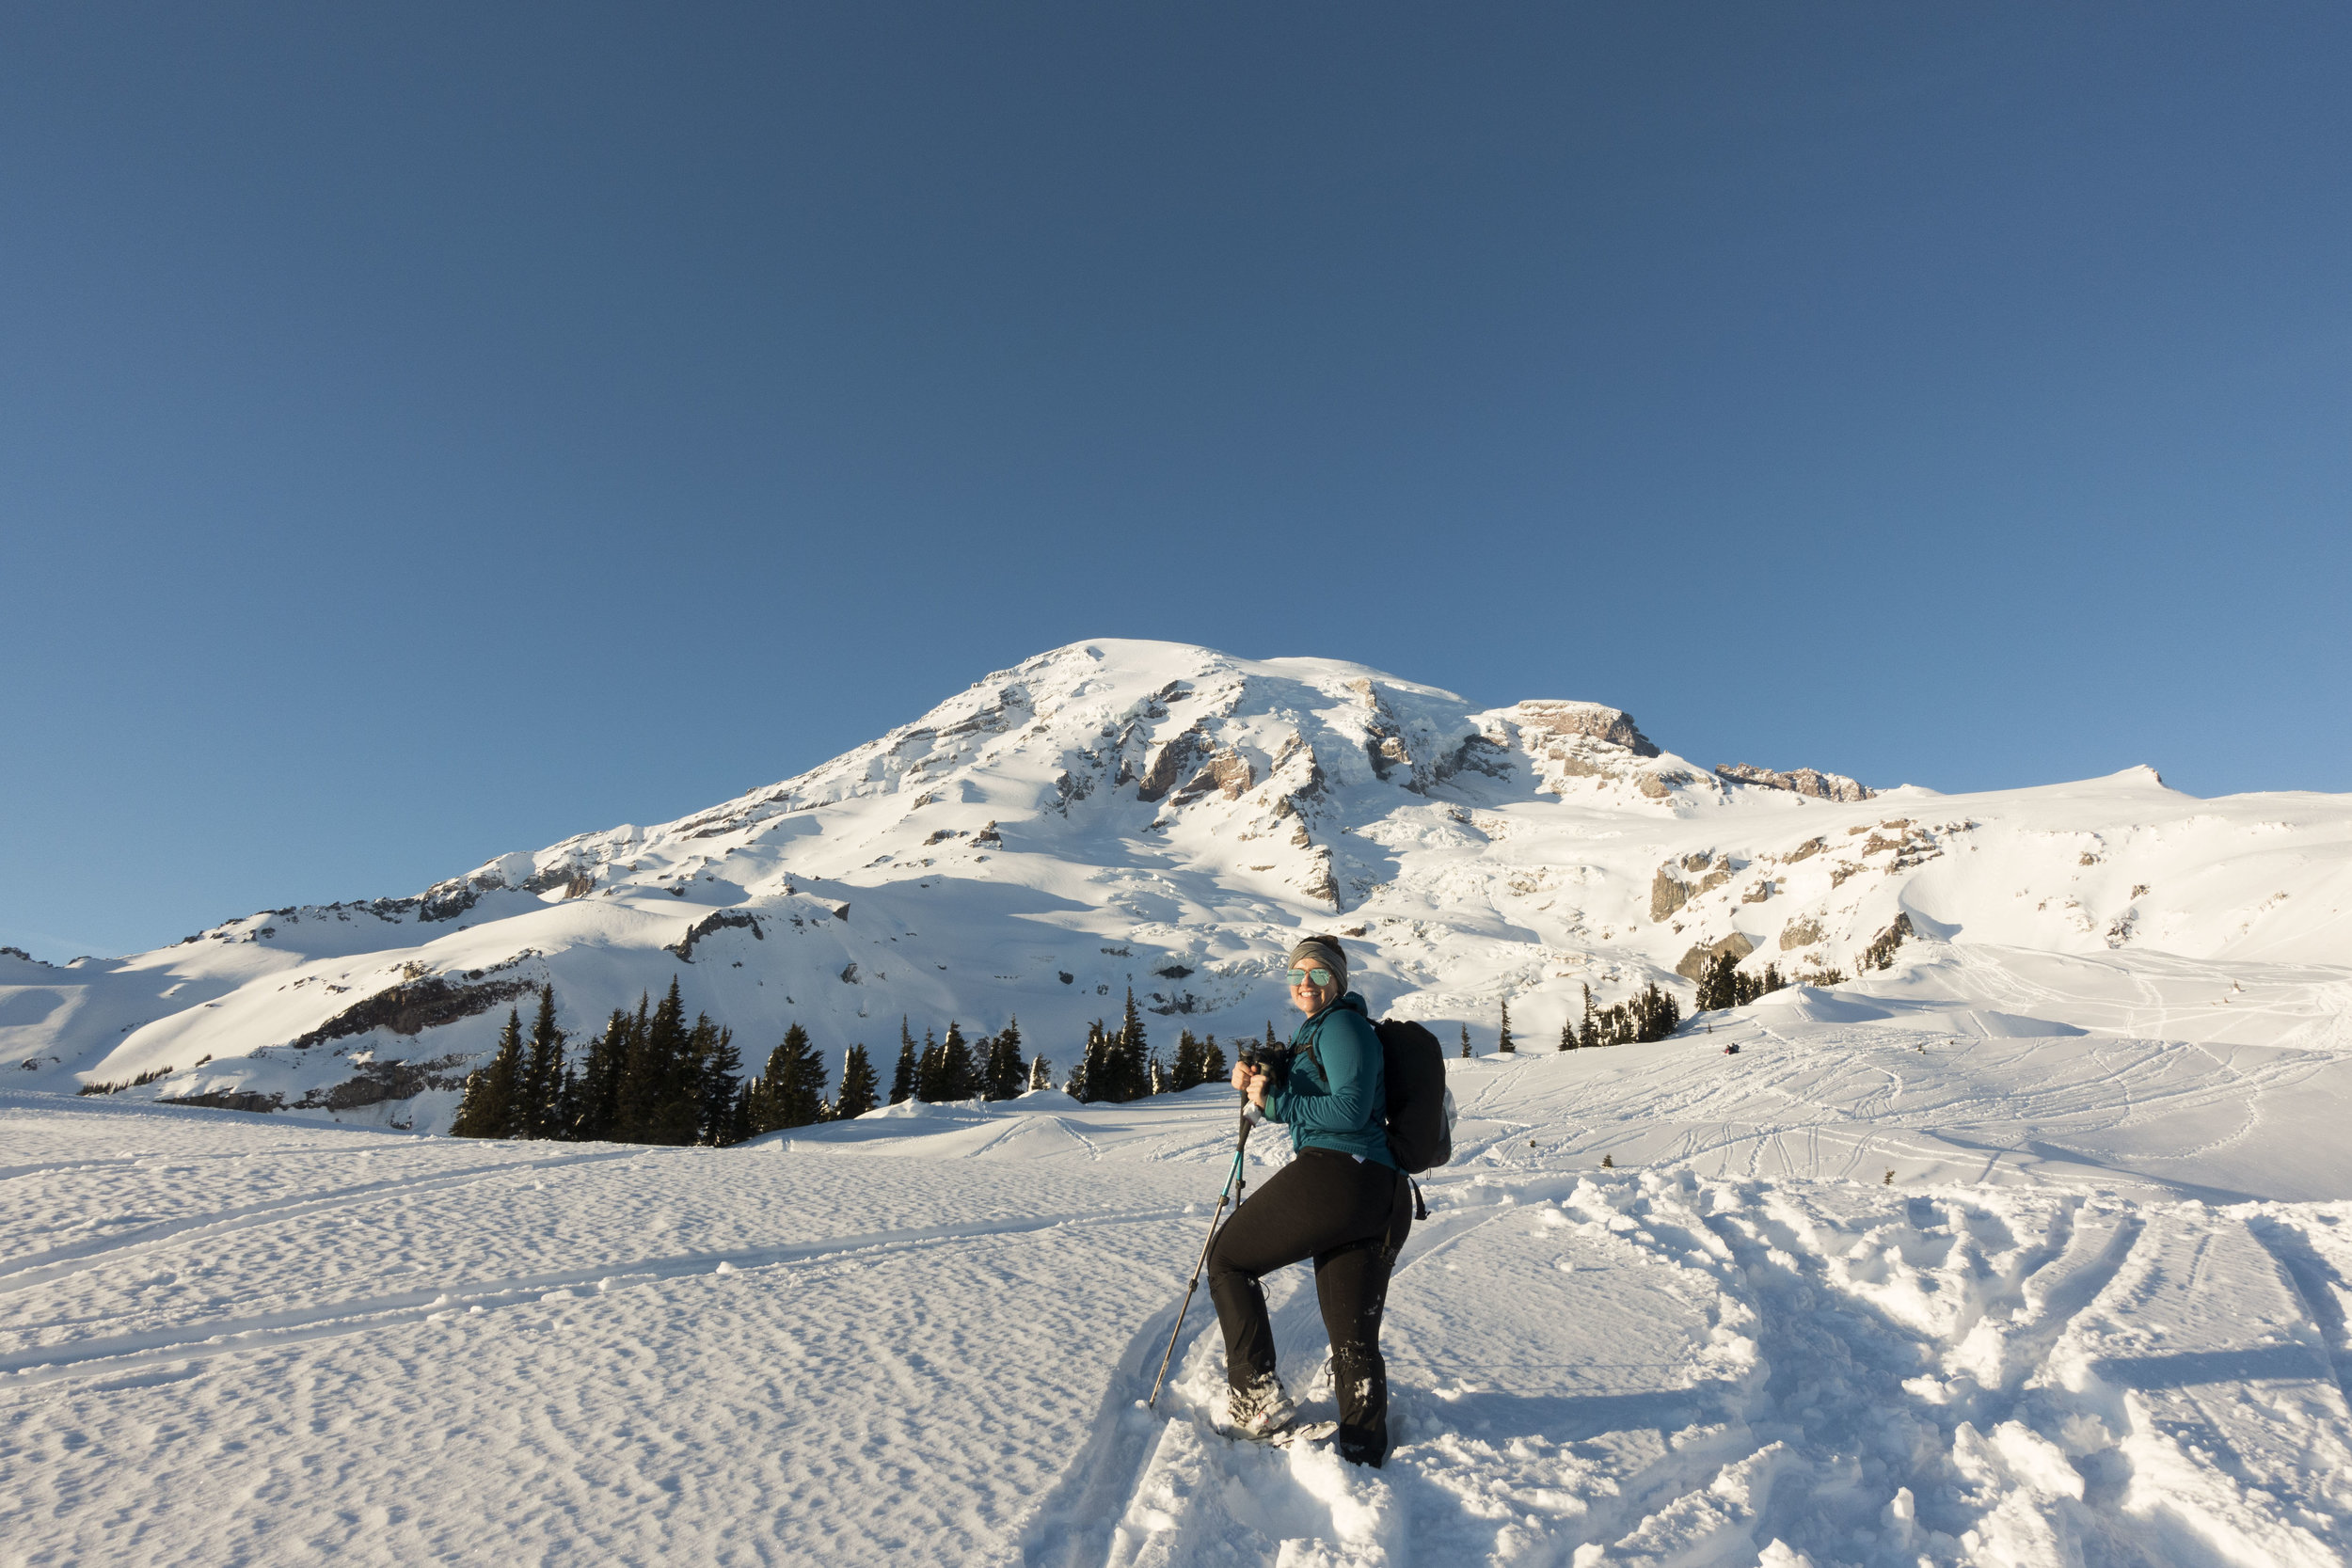

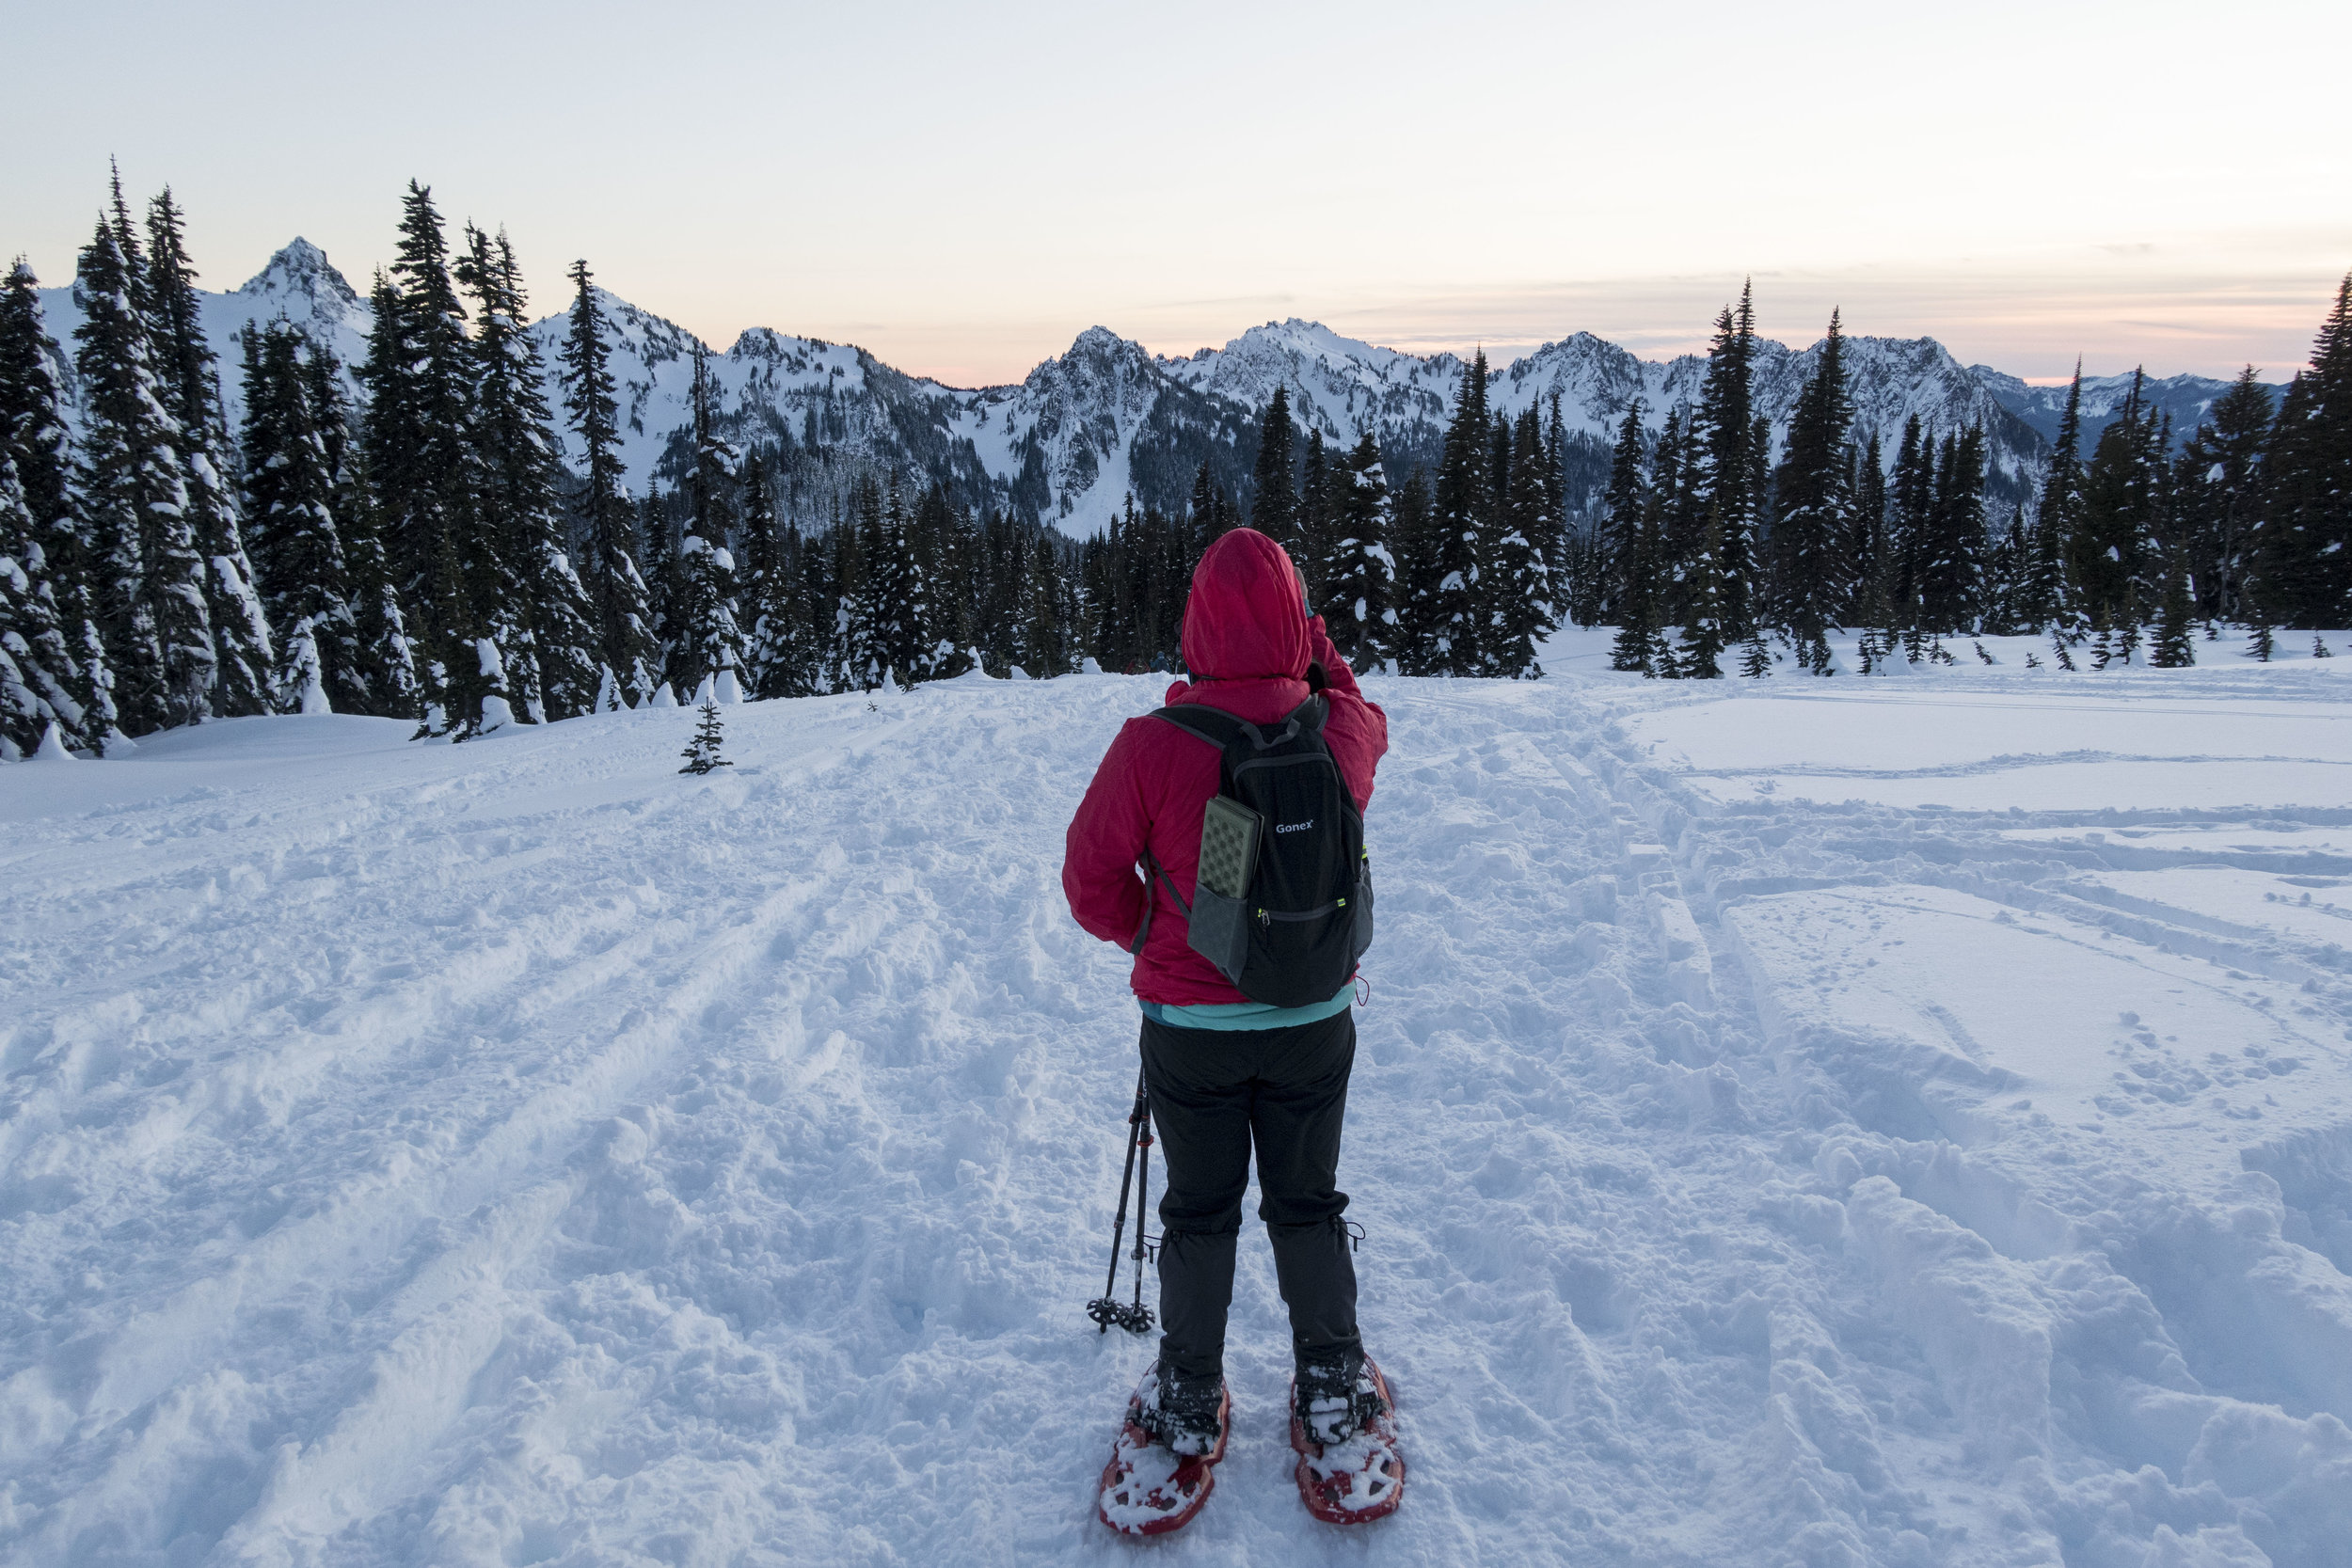

 Location: Paradise, Mt. Rainier (2.5 hours from Seattle)
Where do I begin, my friend Doris and I have been talking about snow camping with the PNW Outdoor Women's group since at least last summer. We have multiple friends that did it last year and only had good things to say so we put it on our to-do list.
November came around and Teresa, the amazing coordinator of this event, put out the link to sign up and Doris and I were lucky enough to get a spot within the one minute it sold out. Talk about competitive. So this was for sure happening and I analyzed the gear list and figured out what I had and needed to get. Let me remind you I am not even a year into backpacking yet, so taking on snow camping while being a newb at 3 season camping, seemed way over my head. Things I bought which I didn't previously have were synthetic puffy booties for sleeping (these turned out to be one of the best purchases and kept us warm all night), new smartwool pants/ top (needed these anyways), I bought a new Enlightened Equipment quilt- not specifically for this event but got one that went to 10 degrees (no more mummy bag)!, snow stakes and I borrowed a bear canister and shovel from a friend. Overall wasn't too bad to prepare for. If you have been 3 season backpacking, you should have most of the gear.
Here was my final gear list:
- pack +pack rain cover
- sleeping pad
- down quilt + straps
- costco down blanket
- down booties
- headlamp + batteries
- 2 Nalgene's
- stove + fuel
- snow stakes
- pillow
- bowl + spoon
- Coffee mug + instant coffee, cocoa
- lighter/matches
- sunscreen
- first aid kit
- ear plugs
- toiletries
- heat packs/ hand warmer
- spikes
- snowshoes
- poles
- sit pad
- sun glasses
- base ball cap + warm hat
- smartwool top and bottom
- fleece lined leggings
- snow pants
- 2 pairs hiking socks
- patagonia fleece zip up
- light down jacket
- heavy duty ski jacket
- 2 pairs of gloves (light pair/heavy pair)
- toilet paper
- External battery charger for phone
- camera + batteries
- America Beautiful Pass
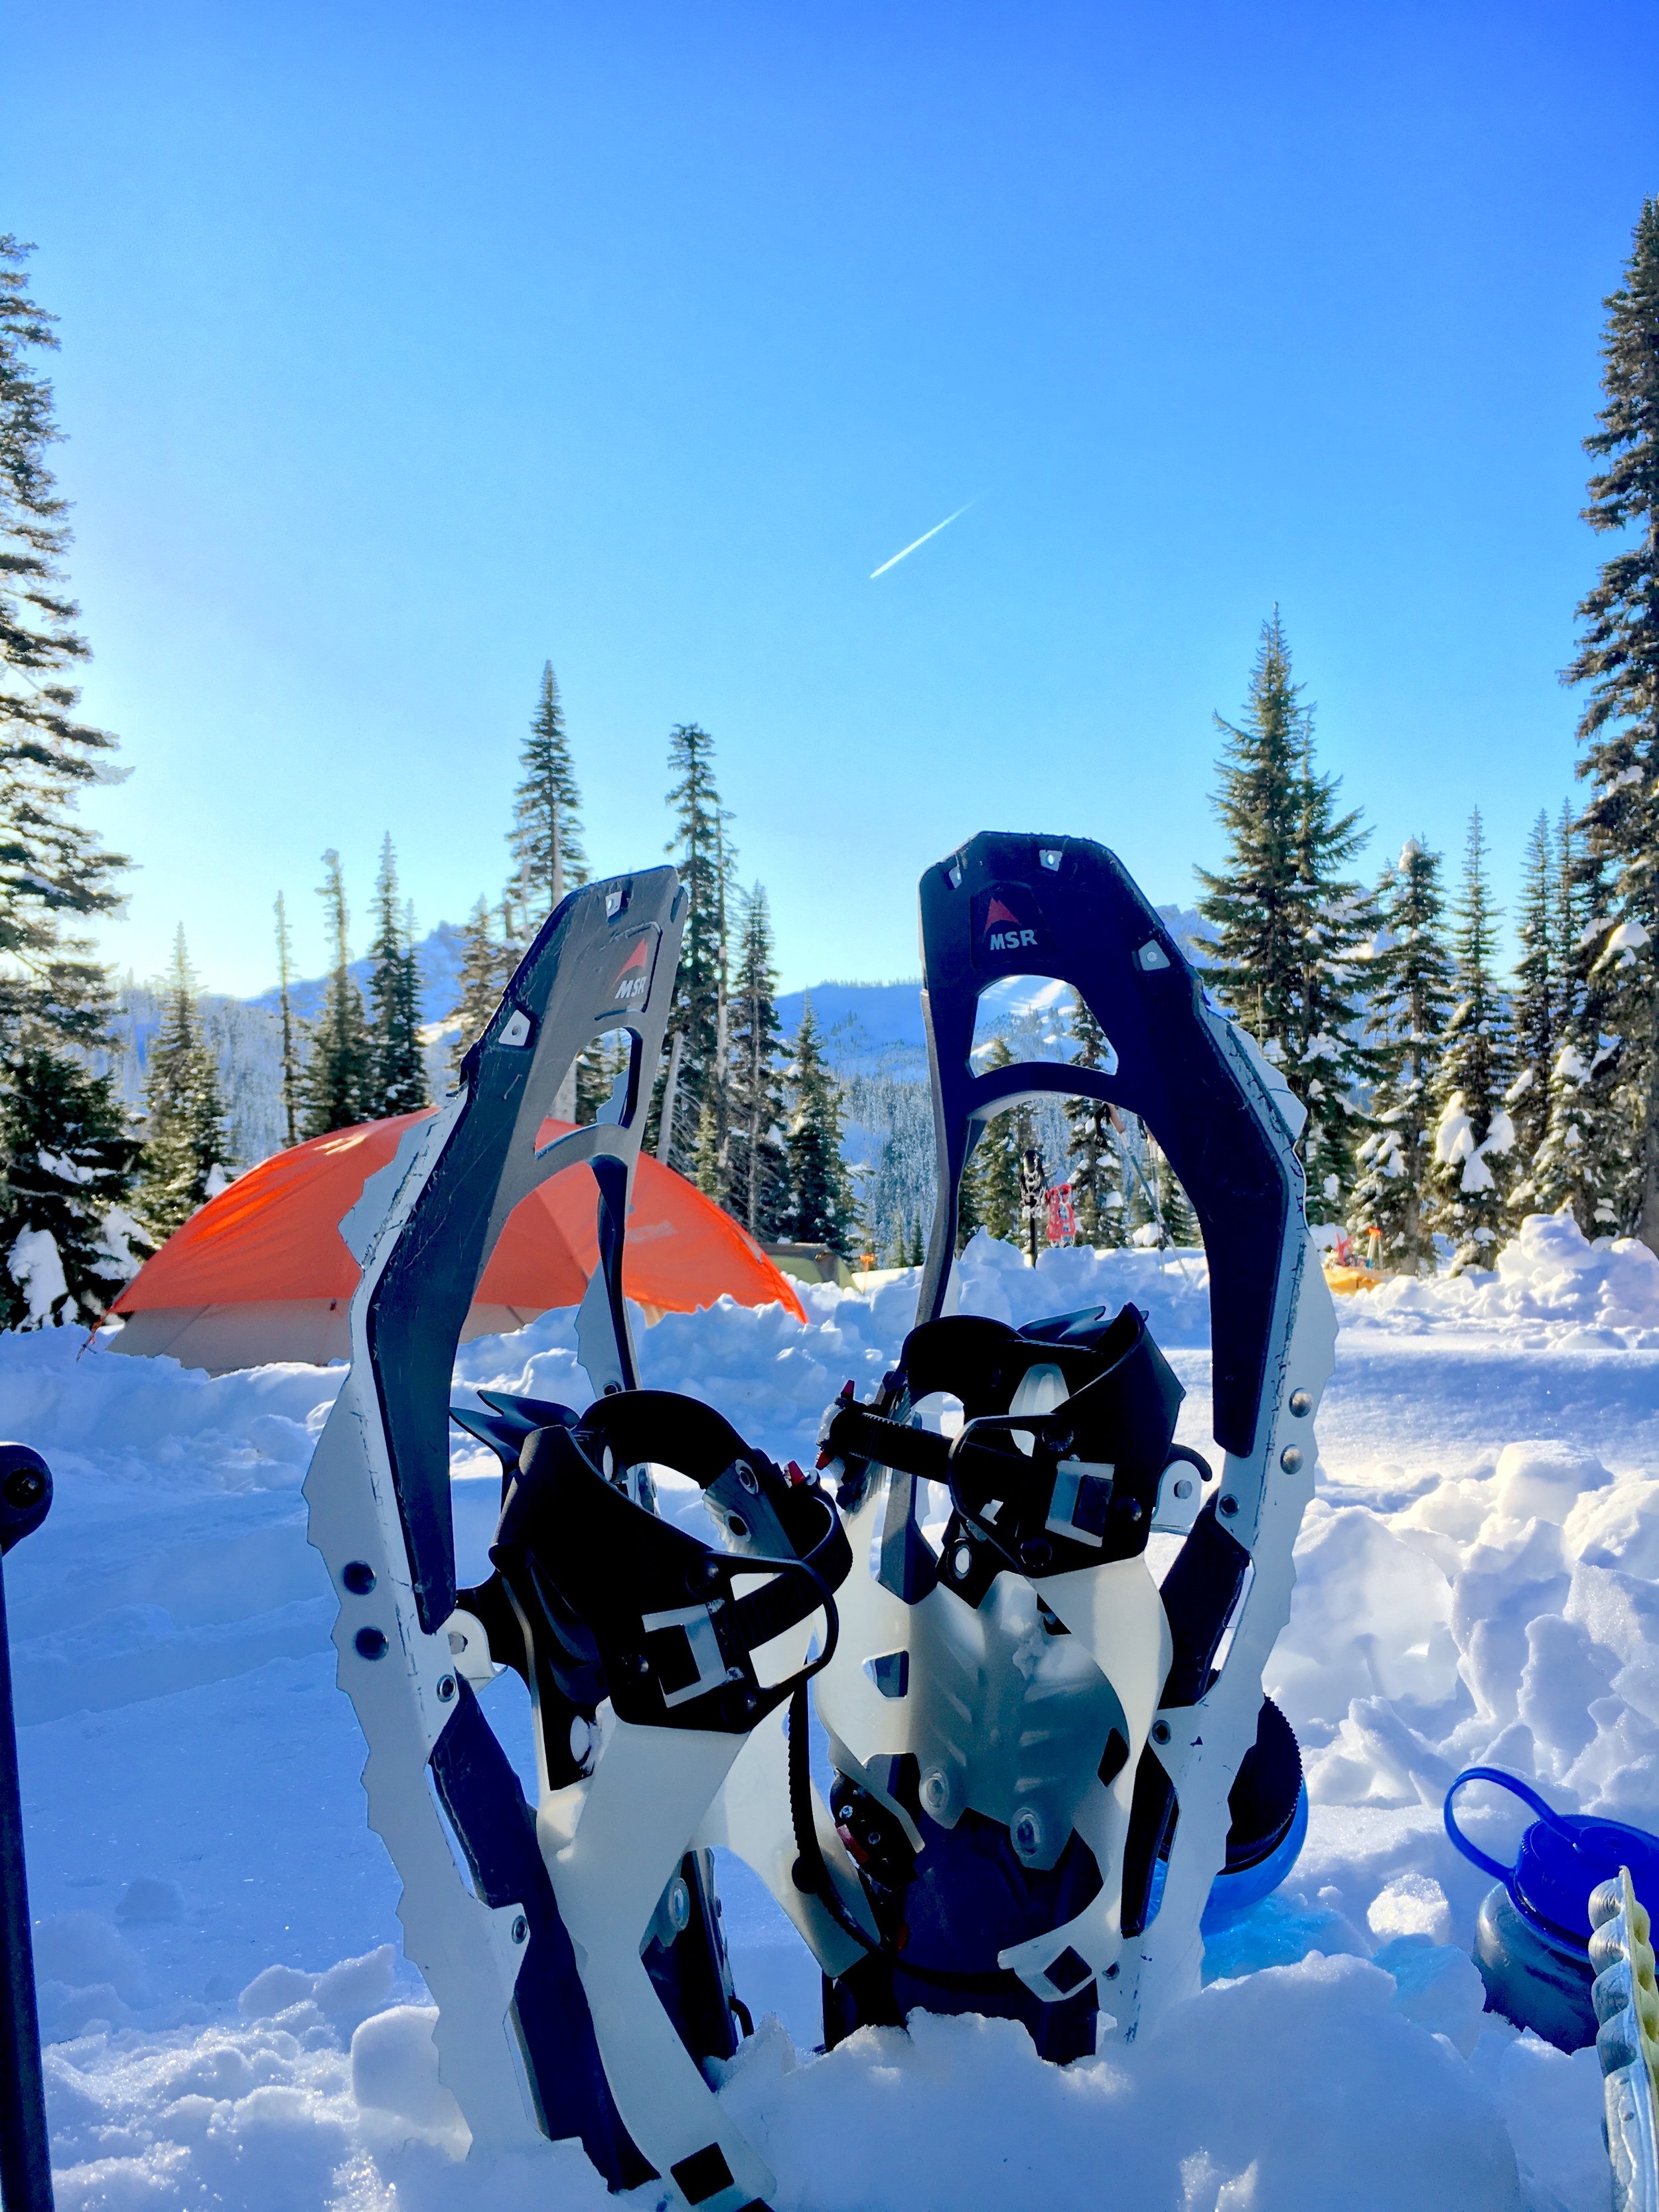
Like I said- PNW Outdoor Women's group hosted this event and did all of the ground work for us in securing permits for Mt. Rainier. In the winter, for groups 12 or more, you need to get a group permit ahead of time, for groups under 12 you can go day of and get one and pick any spot you'd like (300 ft from parking lot and trails). Such a unique experience to be able to camp in places you'd never be able to any other time of the year.
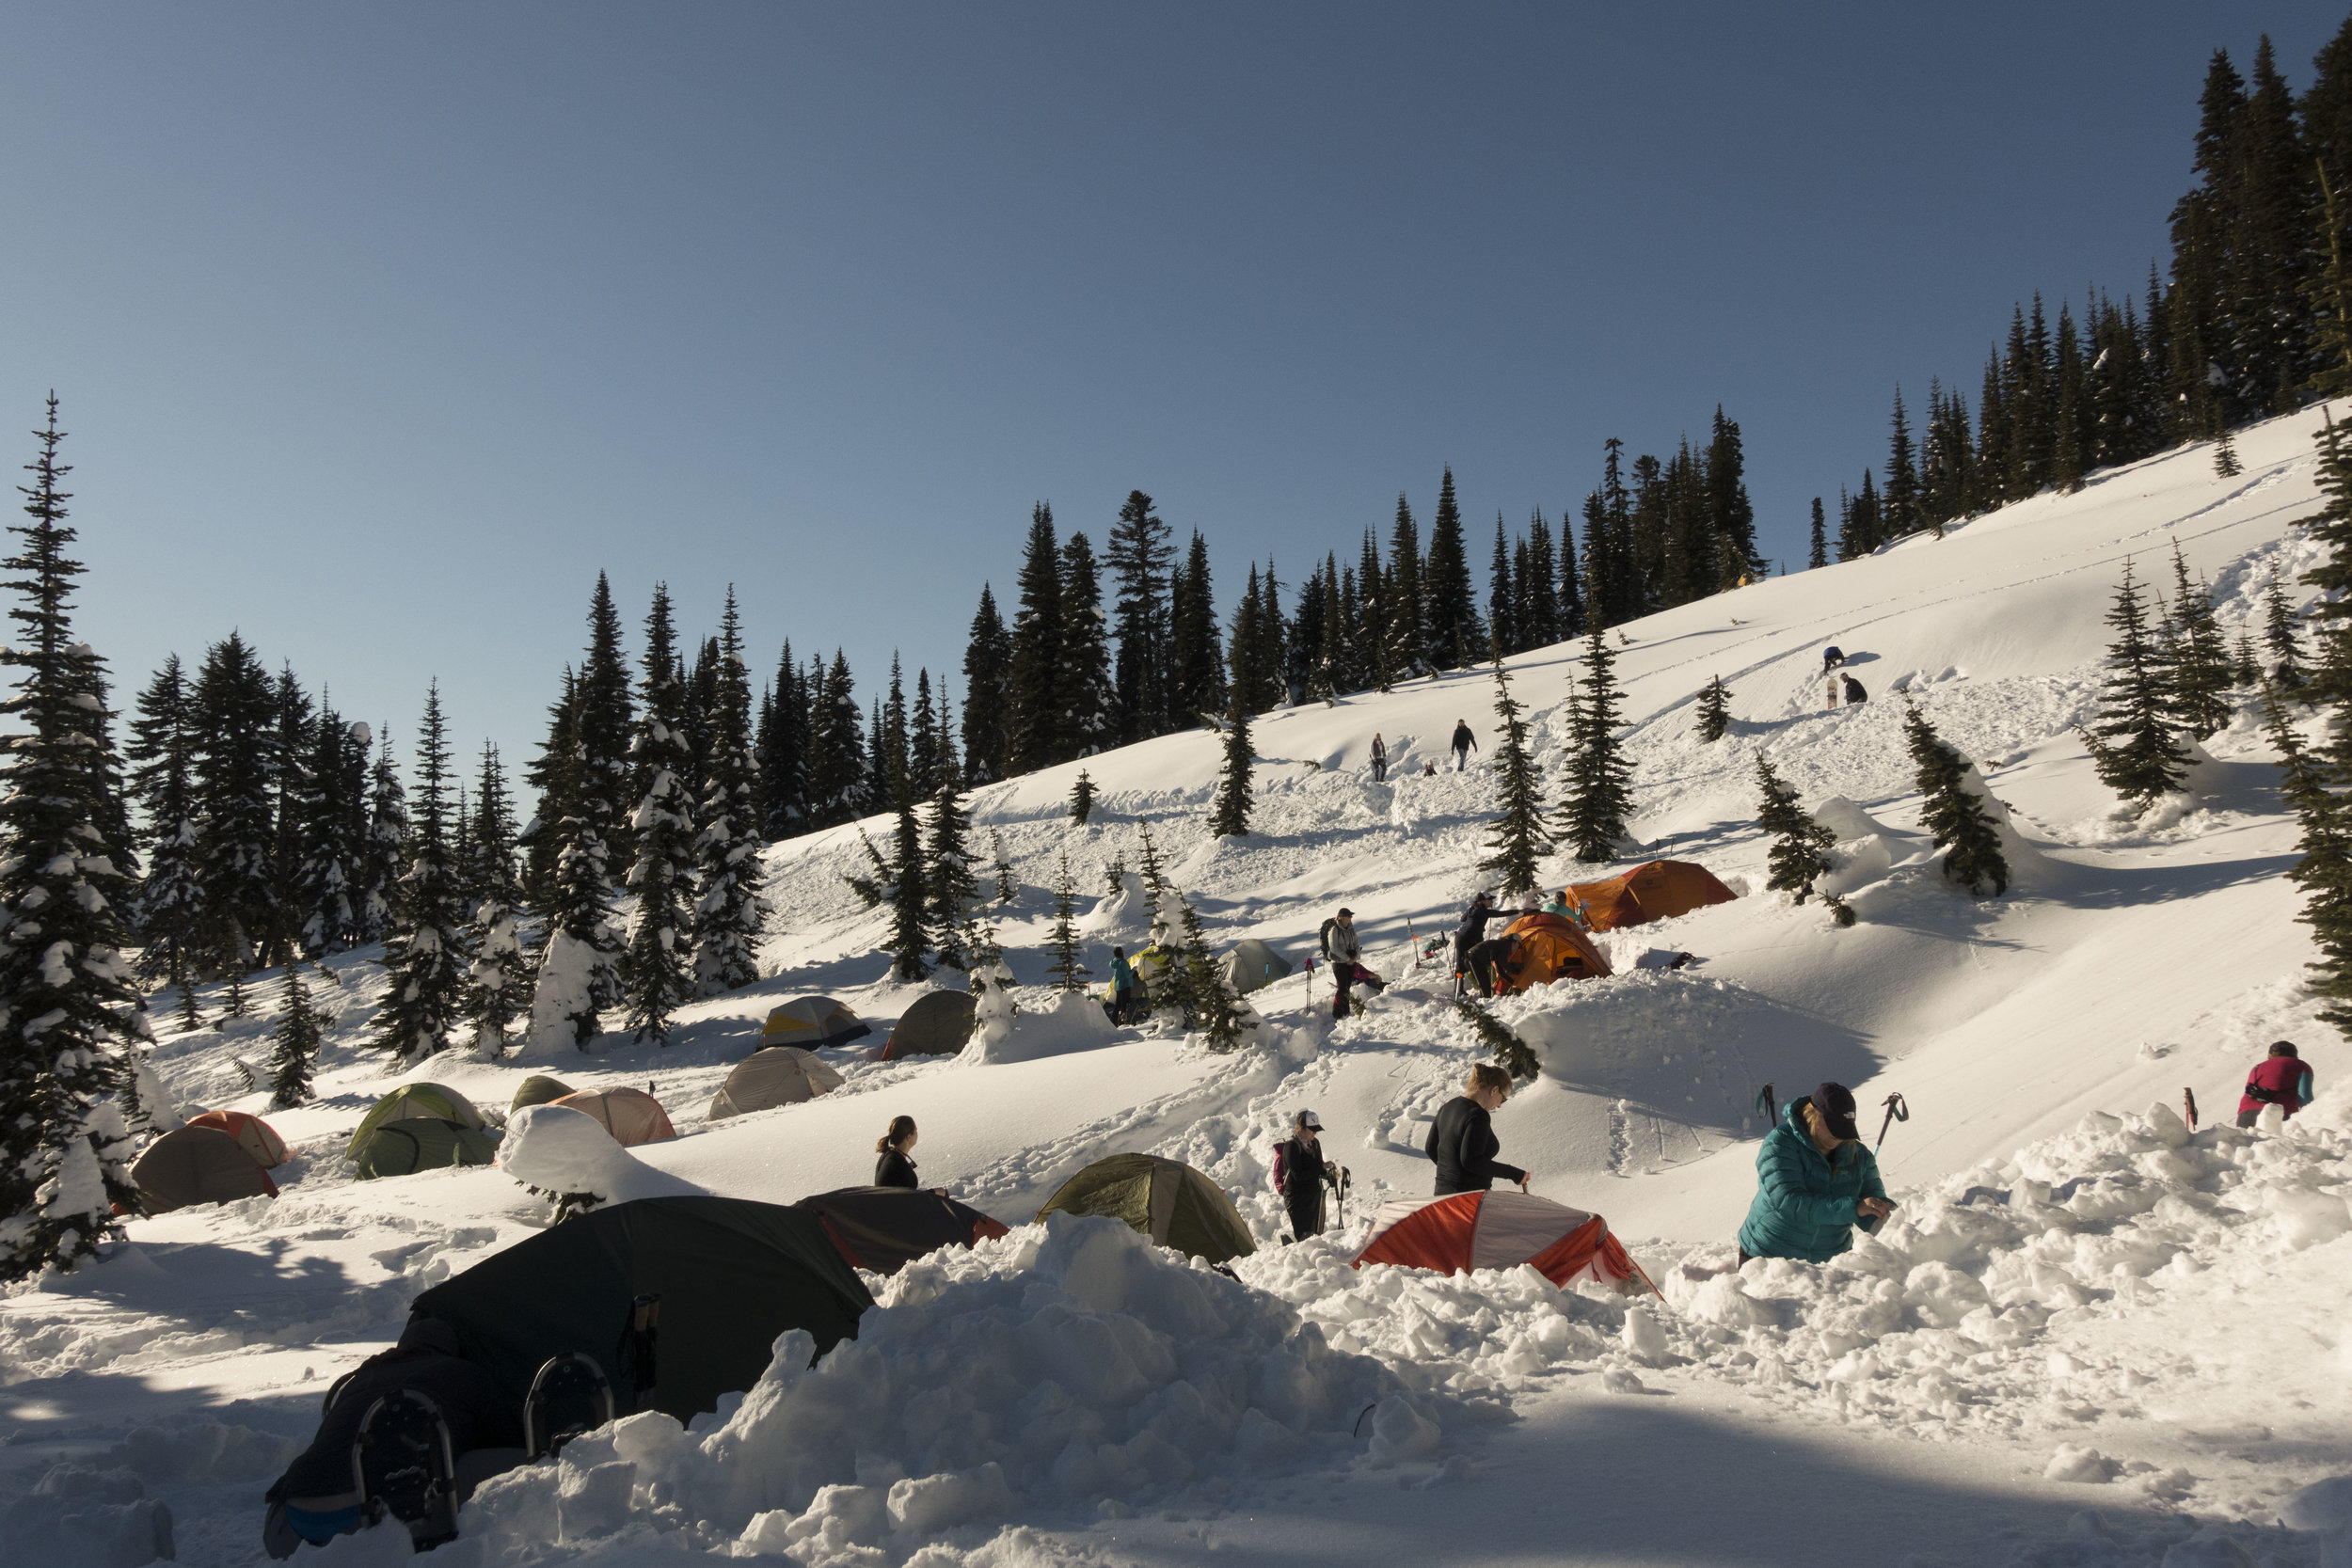
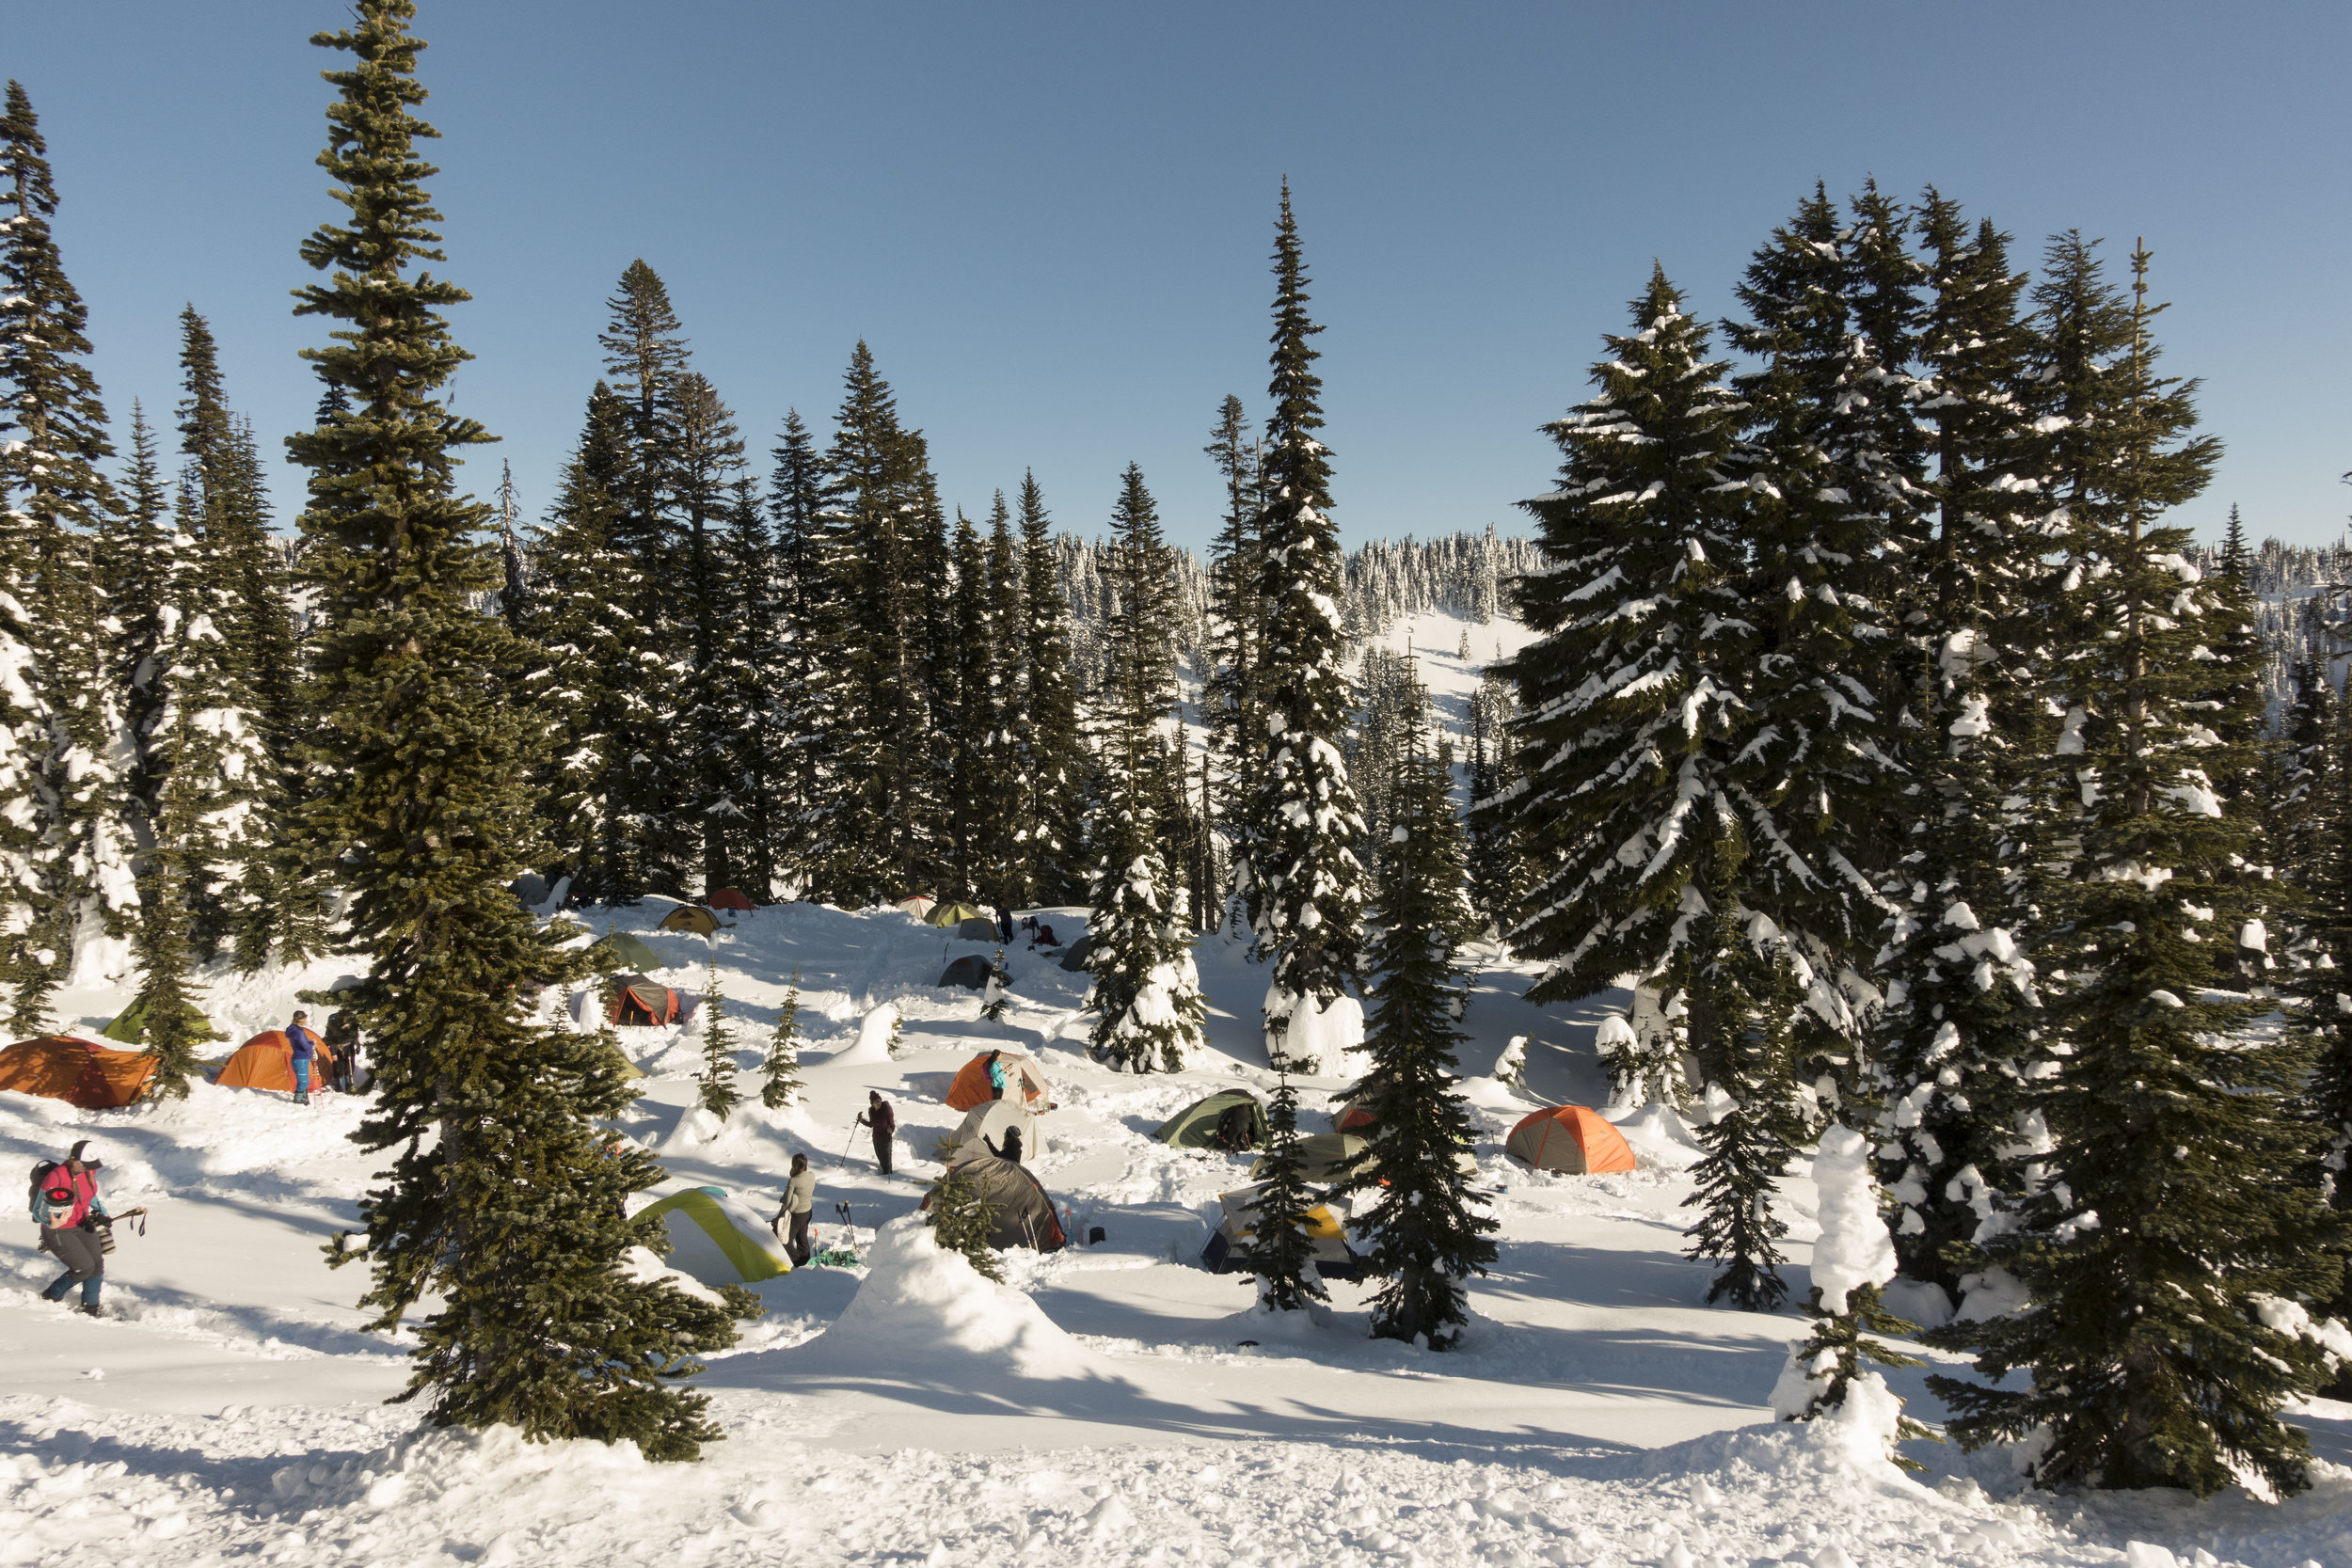
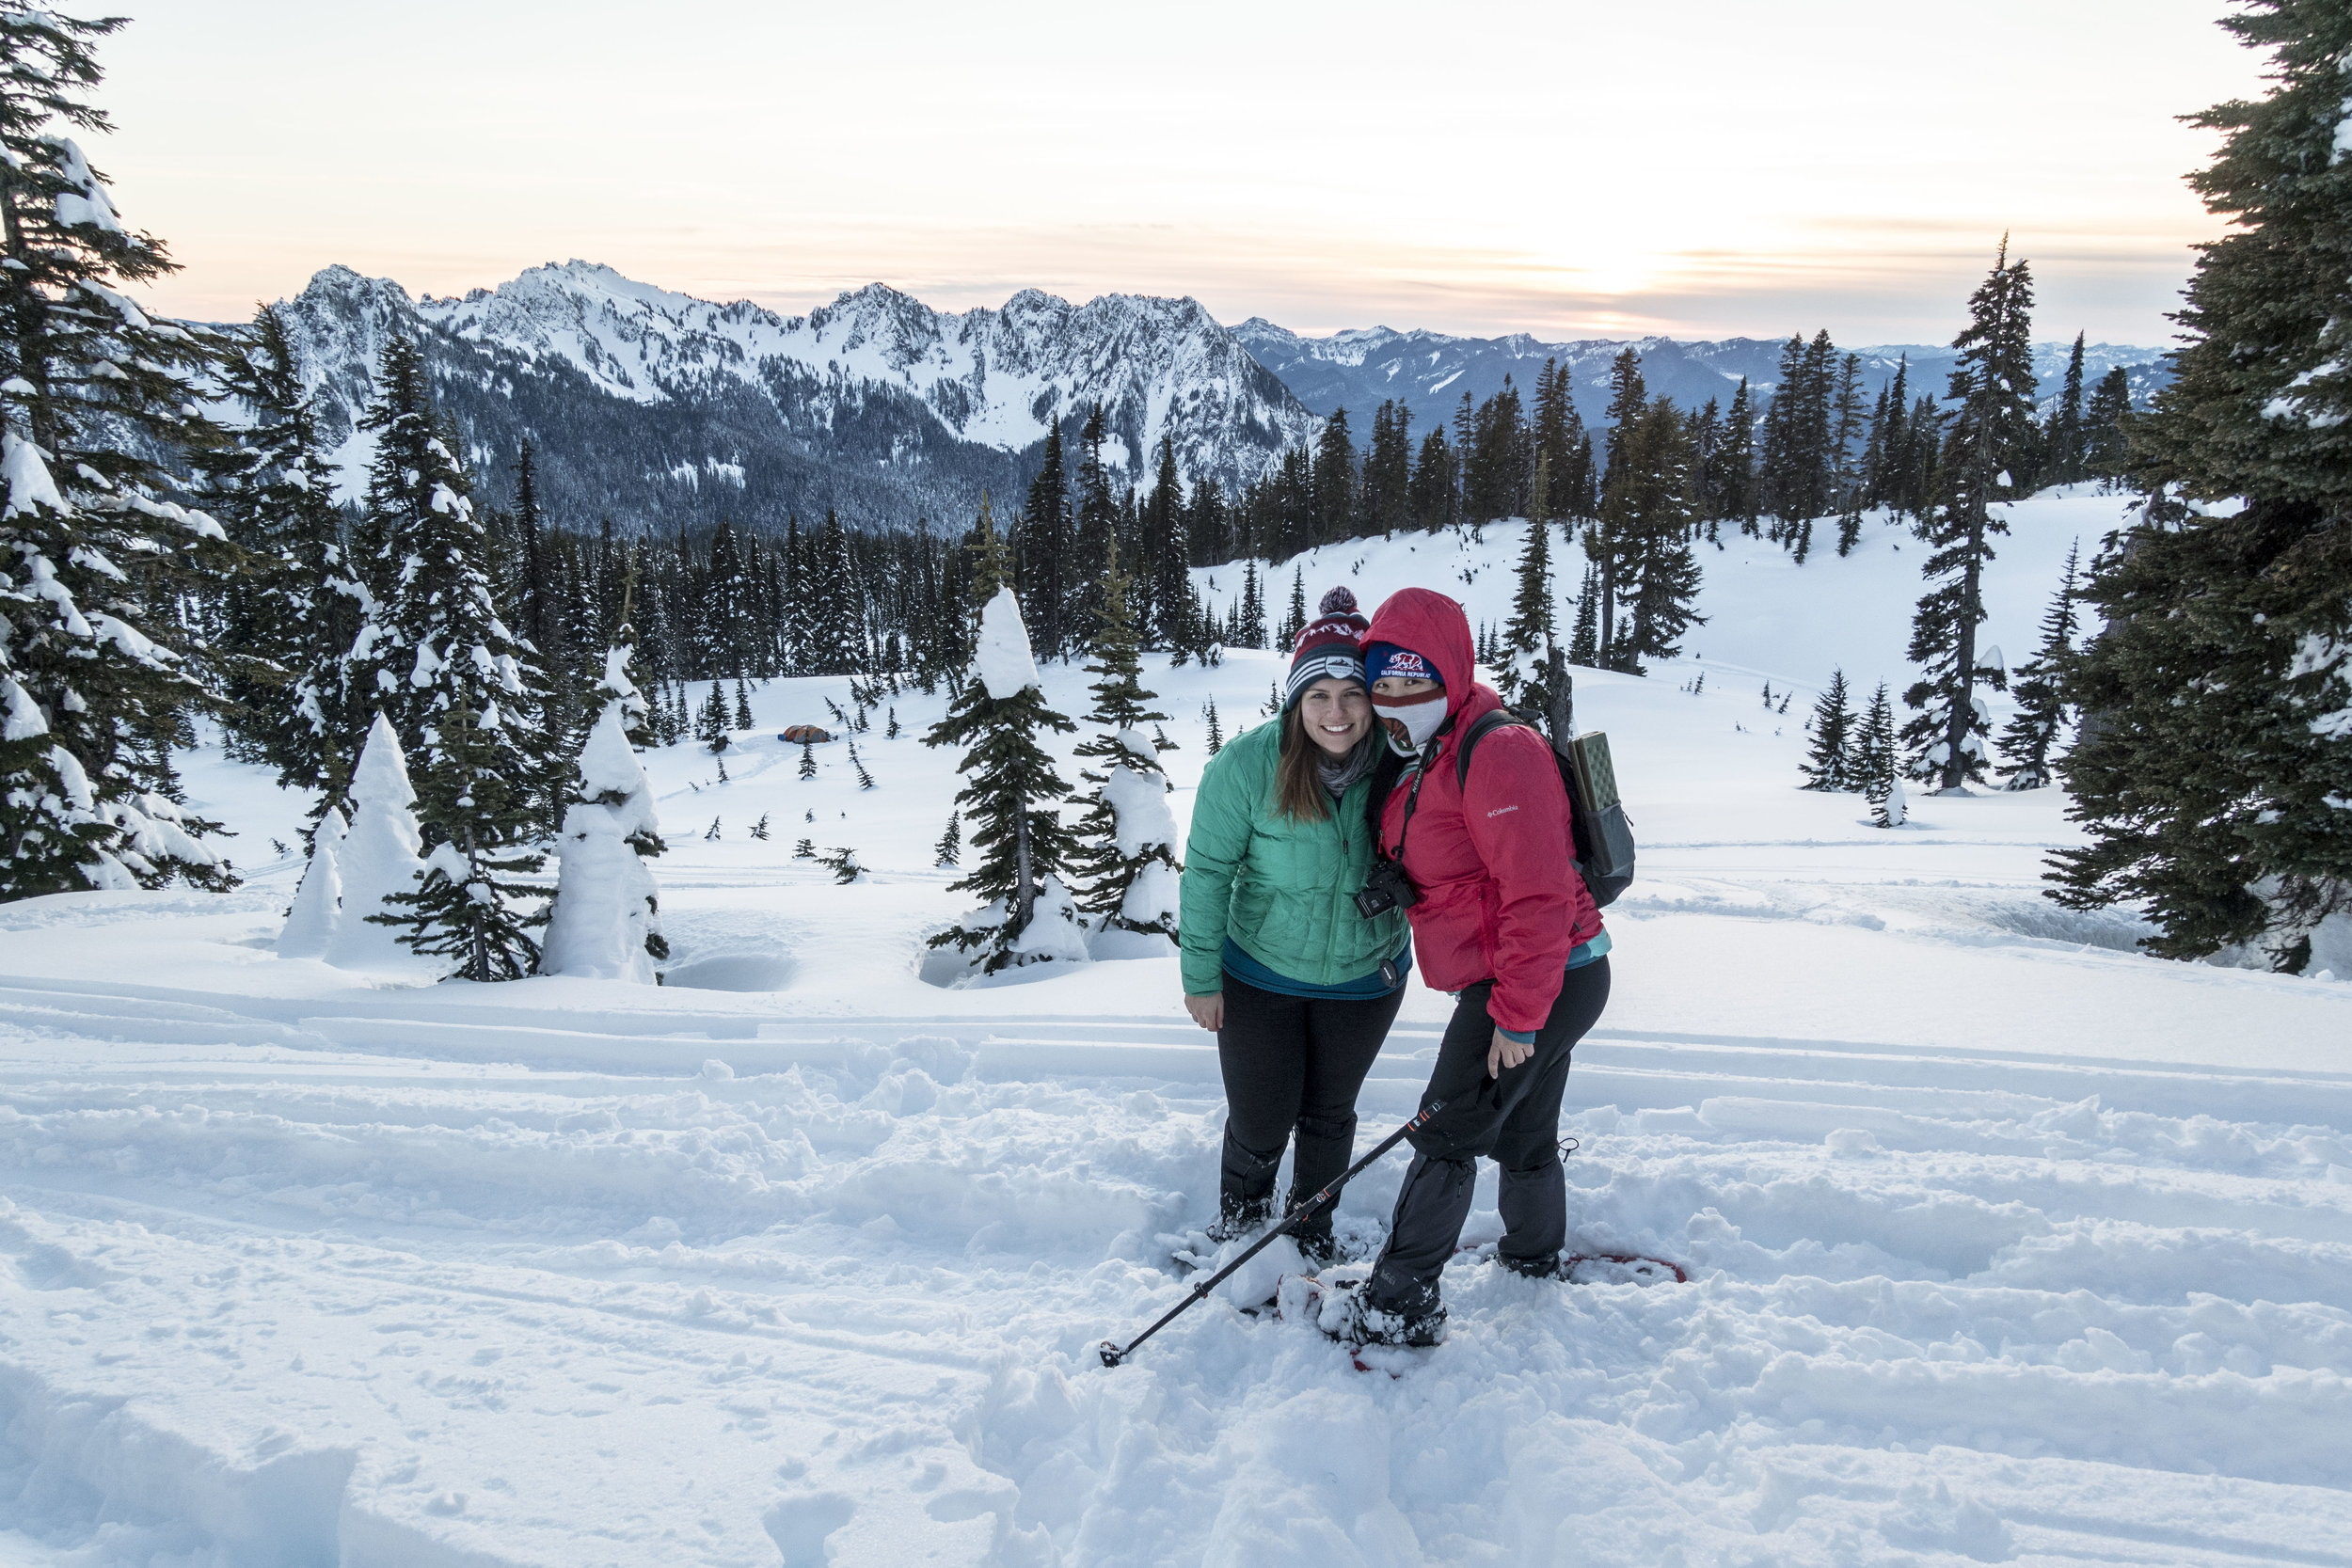
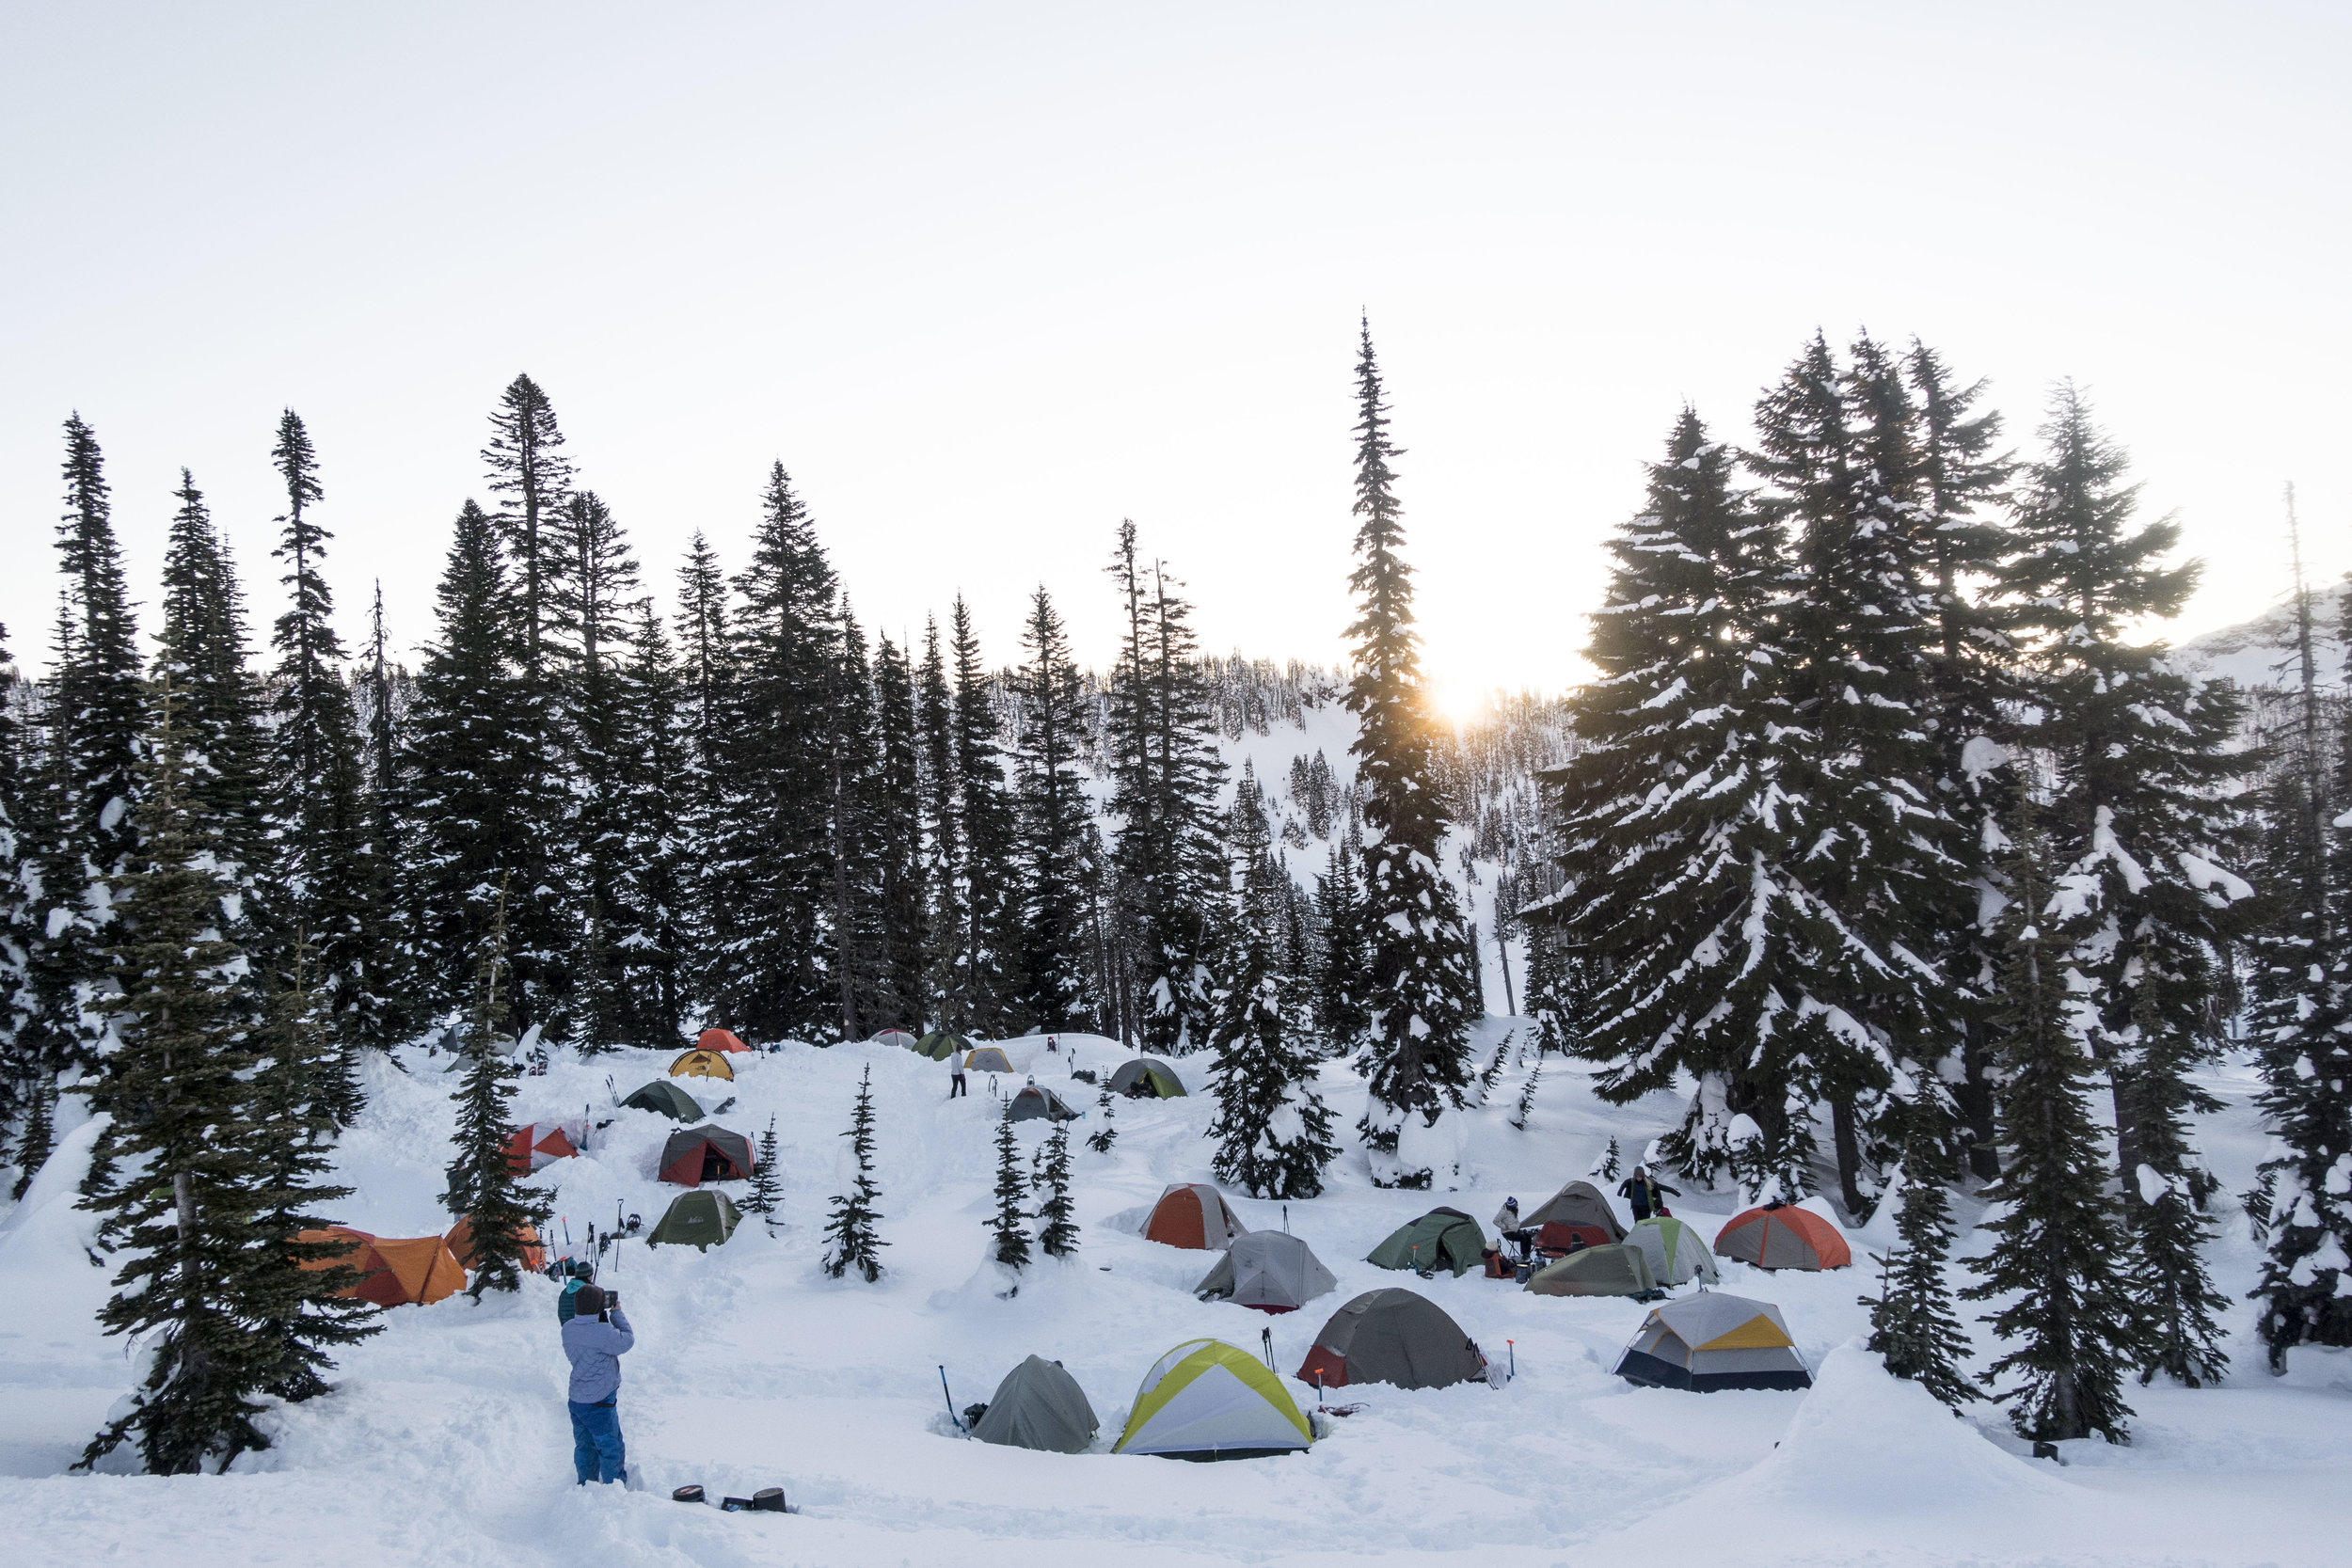
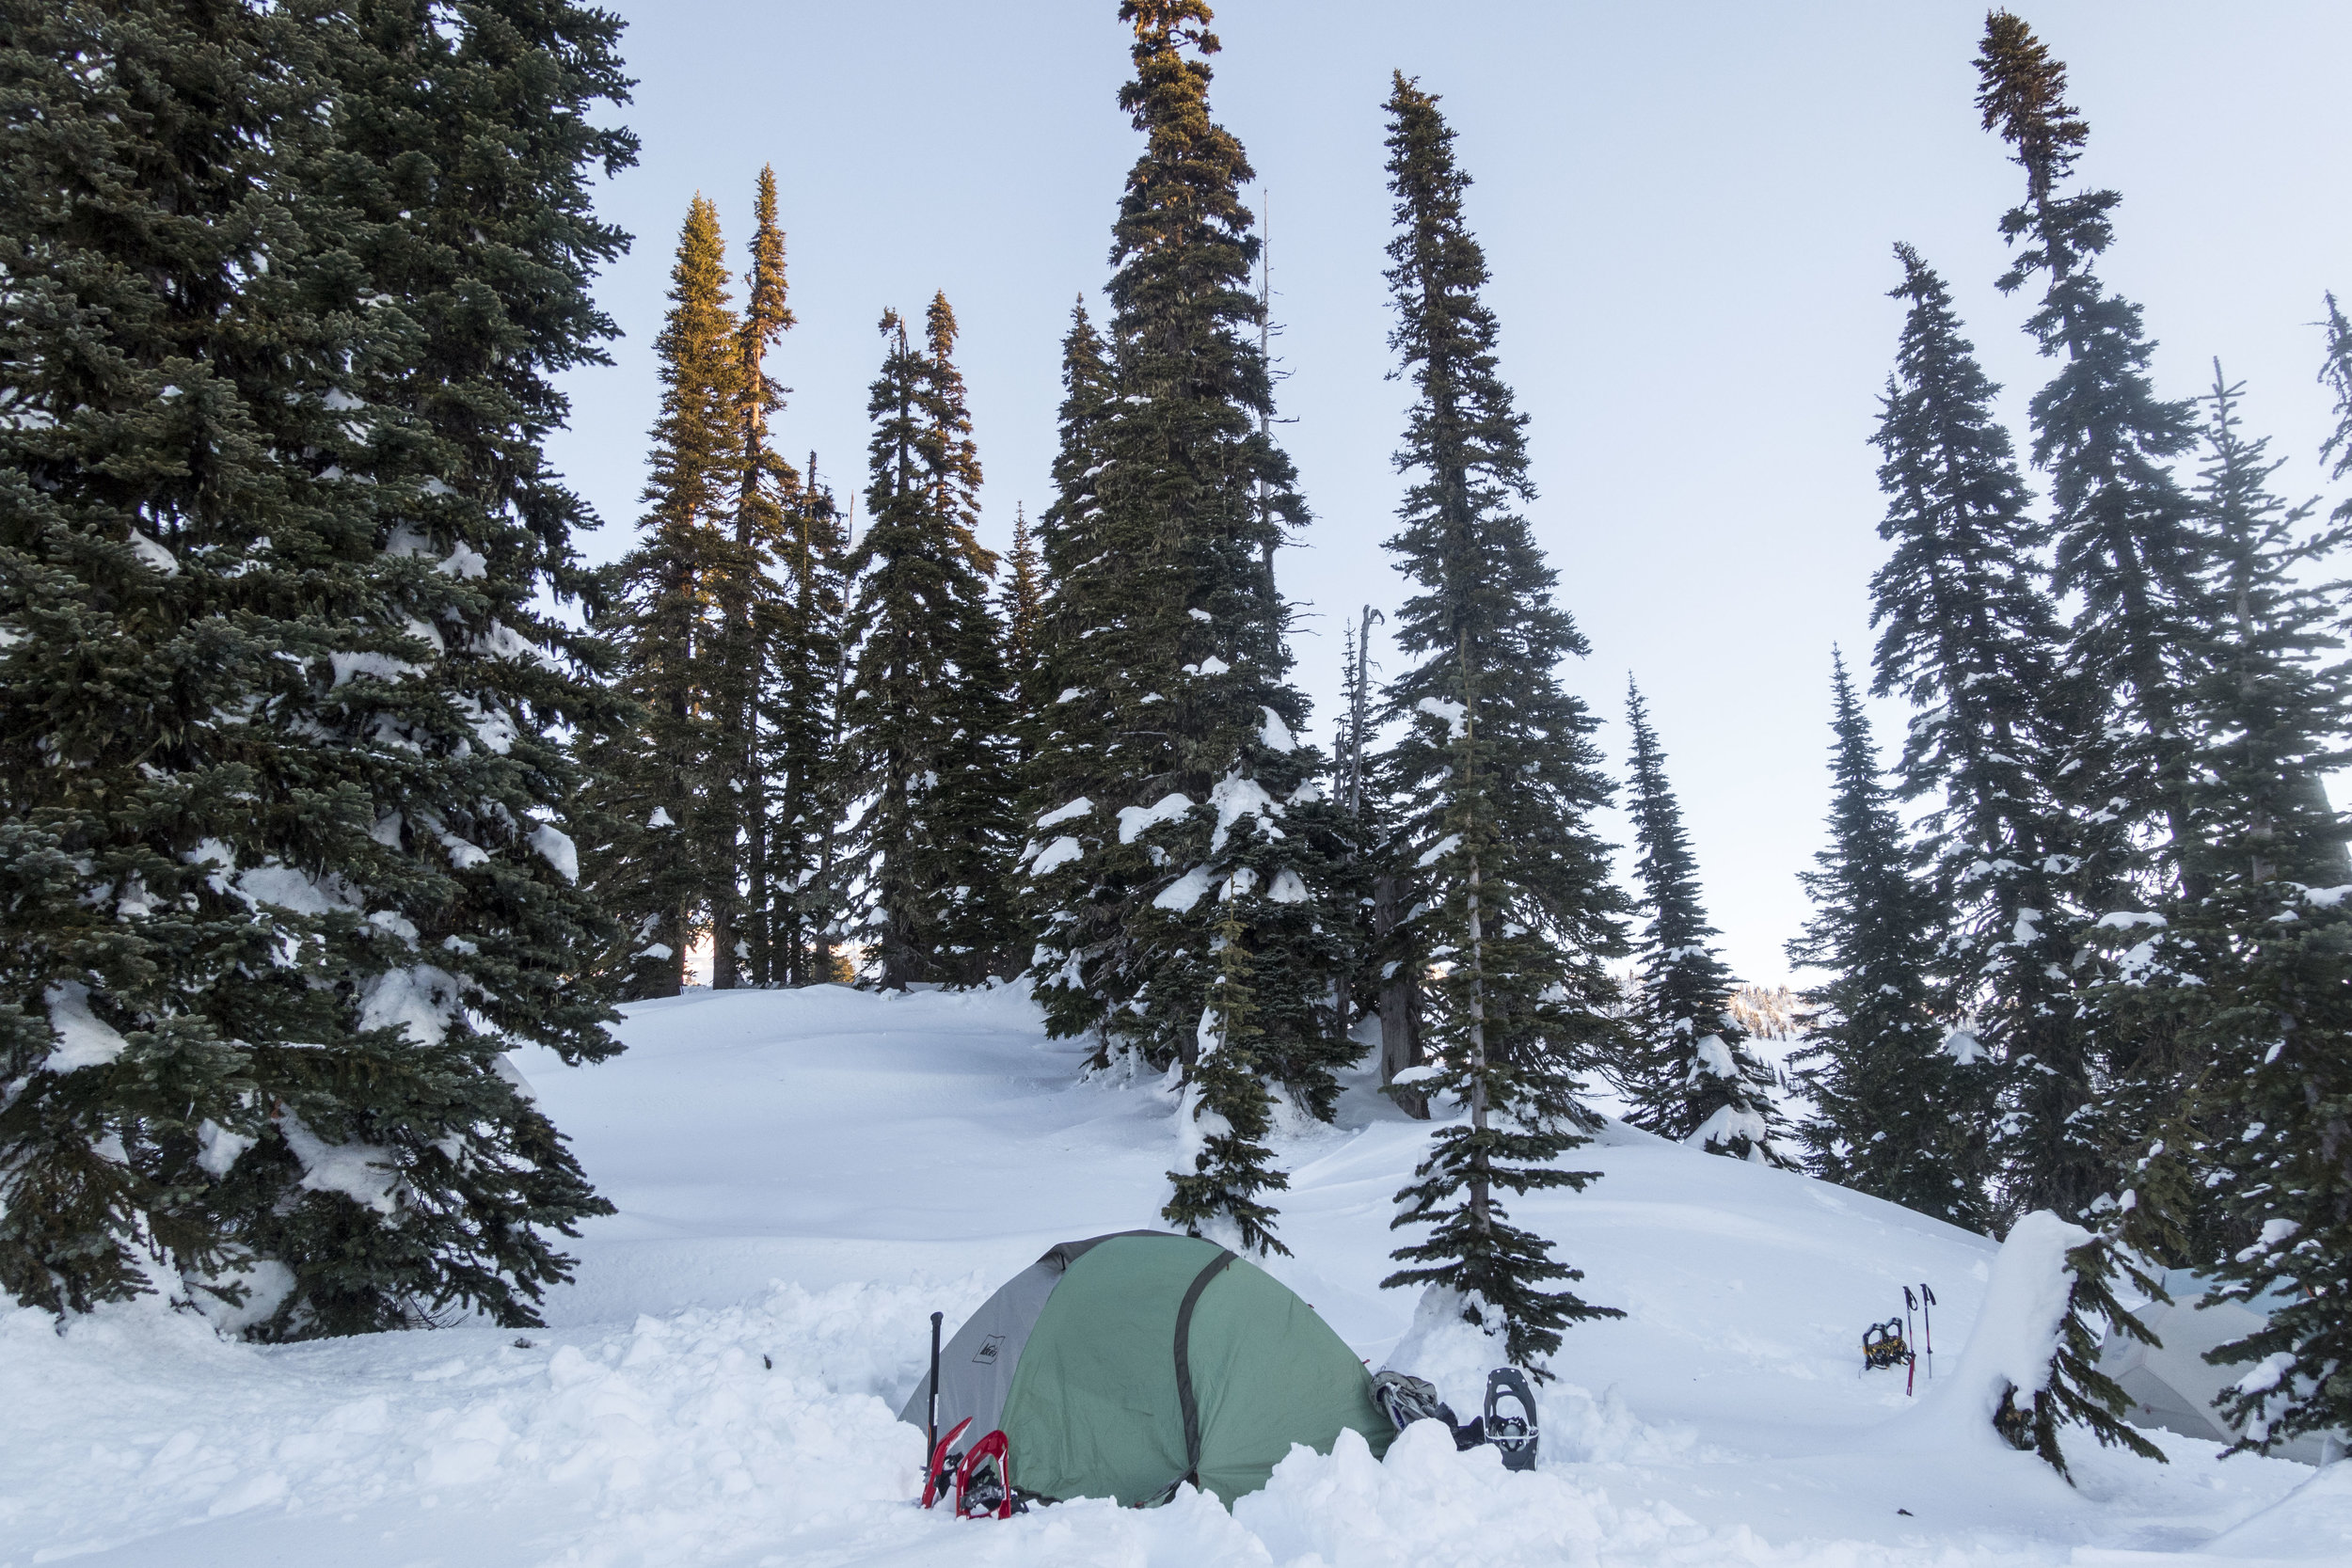
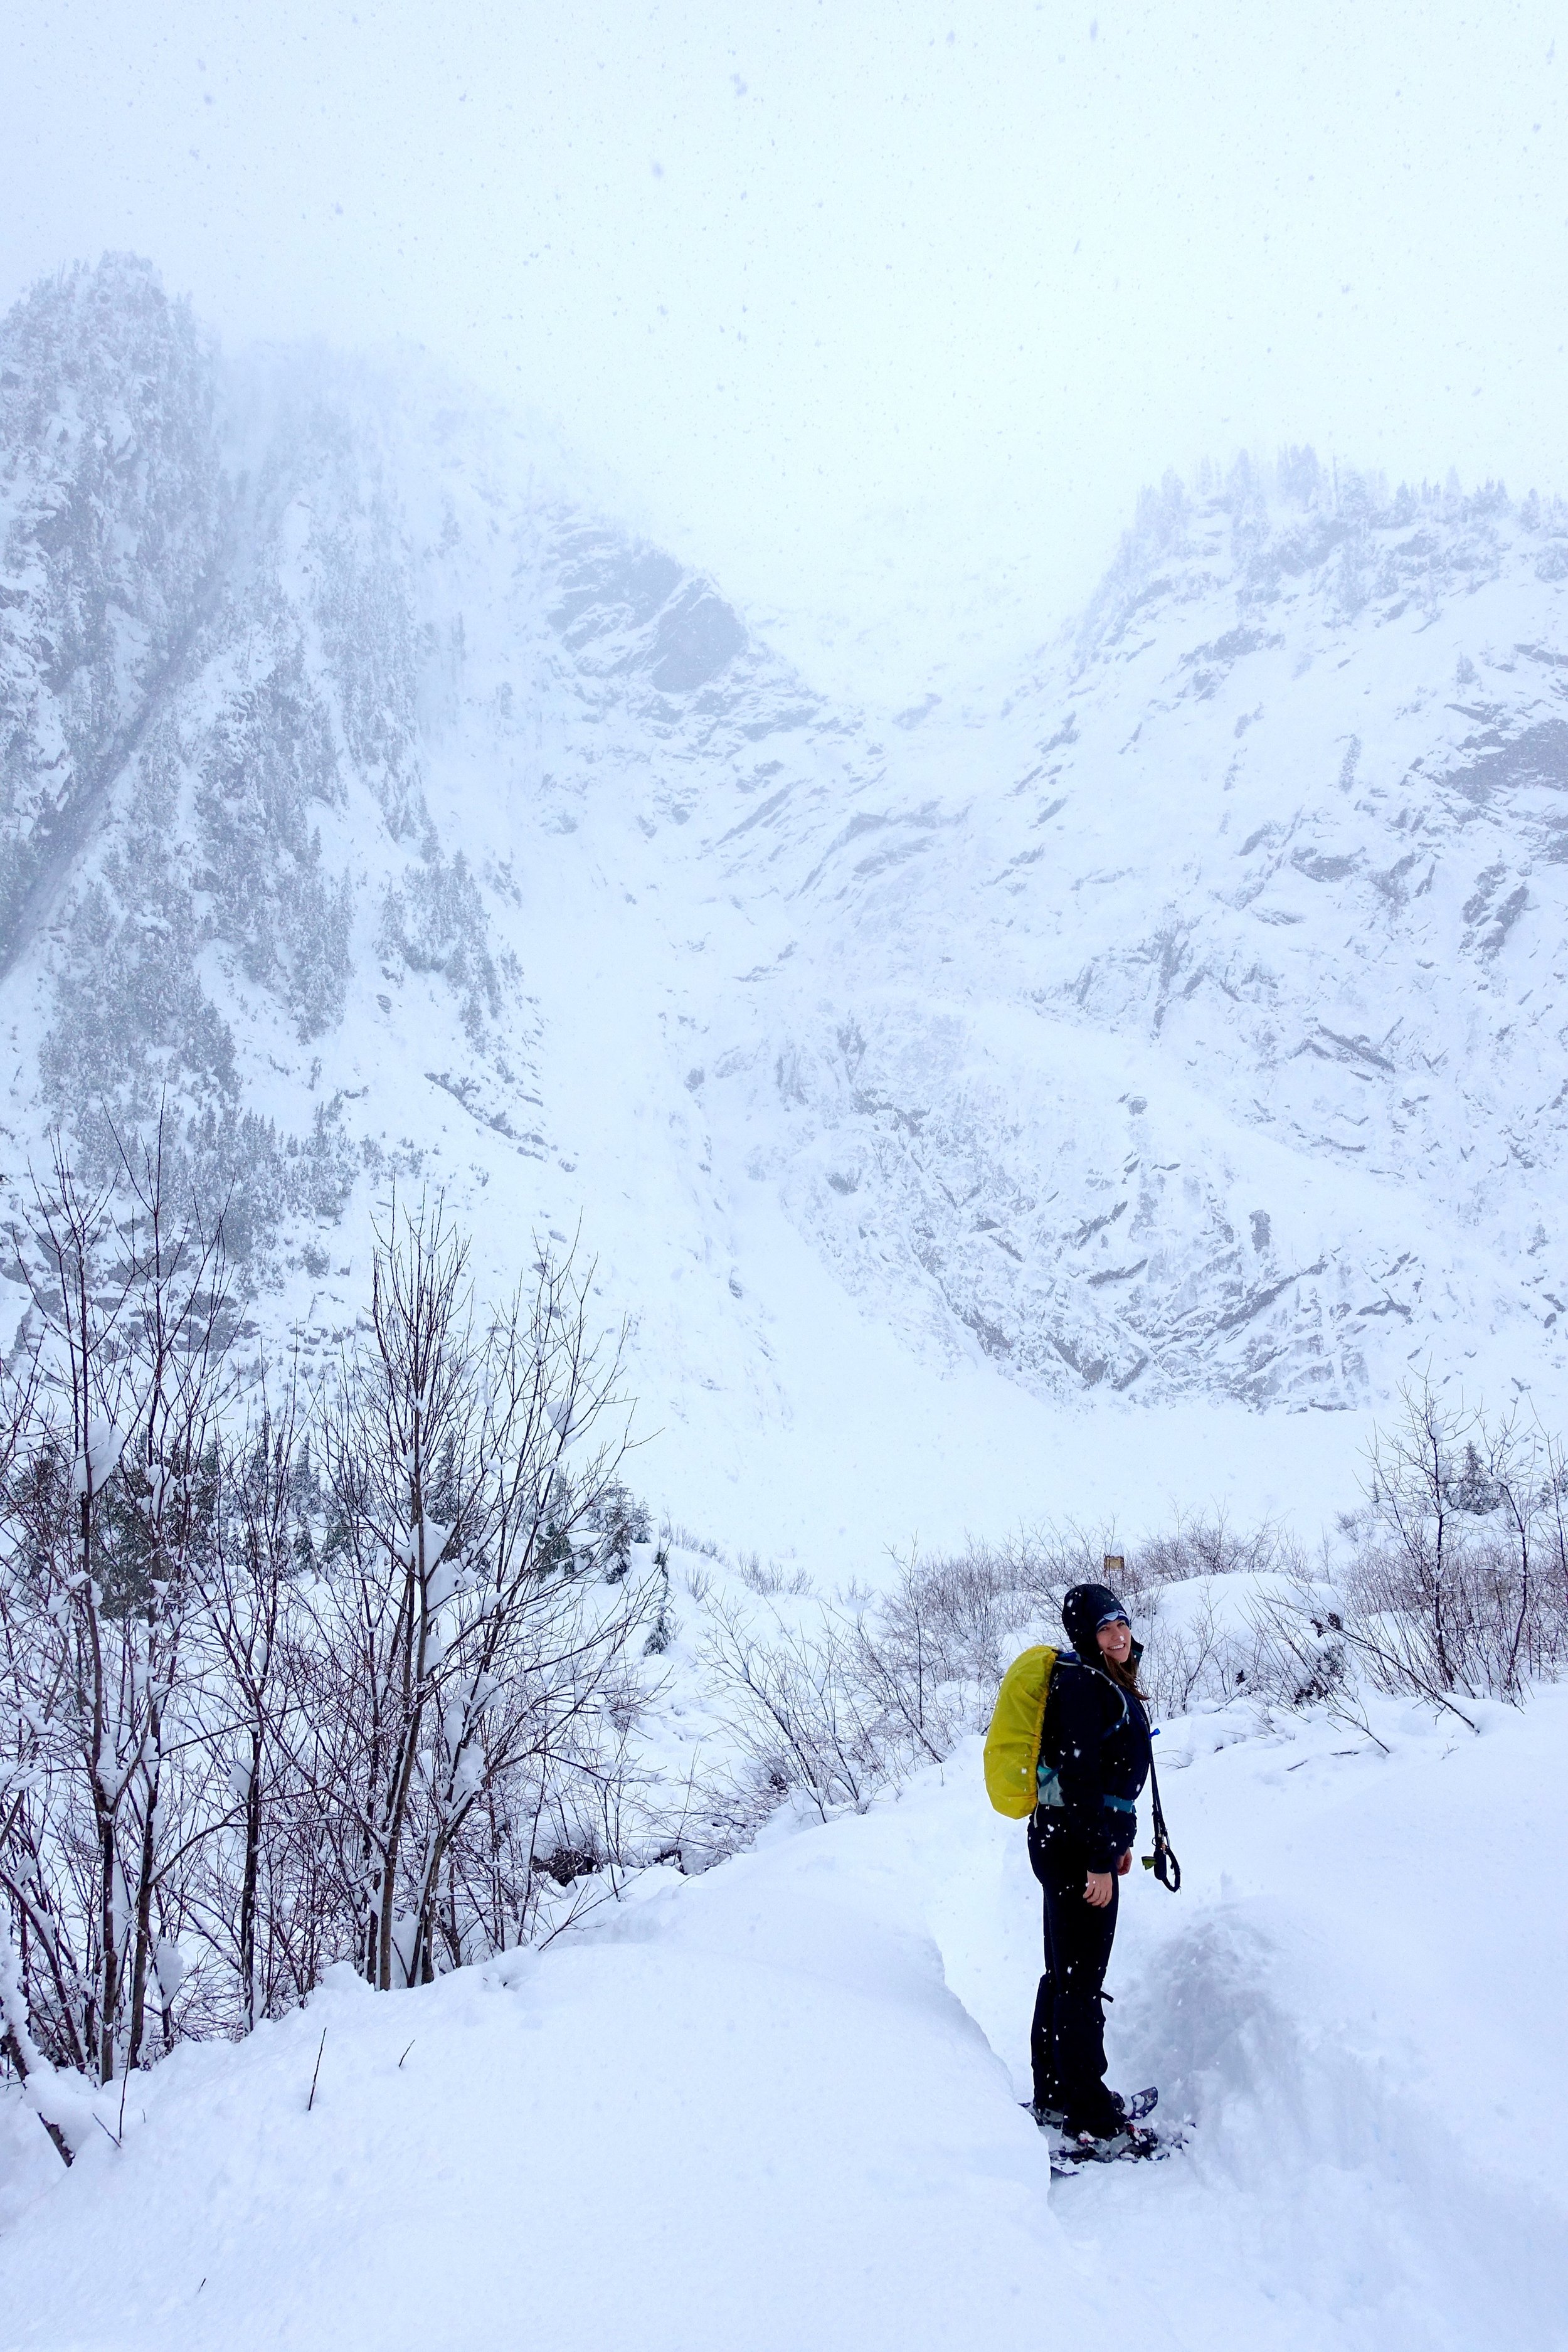
So the actual day of.. we carpooled with our new friend Heidi and met up with everyone at Longmire and did introductions and went over a few things. We made the icy, long, beautiful trek up to Paradise after that. All cars are required to carry chains in the winter, even AWD and 4WD. We didn't need to put them on but had them with. Make sure to park in the overnight parking section if you plan on spending the night up there. We all put on our huge packs, for which we got questions of how long we would be out there.. oh just one night, but you need a lot of gear! There ended up being 37 of us and we hit the trail, for about .25 mile and then set up camp behind the Paradise Lodge. My pack was over 40 pounds, so I'm glad we didn't have to cary it too far.
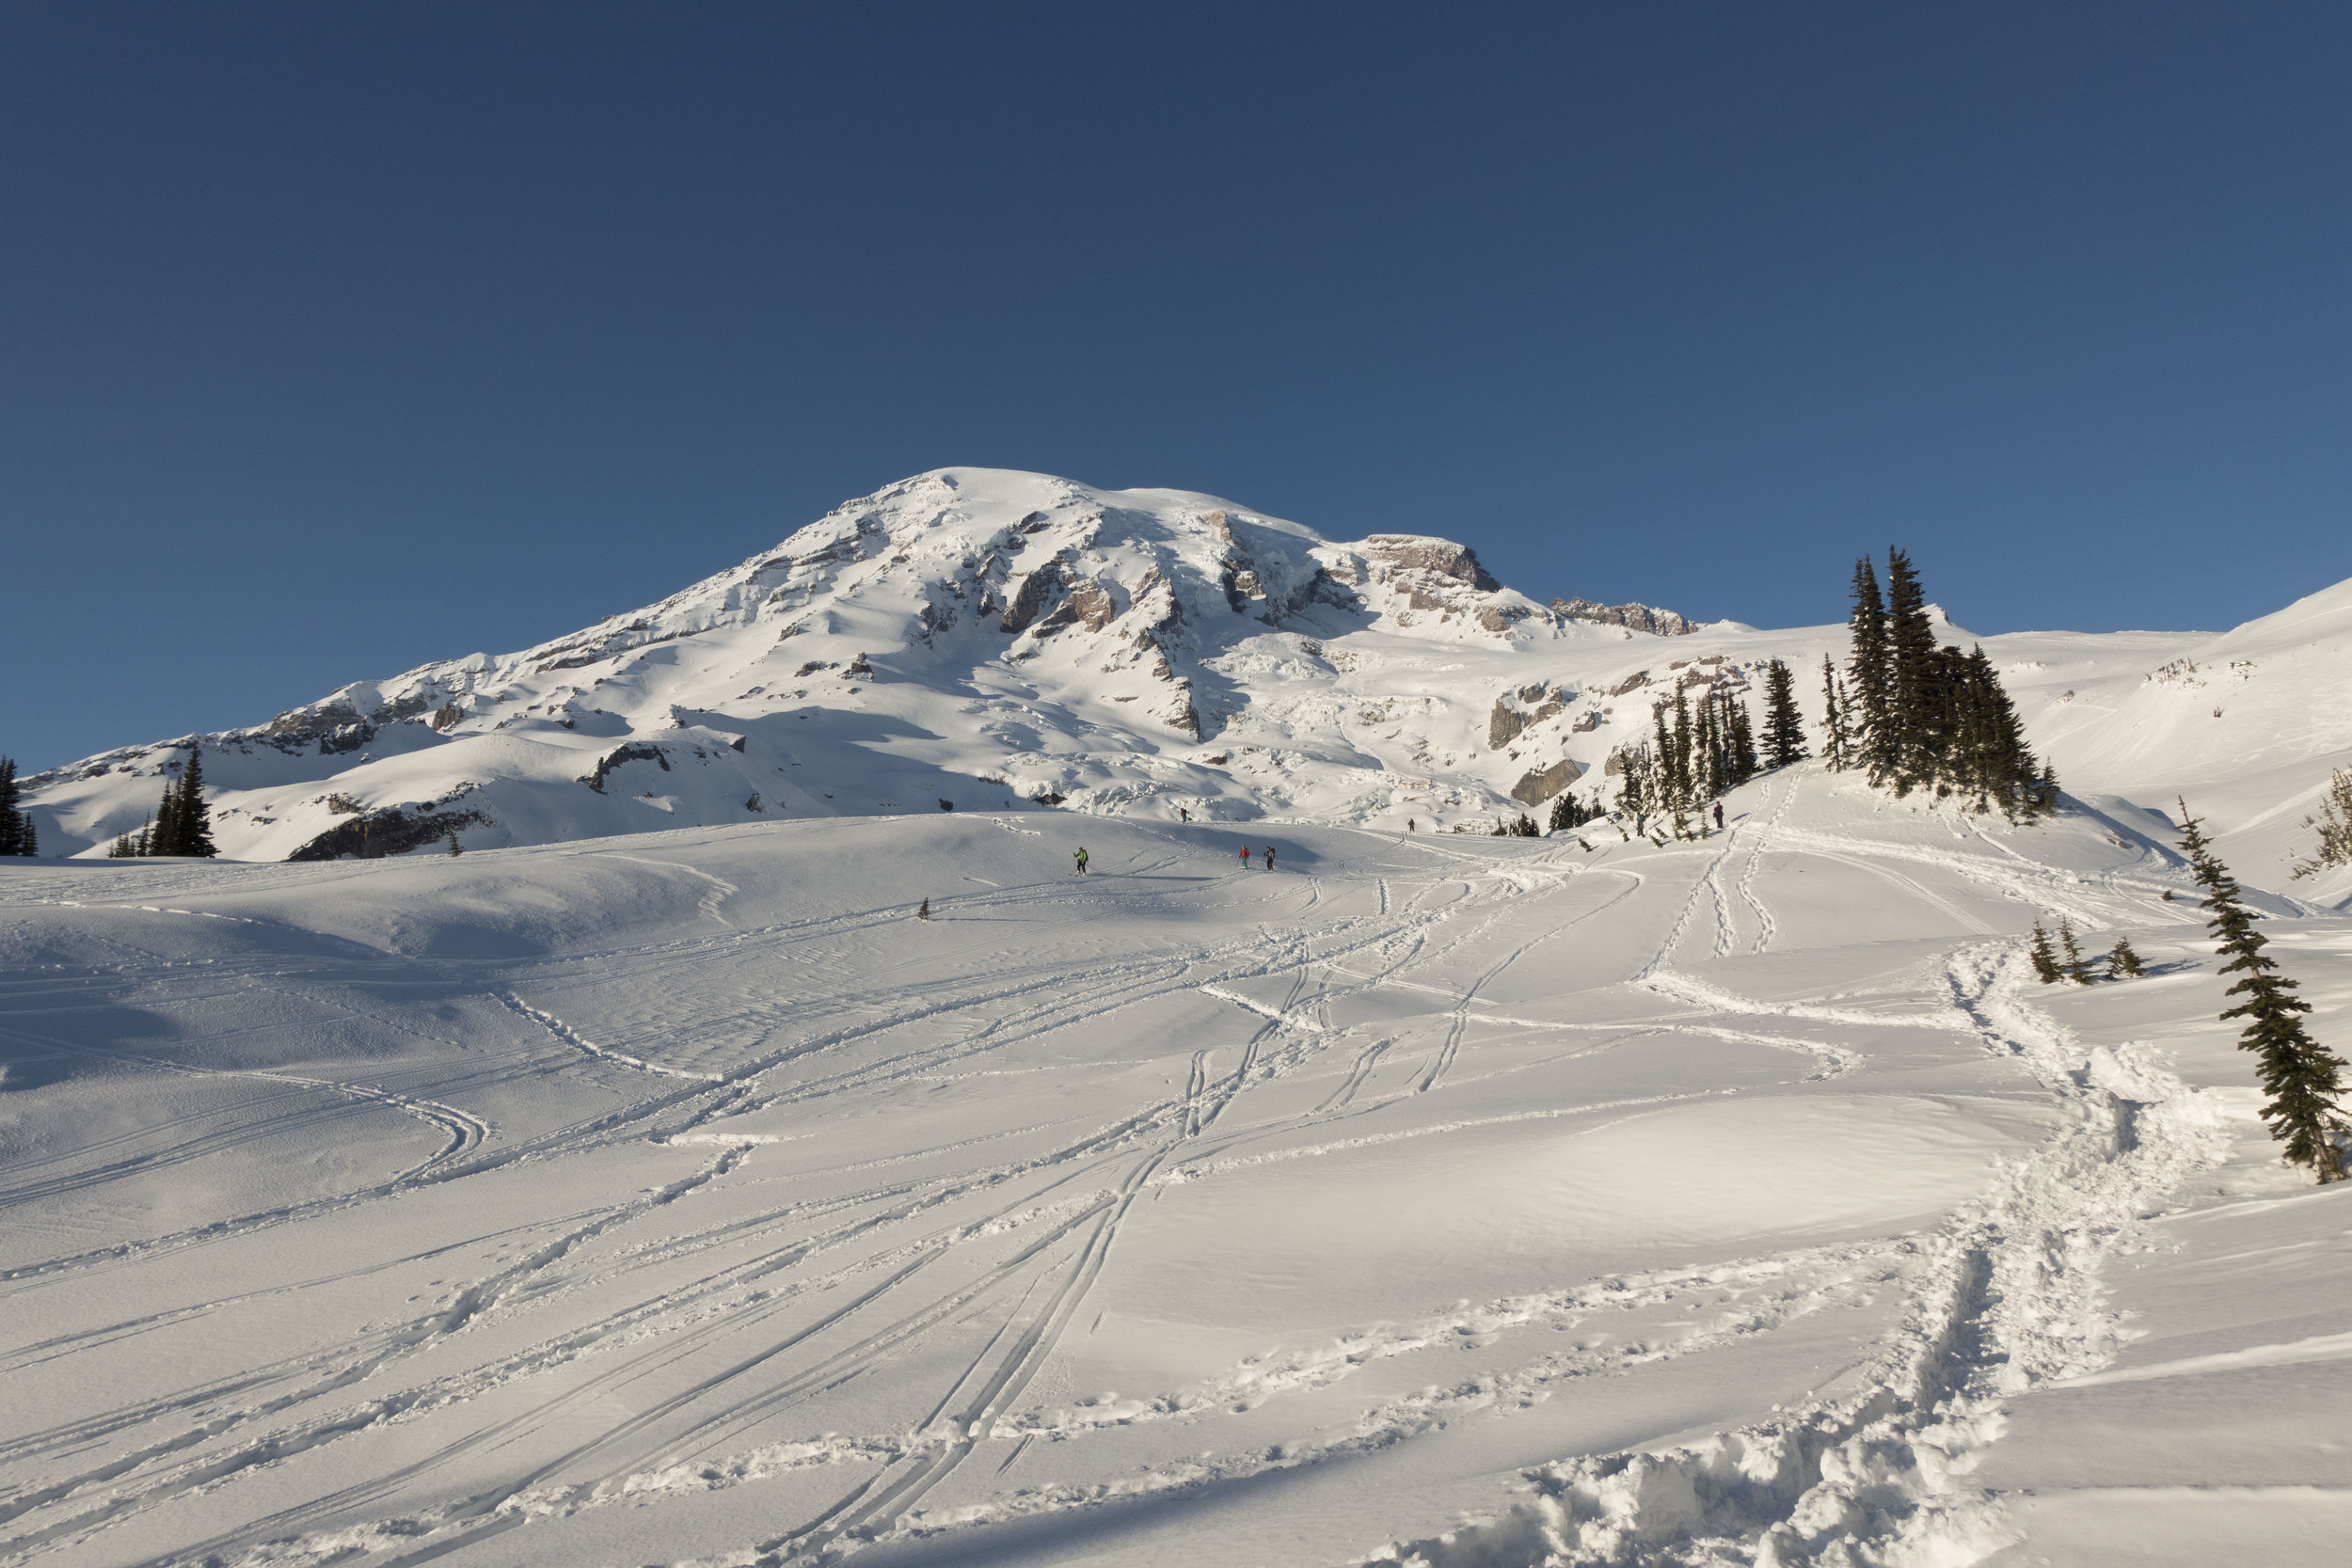
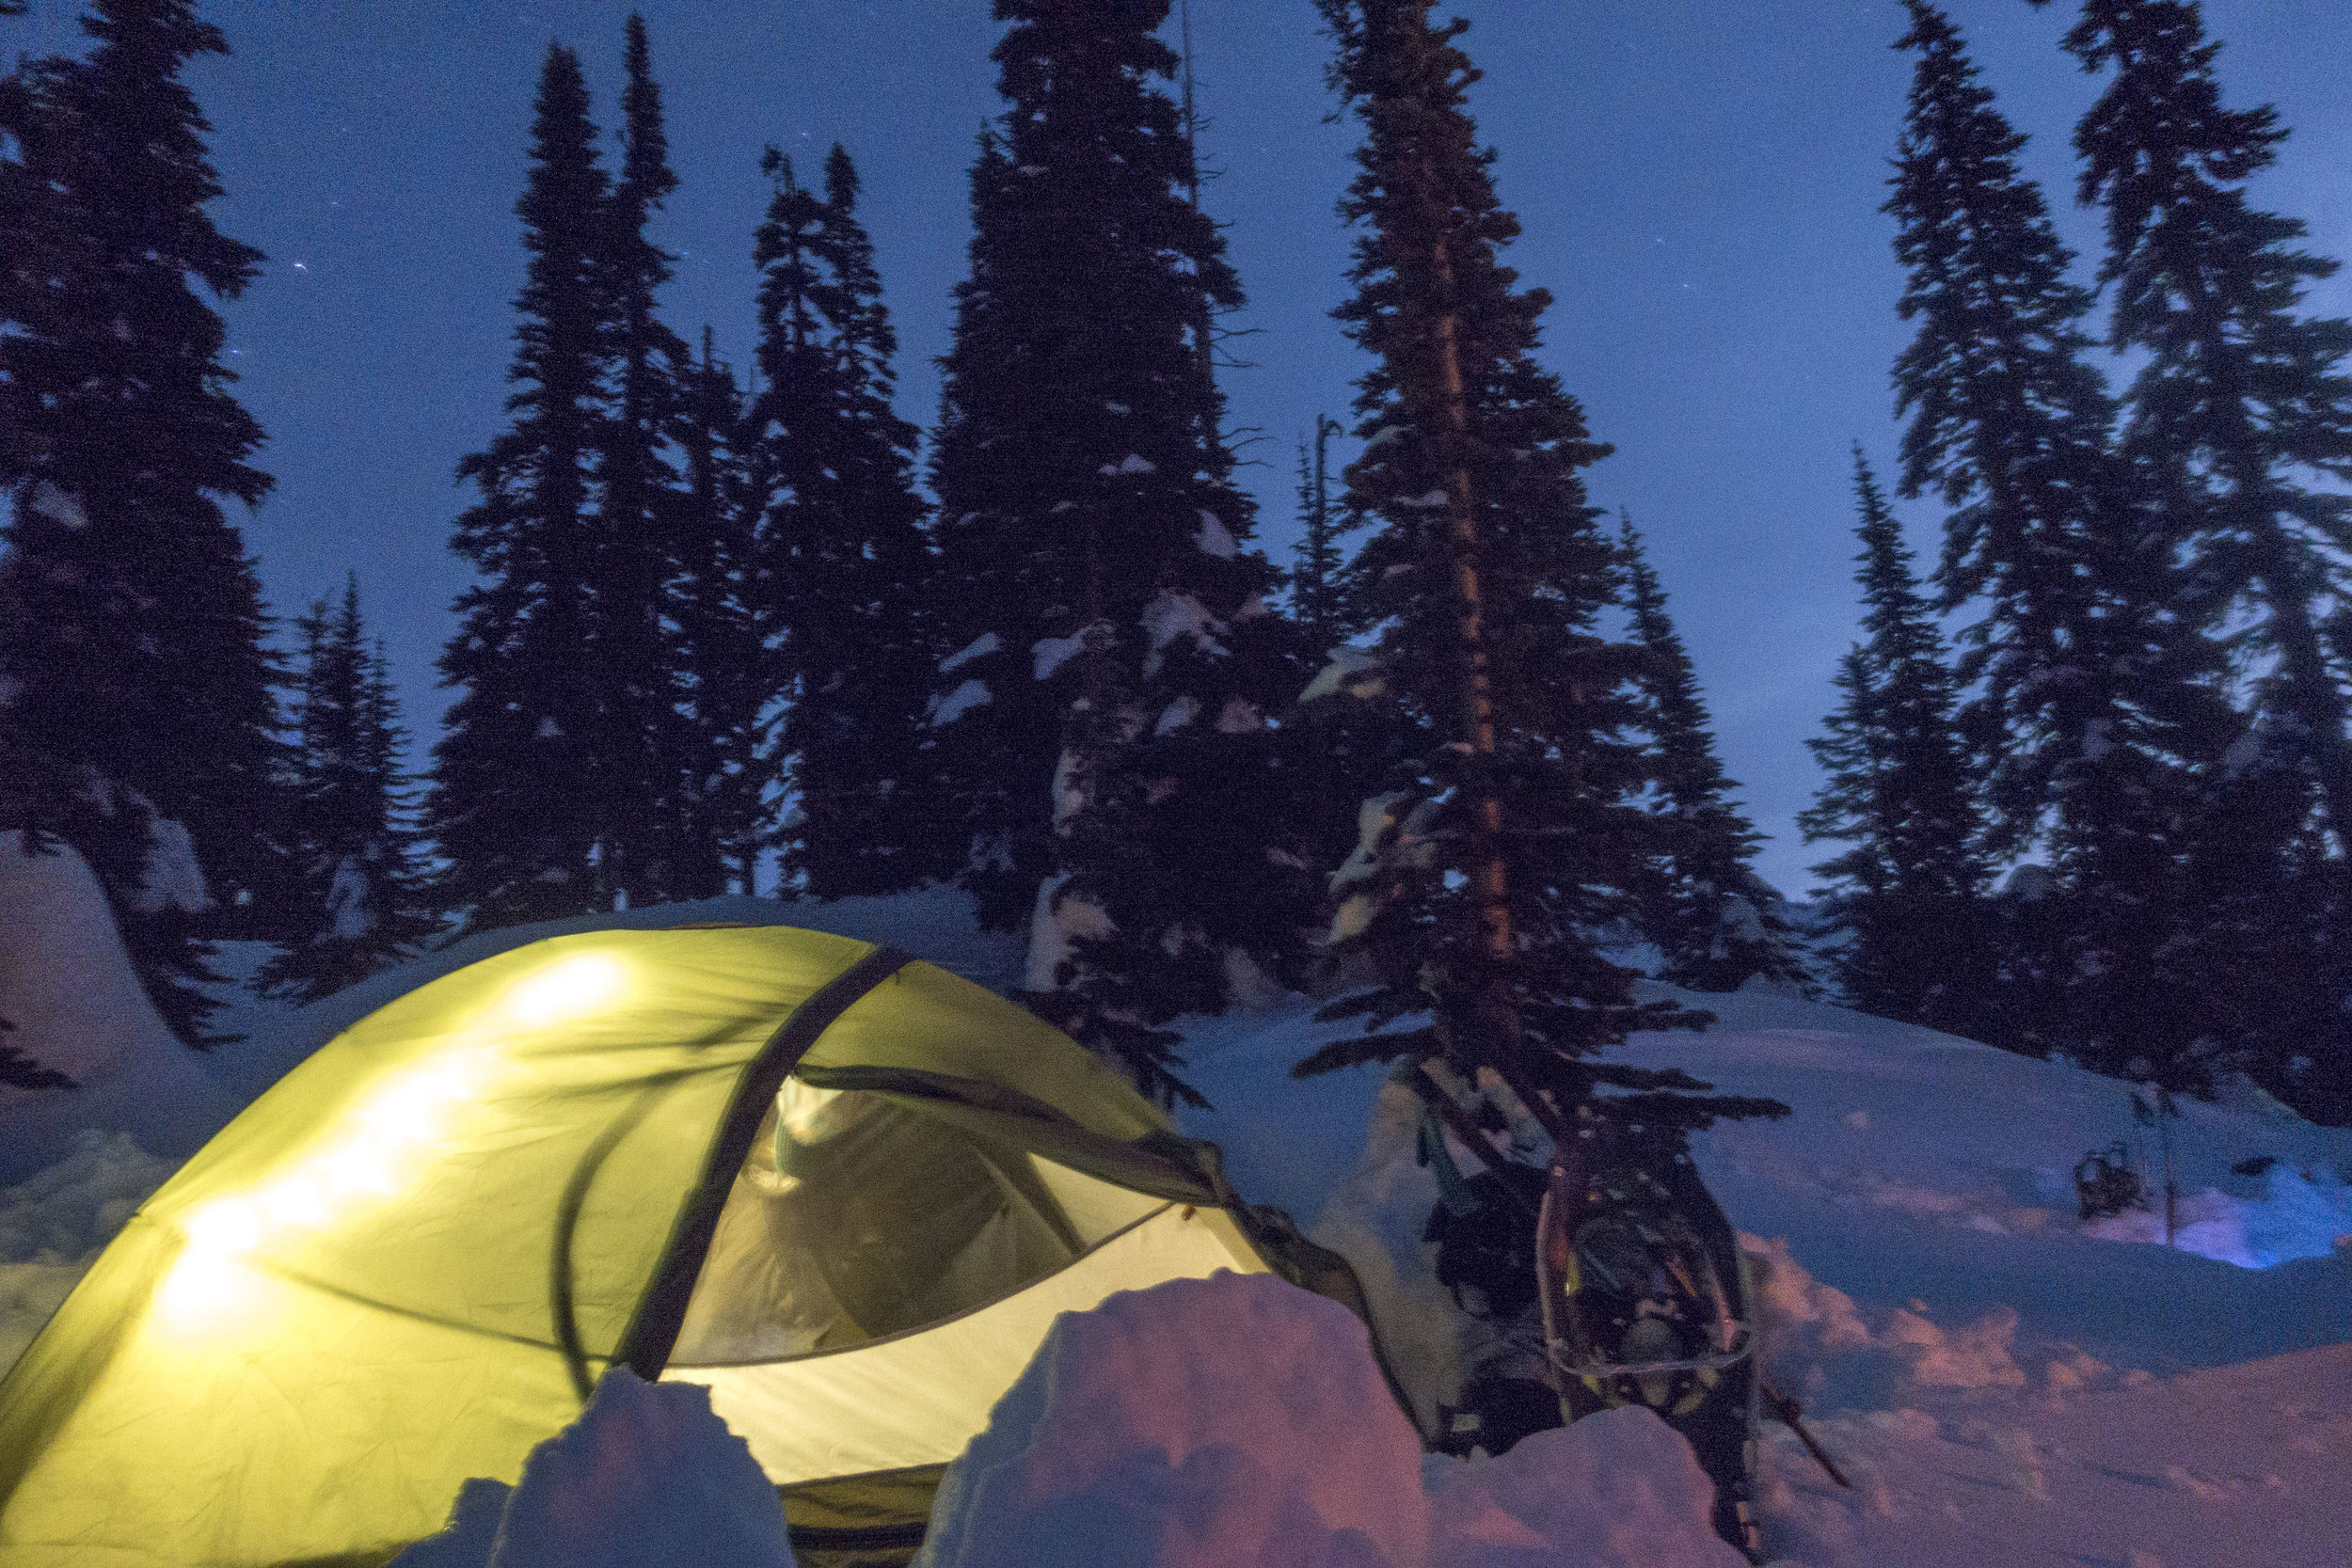
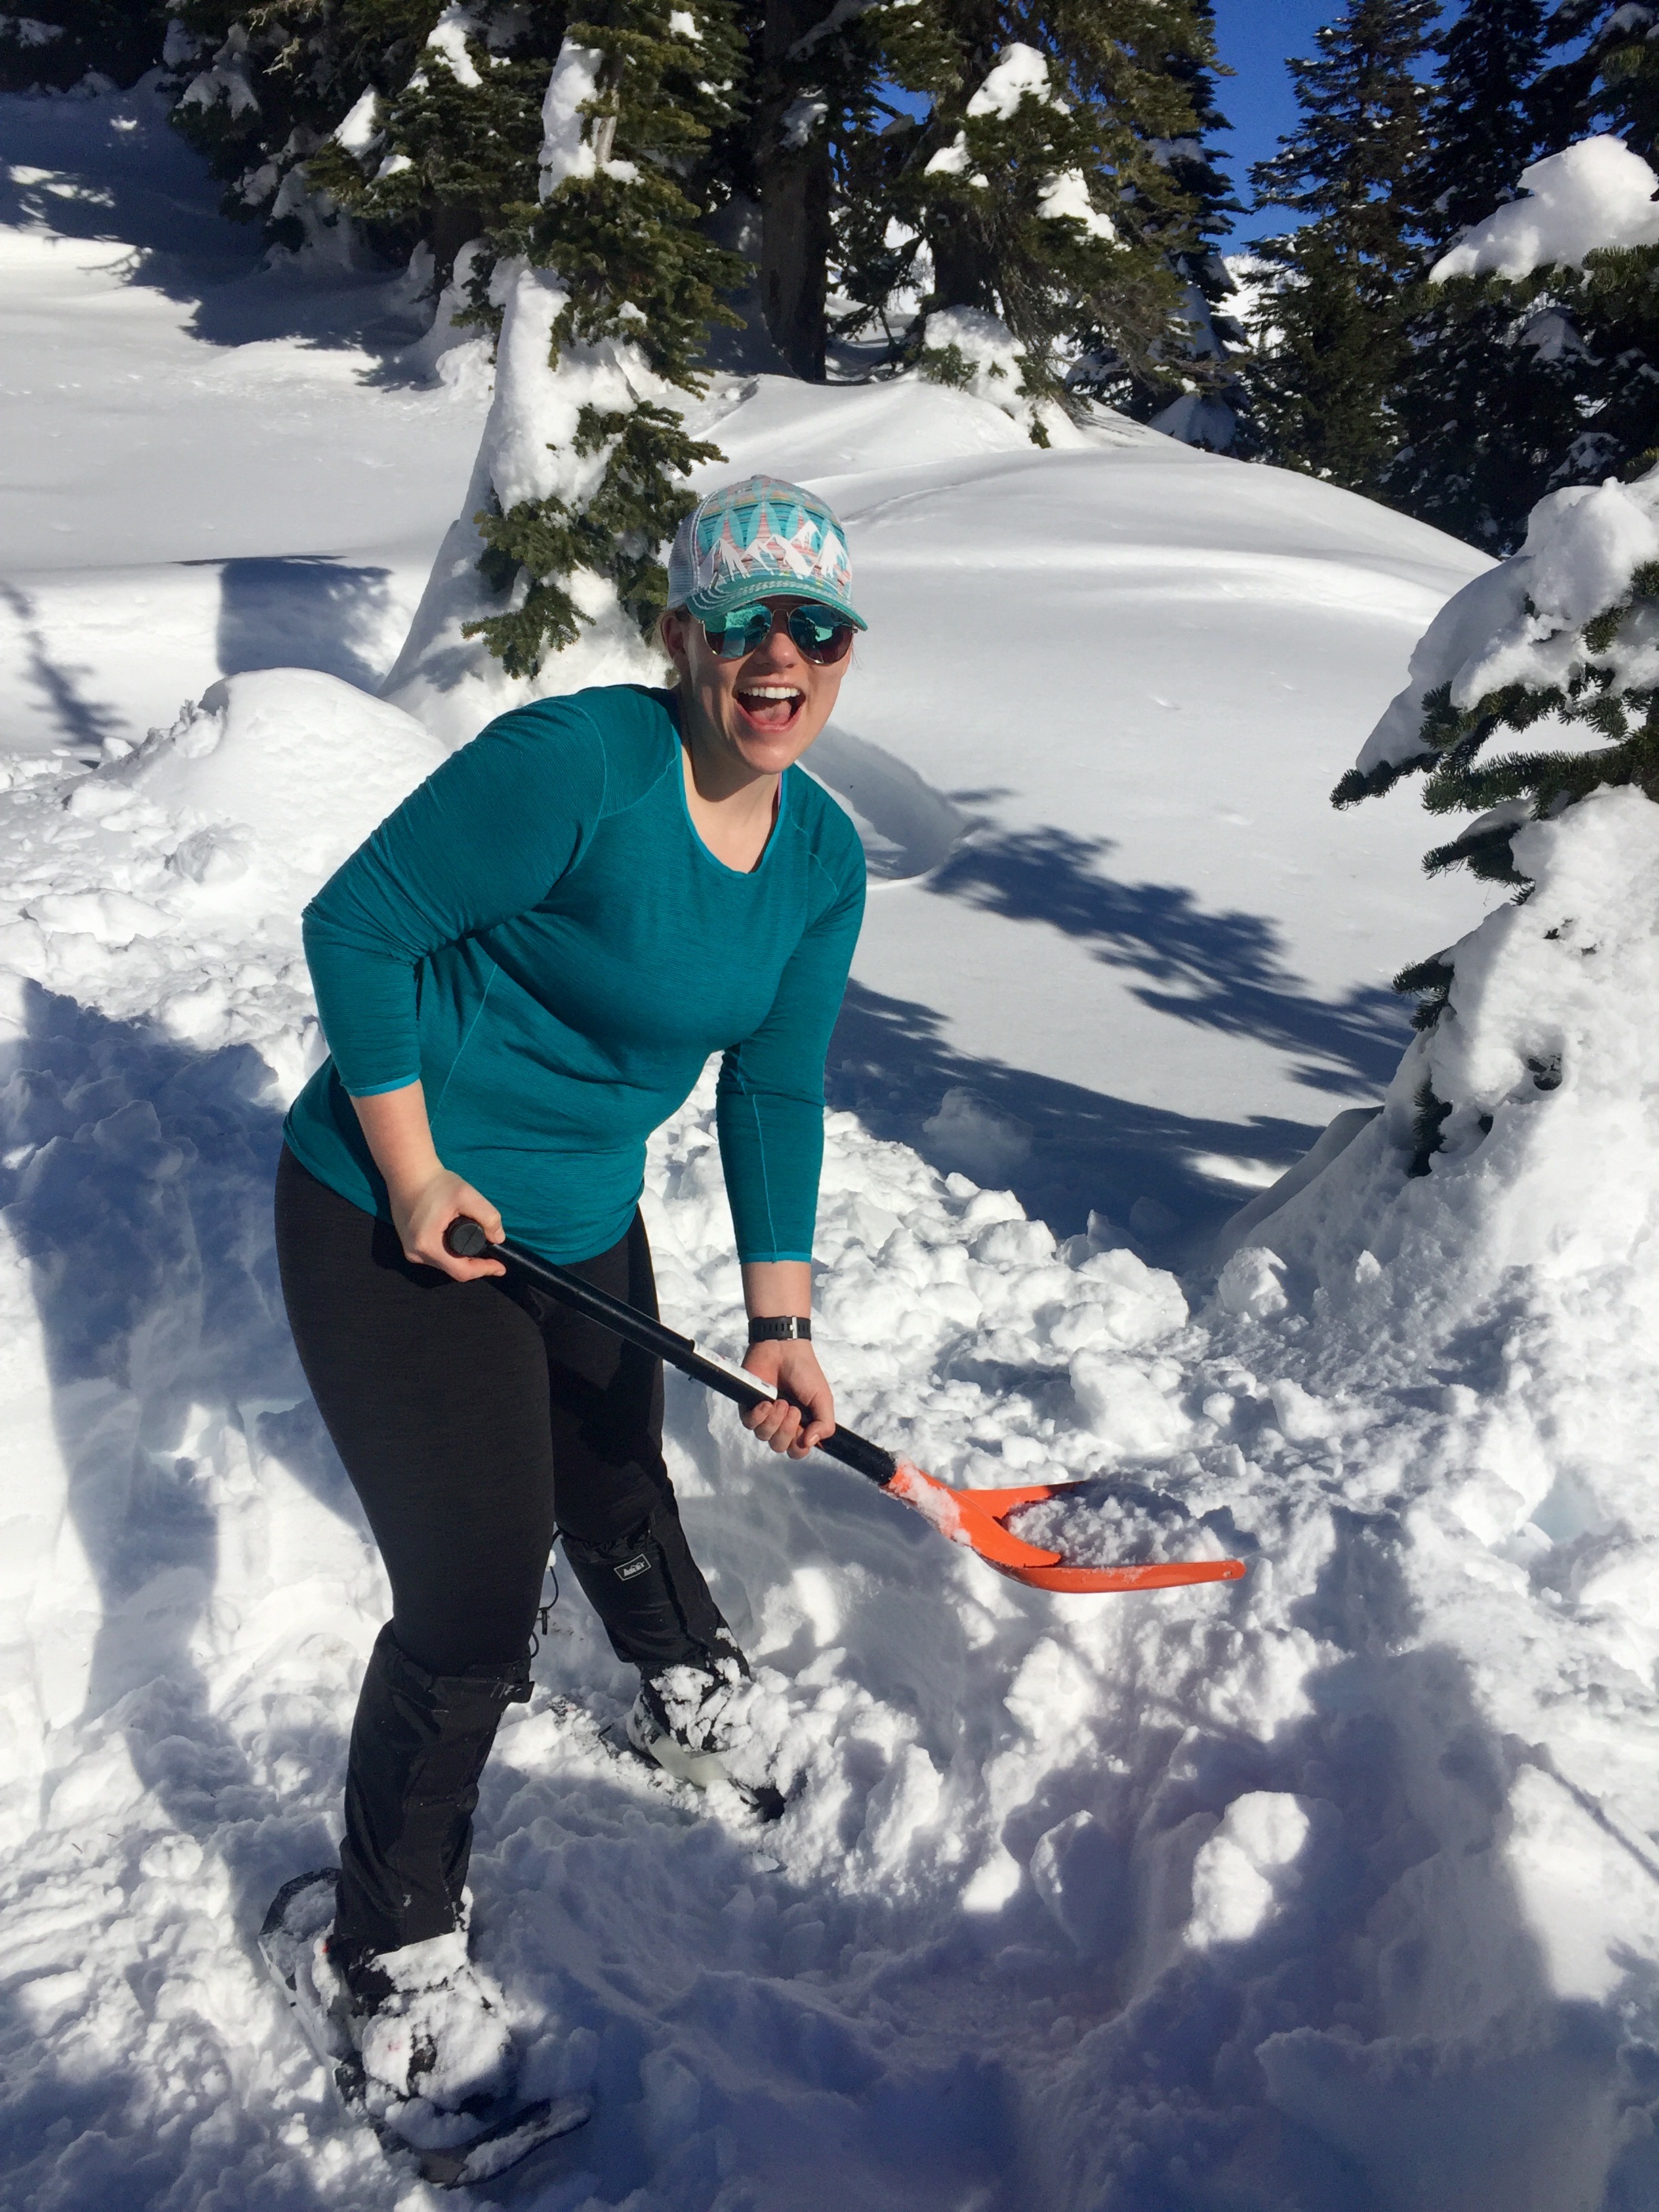
Site selection.. from what I learned this weekend is you want to be not under any trees (heavy snow can fall on your tent), away from any water sources, and of course out of avalanche terrain. We all picked our spots, and laid out all 25 tents! What a site to see. To make a spot for your tent you dig at least 2-3 feet down and make a flattened space. If it is windy, you want to build your walls higher. We had the most perfect weather you could ever have asked for with blue bird skies and no wind, so we didn't have to worry about that. This did take a good amount of time to make the platform for our tent. Stomping down with snowshoes helped a lot. We got up our tent, set up our beds, and ate lunch. It was actually really sunny and hot at this point and I was down to my last layers! I also put on sunscreen 3 times that day and still got a little pink. The sun is super harsh with reflecting from the snow so it's important to lather that sunscreen up a lot.
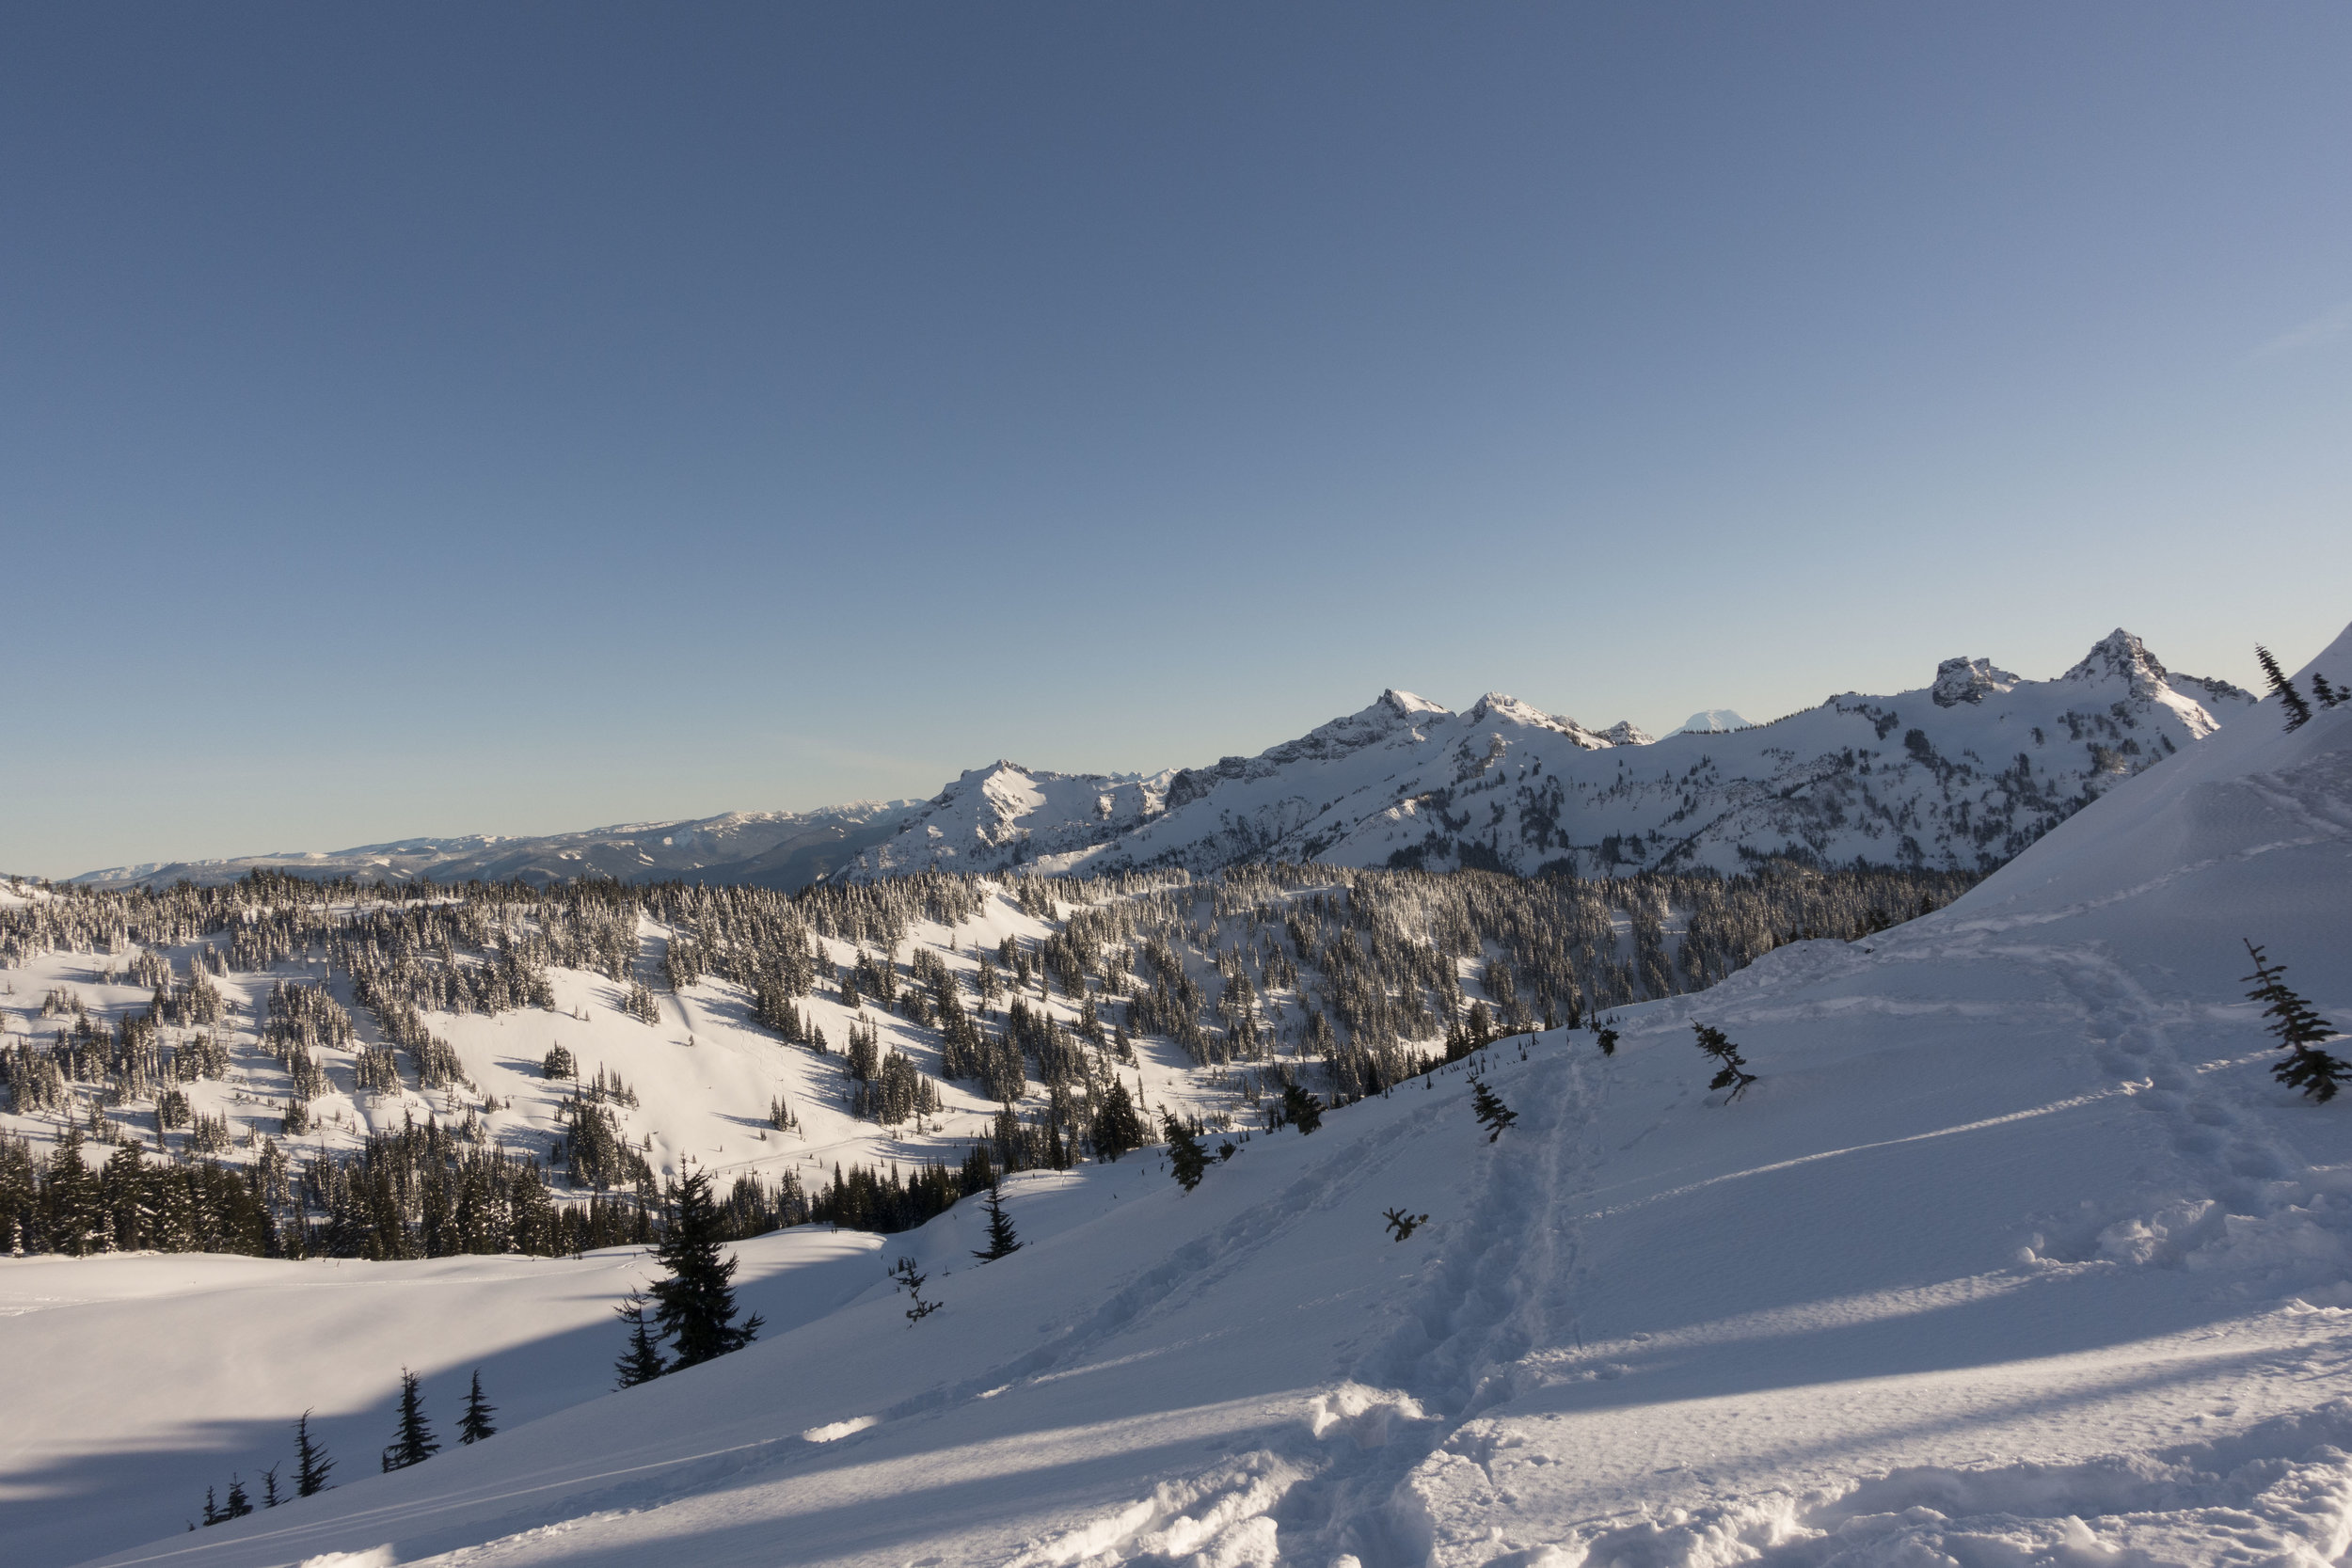
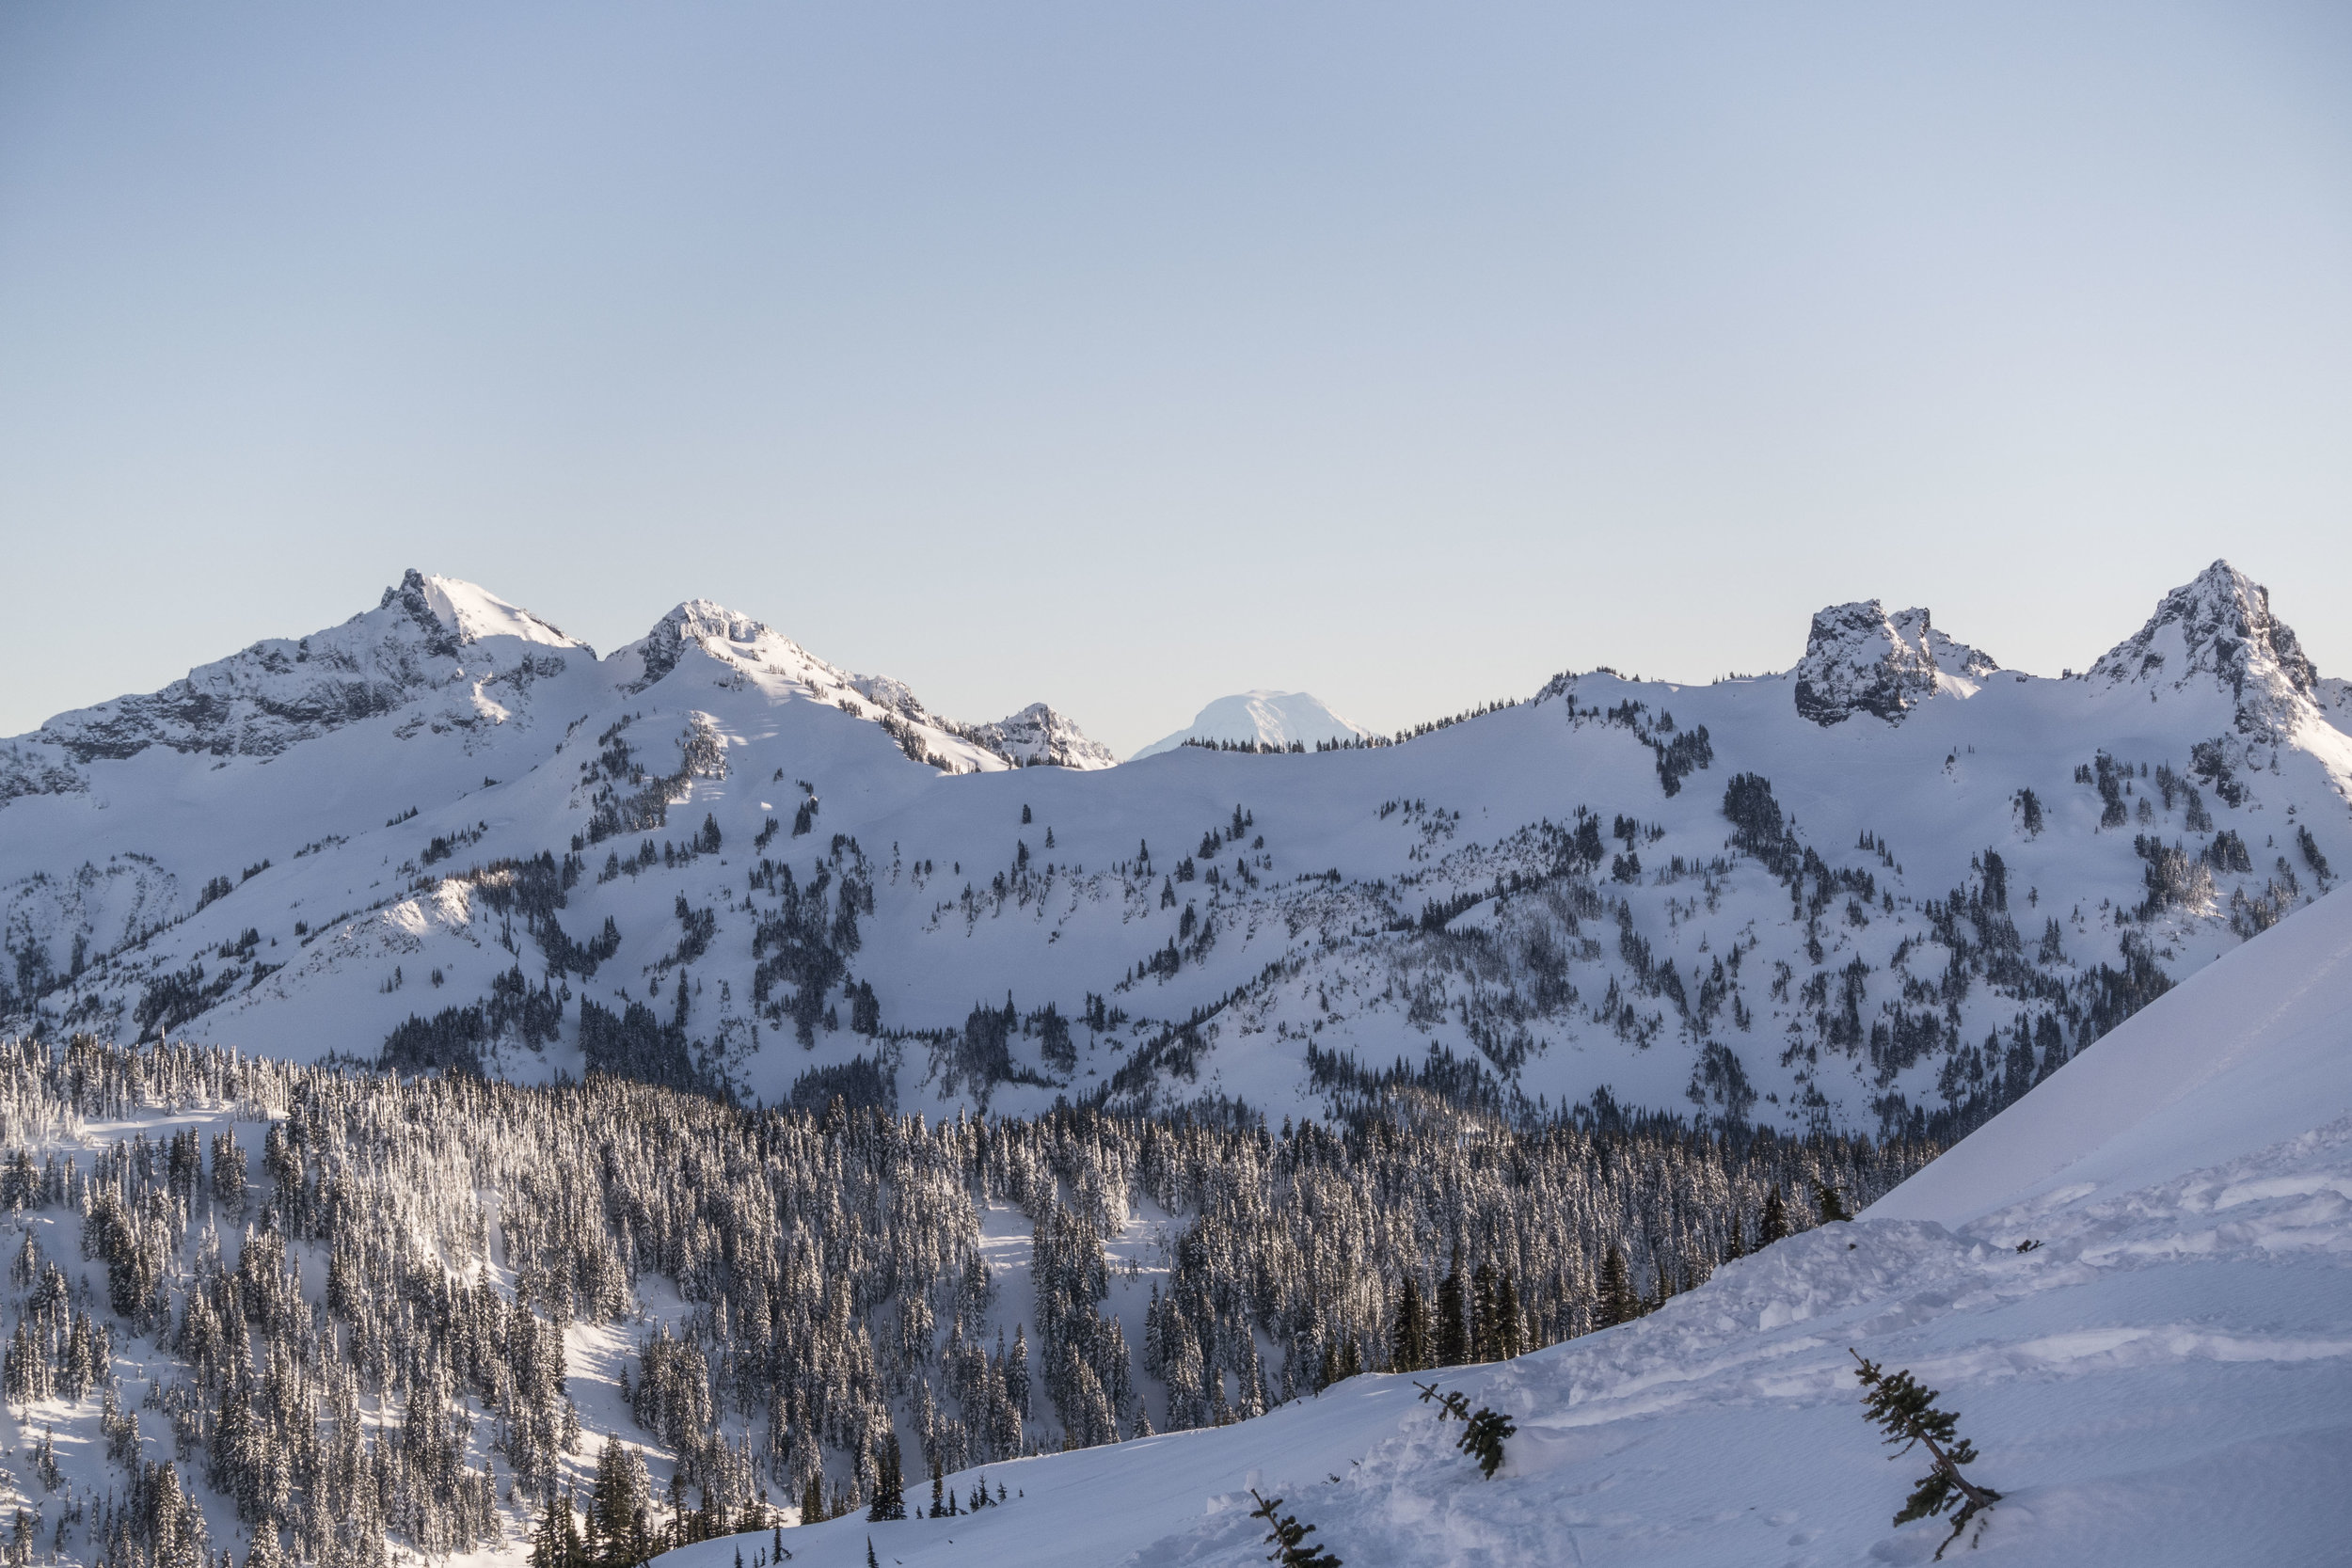
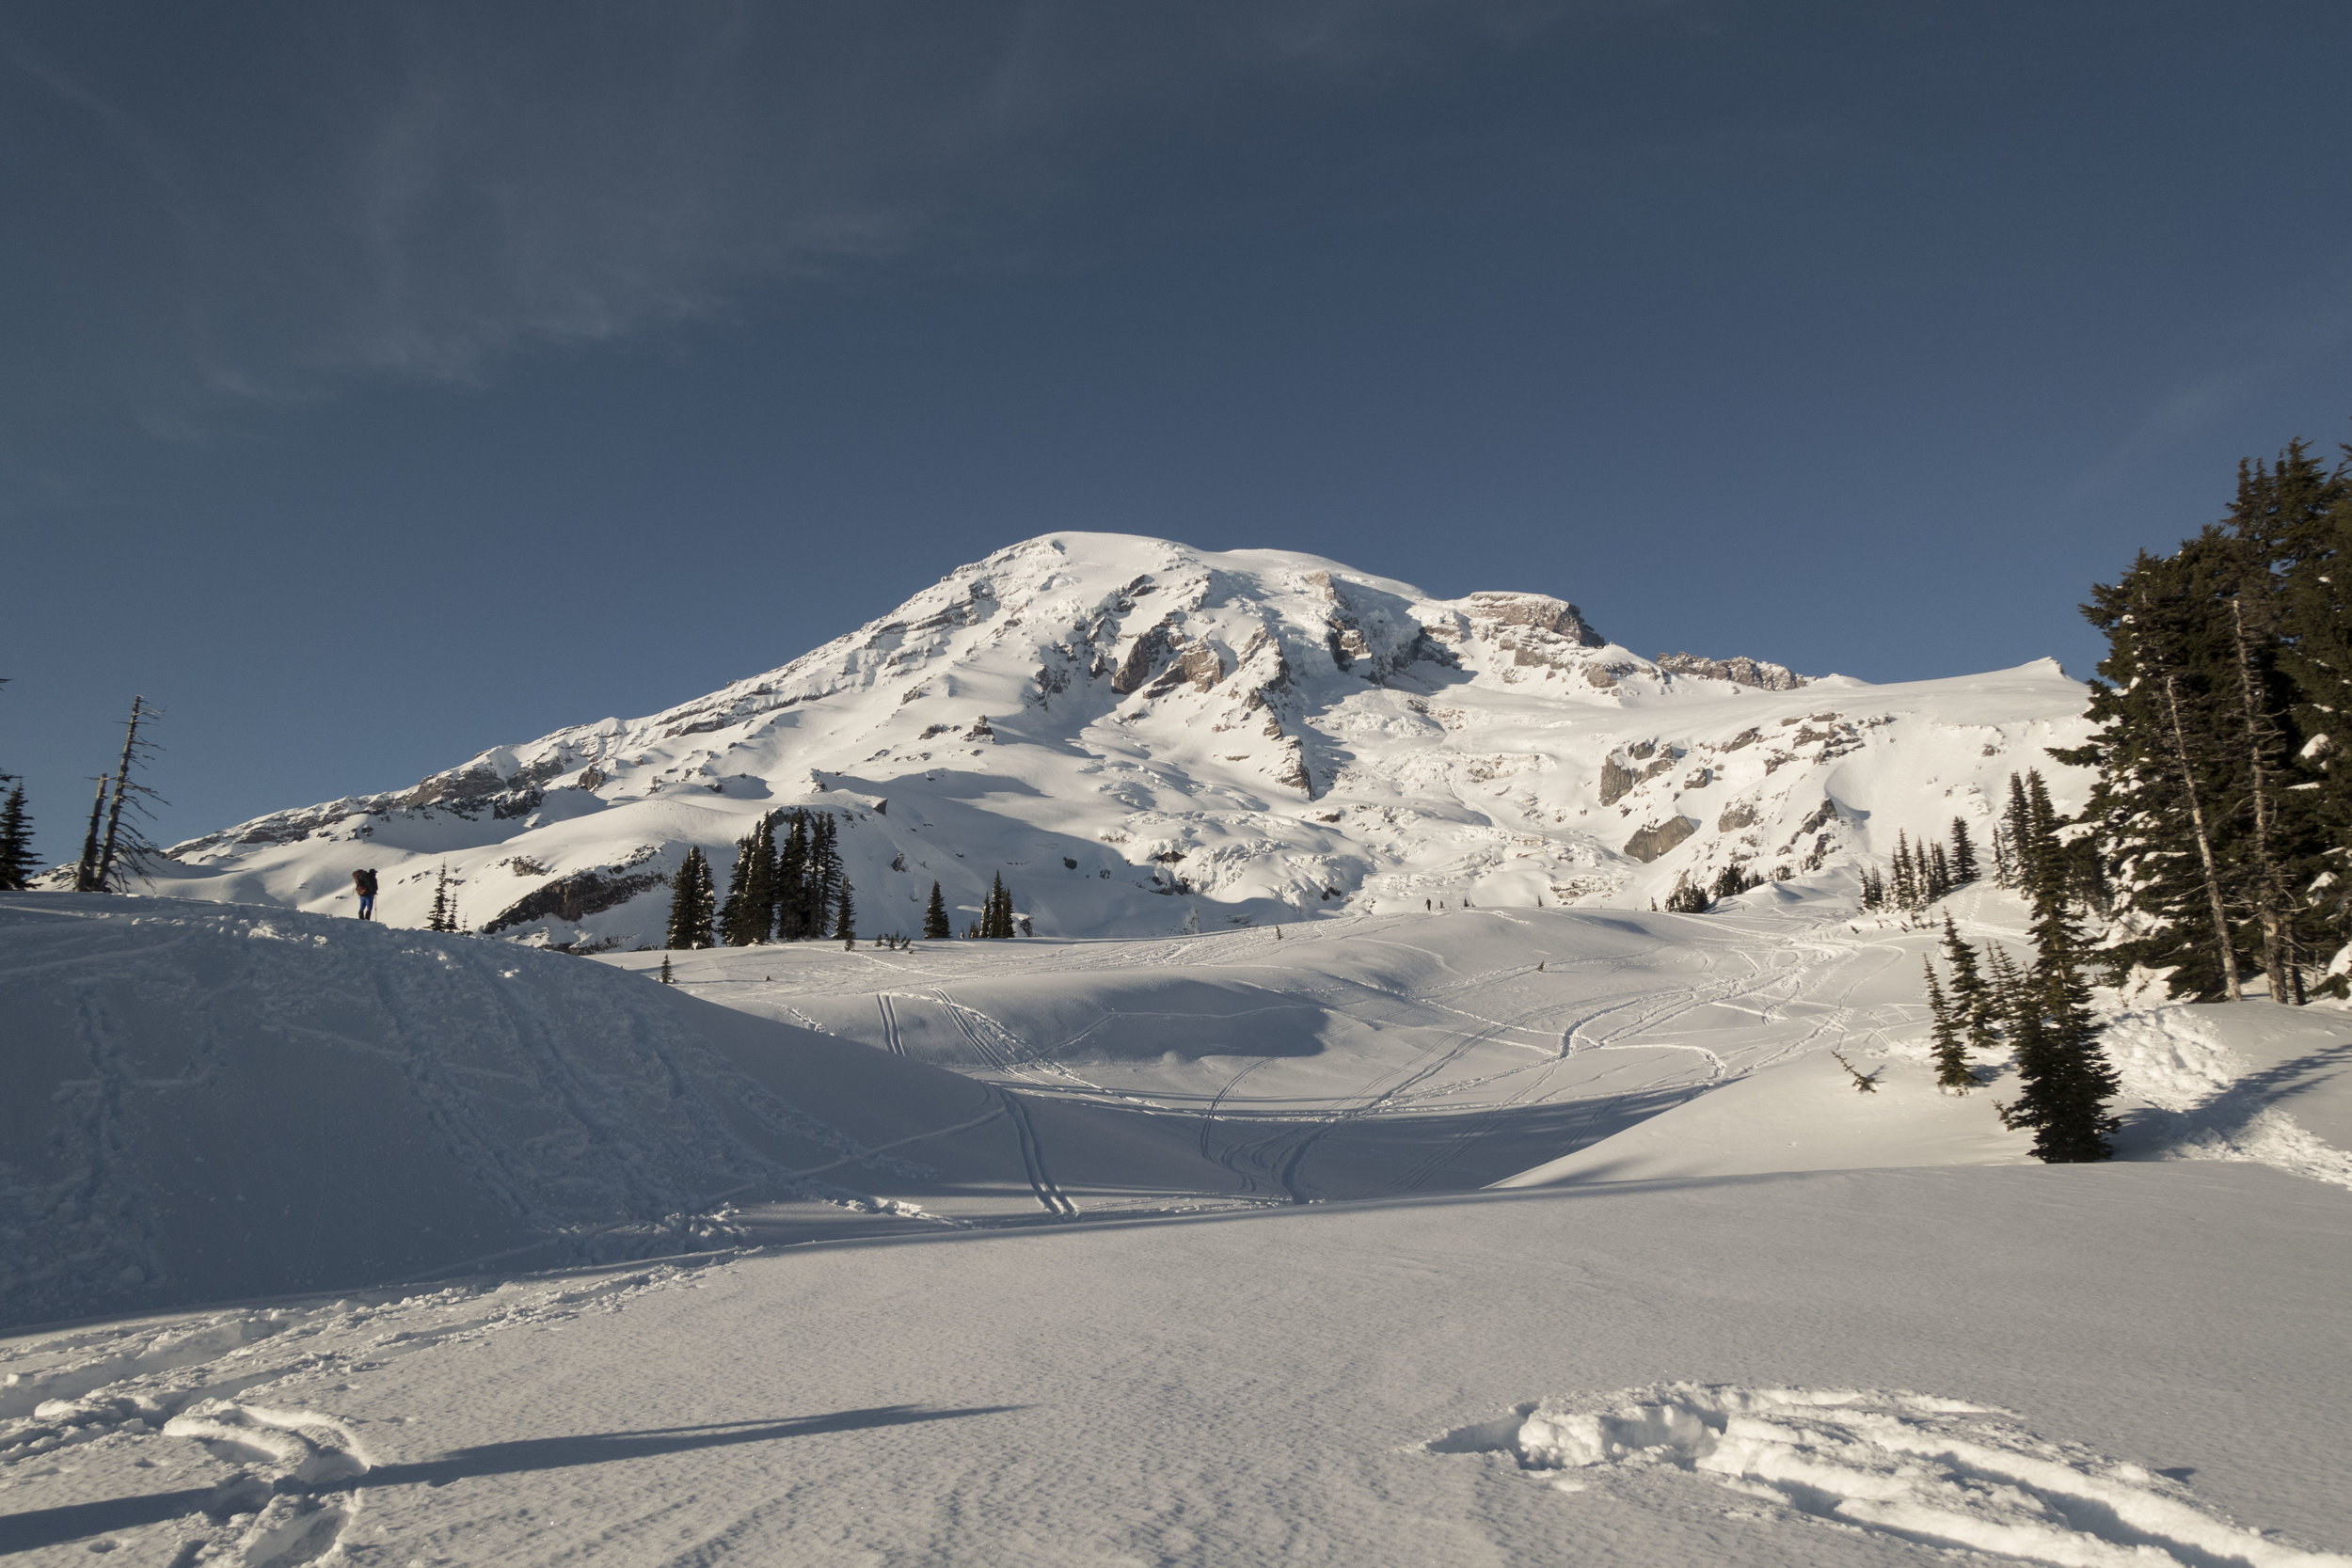
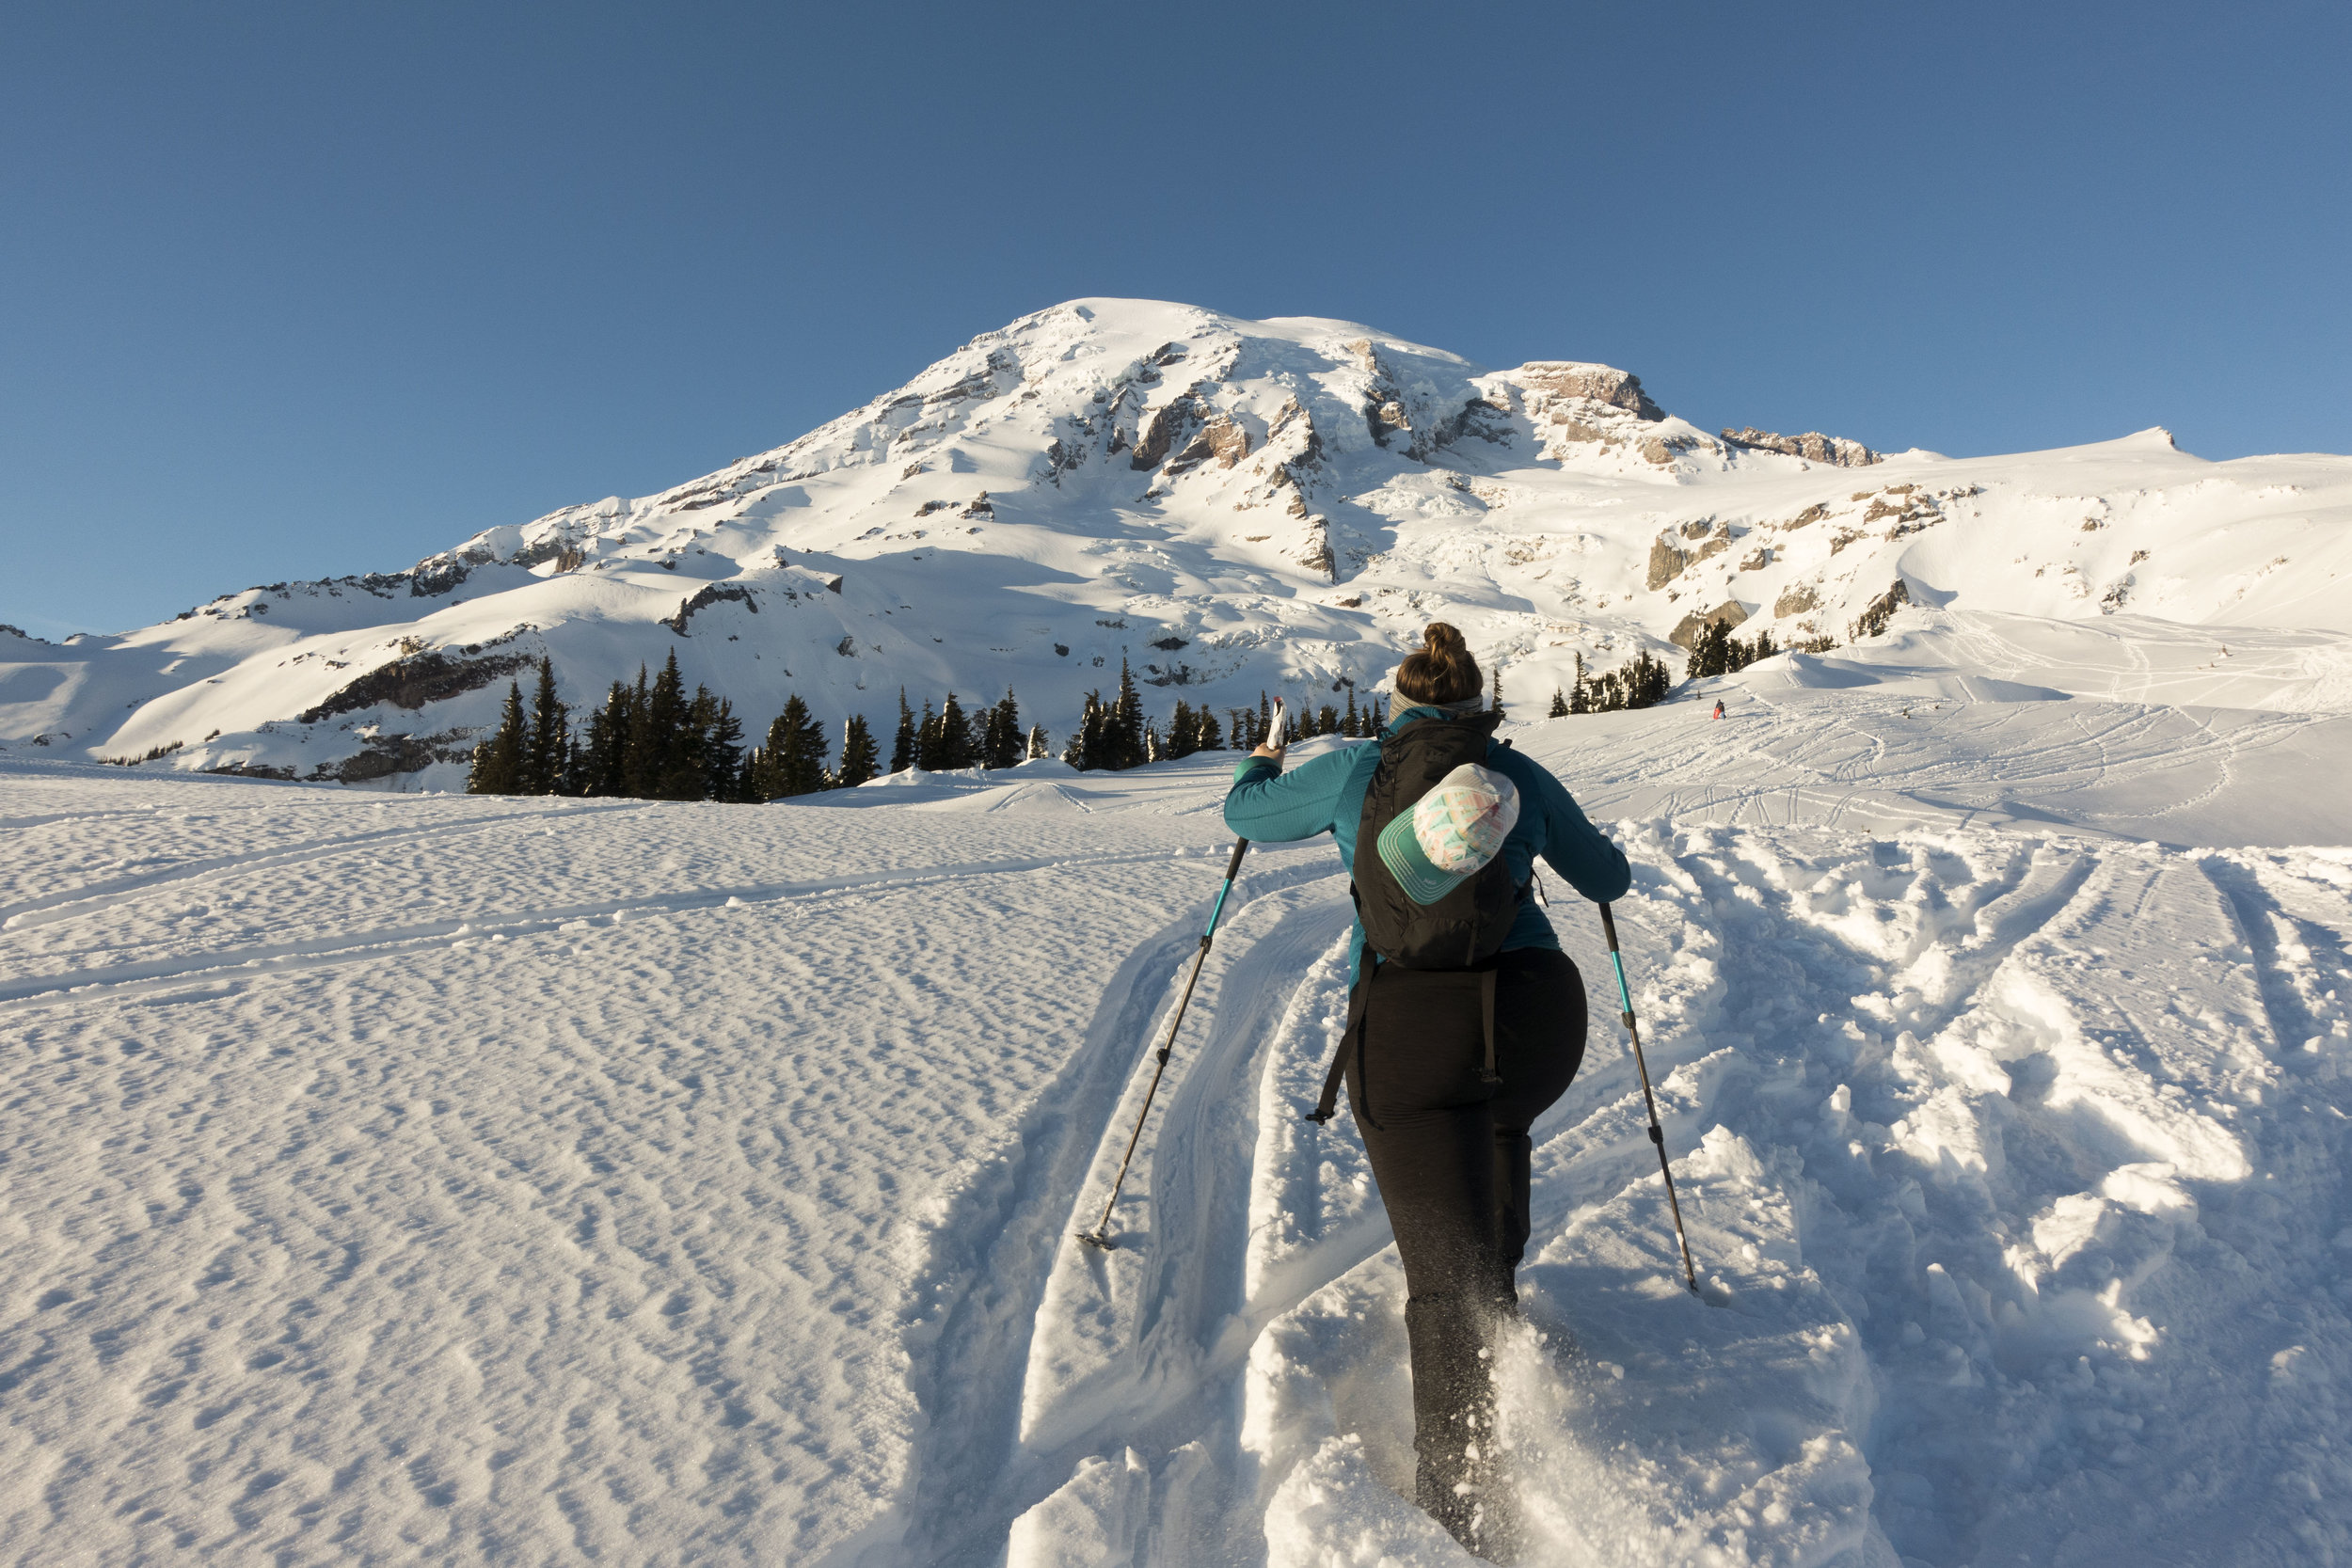
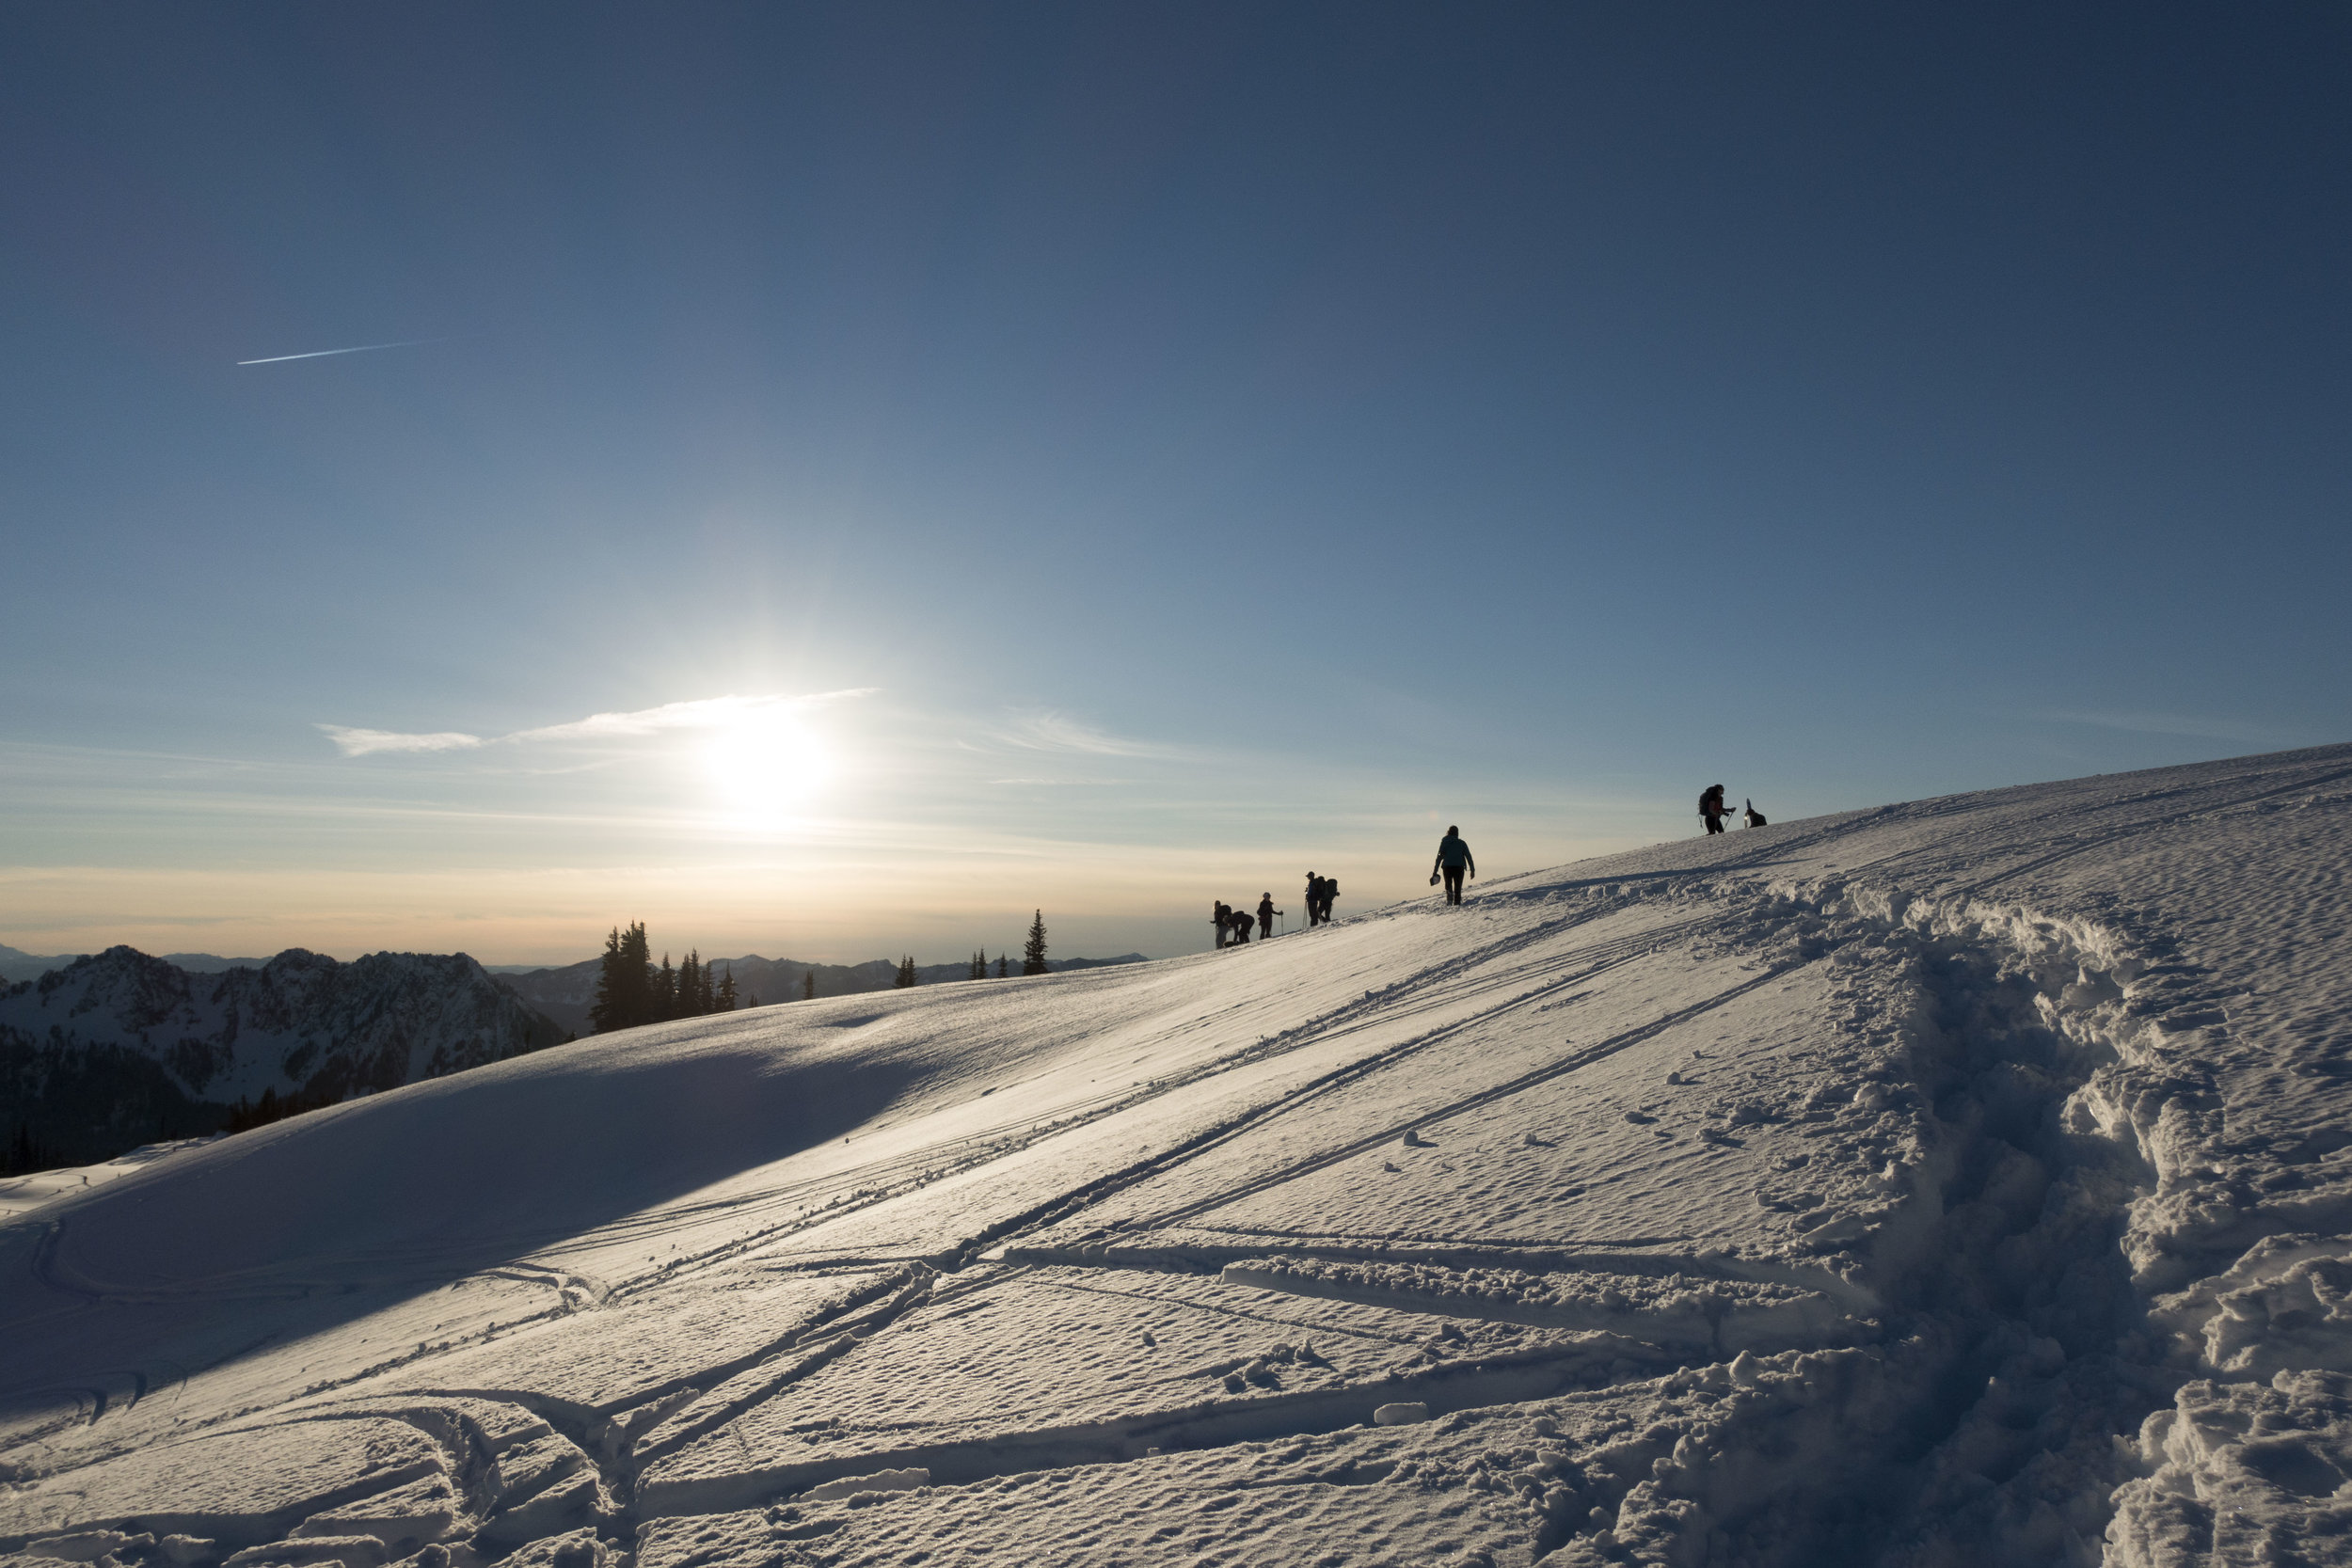
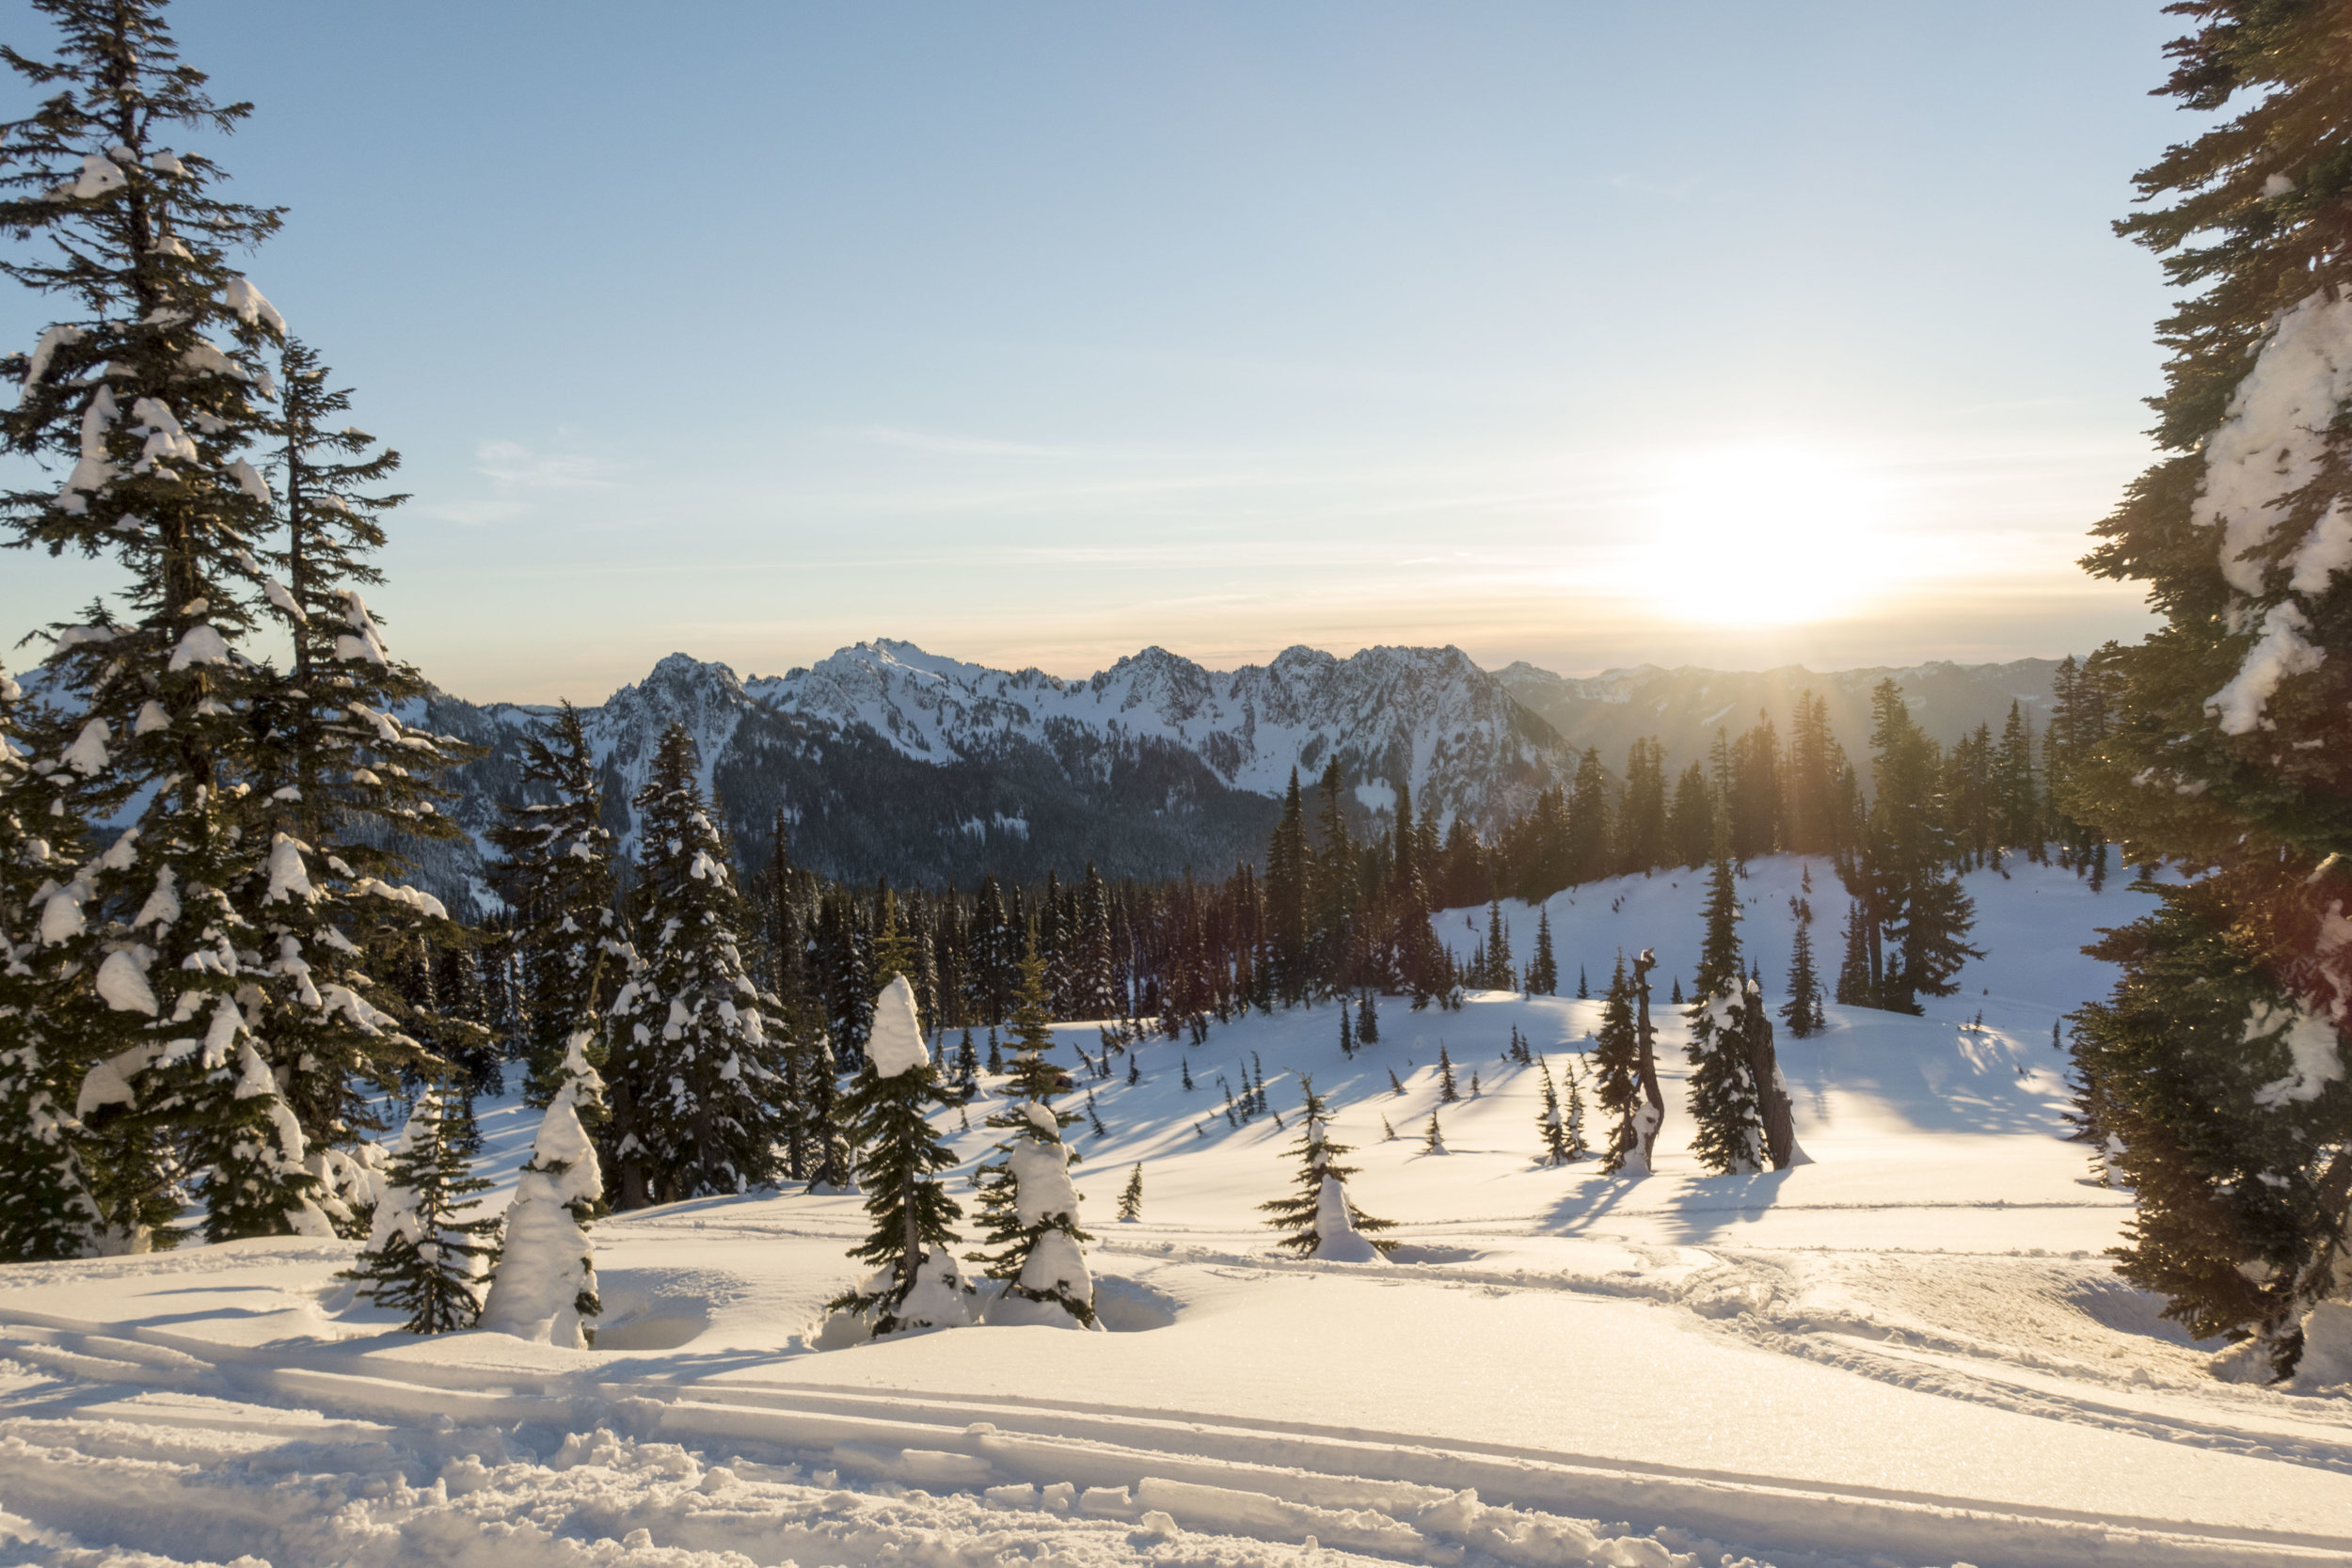
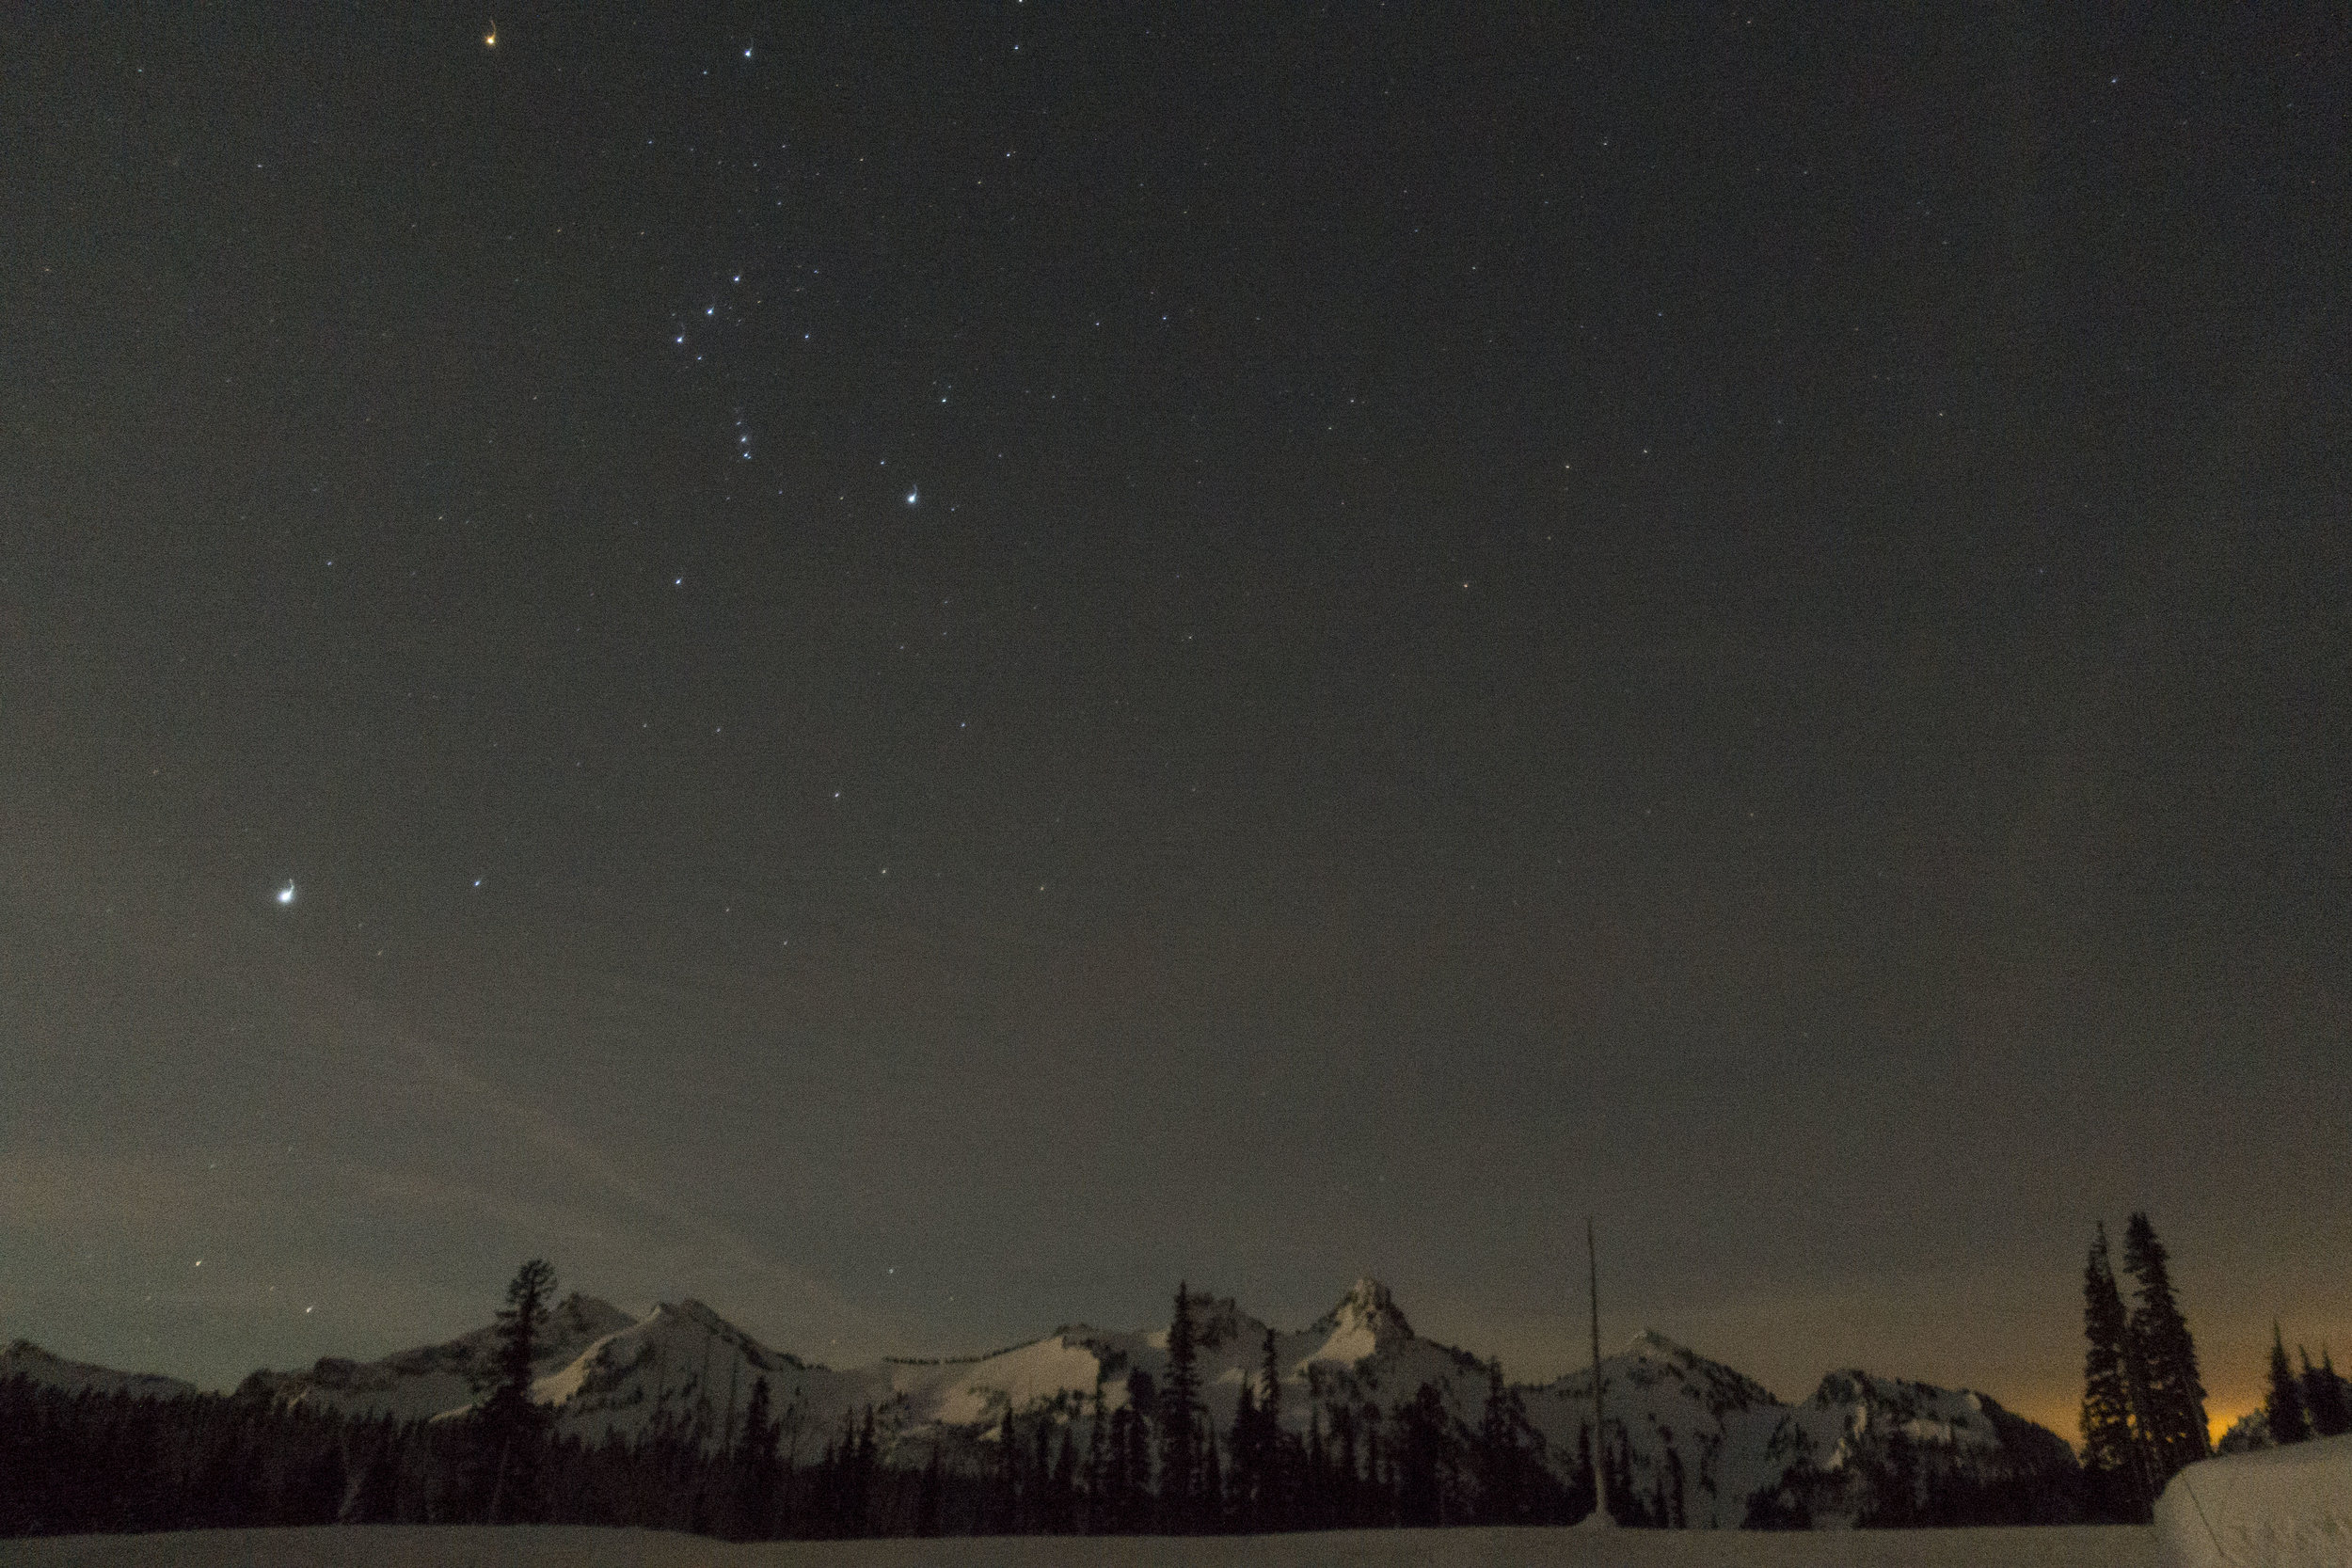
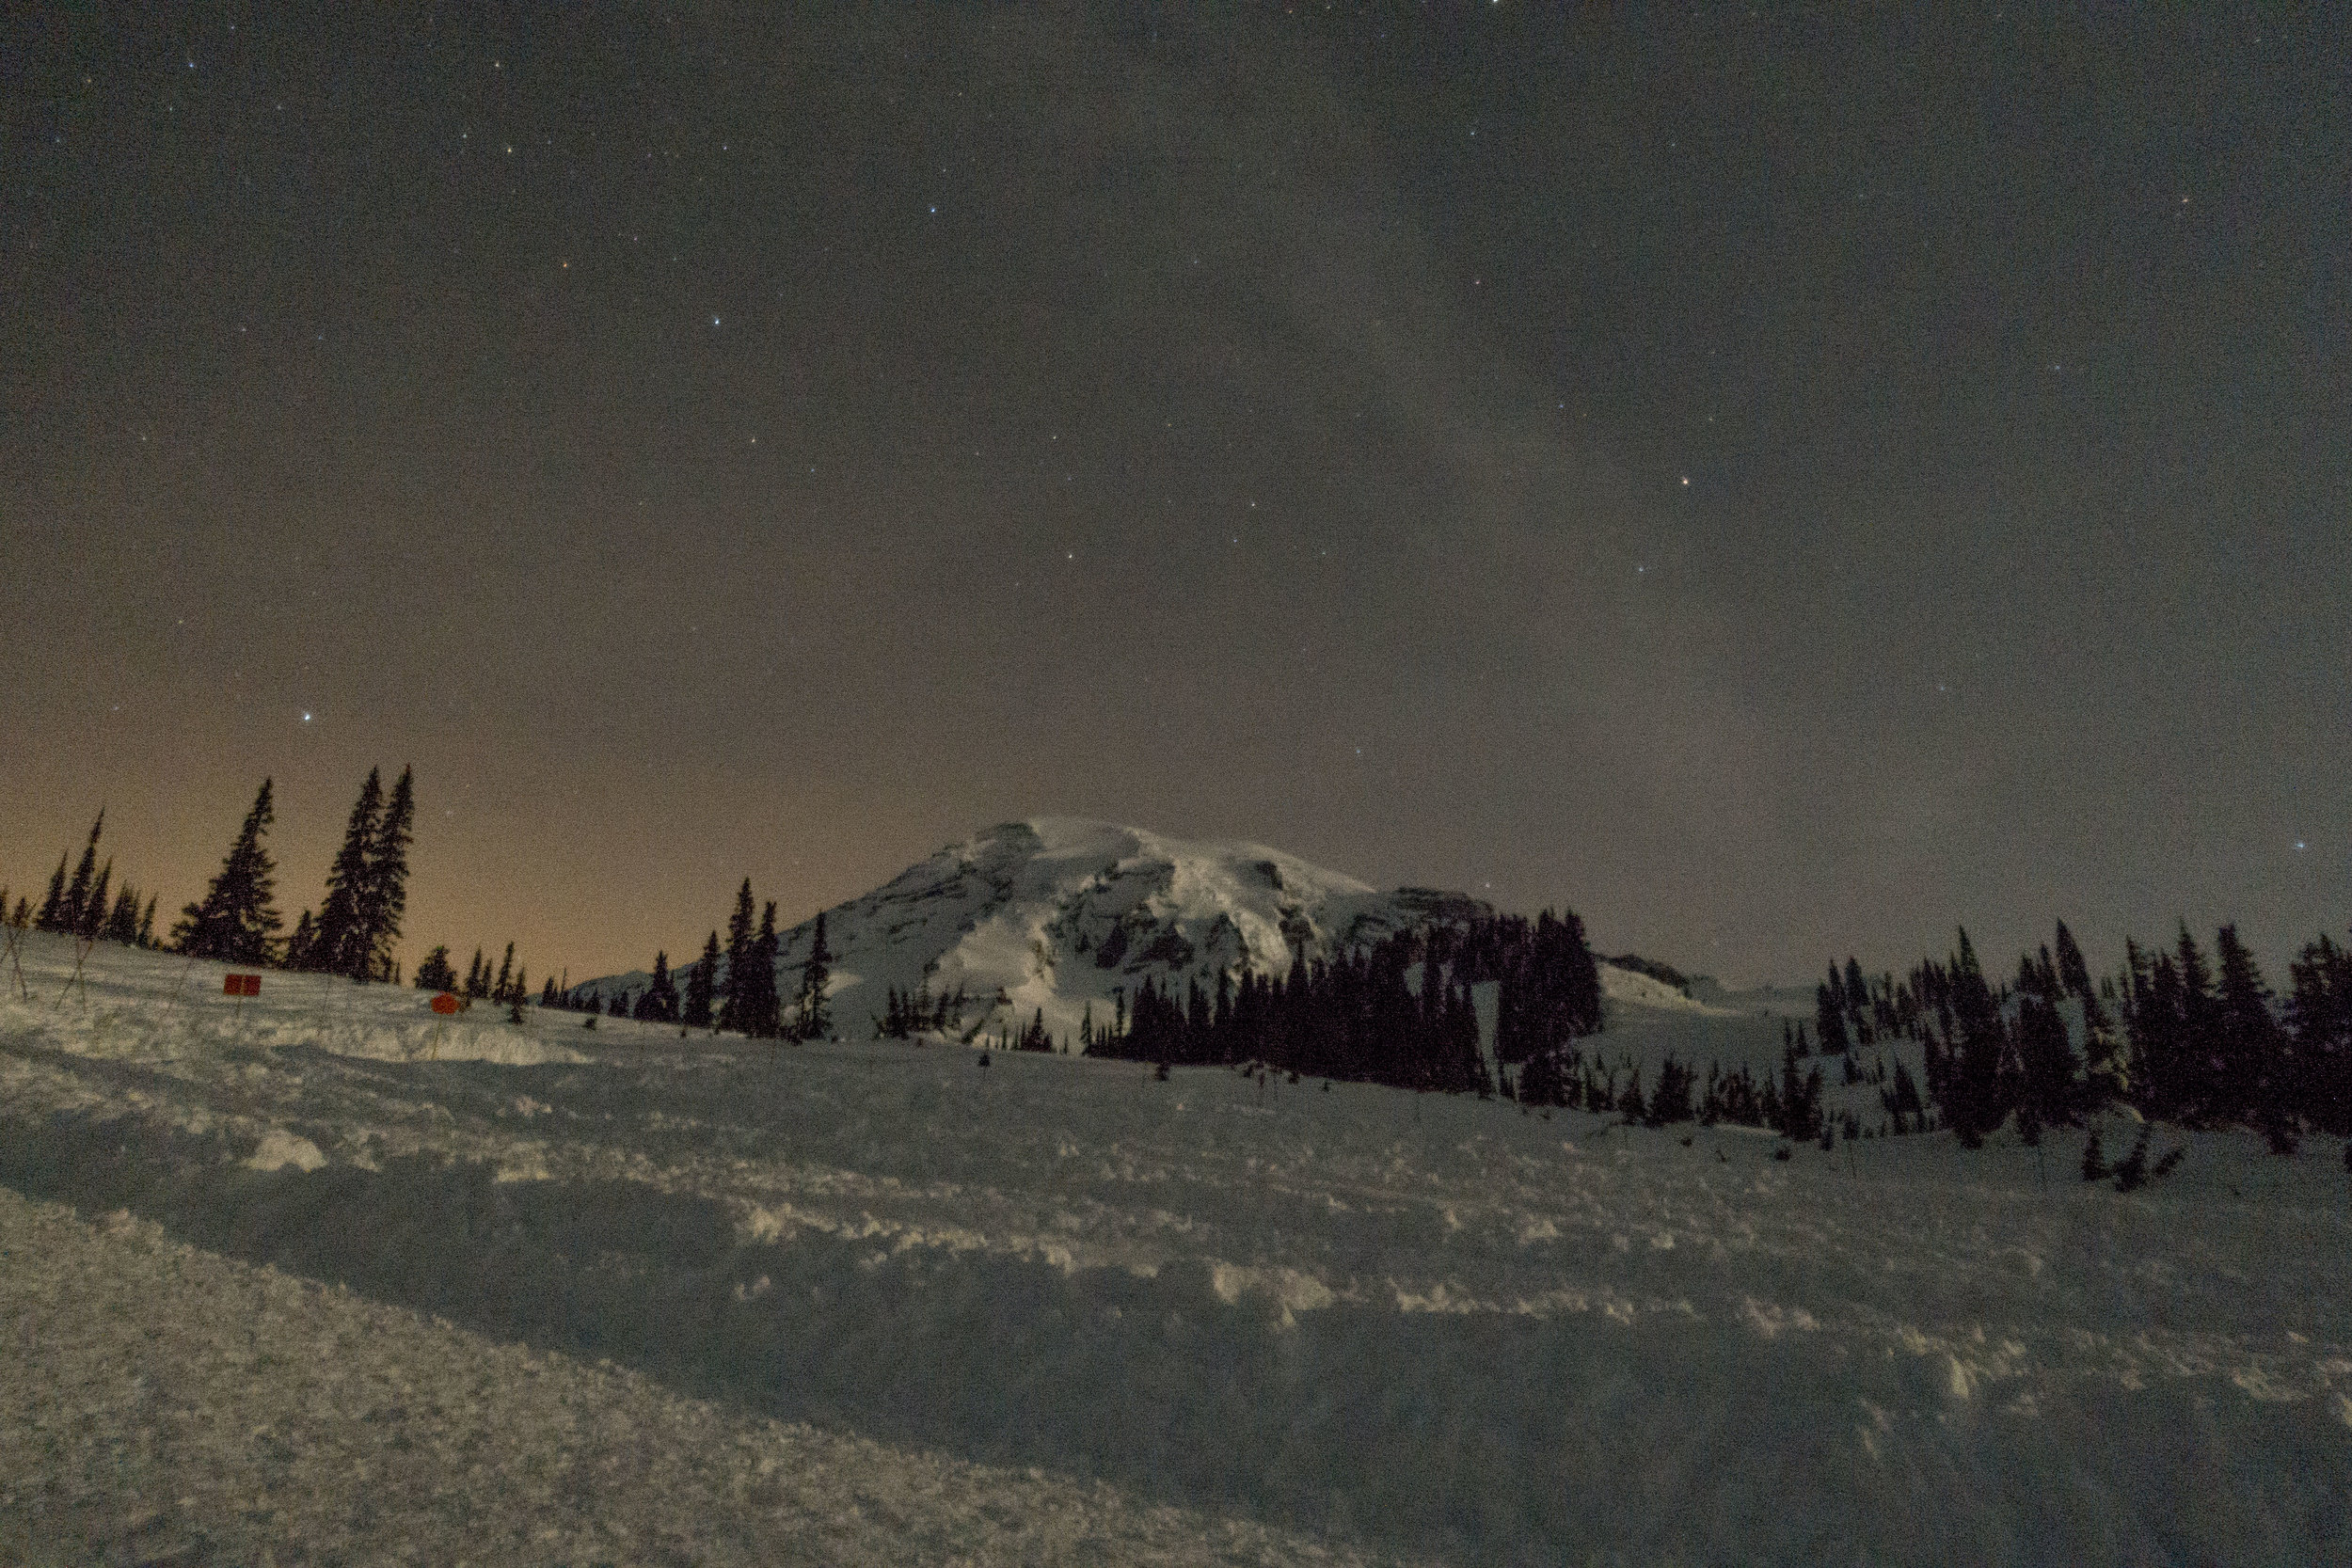
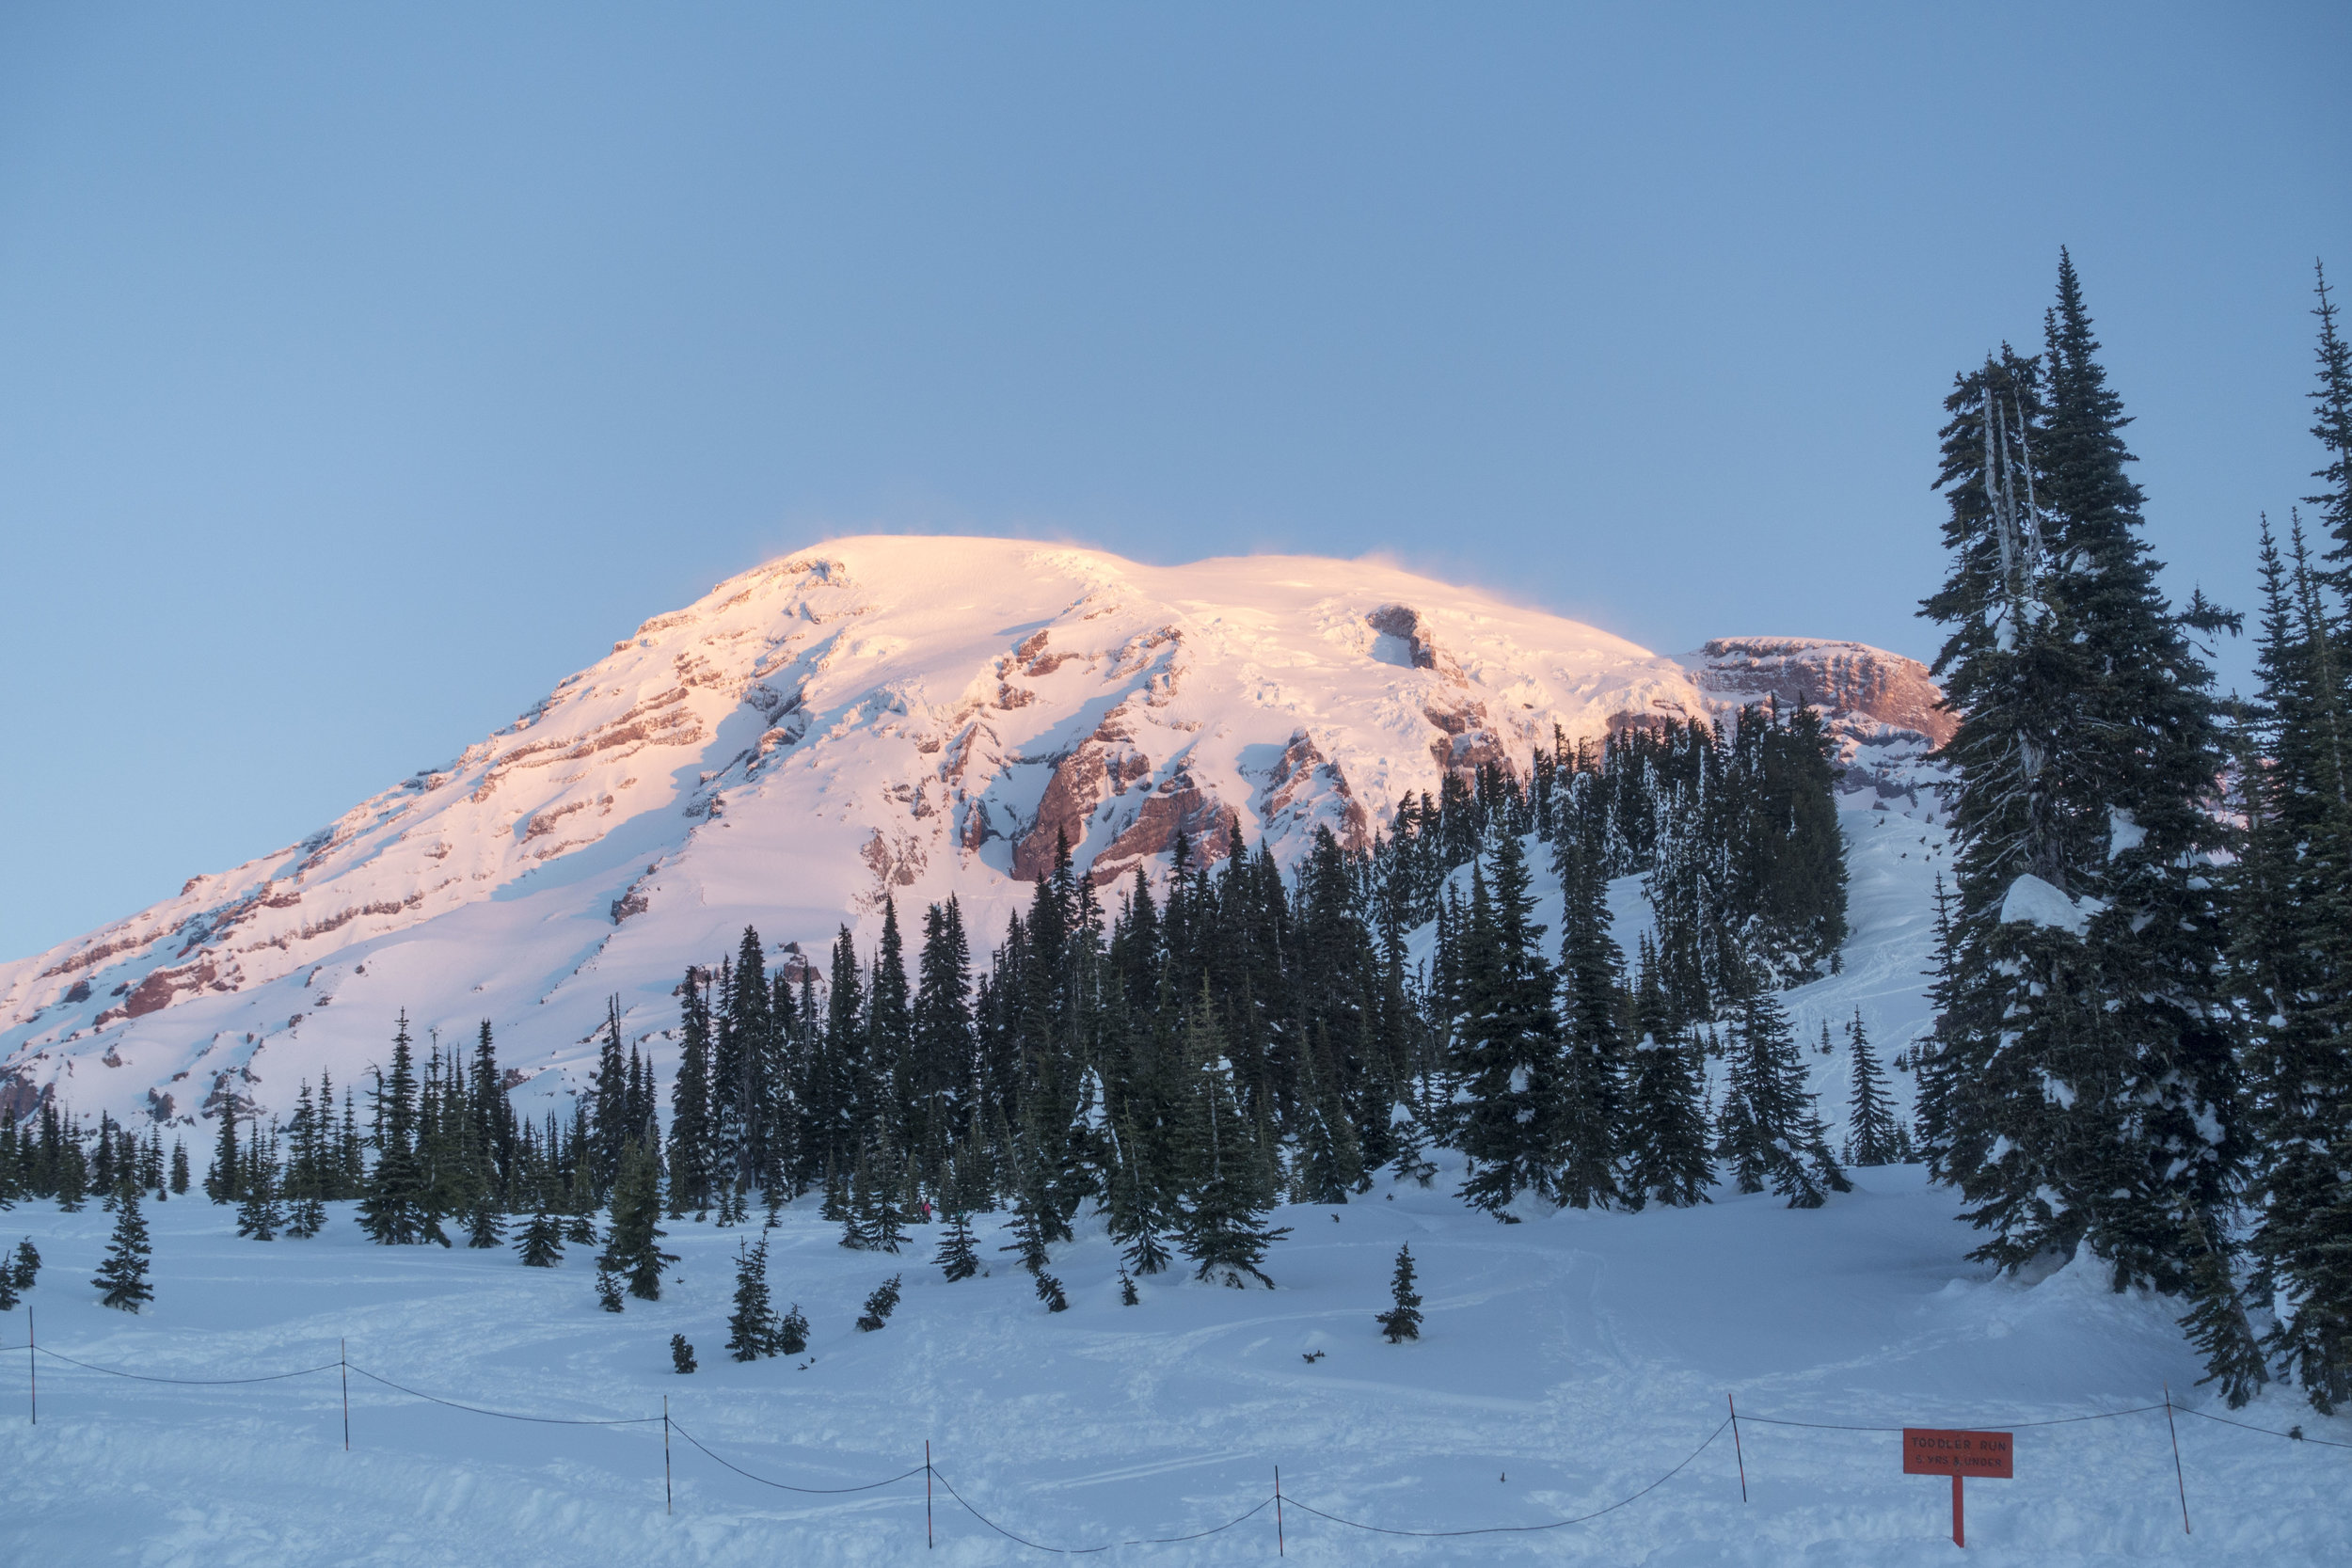
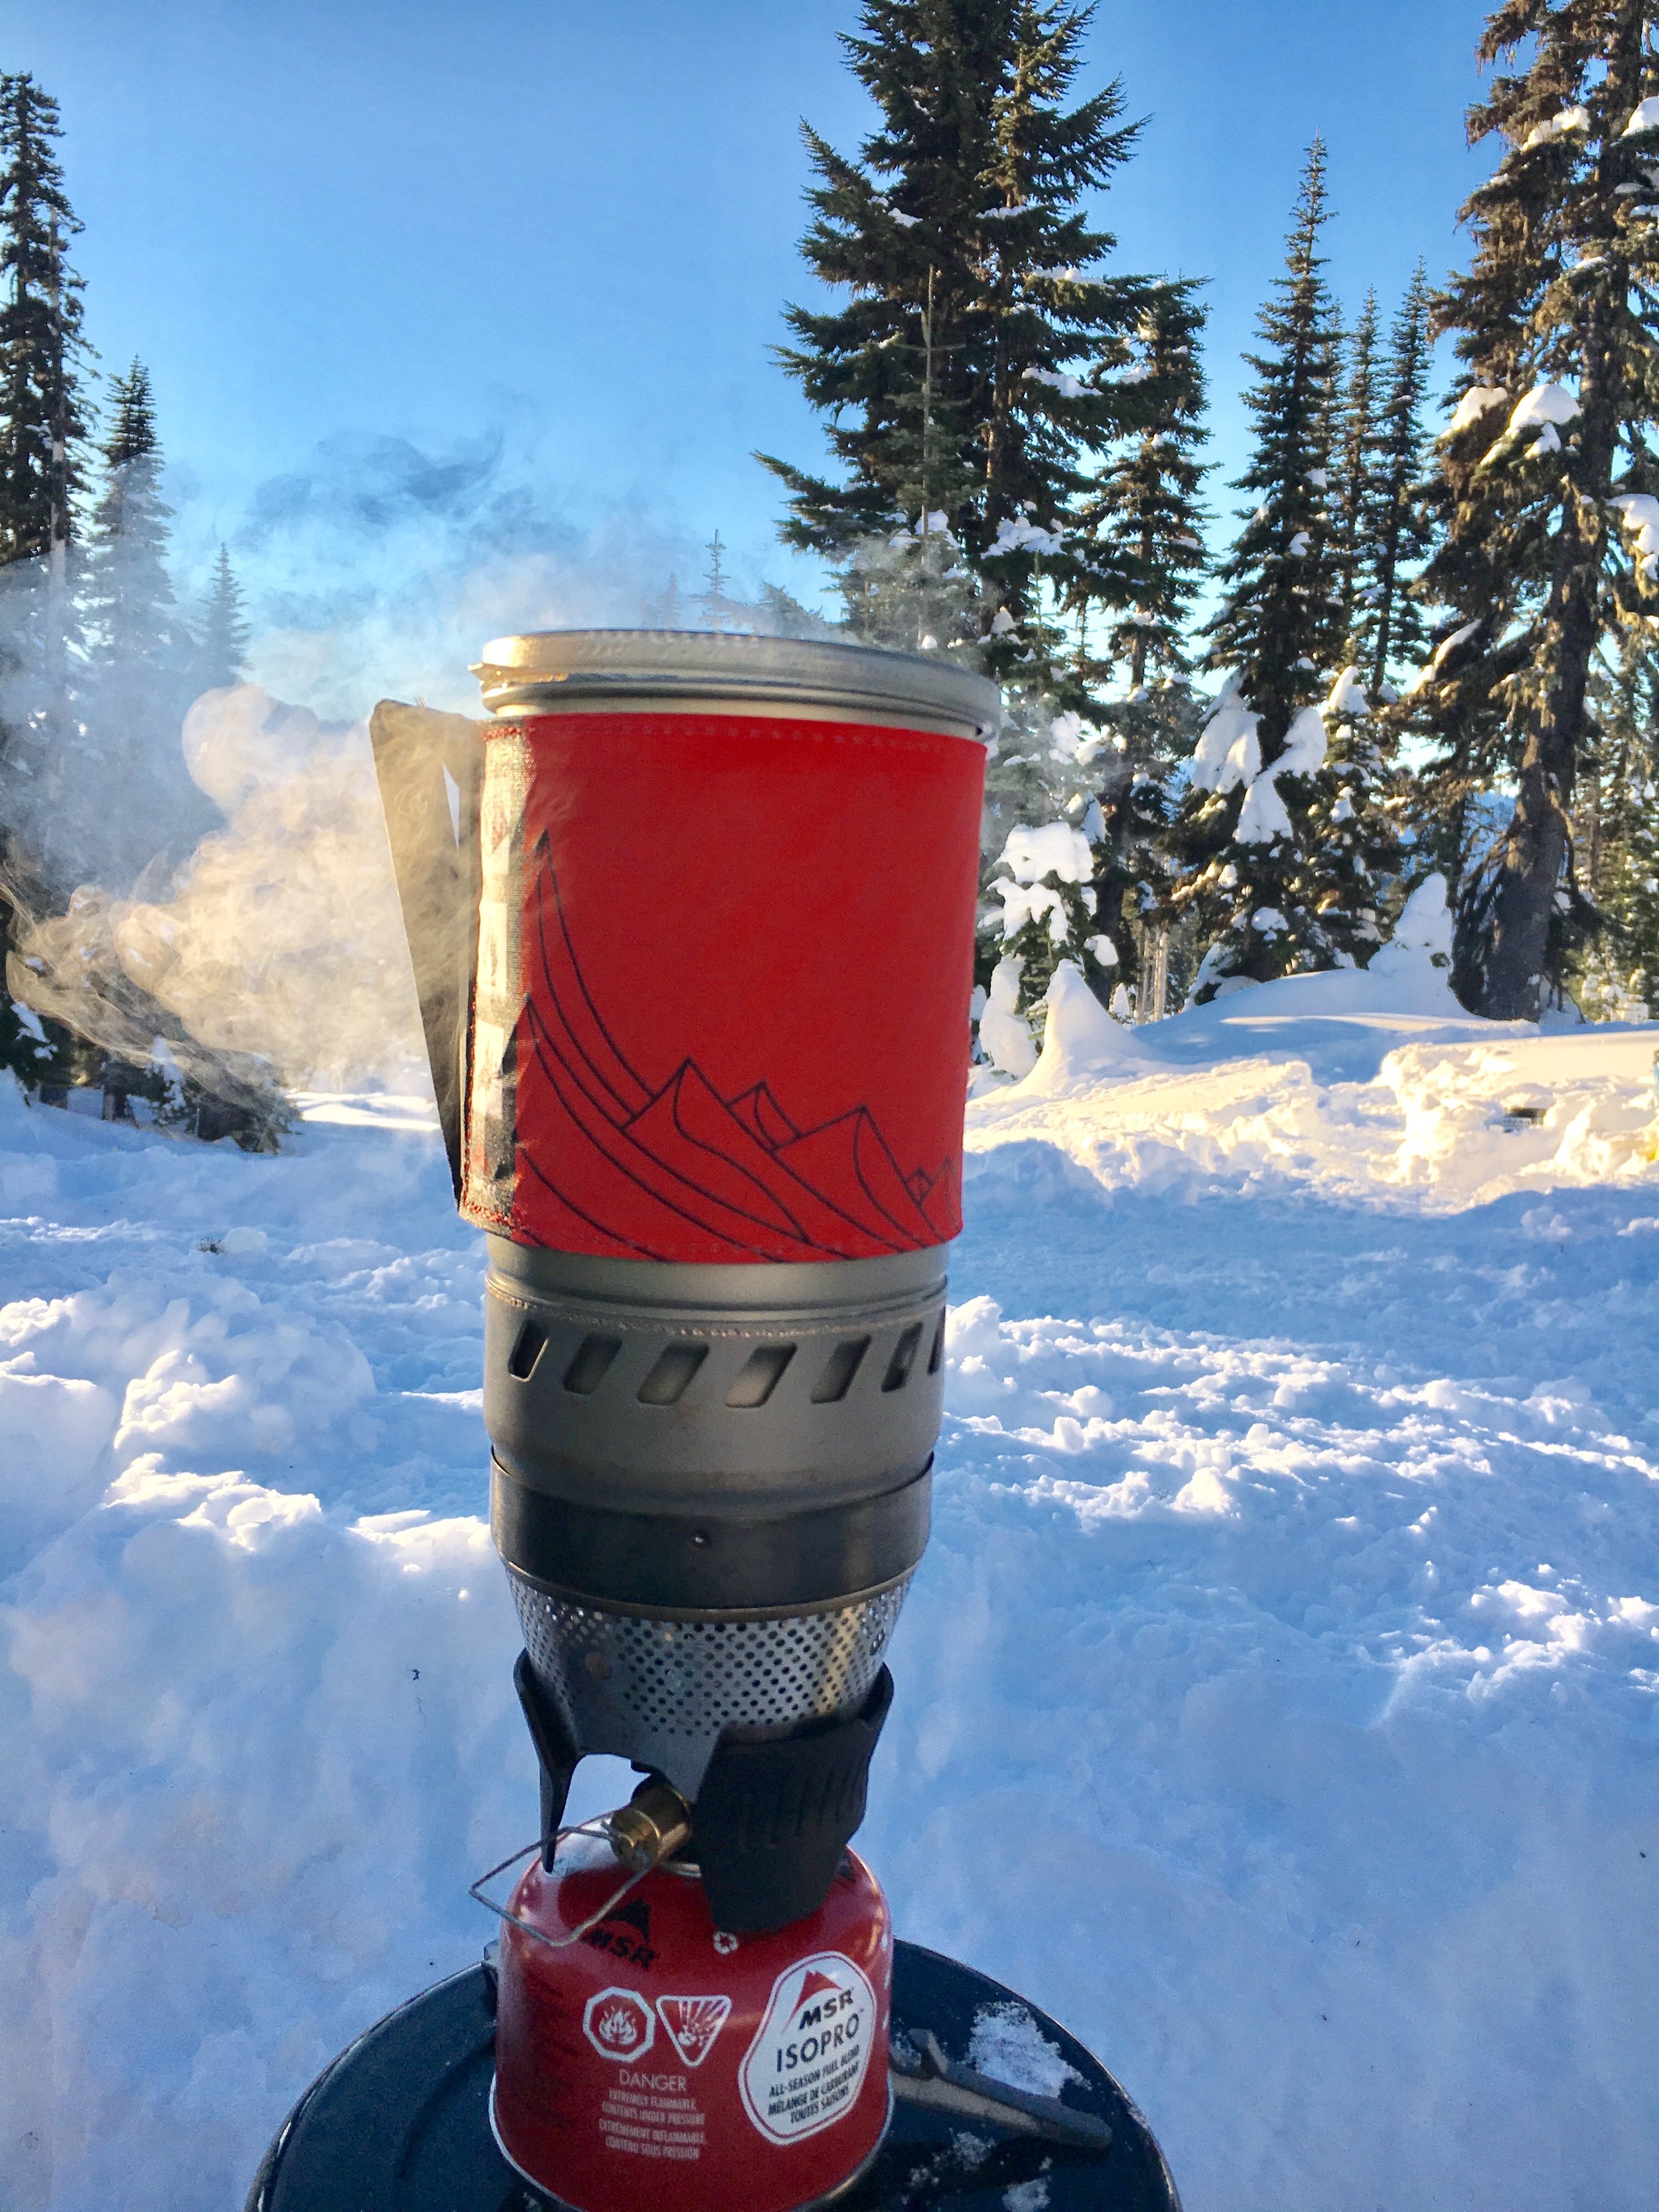
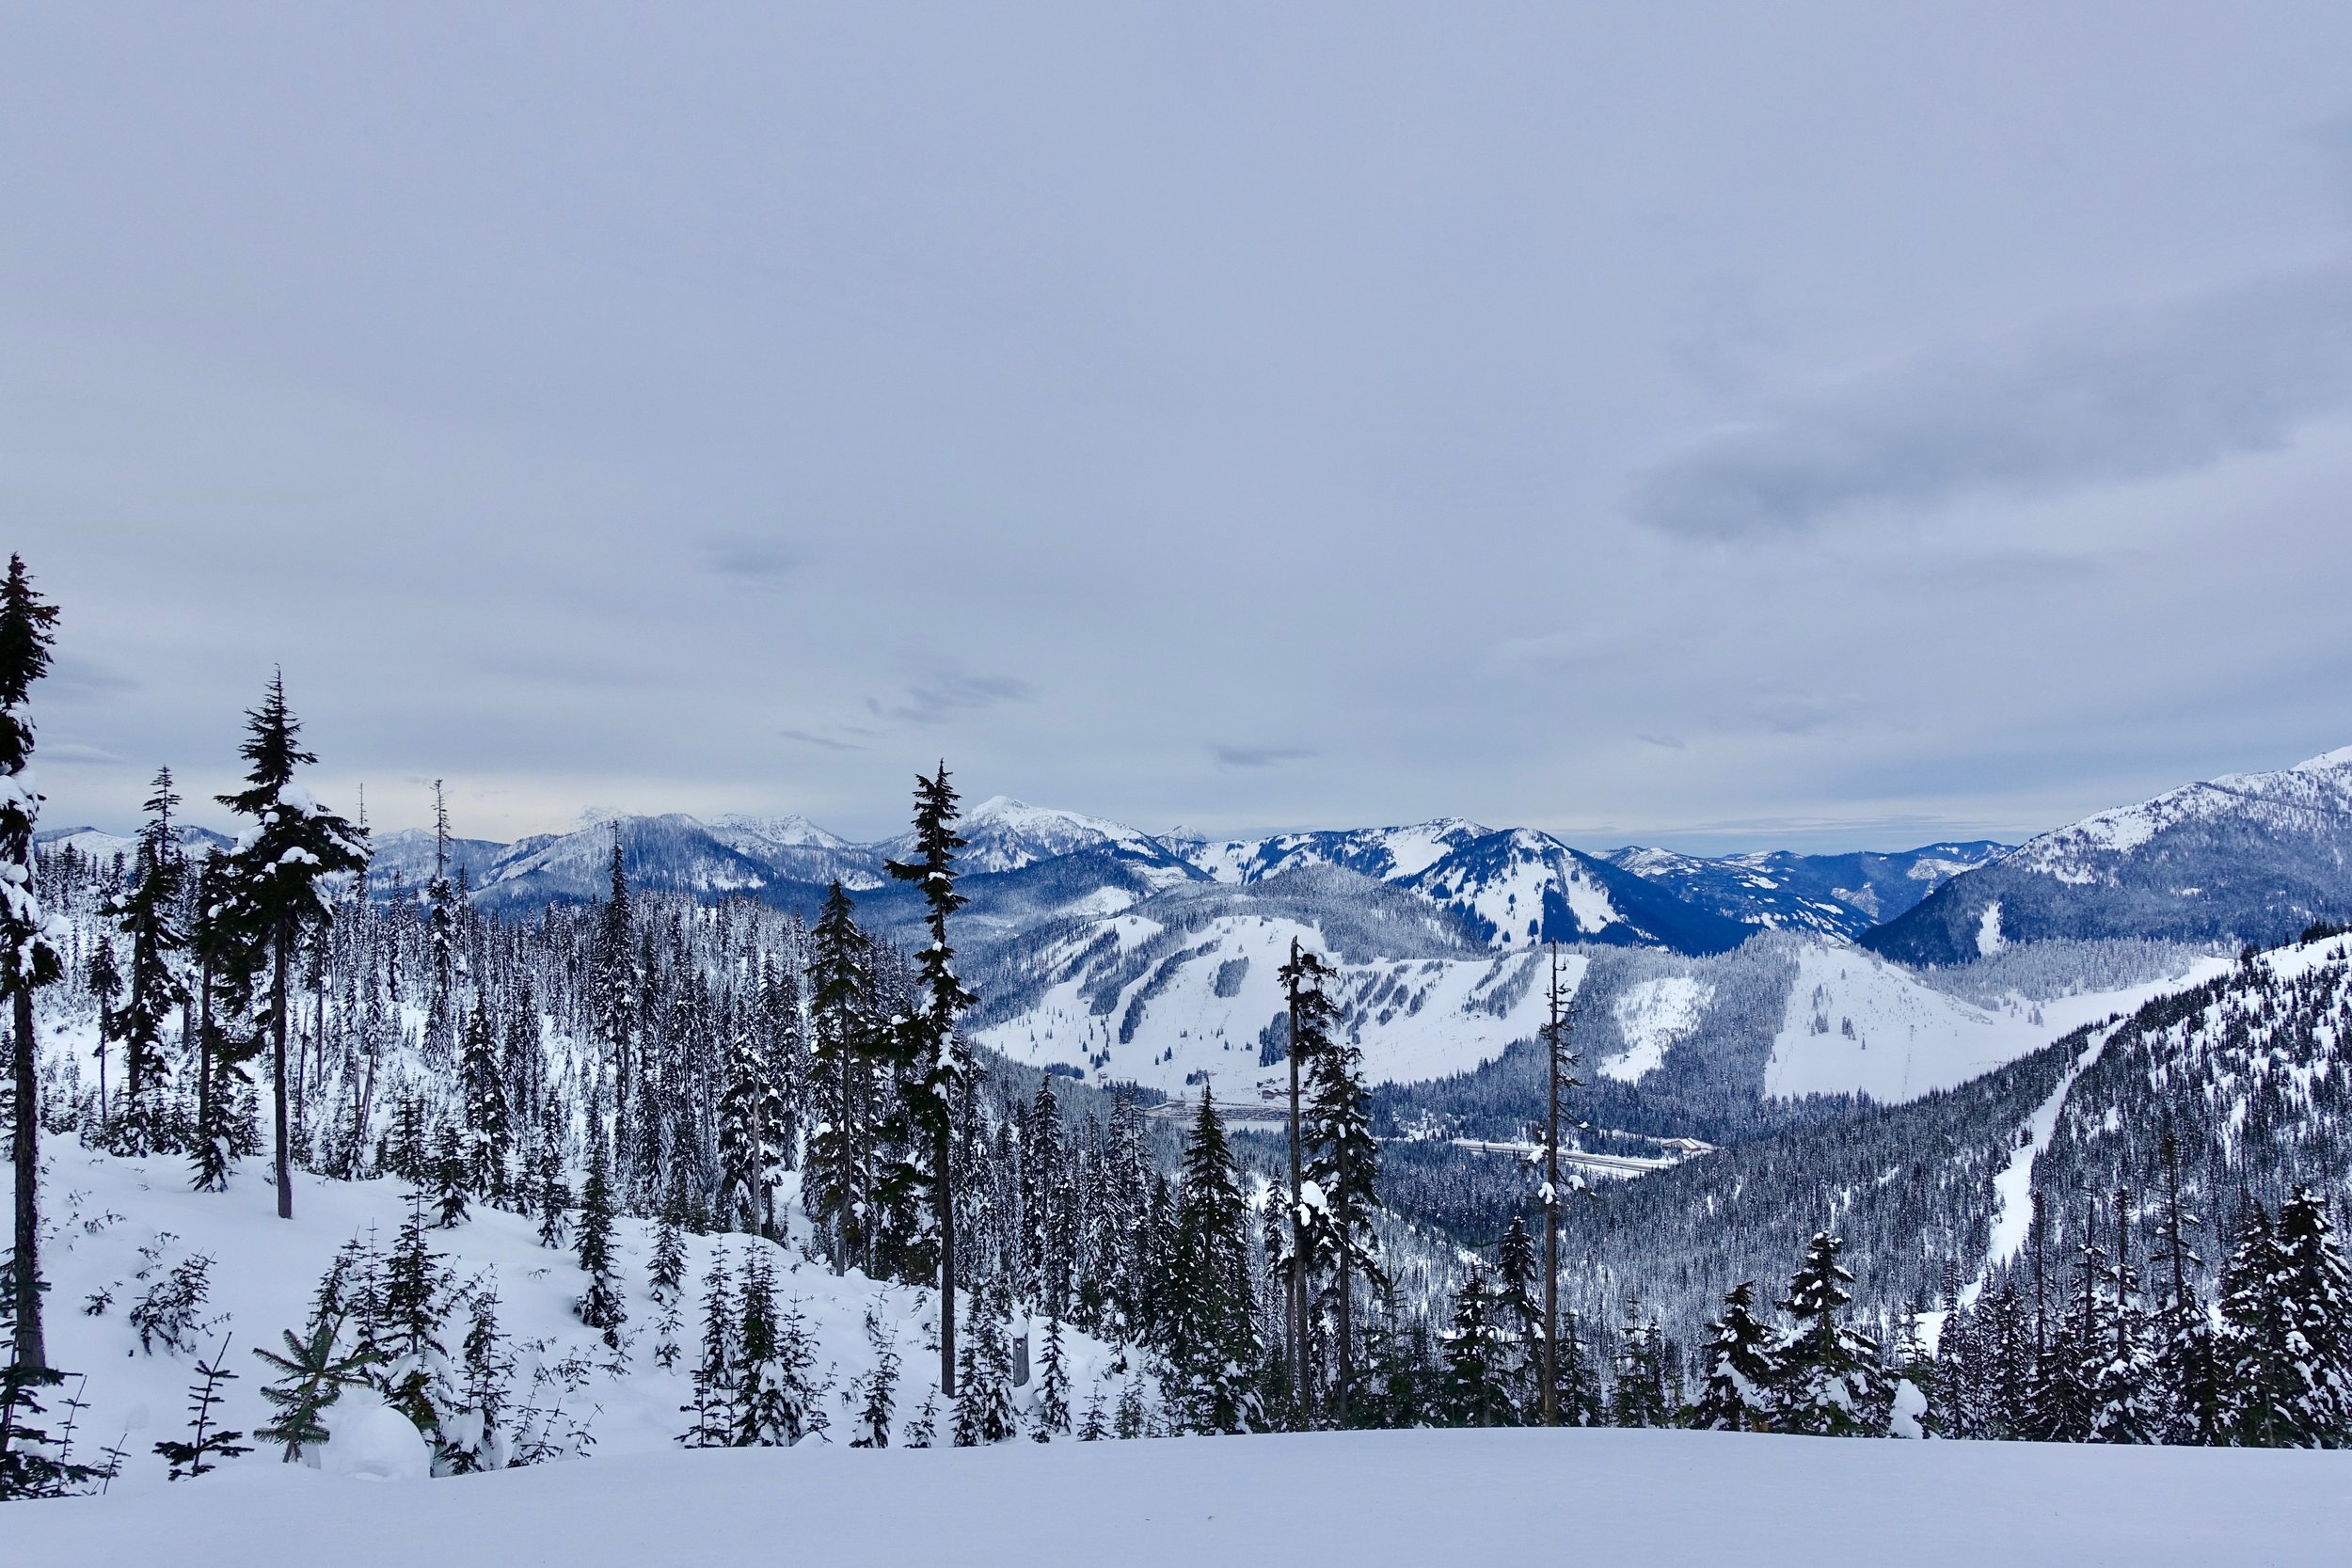
After everyone was set up we went to adventure up the mountain. Some chose microspikes and some wore snowshoes. I chose snowshoes as I don't enjoy post-holing too much. We hiked up just below panorama point and enjoyed the views of the mountain, the tatoosh range, and mt. adams and st. helens as well. The sun was beginning to dip down so most made their way back to camp while some of us stayed to soak in the sunset. We then made our way back to camp and made dinner in the "living room"- a carved out area of snow with benches to sit on! One thing about the cold and fuel for cooking- try to keep it elevated off the snow and always wrapped in something warm when not using. Ours froze fast when on the ground. Also, my MSR takes one minute to boil water, but boiling snow takes about 10 minutes so plan on using much more fuel. I would possibly buy a 4 season fuel canister for next time. I drank my hot cocoa with peppermint schnapps and then we decided to get ready for bed. It was before 9 but had already been dark for hours. I tried to do a few night photography shots, but waited too long and the moon had brightened up the sky a lot.
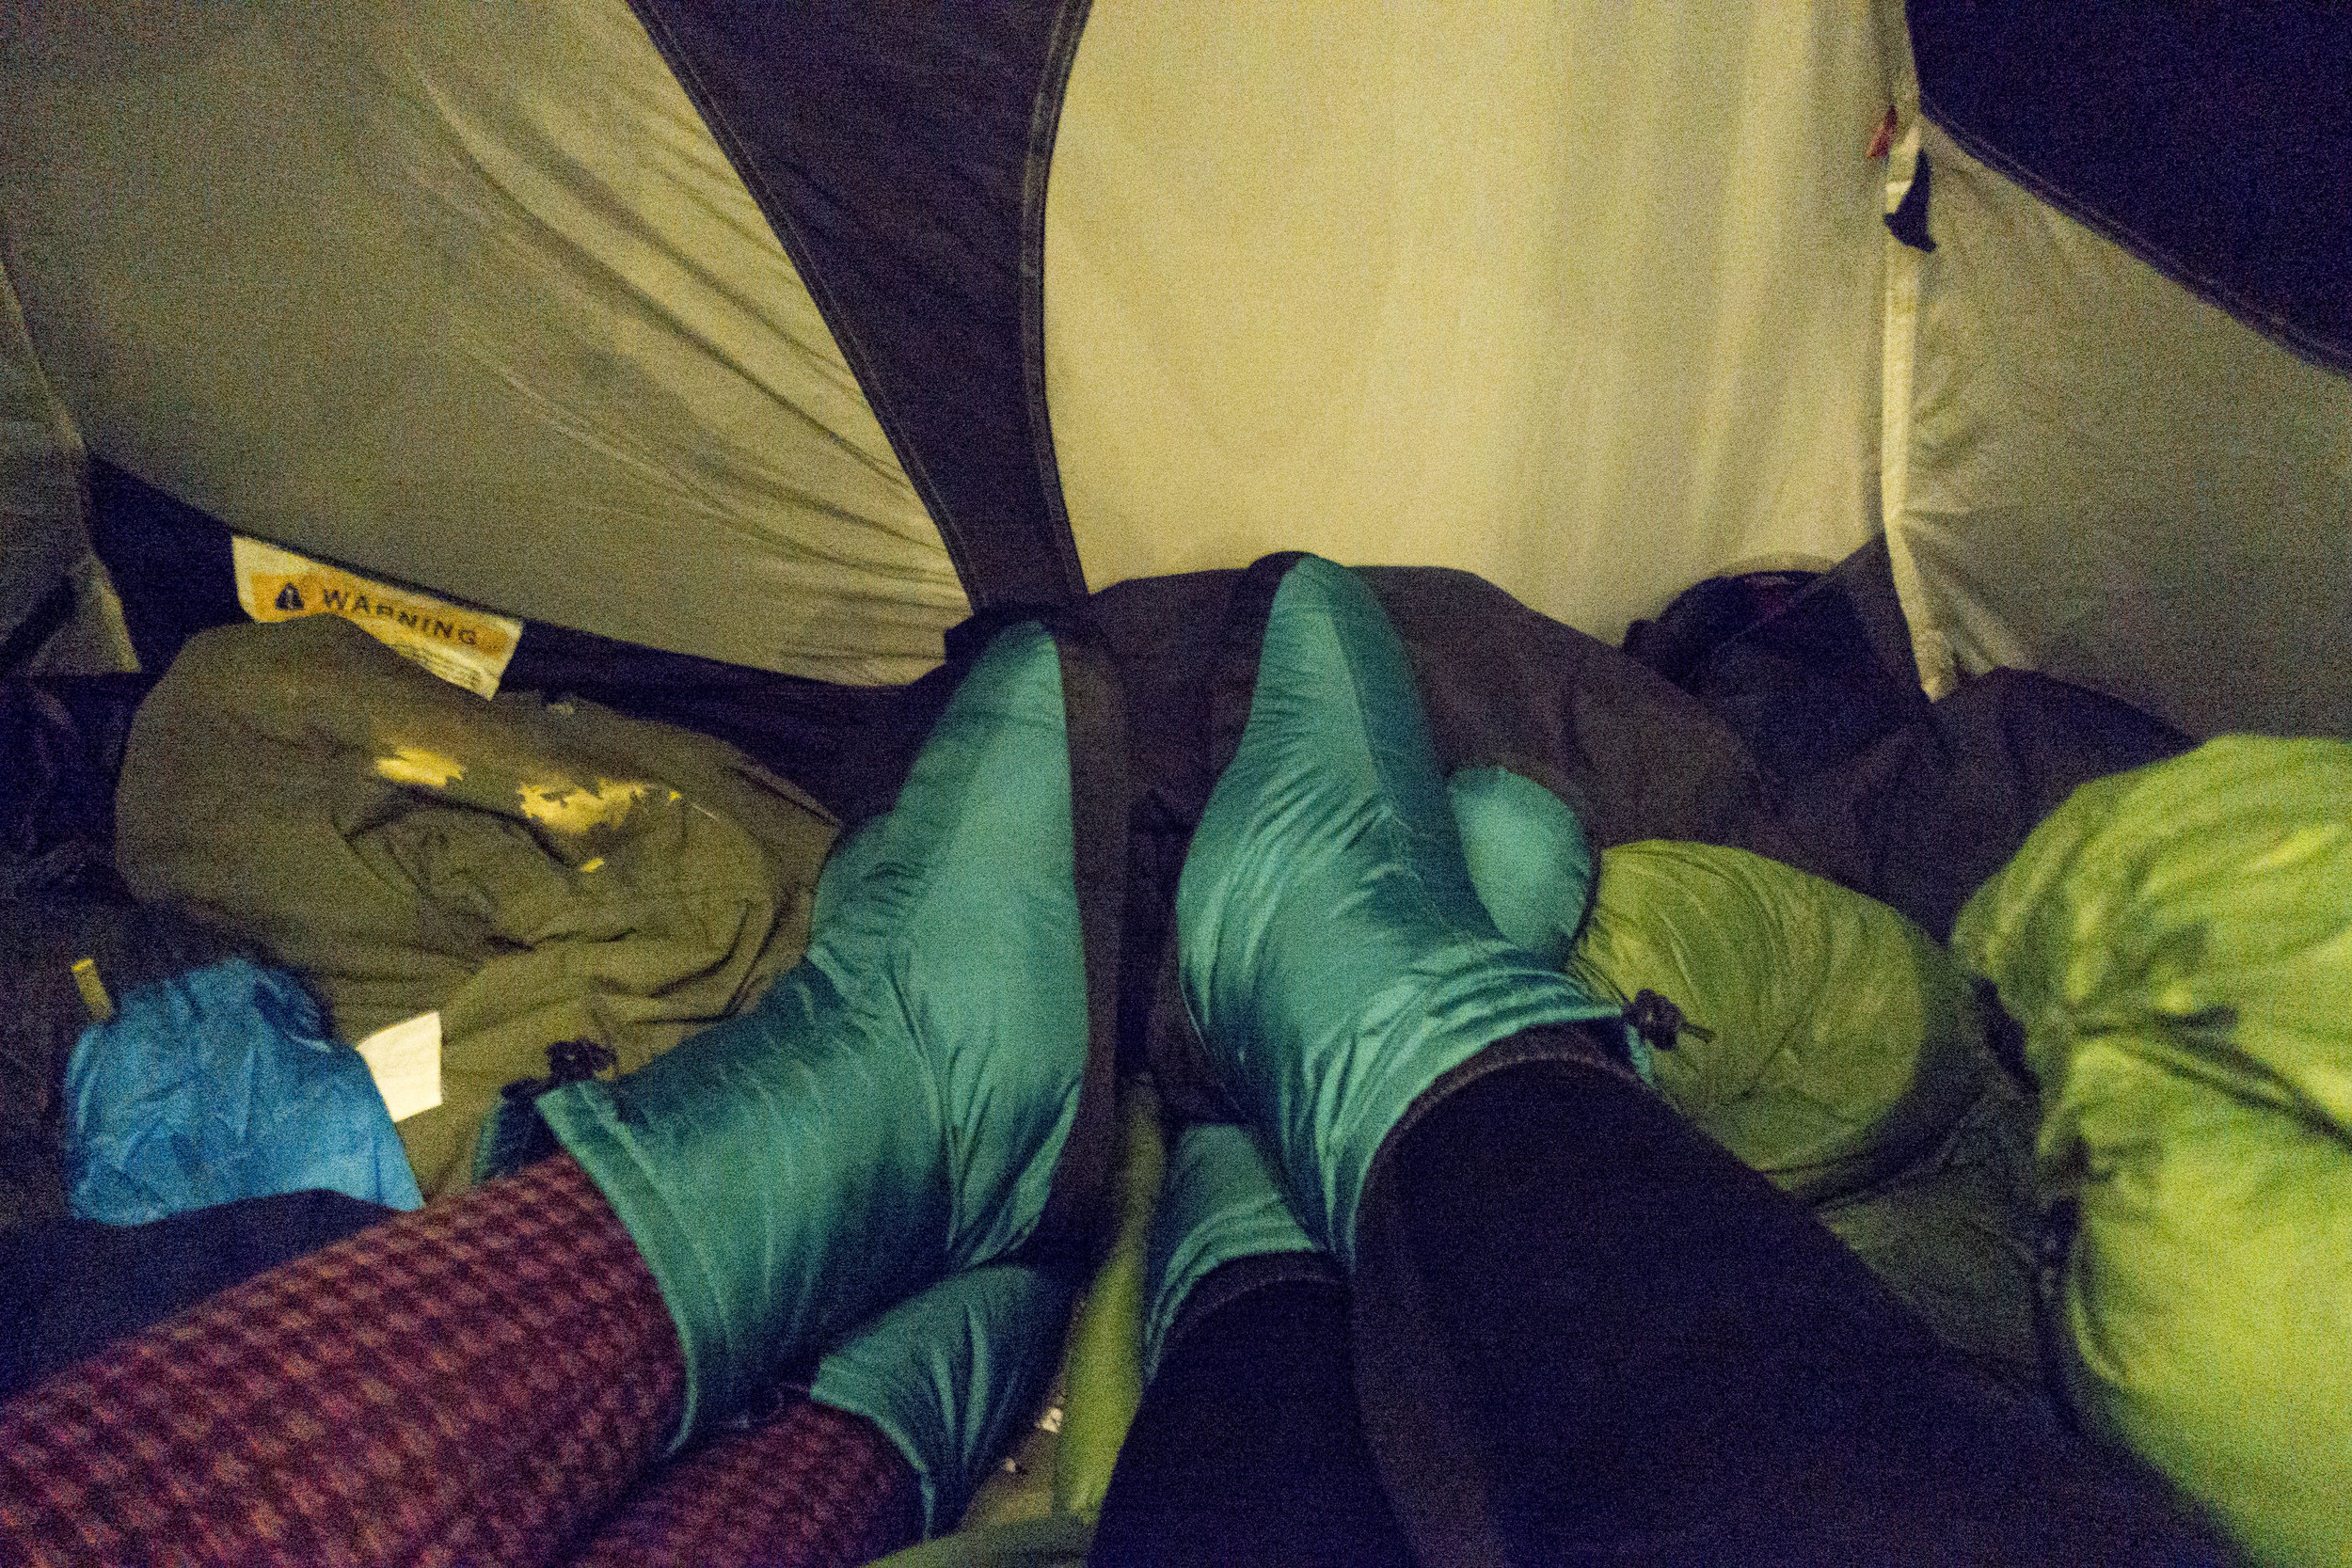
When sleeping- it is best to put anything that may freeze between you and another person or in your sleeping bag with you. I had my contacts in my pocket, cell phone, and camera, fuel, and water bottles between us. None of those things froze, so that worked out well.
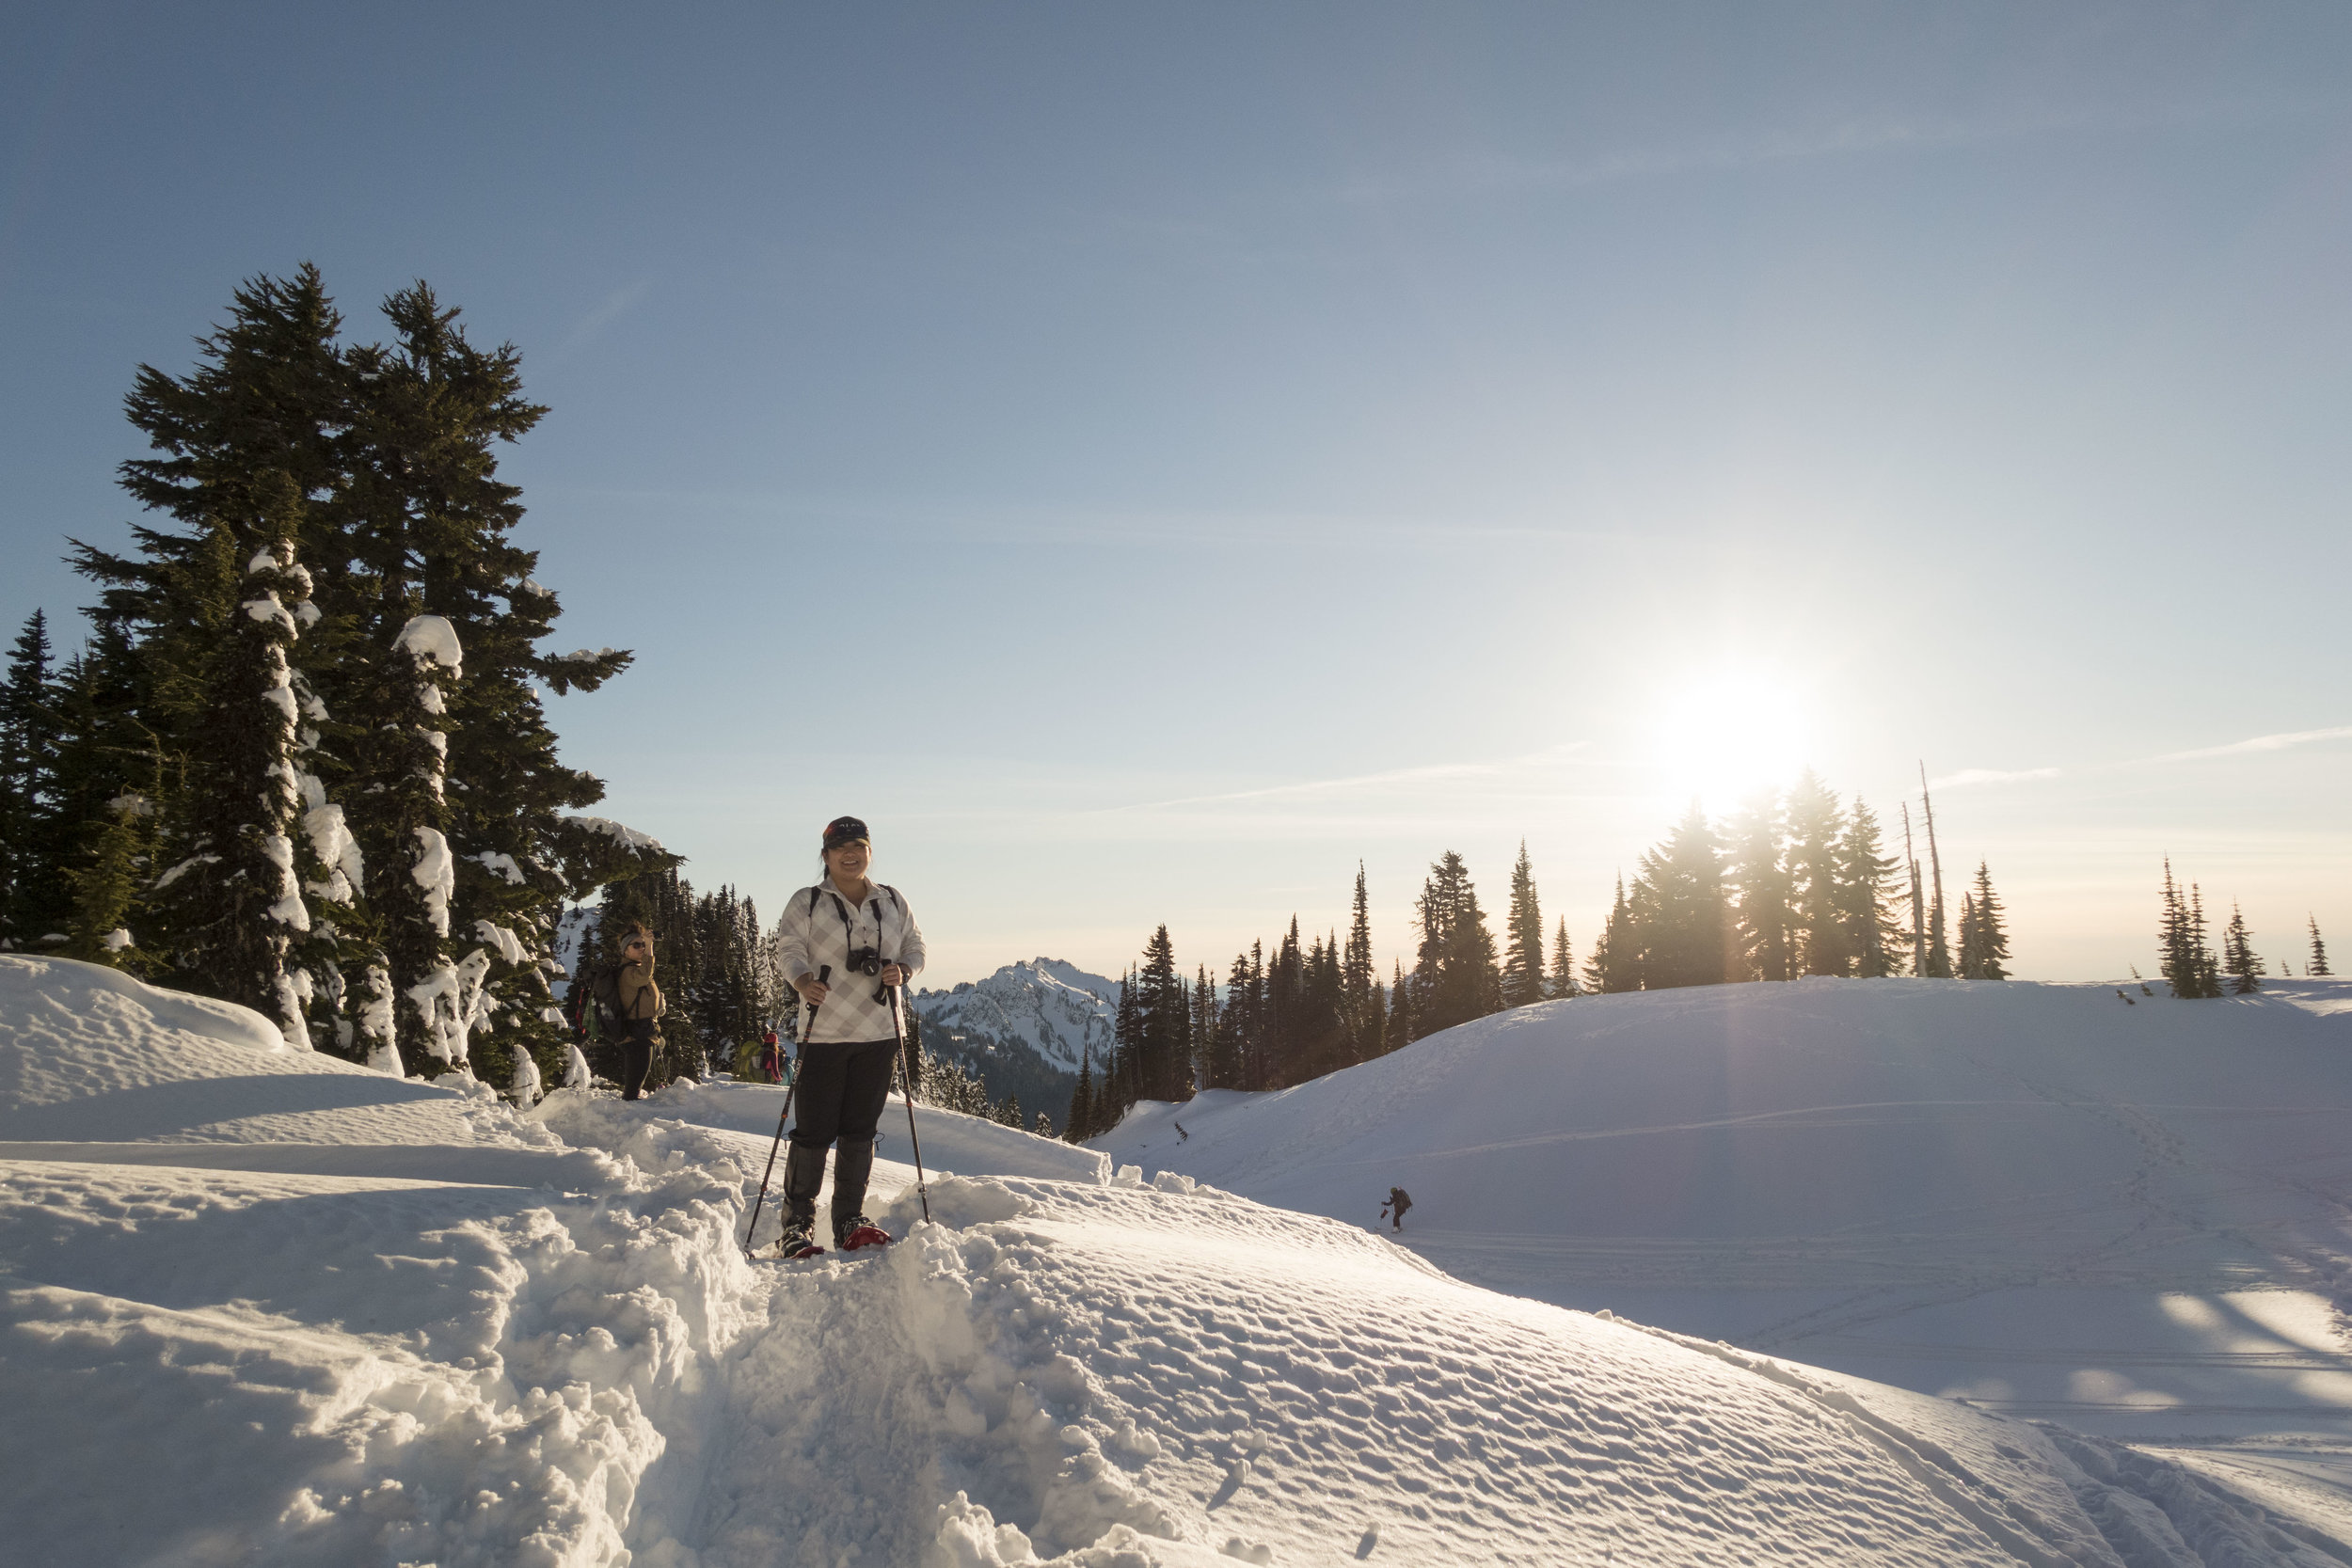
Up until this point I hadn't been too miserably cold at all during the day as we kept moving a lot. When we crawled into bed, we put on our booties and that kept our feet toasty all night. I slept with 2 pairs of pants on, and 3 layers on top. I didn't want to sleep with my huge ski parka and snow pants on as that was very uncomfortable. I got cold right away and kept trying to fall asleep, but had no luck. I couldn't warm up so I put my snow pants on at one point, but was still very cold through the night and didn't sleep well at all. Something that I think would've helped is a z-lite pad under my inflatable sleeping pad. My sleeping pad has a high R value (rated for warmth), but it was not enough. I could feel the cold snow below me all night, which was not fun. I also need to figure out the quilt sleeping system. This has no bottom and has 2 straps that go under the sleeping pad. I loved the spaciousness of it, but need to figure out how to stay warm in it. I got some sleep that night and then we were up by 7:30 to catch the sunrise (yay for late sunrises in the winter). My hiking boots had gotten wet from the snow the previous day and were now frozen when I woke up. I had even put them inside the tent to help prevent this and I still could barely get them on. That was not super fun as well. We got up and made our way to catch some of the sunrise and then went back to camp and made breakfast and had hot coffee and the community of the other women around.
It was a great time meeting so many new people that share the same passion with me. So inspiring to be around so many bad ass women who are doing things I can only dream. I enjoyed learning from them and all the experienced tips they had to give. I am such a beginner in the world of backcountry adventures, but am willing and excited to learn from all. I am so lucky to have found this community of women who strengthen and lift each other up.
With some tweaks to gear I have no doubt that snow camping would be something regularly on the agenda in the winter. I have always hated winter growing up in Minnesota, but have a new found appreciation for the season this year. I know for sure this won't be my last snow camping trip.
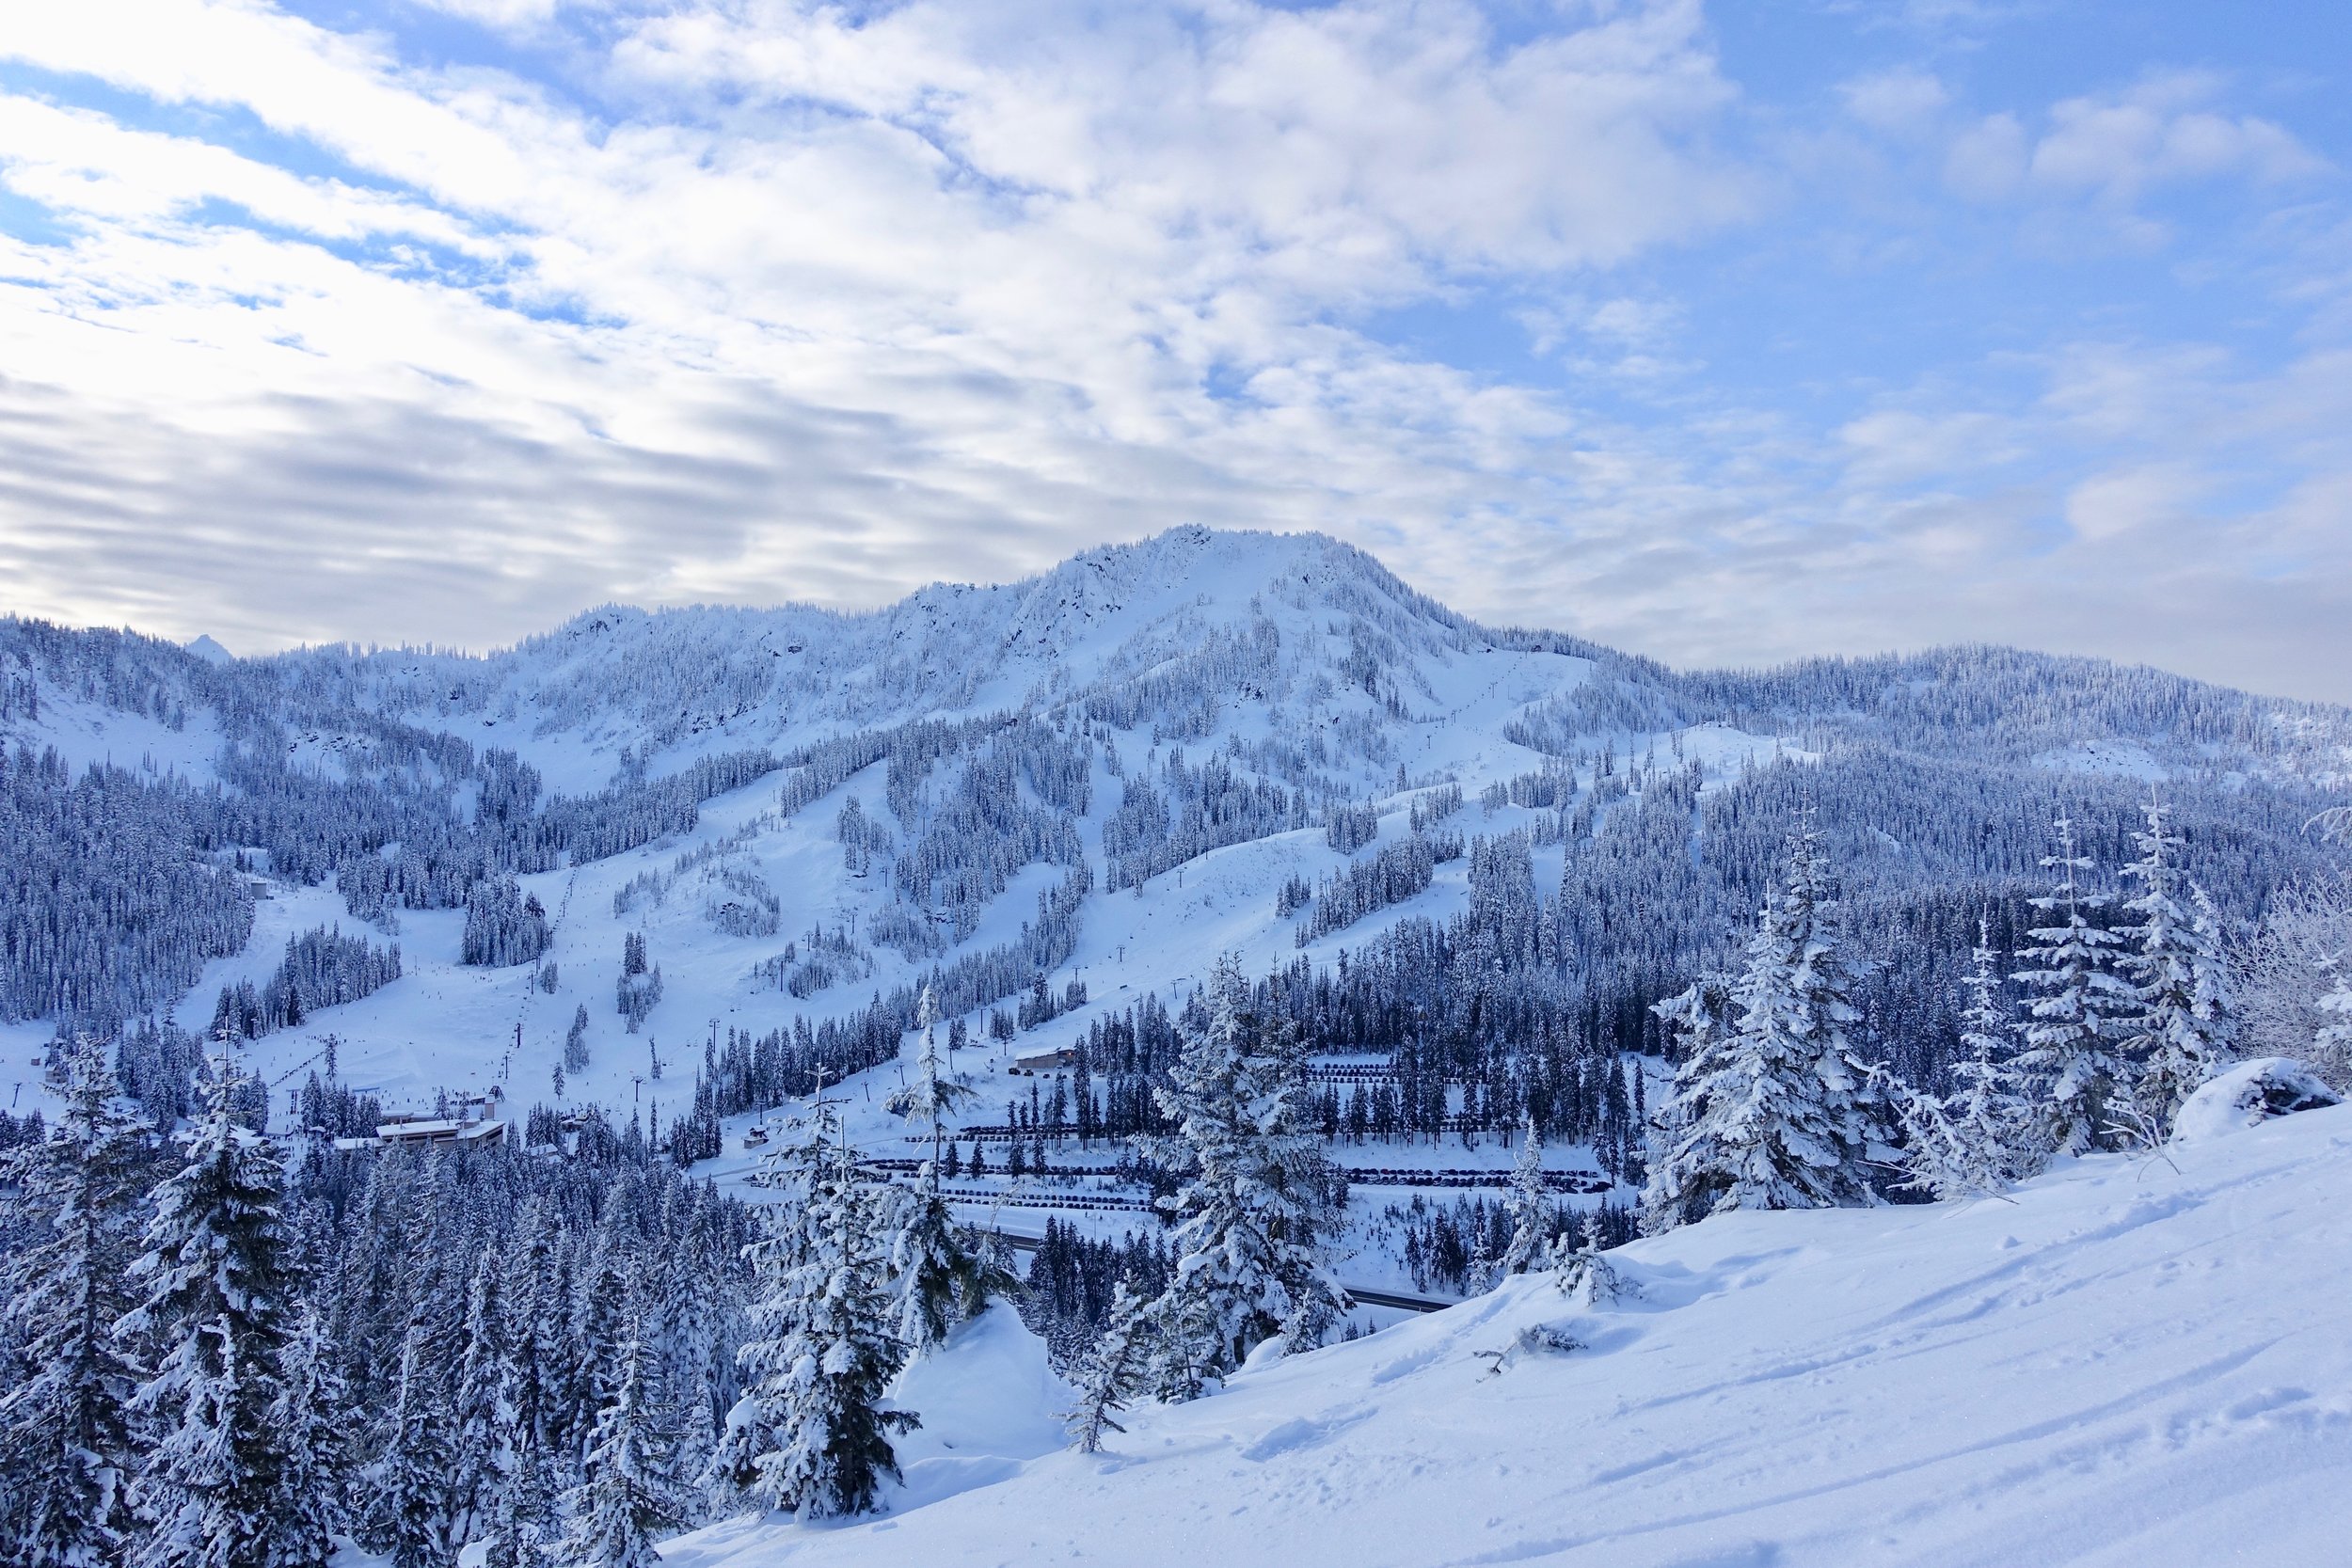
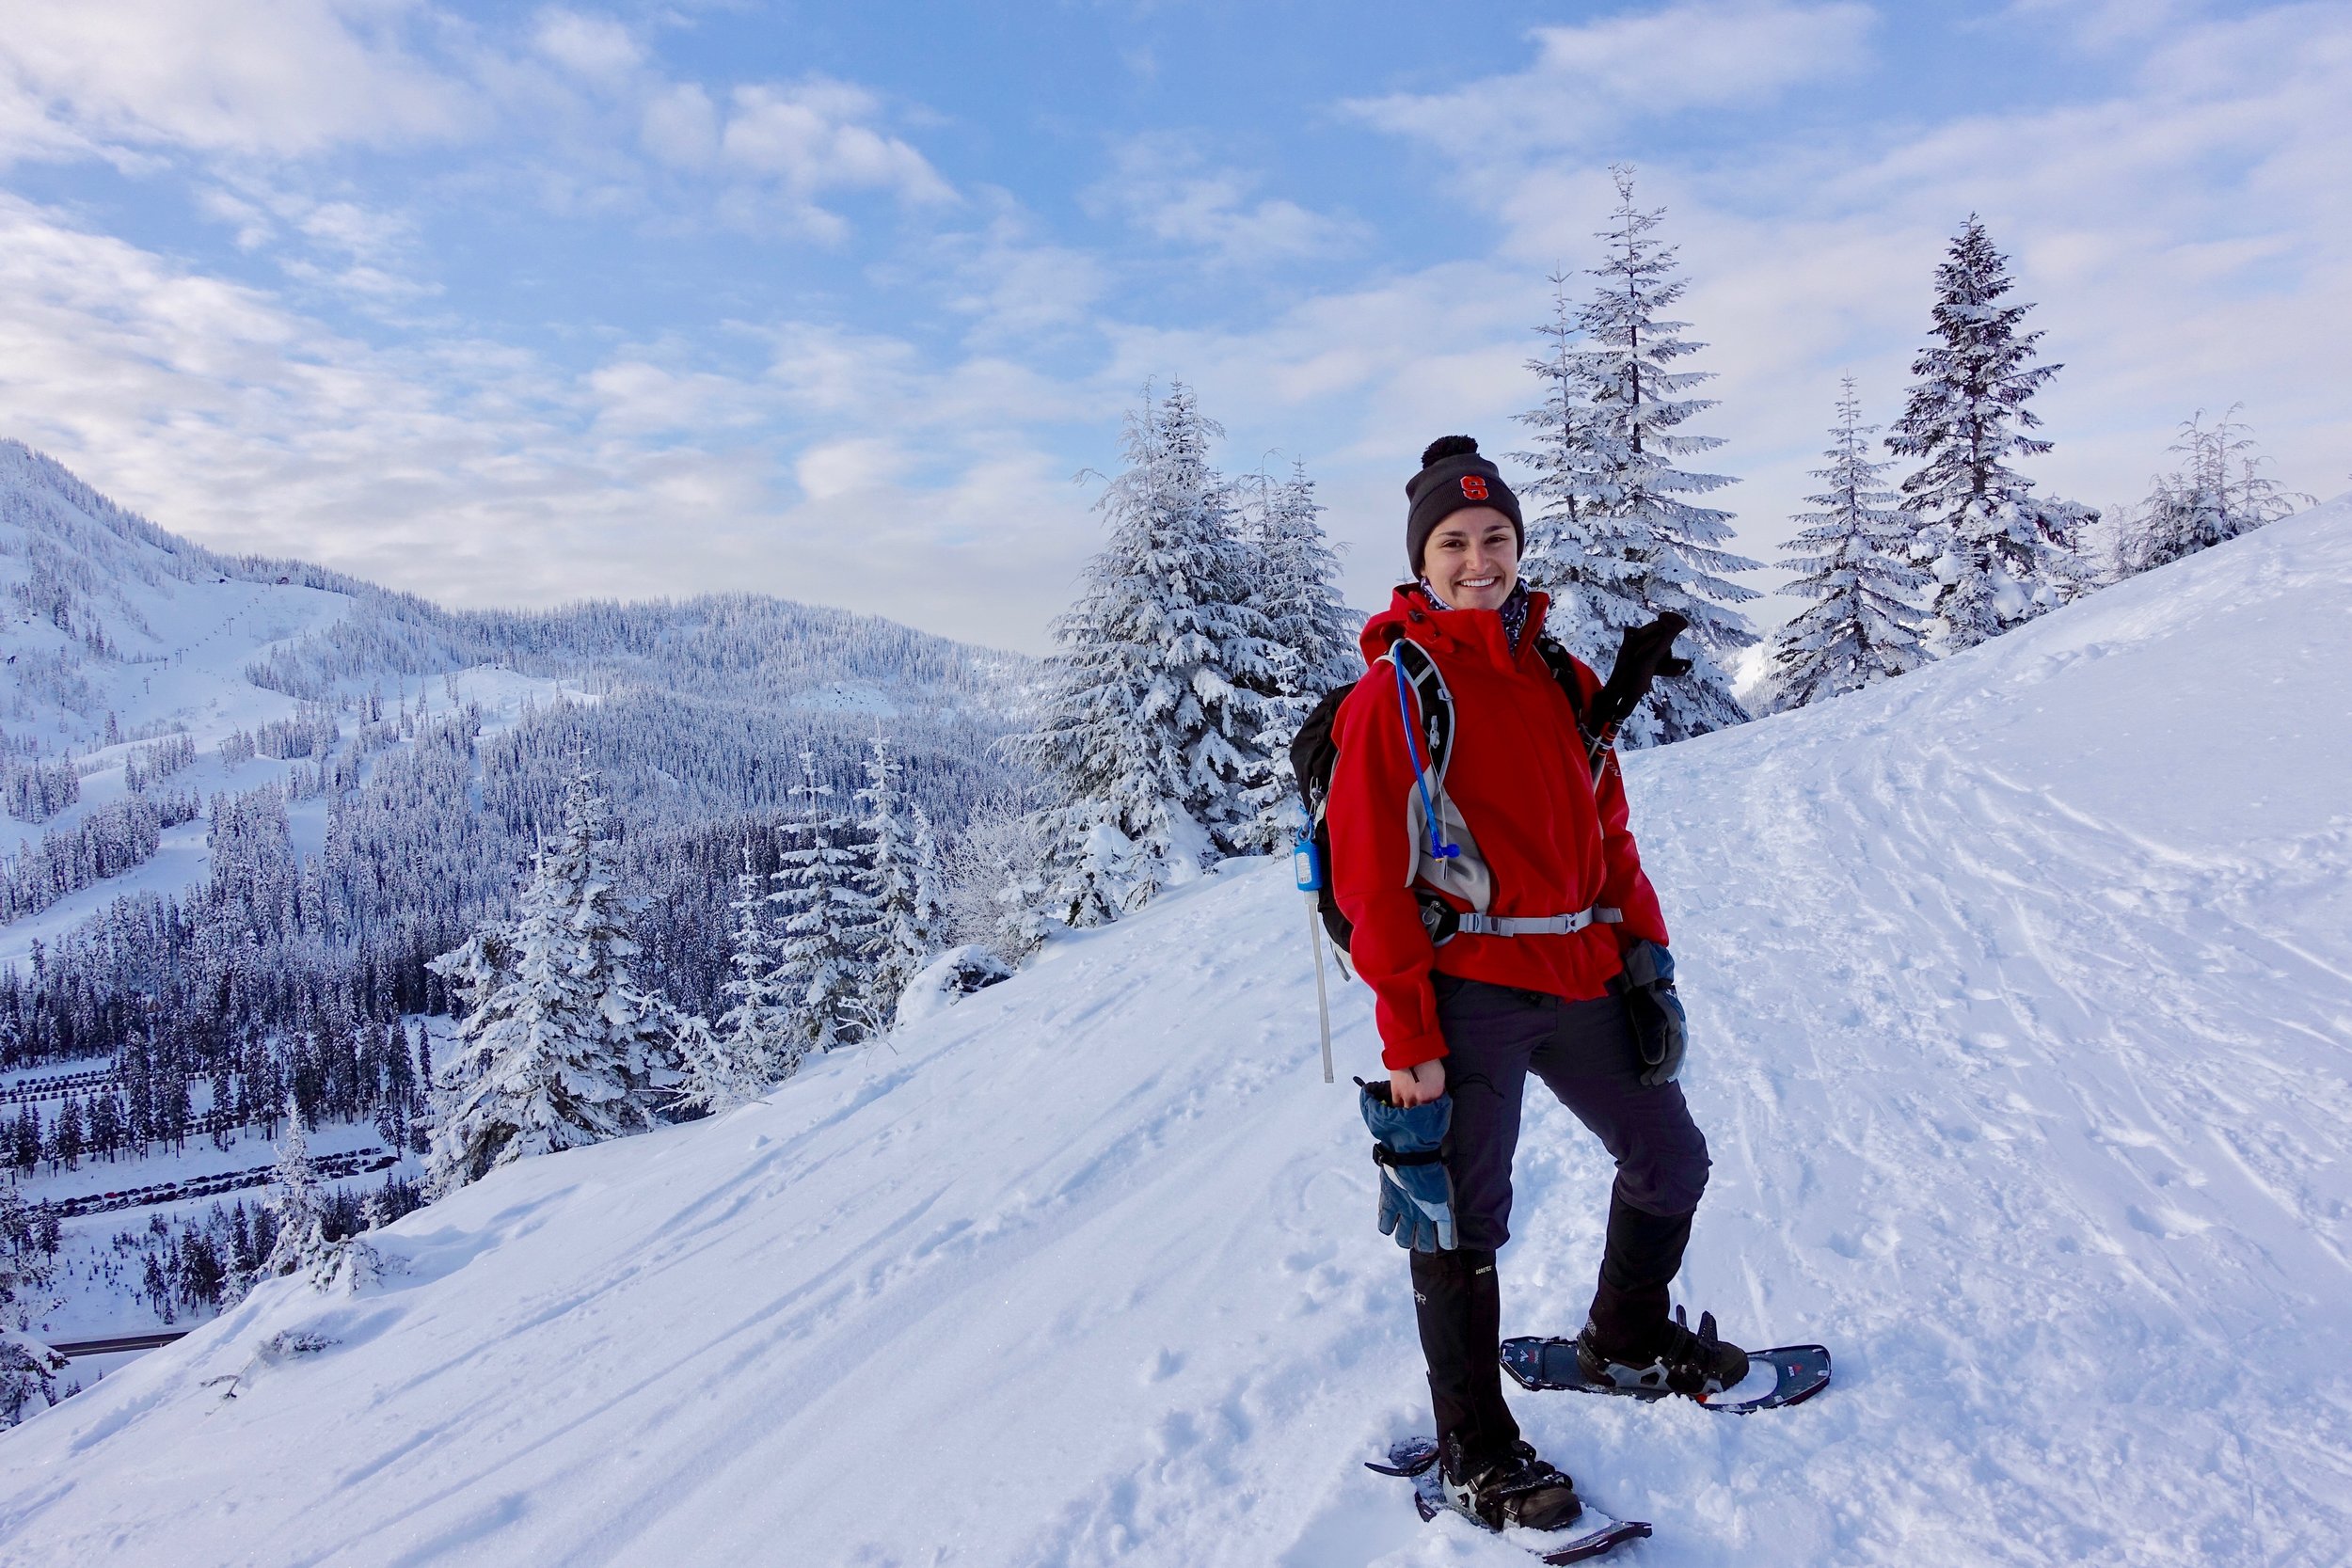
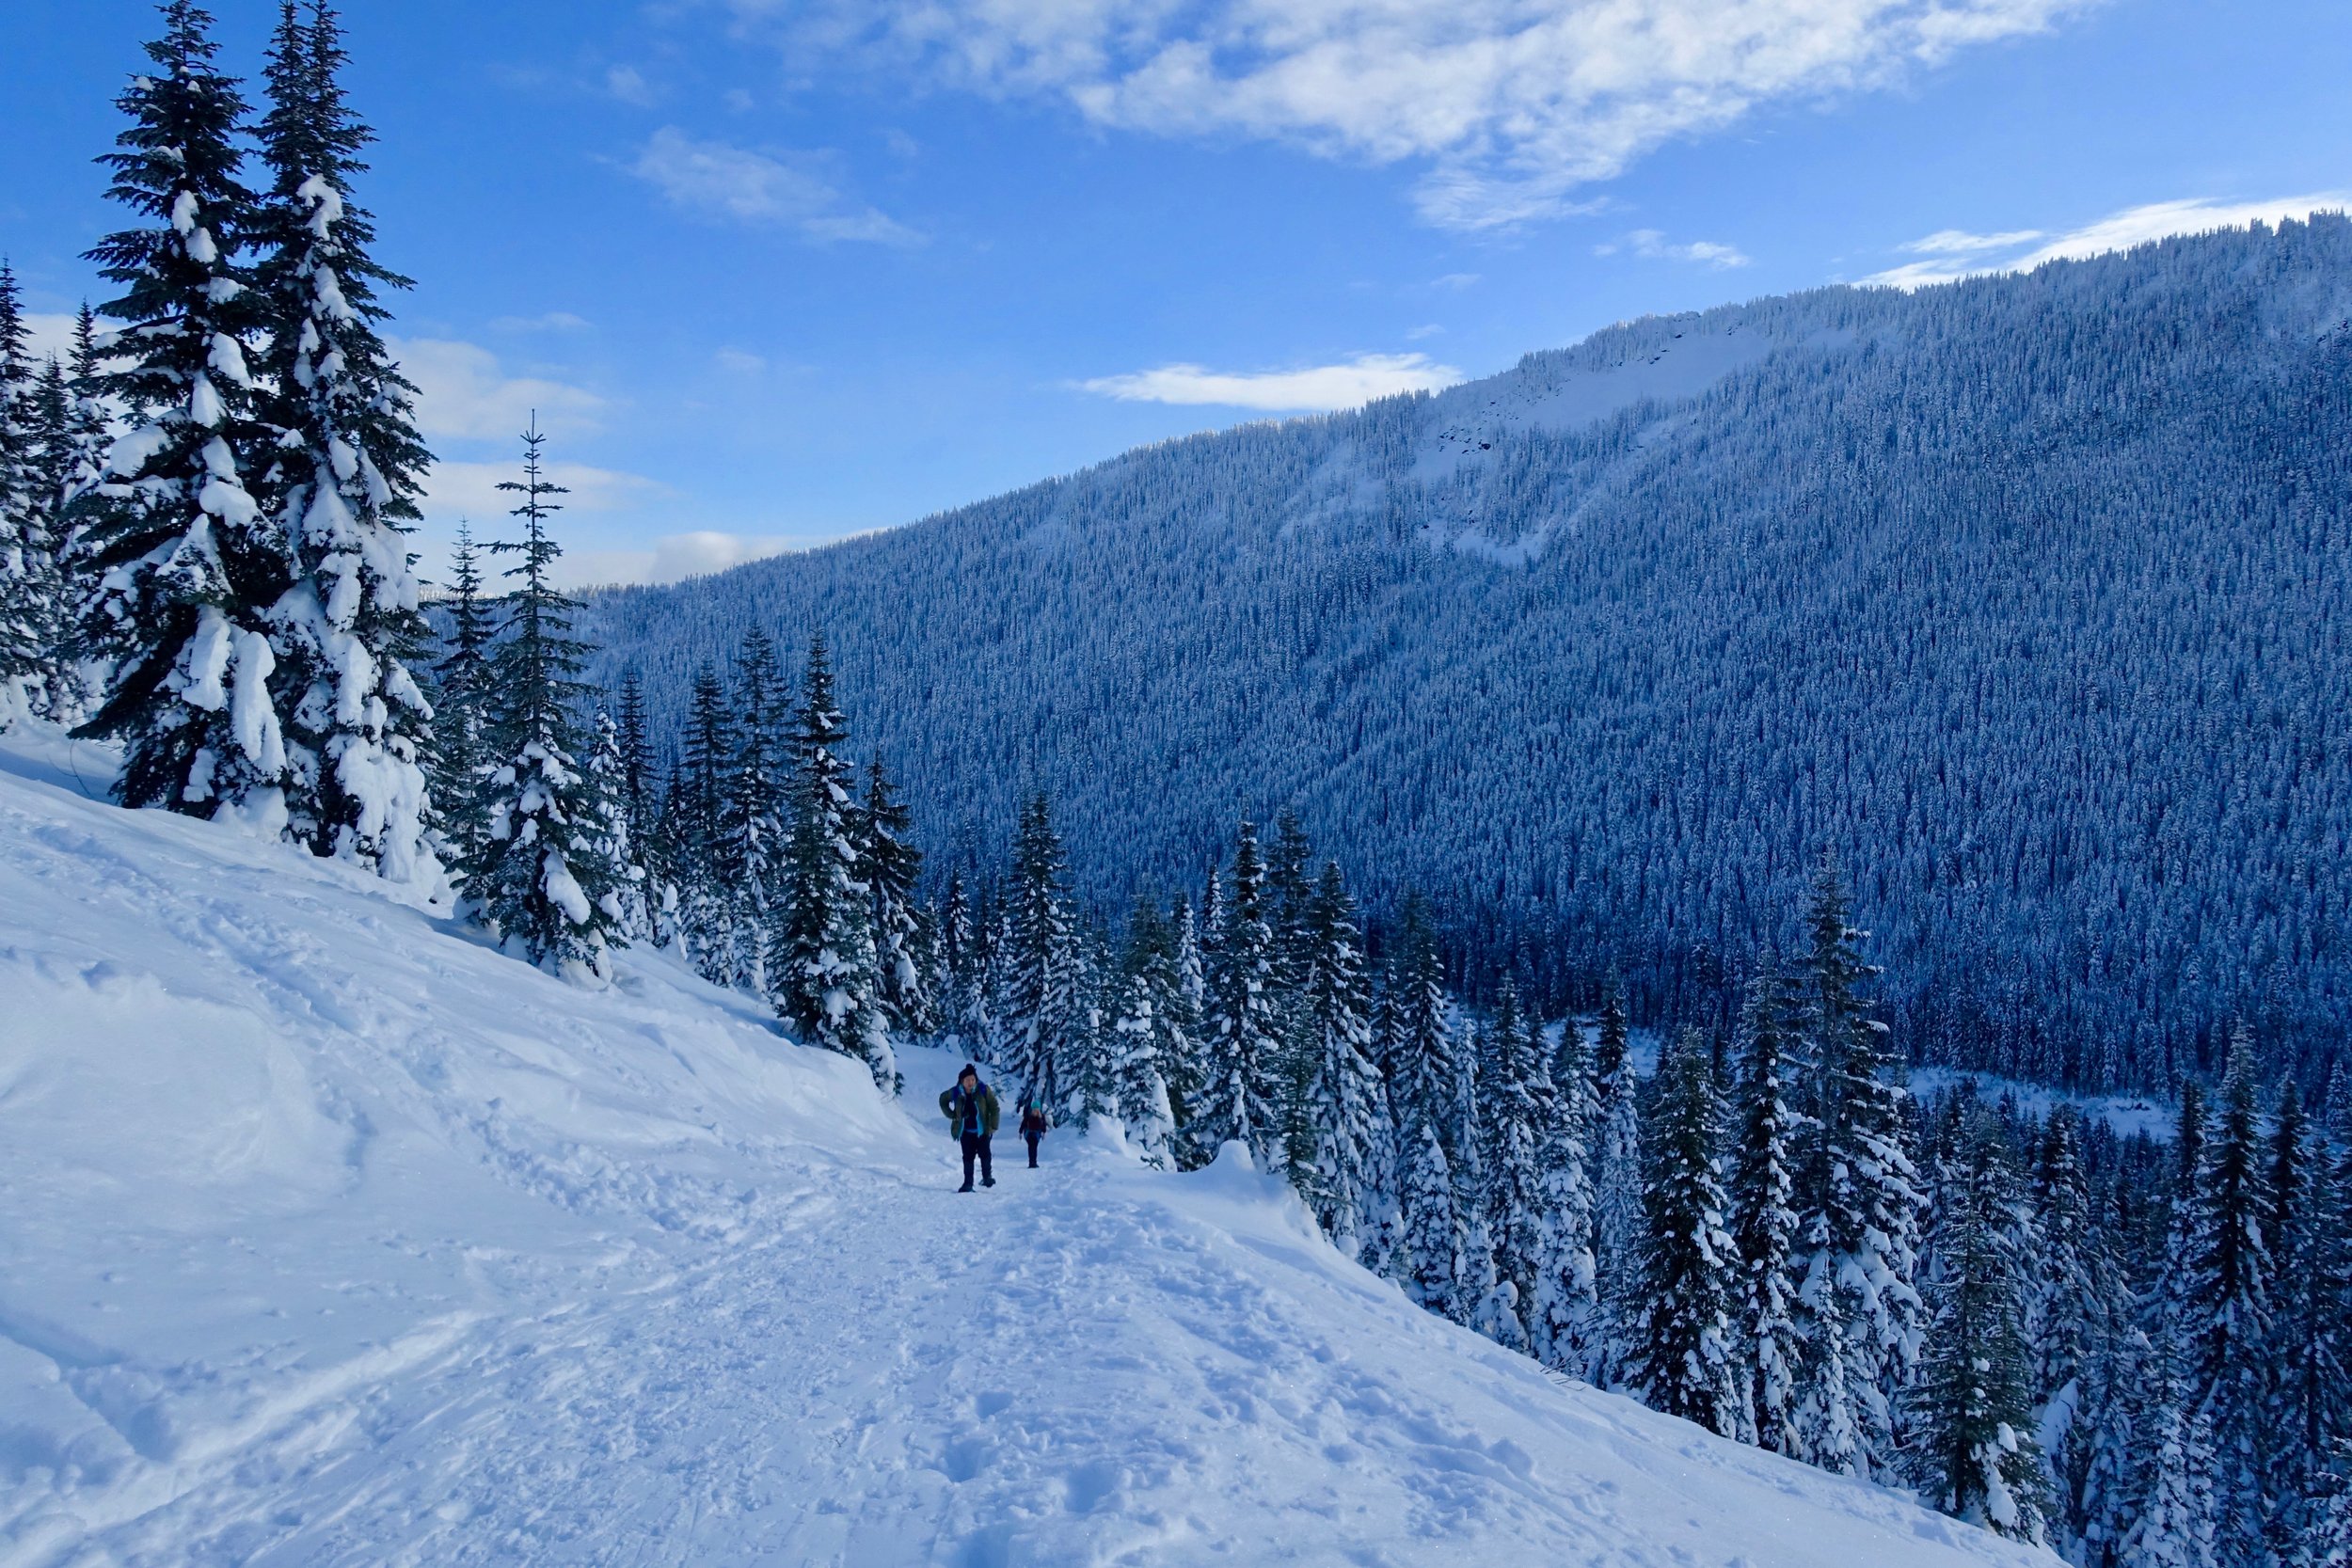
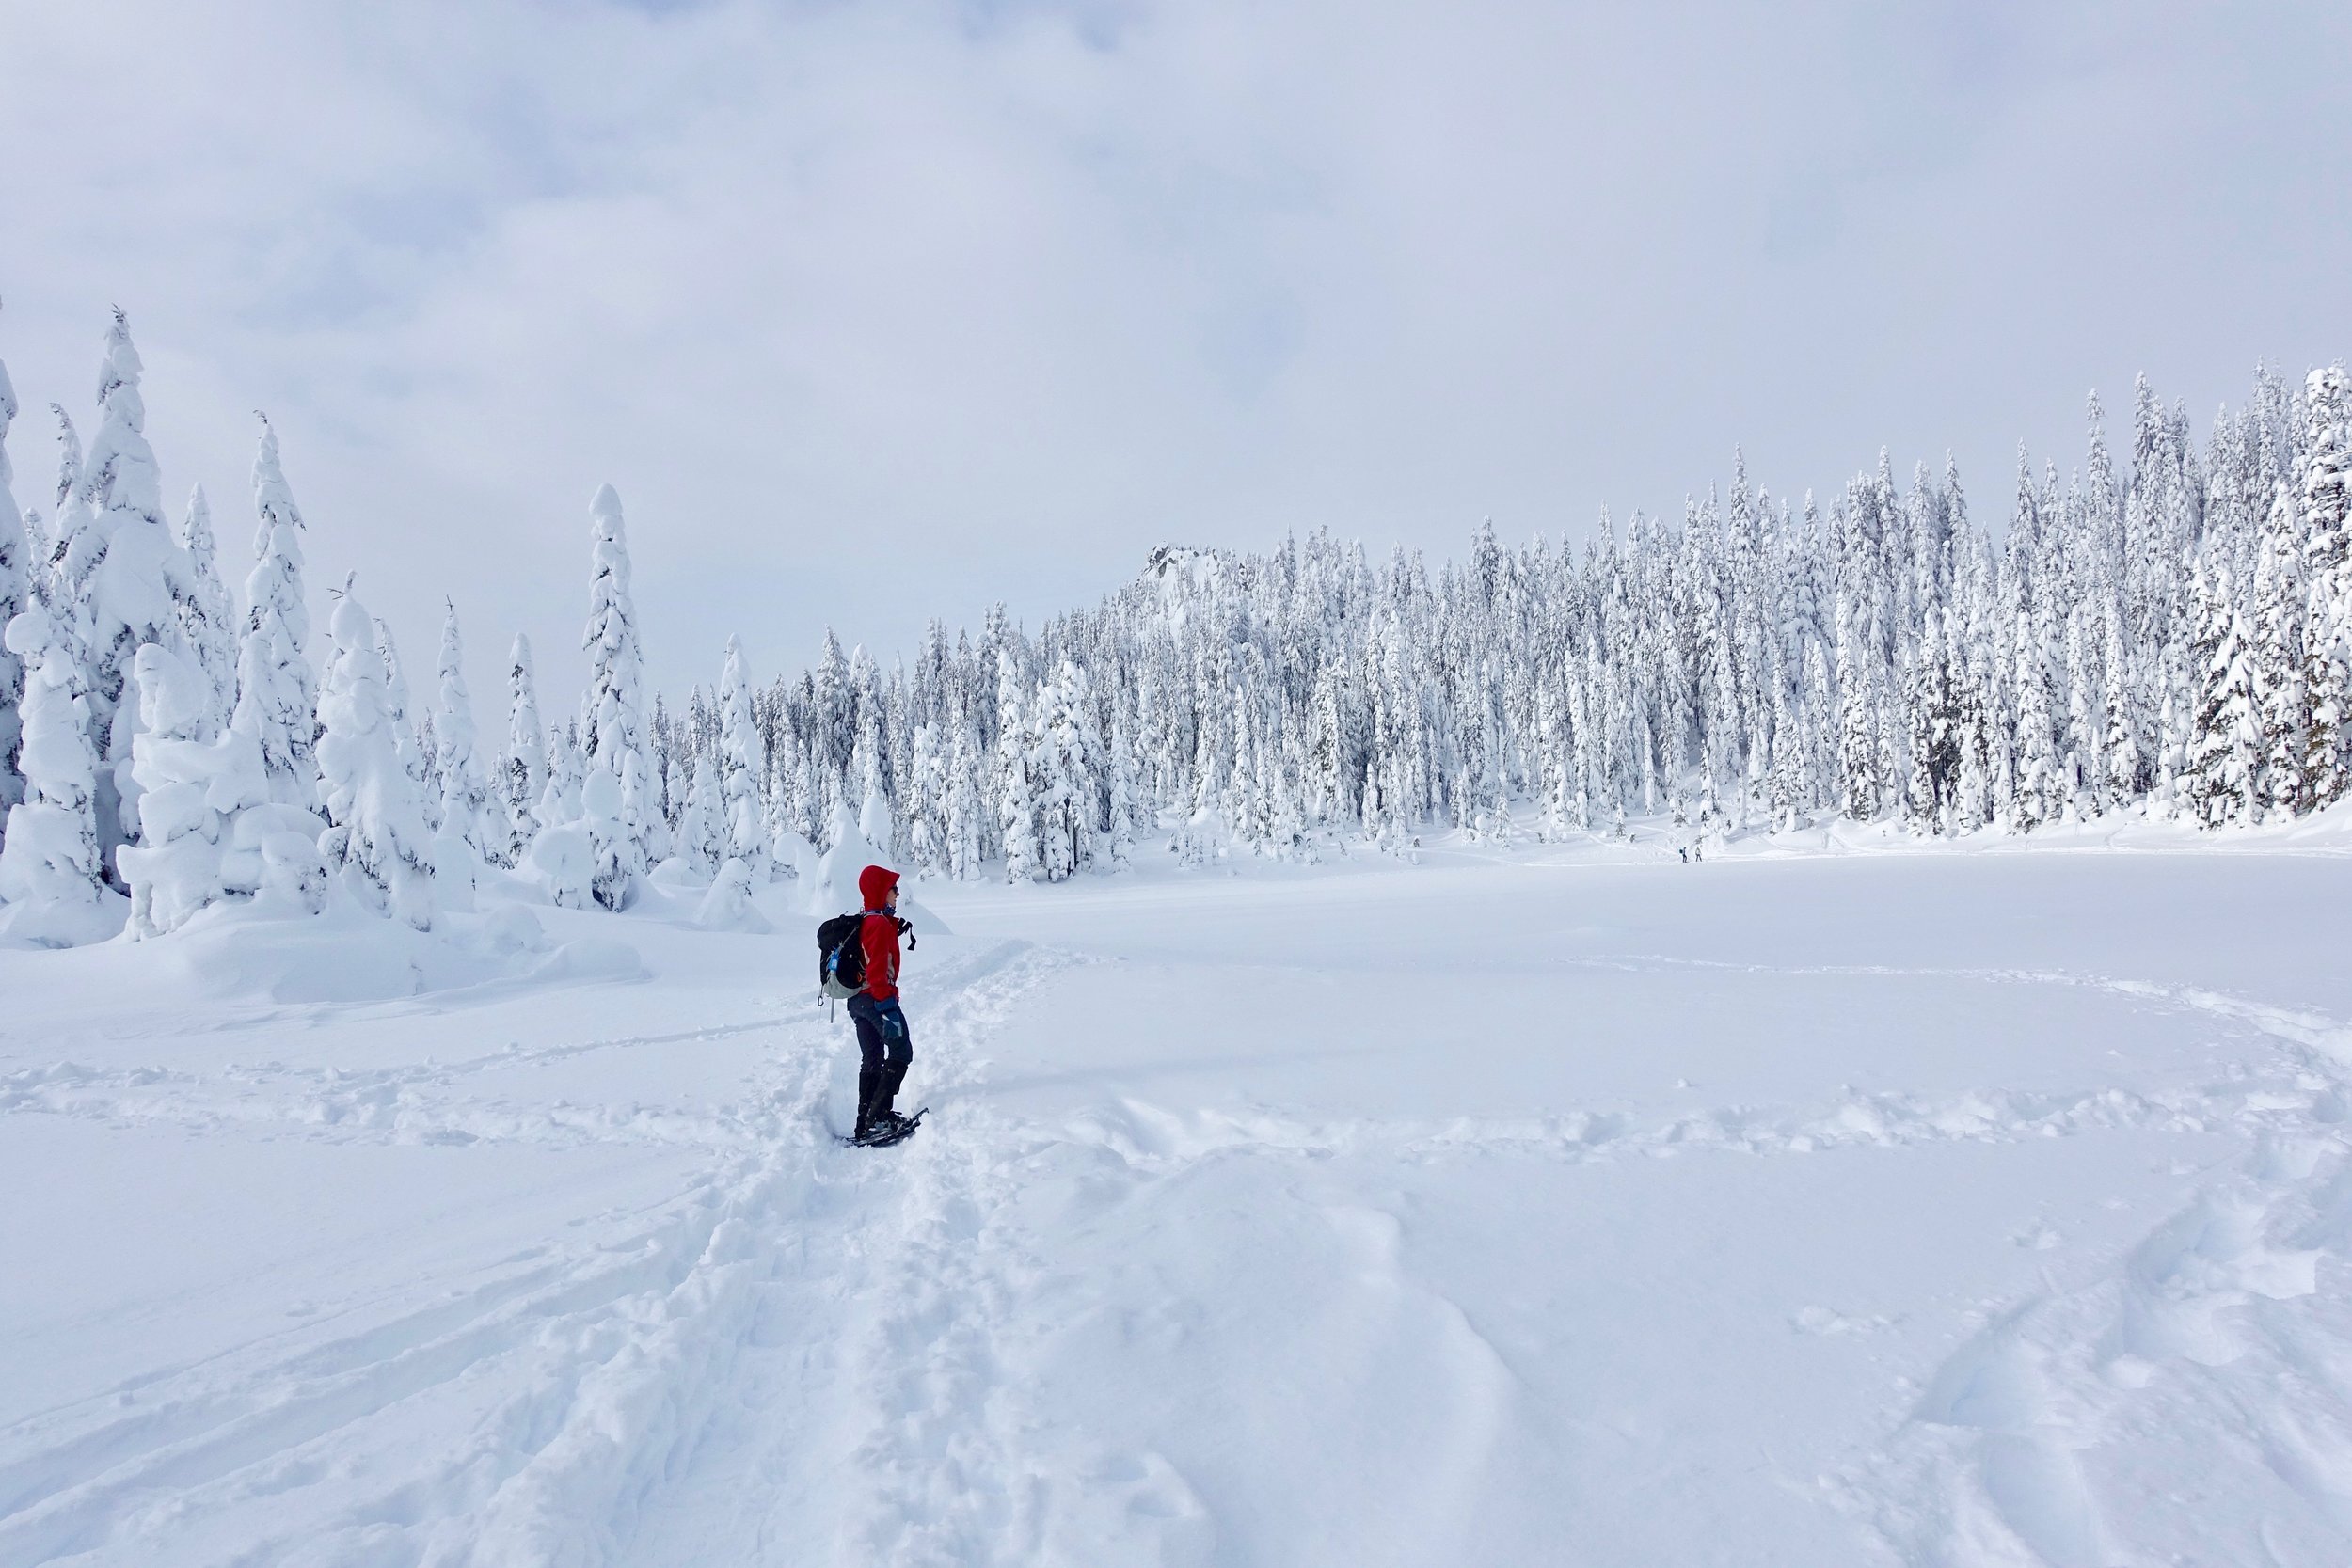
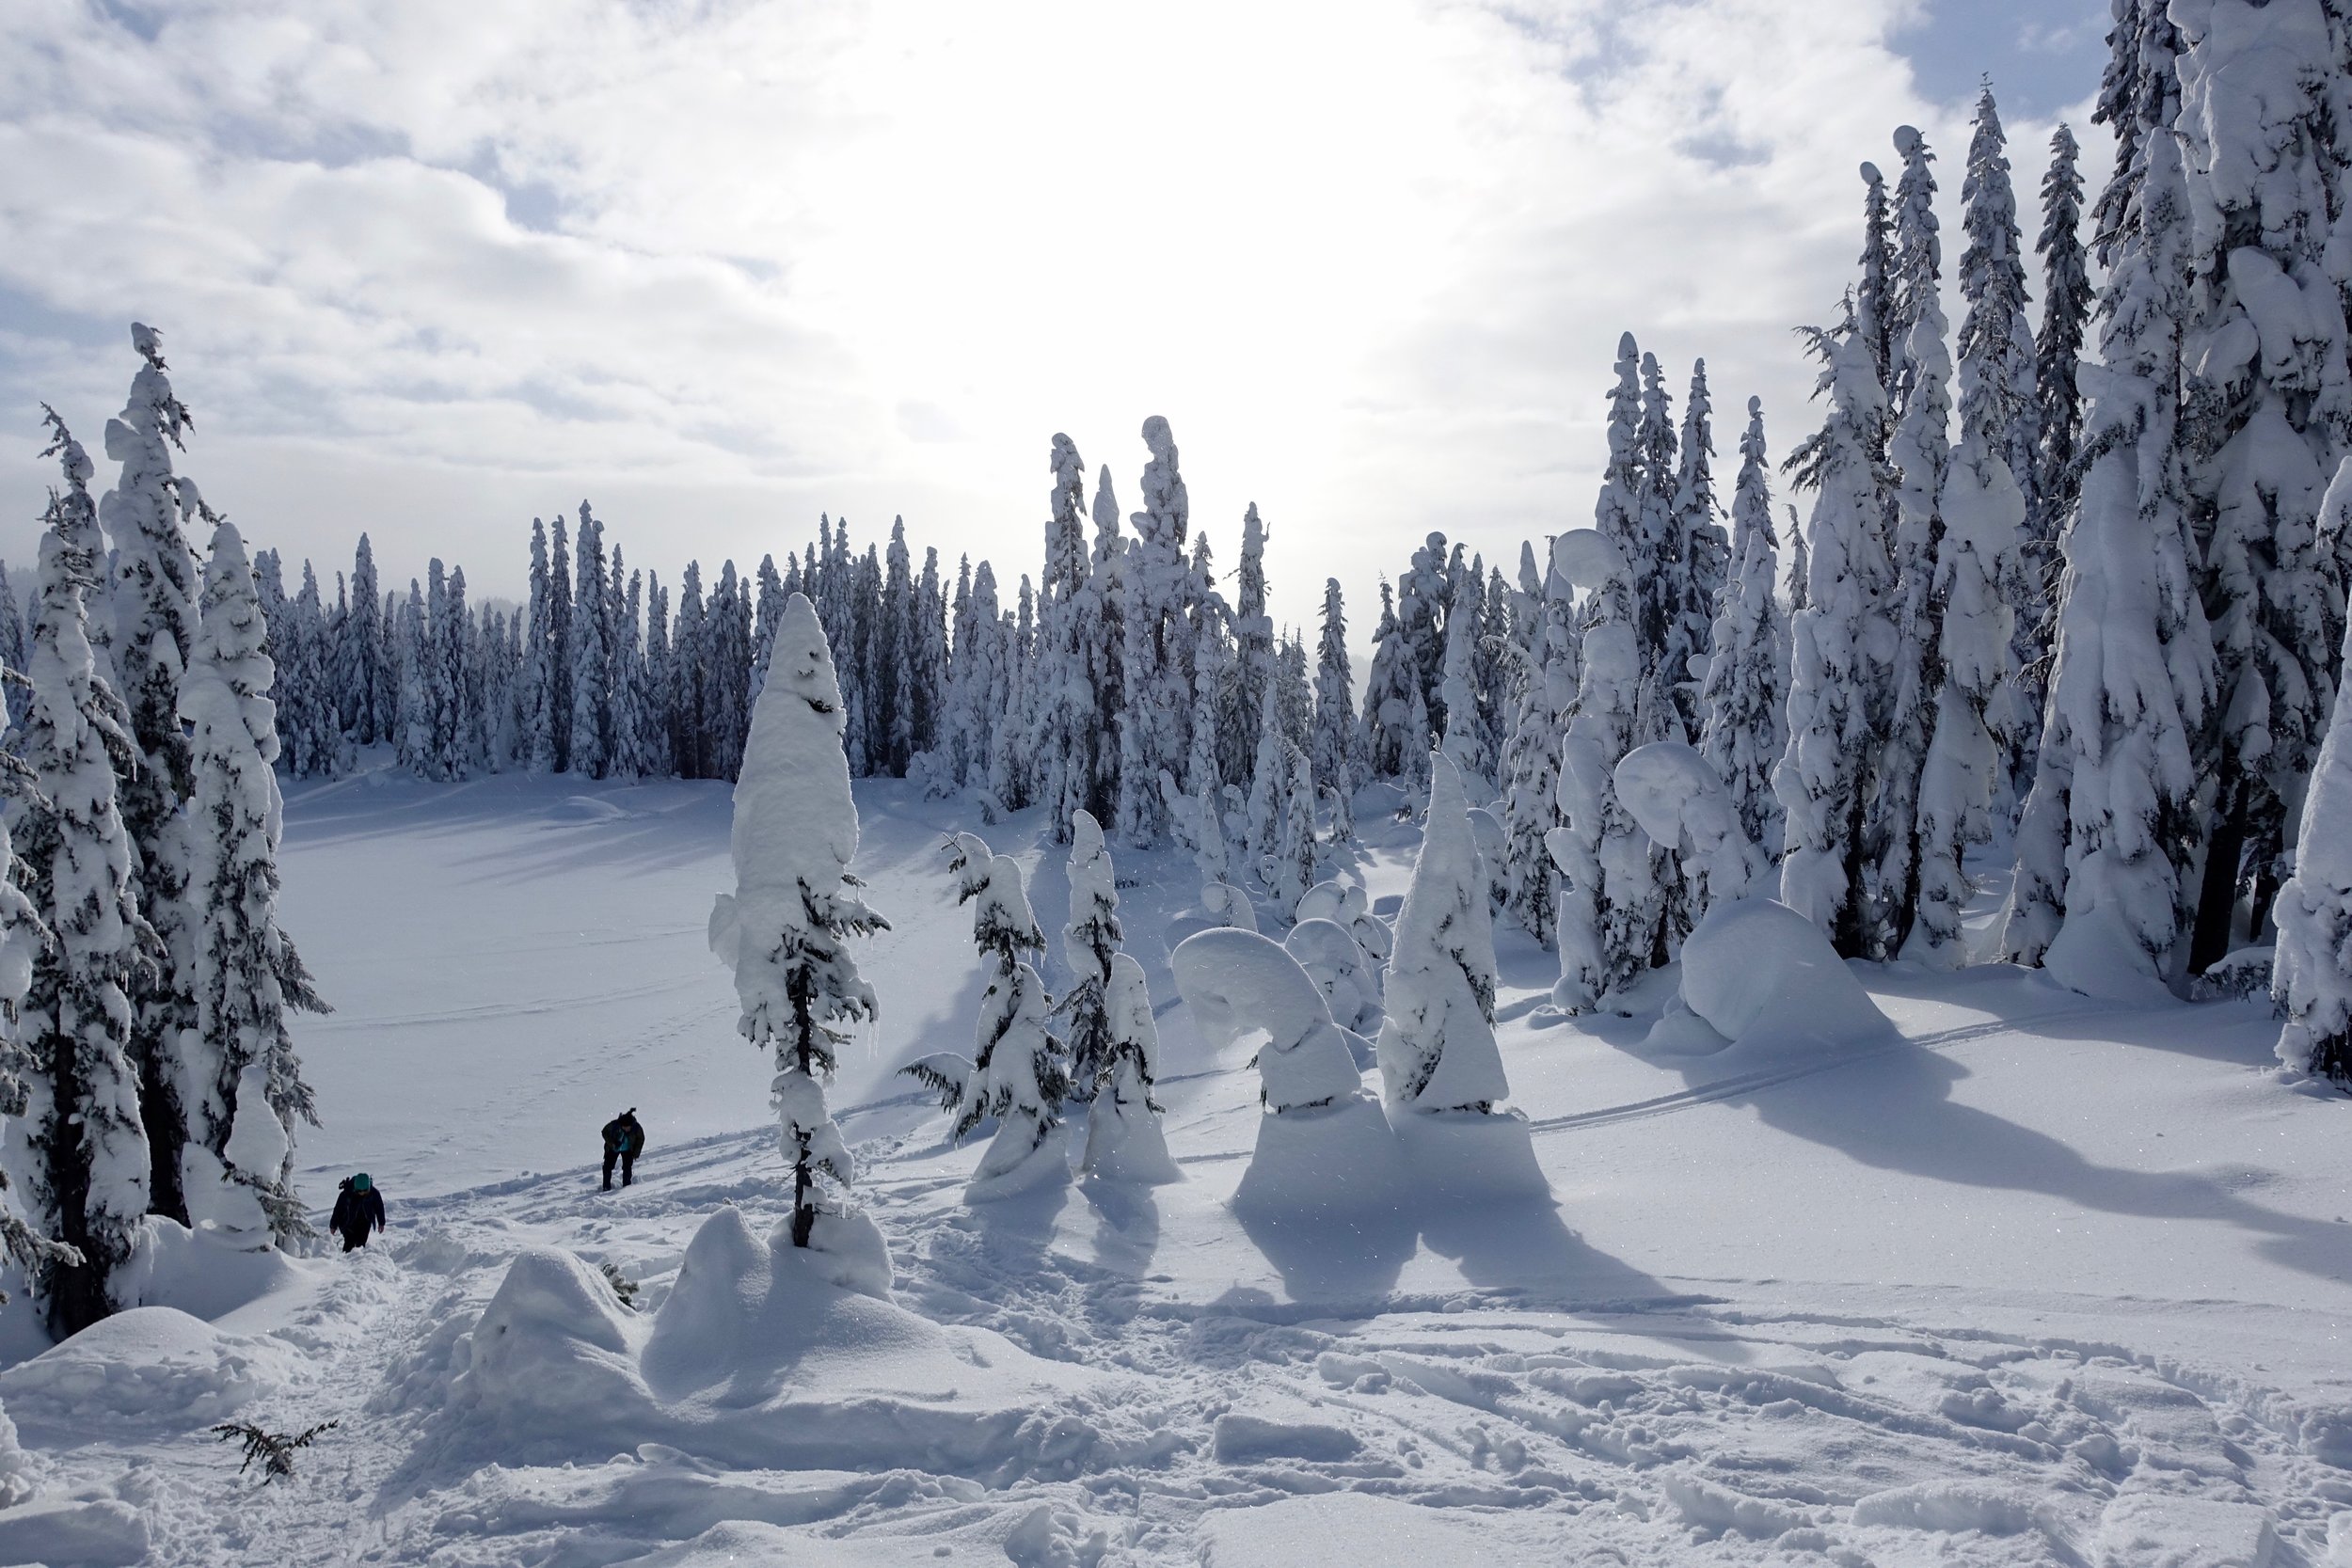
Kendall Peak Lakes Snow Hike

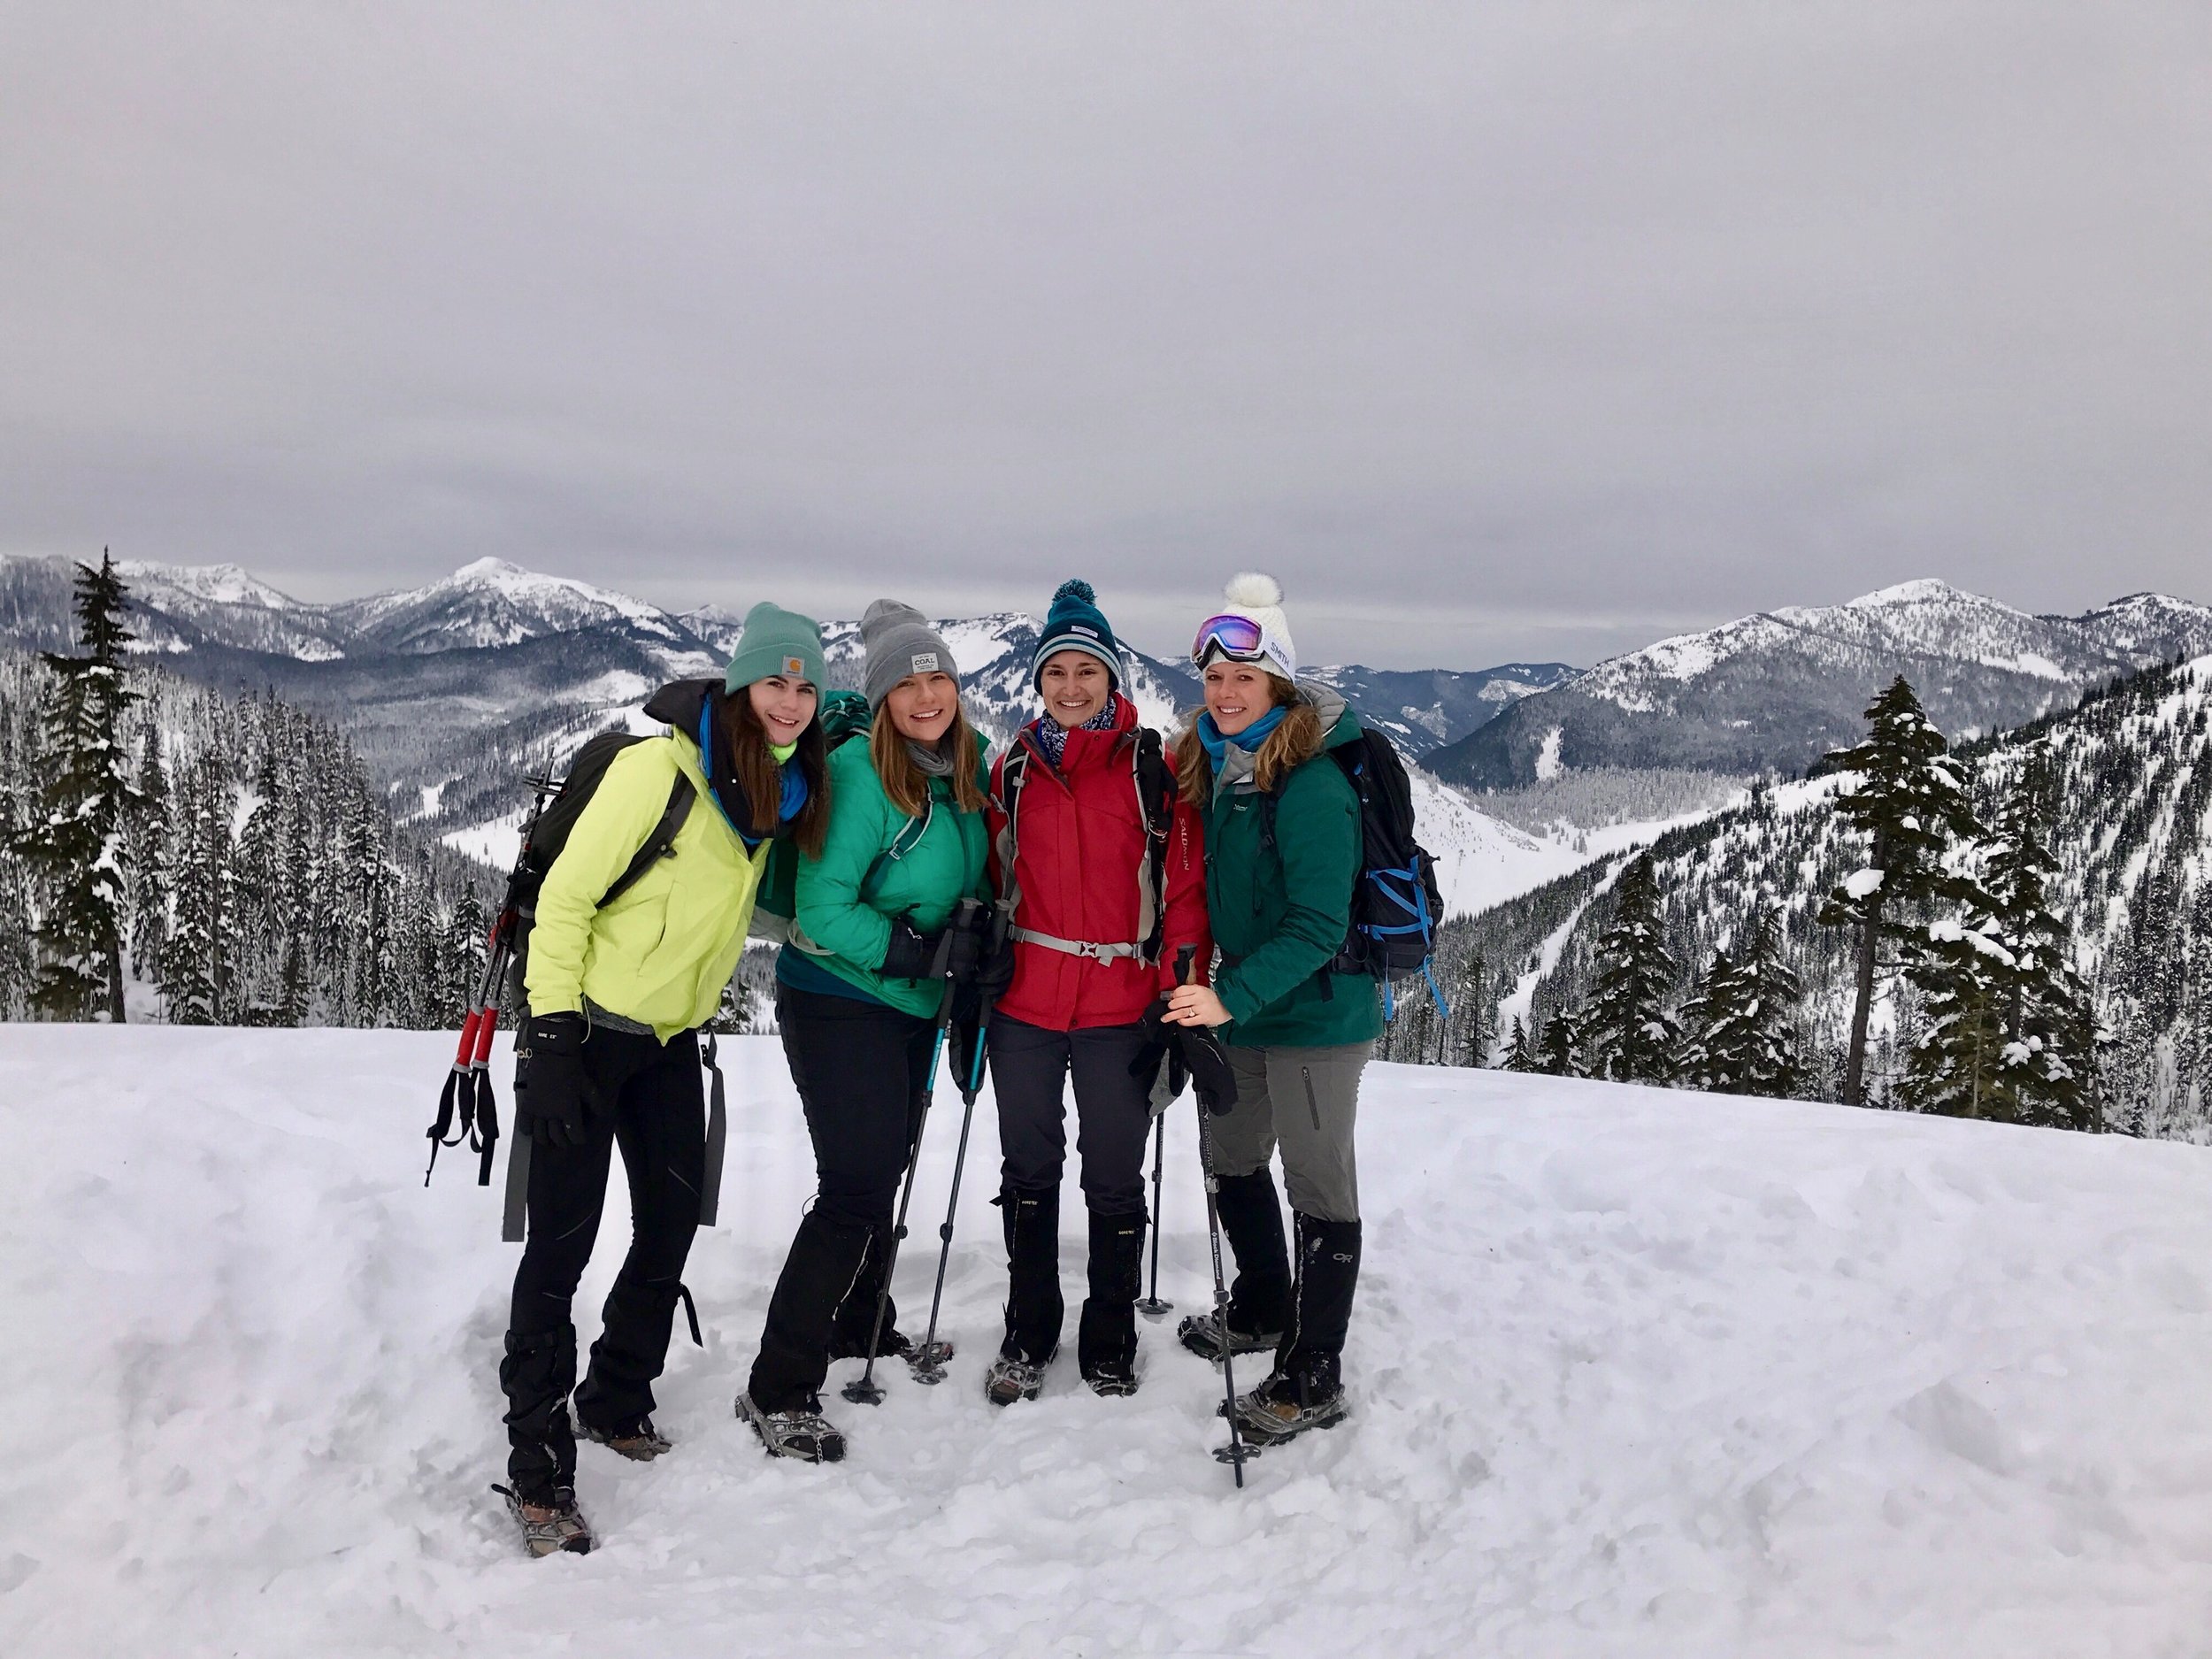
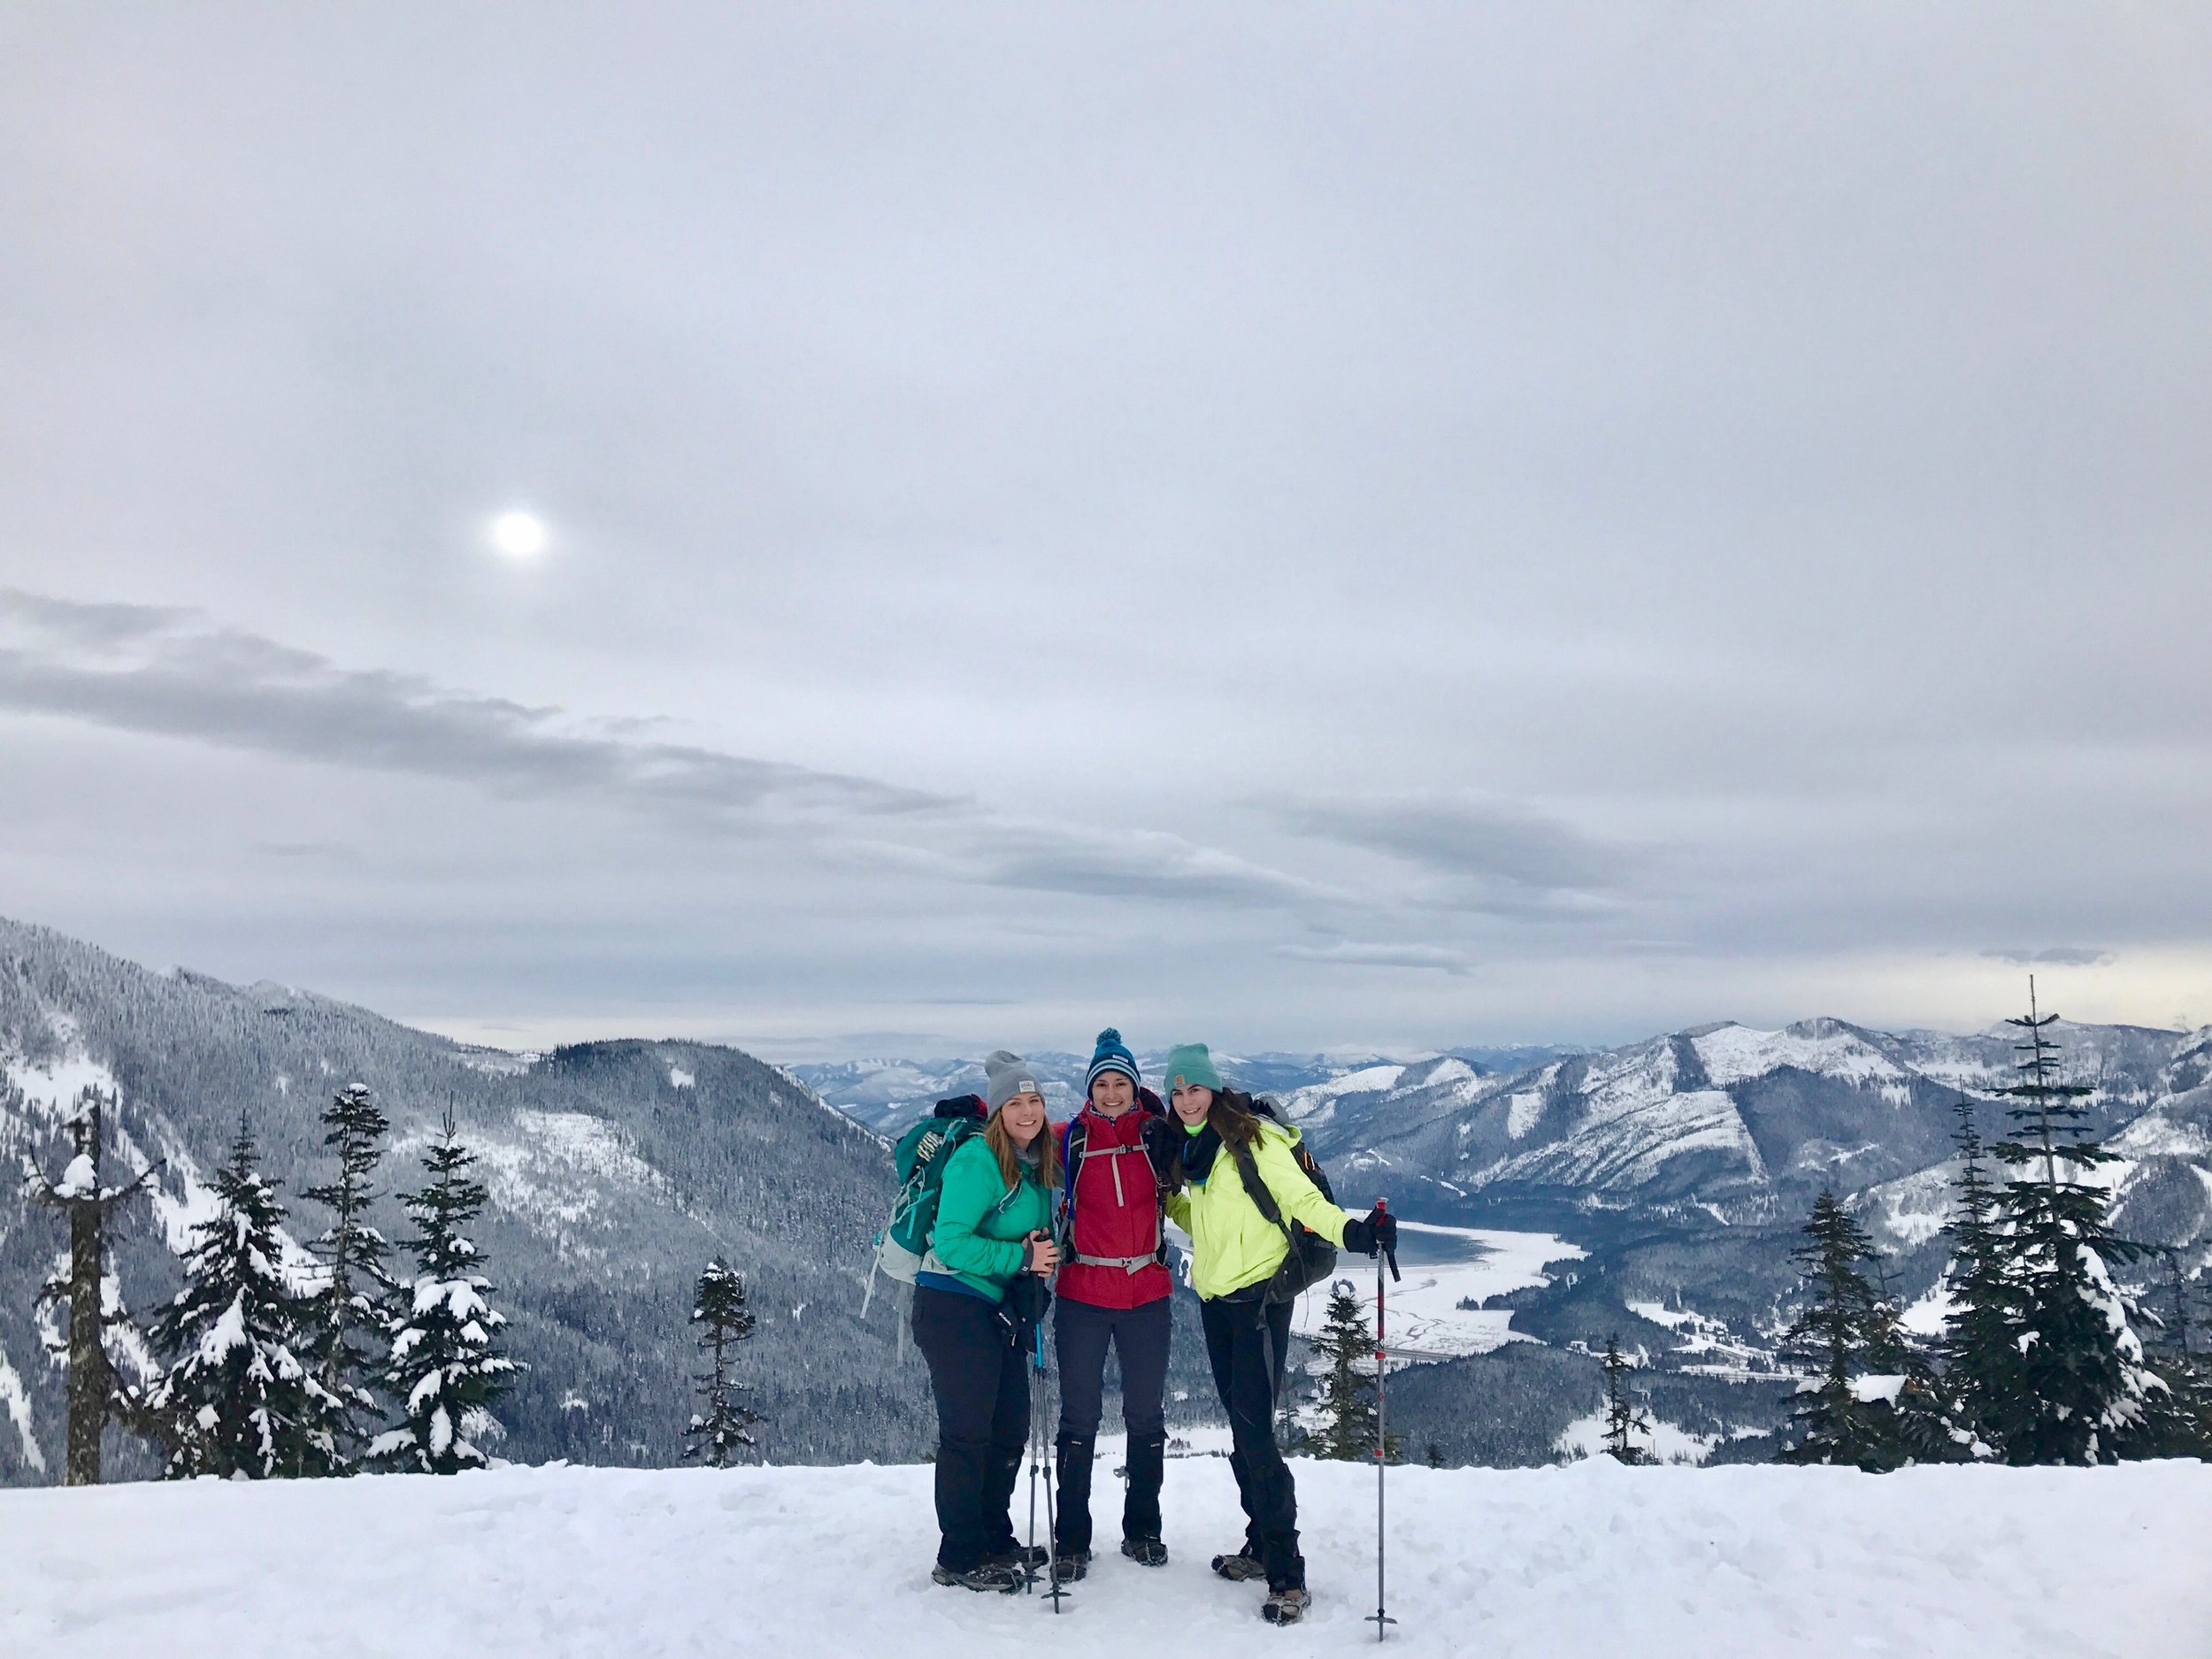
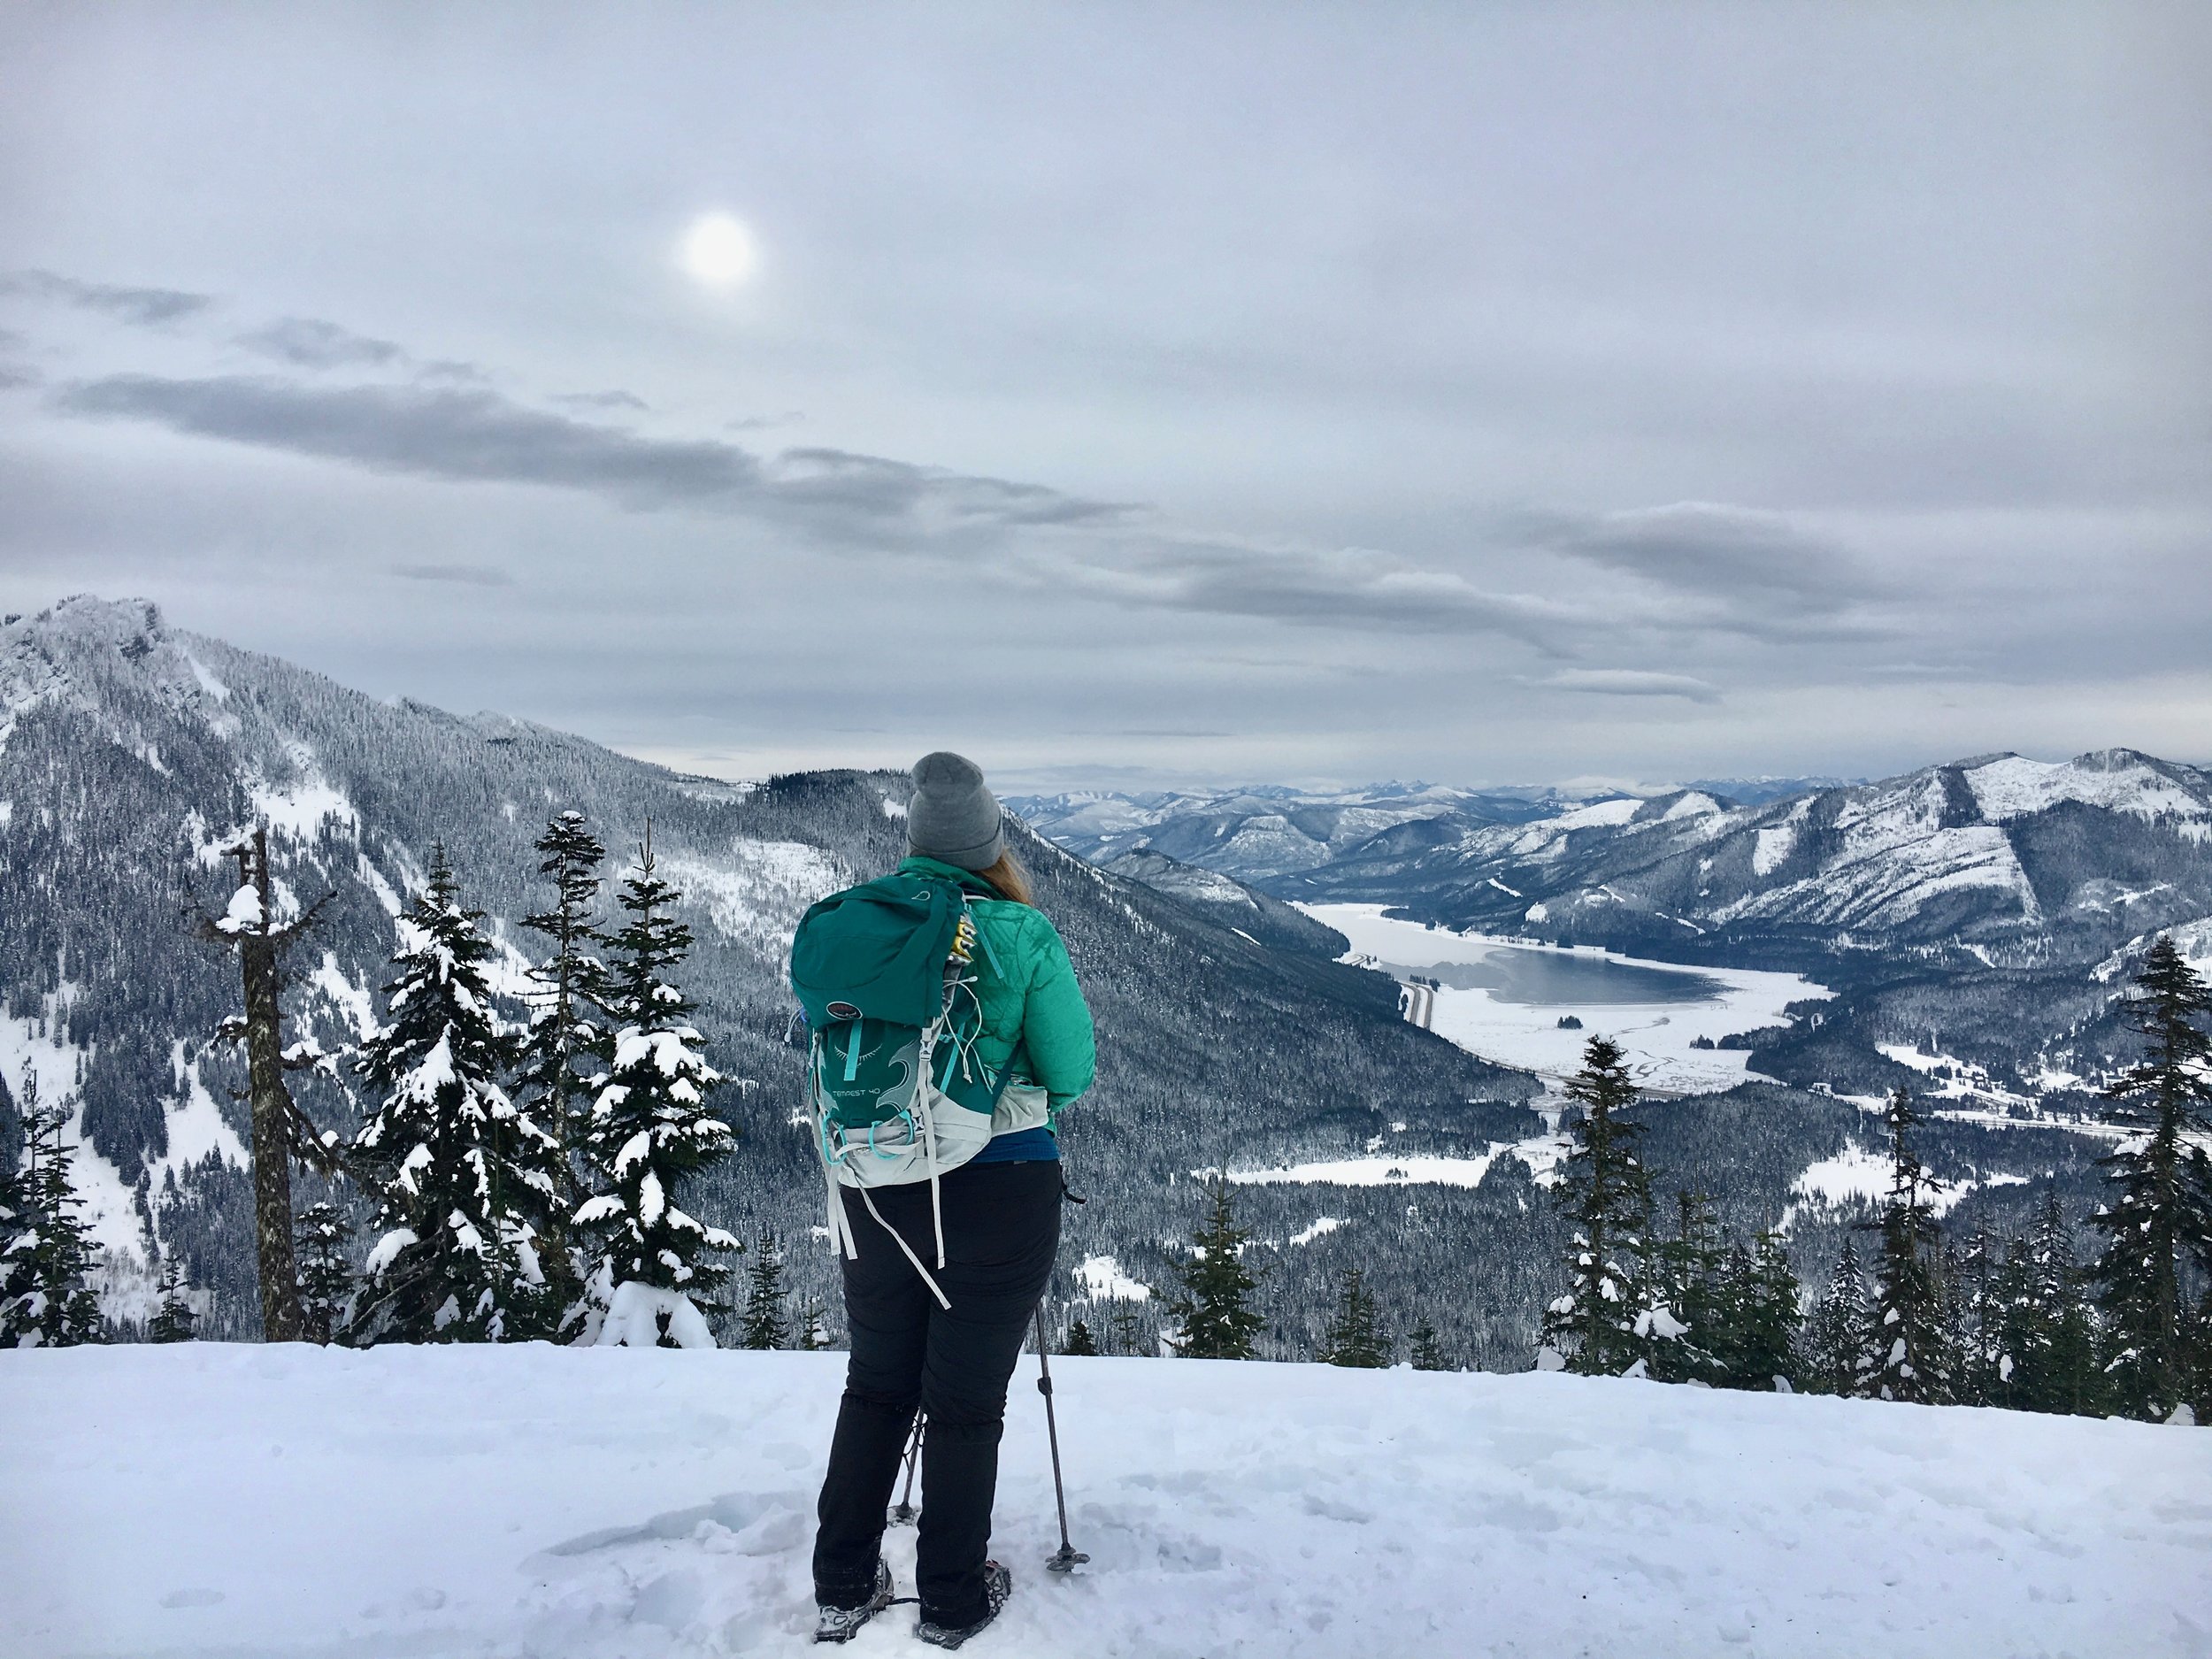
 Mileage: 9 EG: 2000
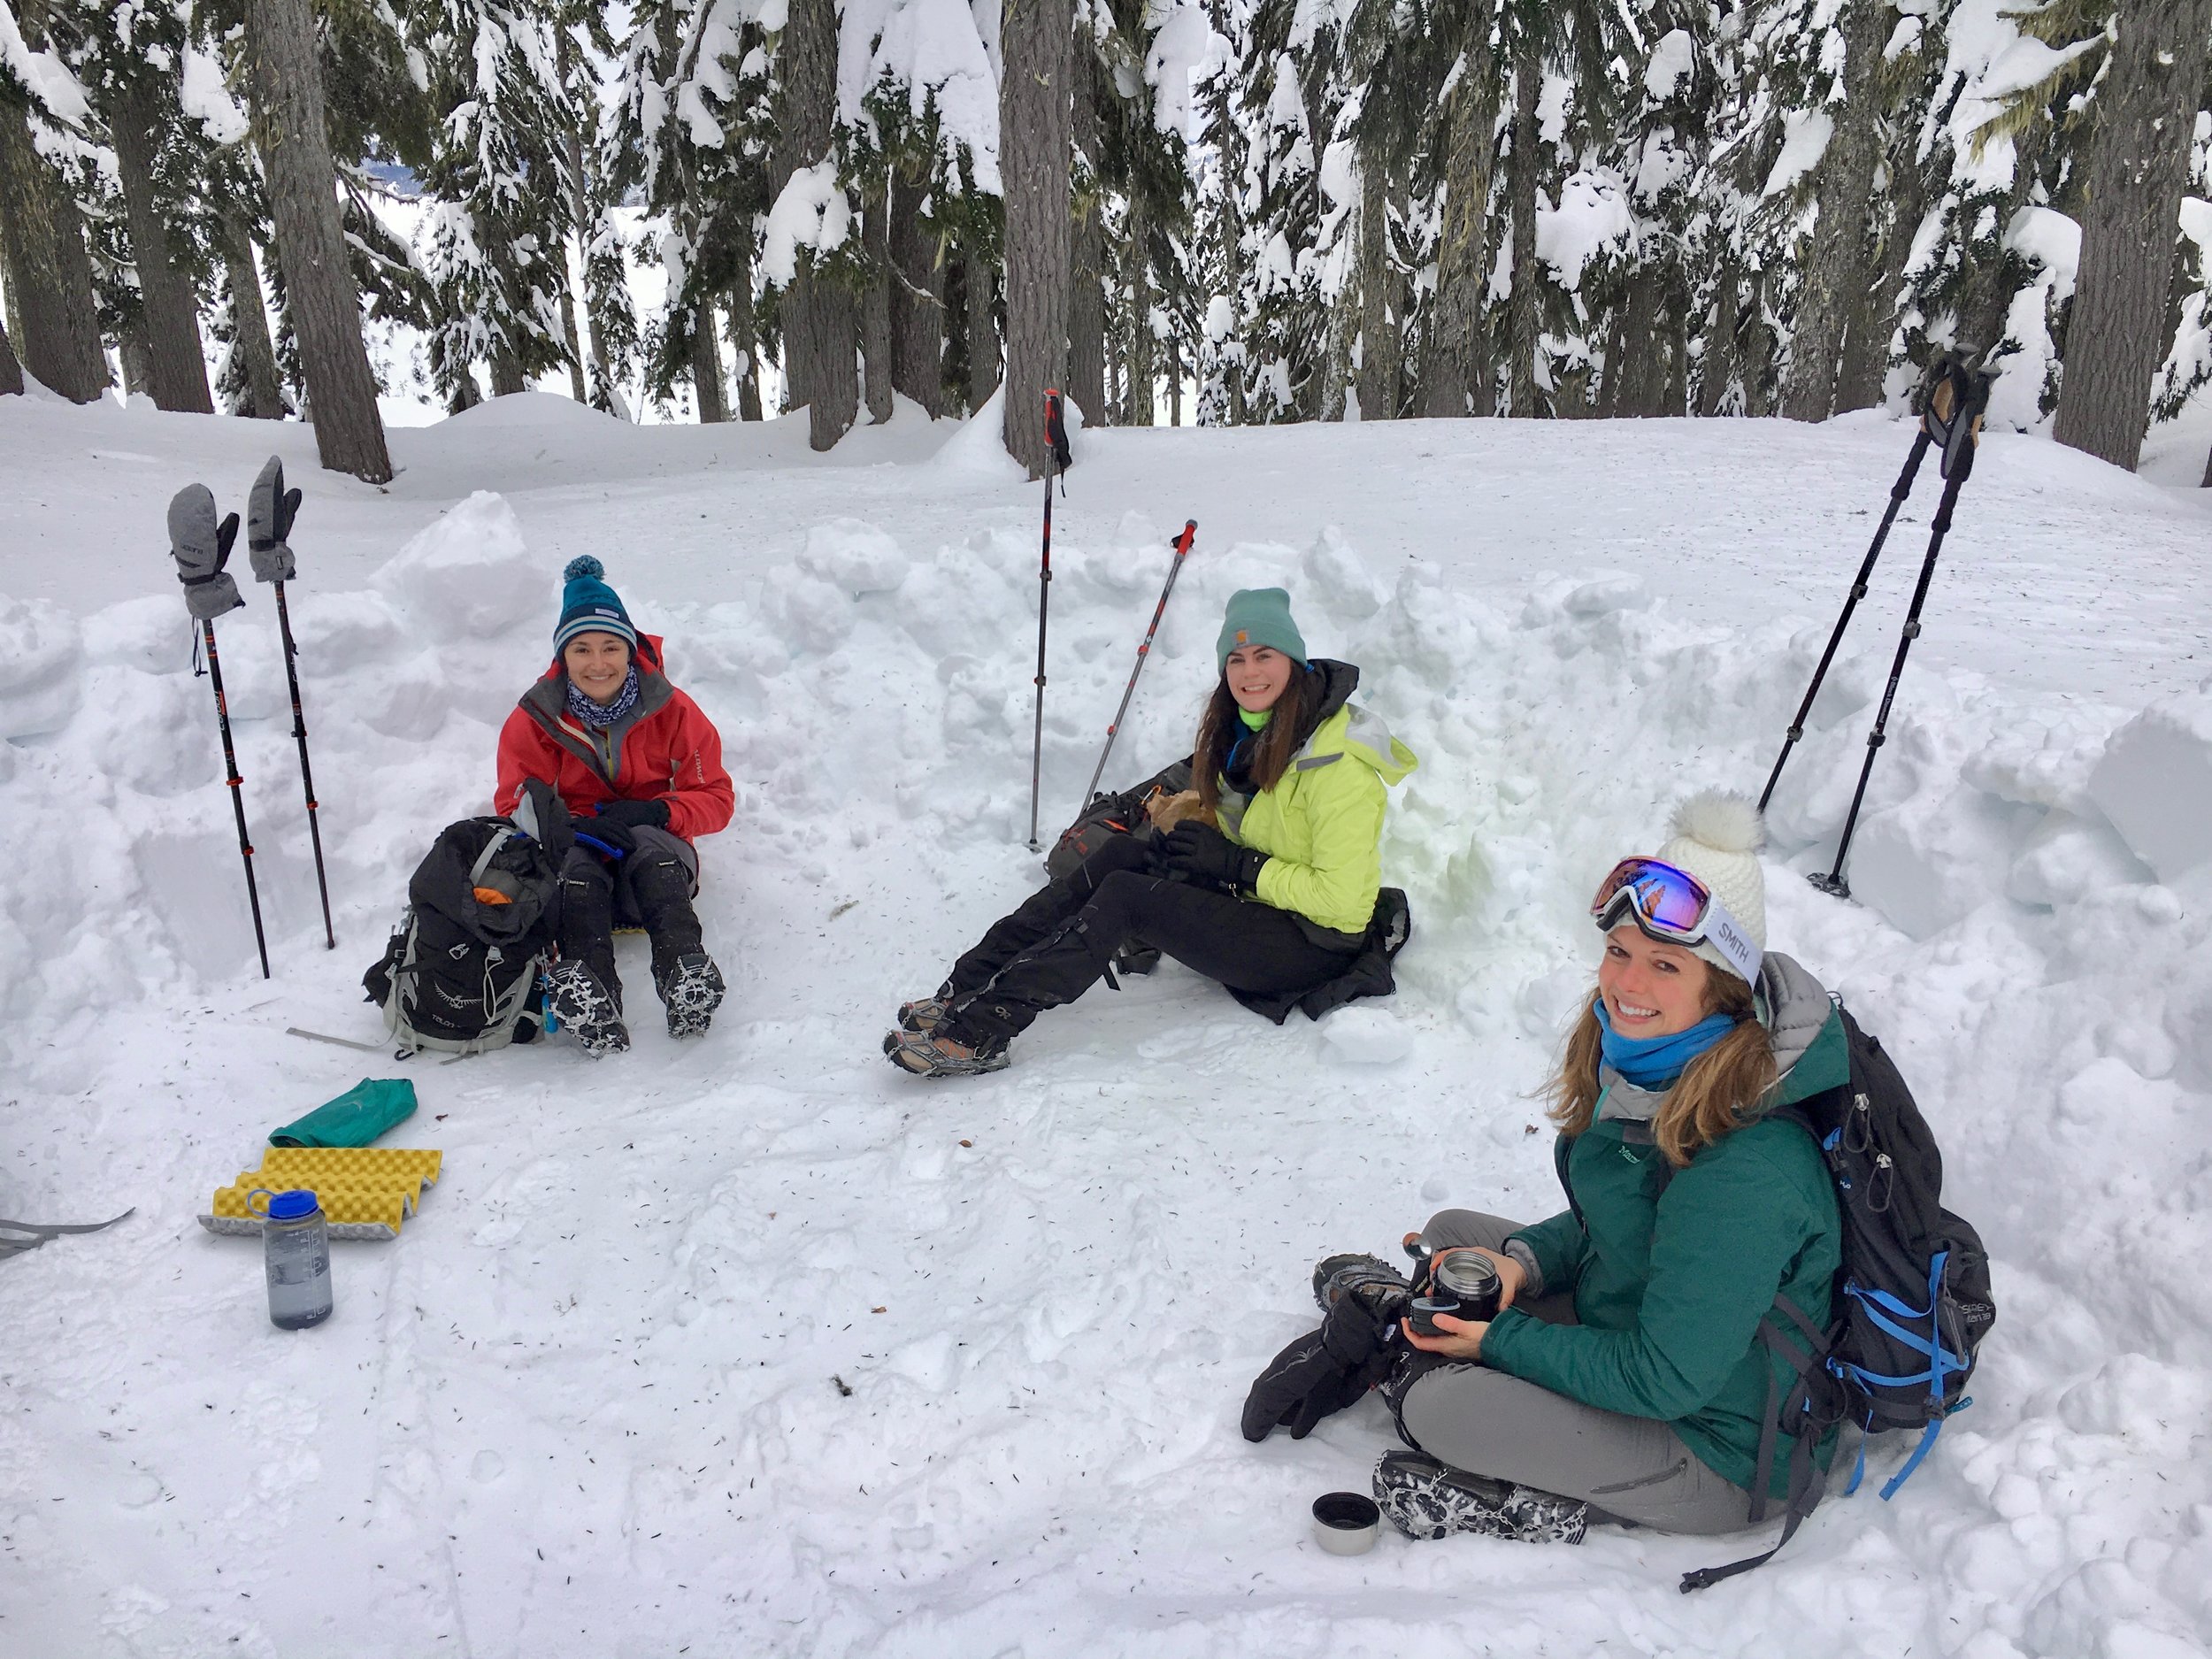
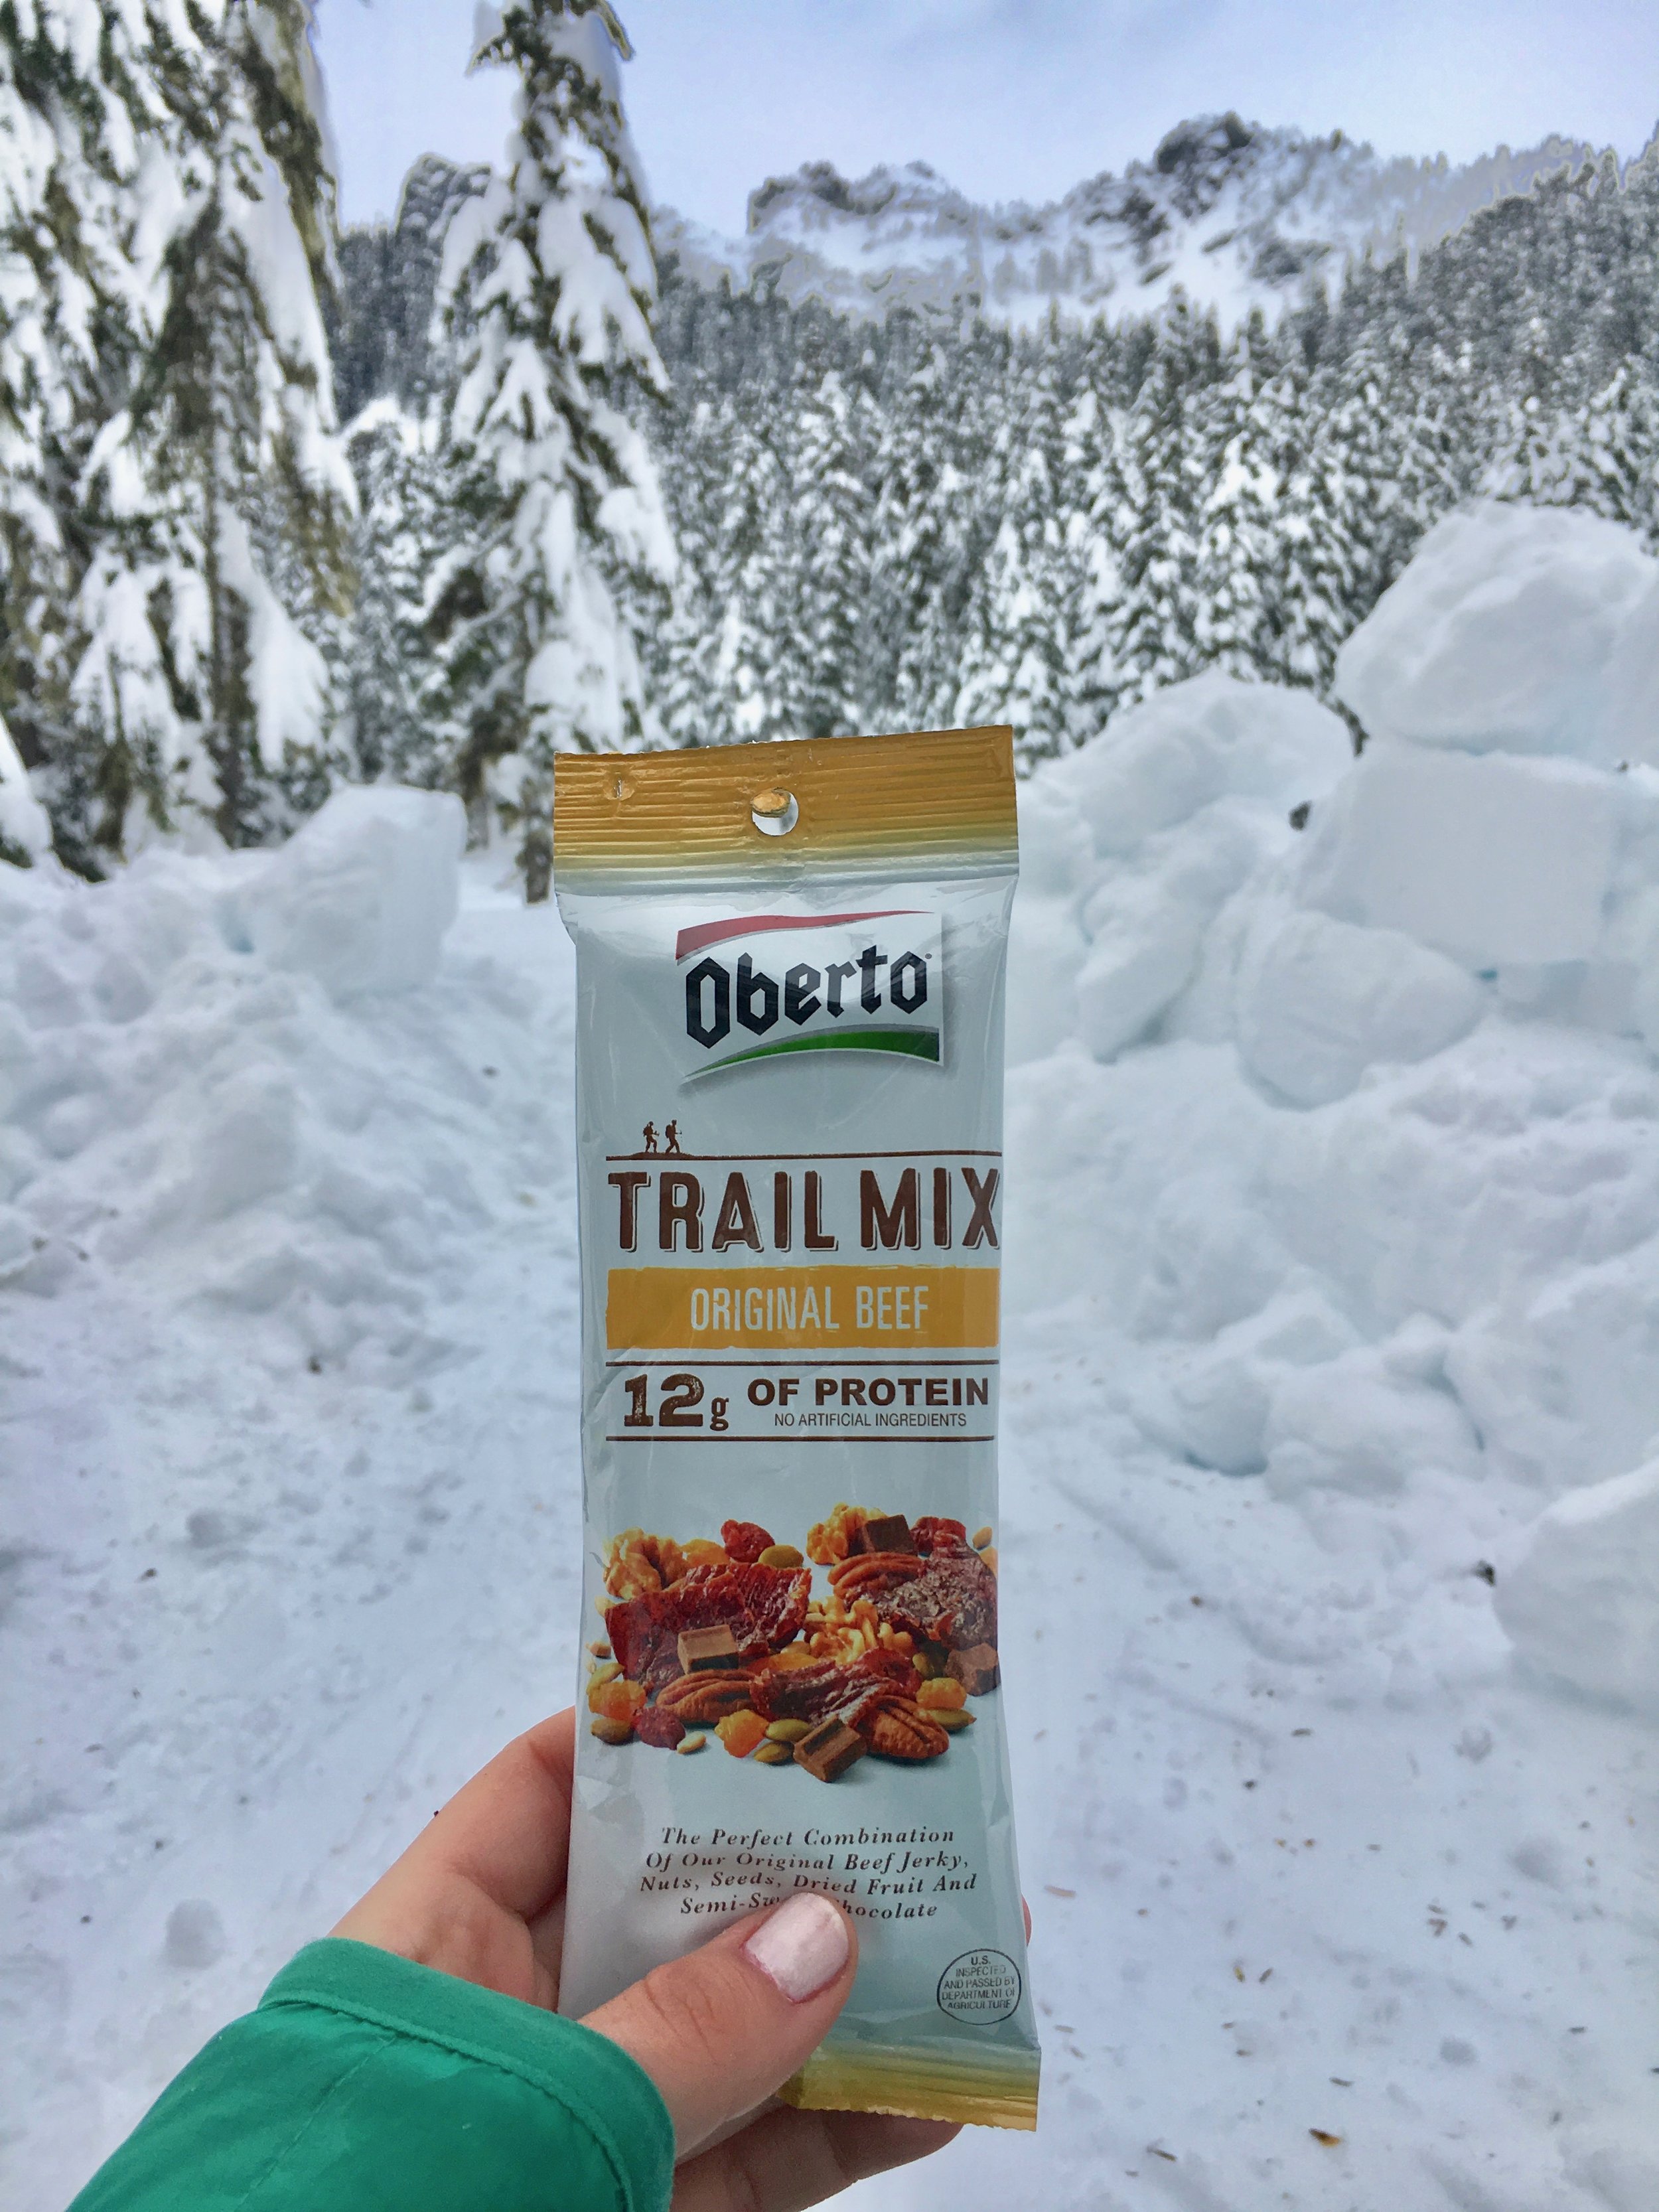
I had a free Saturday and rounded the girls up for a snow adventure. The 4 of us headed to the mountains early and donned our layers and layers. It was cooooold one. For Kendall Peak Lakes, you have to park at the Gold Creek Pond snopark. The snoparks take a different pass than the normal ones, so come prepared. We saw many cars ticketed! We brought our snowshoes with, but recent tail reports said the trail was compact so we left them in the car. You hike the long road walk up and up and up. It's a steady ascent with great views of The Summit ski hill across the highway. We got to the top and accidentally went right at the fork, but so glad we did. It went out to a great overlook of surrounding peaks and Kachess Lake. We headed back down the hill (off trail a bit) and post holed up to my hip! Whoops. Back on the main trail we then found the first lake apparently. It was all snow covered and not very large. Off the main trail Catherine found a half built snow structure that must've been used for snow camping. It was a perfect spot to stop and eat hot soup, and share this tasty Oberto trail mix. We tried to go to the second lake but at this point the snow was super loose and powder and was not fun without snowshoes. We were all also in a lot of pain from the cold and just wanted to get back. On the way up we didn't see many people at all, but on the way down we saw lots. Took us 4.5 hours to do the 9 miles, not bad at all if I do say so. Shout out to Catherine's family for taking us in for a glass of hot cocoa and great company after the hike. Perfect end to a cold adventure day.
Mt. Si Winter Hike
 Mileage: 8 EG: 3150
I previously did this hike last April on a perfect sunny day. This time around was a little different. My friend Caitlin and I wanted to hike on New Years Day (observed). I was not going to waste a day off! We chose the close Mt. Si. Less than an hour away from Seattle, this trail sees lots of traffic in the summer, but was still decently busy when we went. There was snow starting at the bottom, but most of the trail was an ice/snow combo. With the microspikes on we cruised right up. We made it to the top with semi-socked in views. I quickly ate my corn chowder and we made our way back down. This one is a great conditioner and go to if all else fails.
Franklin Falls Winter Hike

 Miles: 2 EG: 400
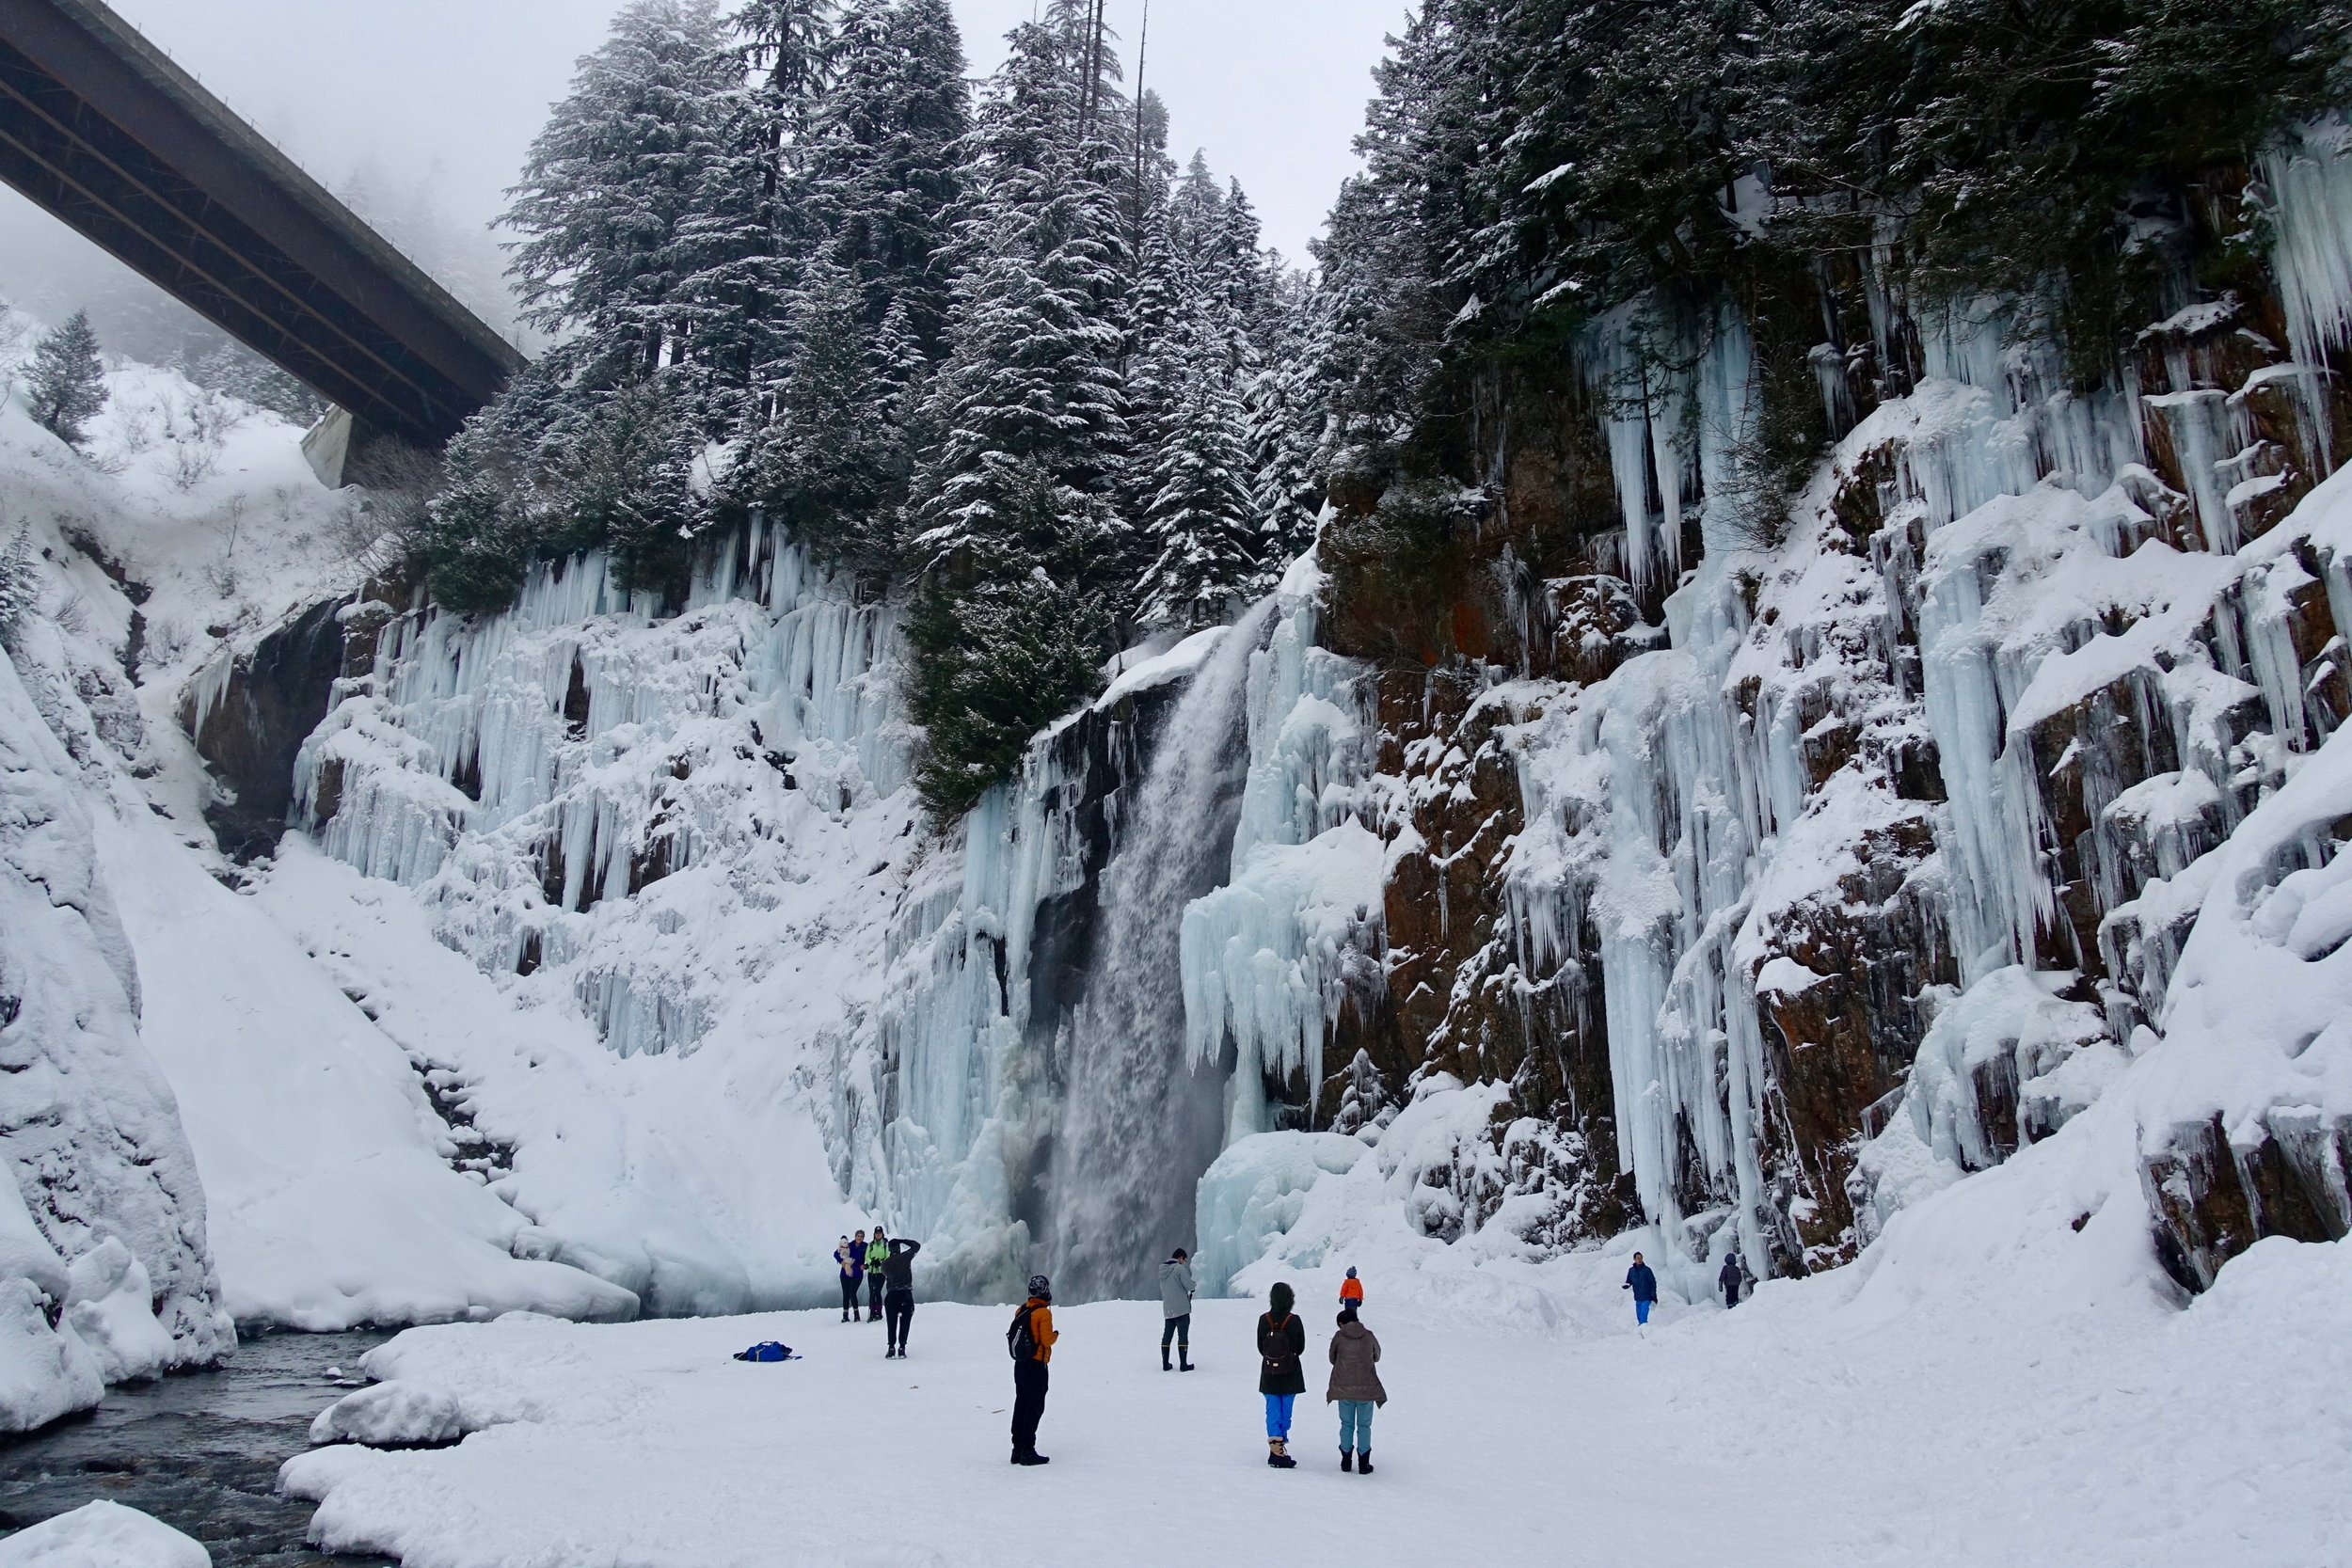
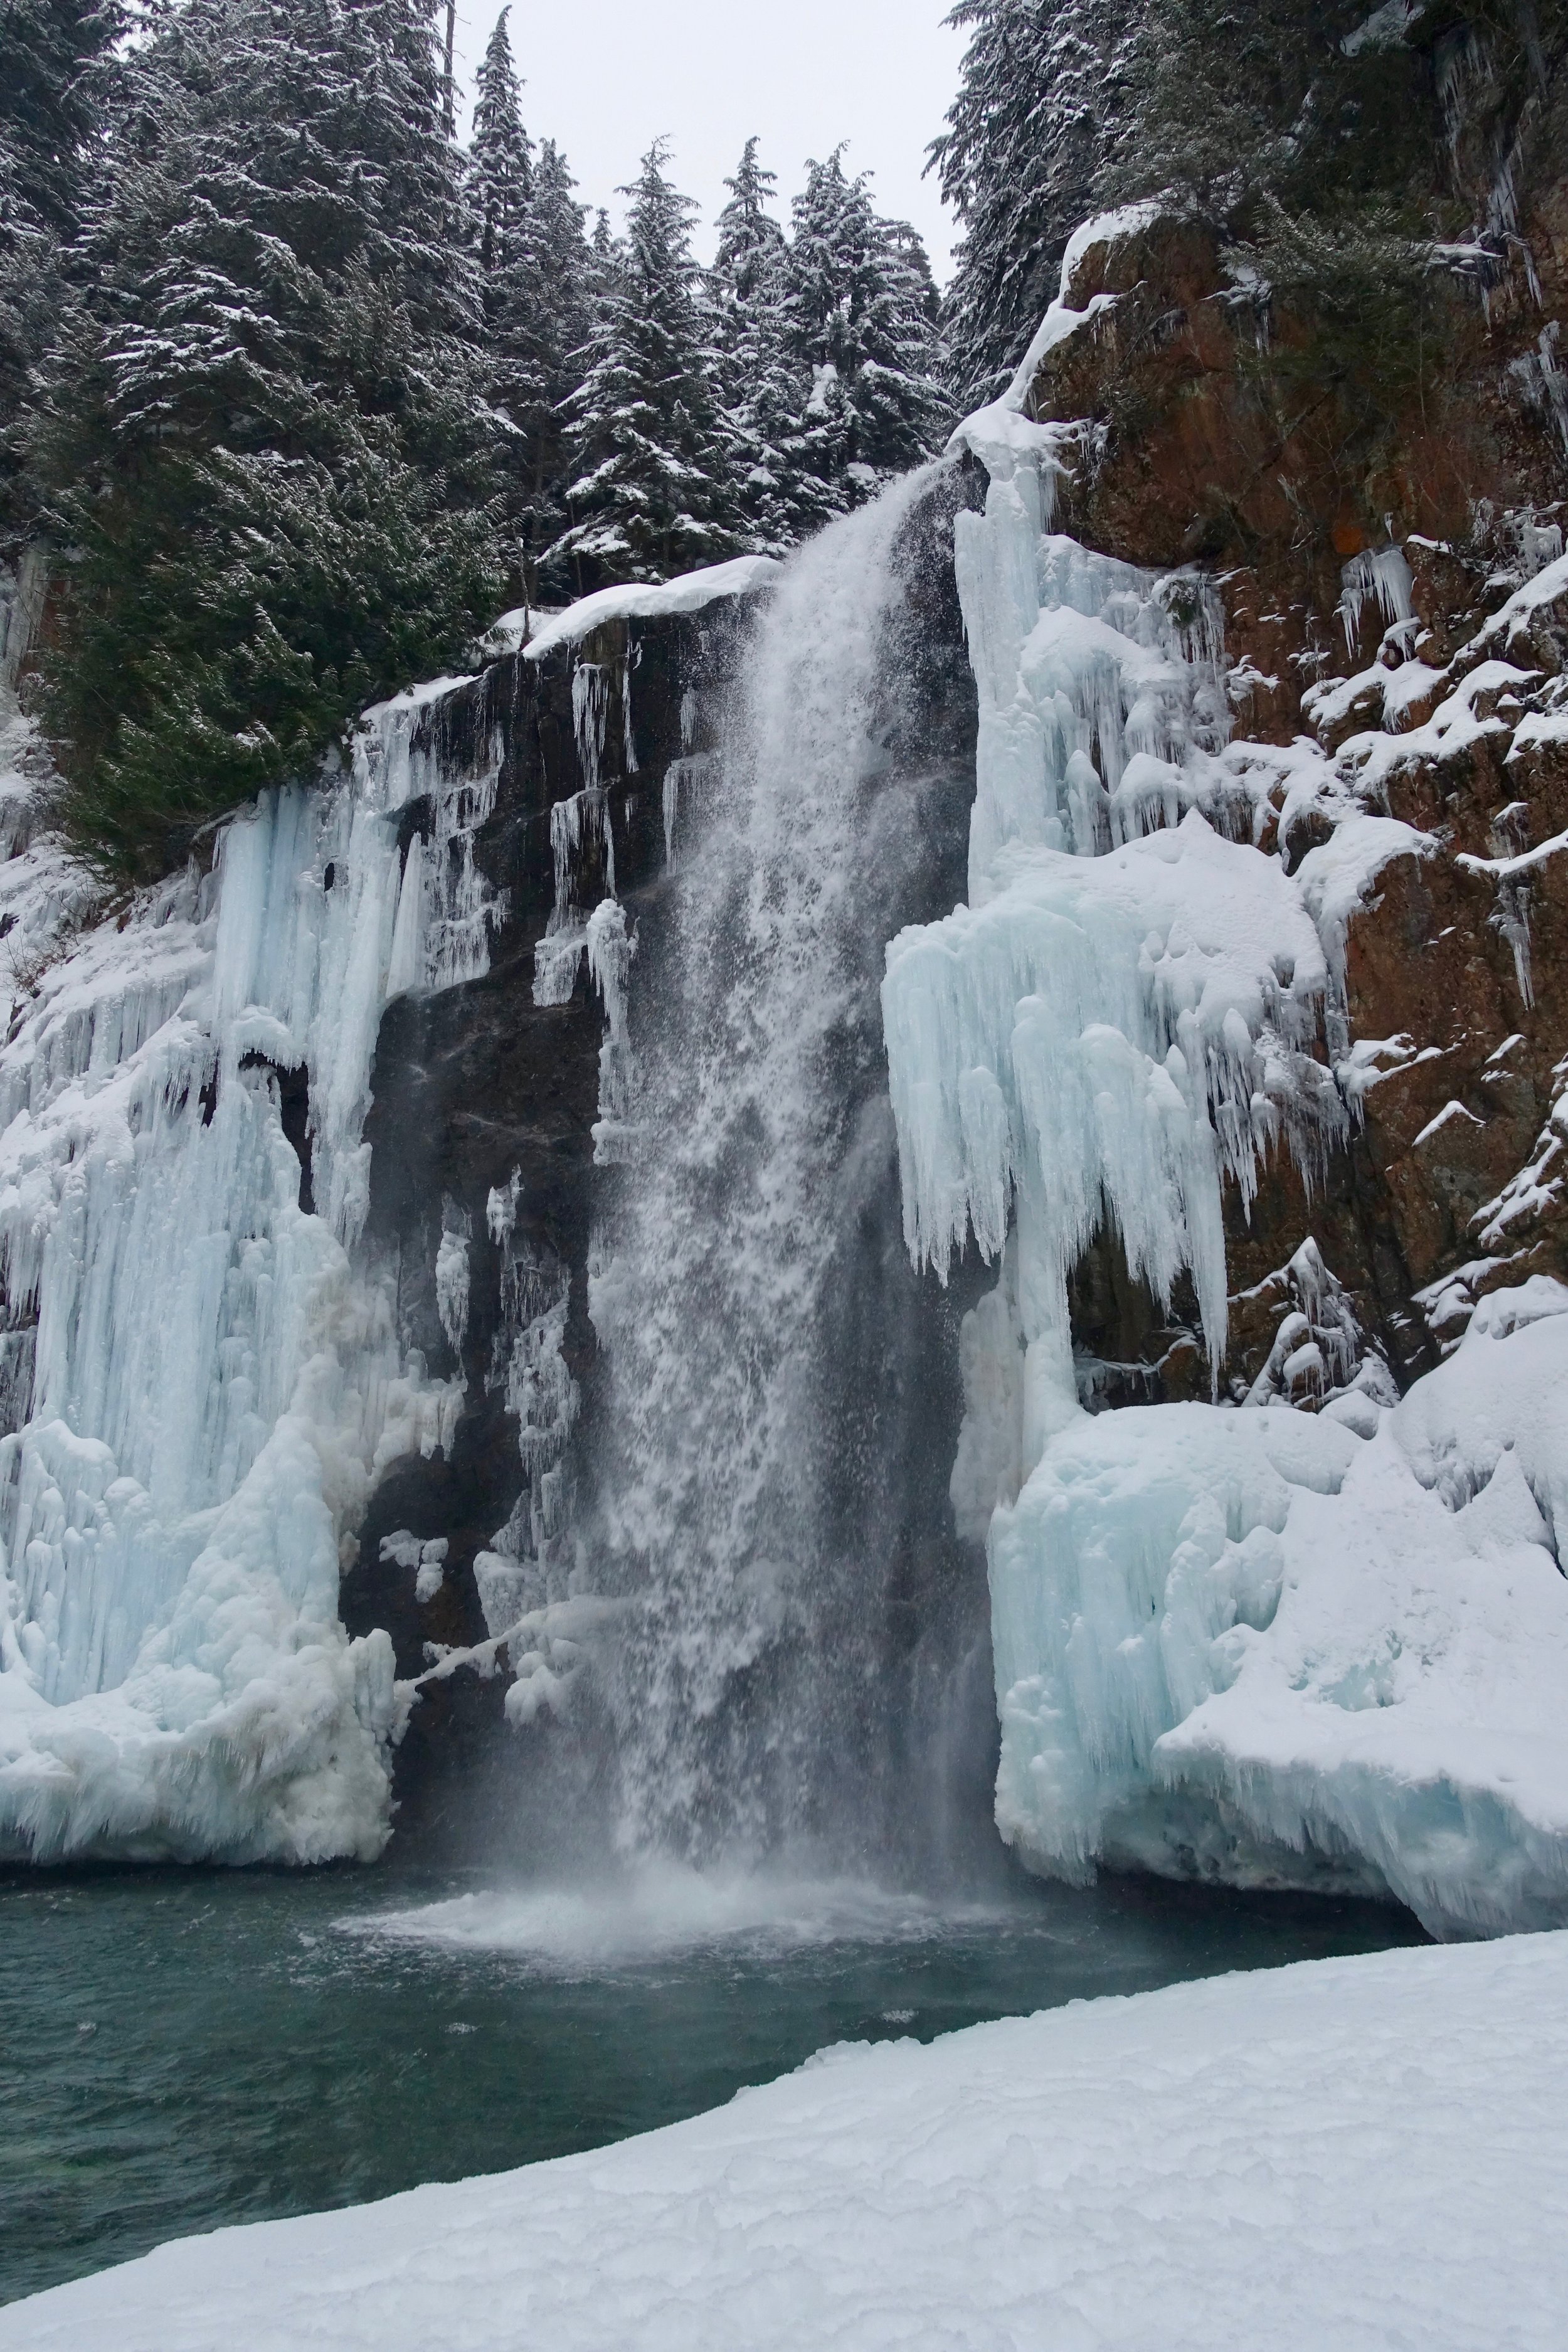
It was Christmas Eve and my husband had gotten out of a 30 hour shift midday. We still wanted to get outside so we opted for Franklin Falls. This was my second time doing it this year, but it was more frozen this time around. This hike has blown up in popularity resulting in insane crowds. The parking was a mess, but we got to enjoy a quick afternoon outside.
Skyline Lake Snowshoe

 Location: Skyline Lake at Steven's Pass
Mileage: 3.5 1,00 EG
This one we knew we had to arrive bright and early as it shares the same parking lot as Steven's Pass Ski Resort. We arrived sometime after 8:30 donned our many, many layers of clothes and headed out. This hike is a short (steep) 1.5 miles to the lake and then we continued on to the ridge line about another quarter mile up. We stopped at the top to take in the views, snack, and then it was quick to get going again as stoping movement froze us. I'm really loving winter here so far and show shoeing. I do miss the ease and warmth of summer. There is something to be said with experiencing the 4 seasons in the mountains and all the extremes. You can't appreciate one without the other.
Big Four Ice Caves Snowshoe
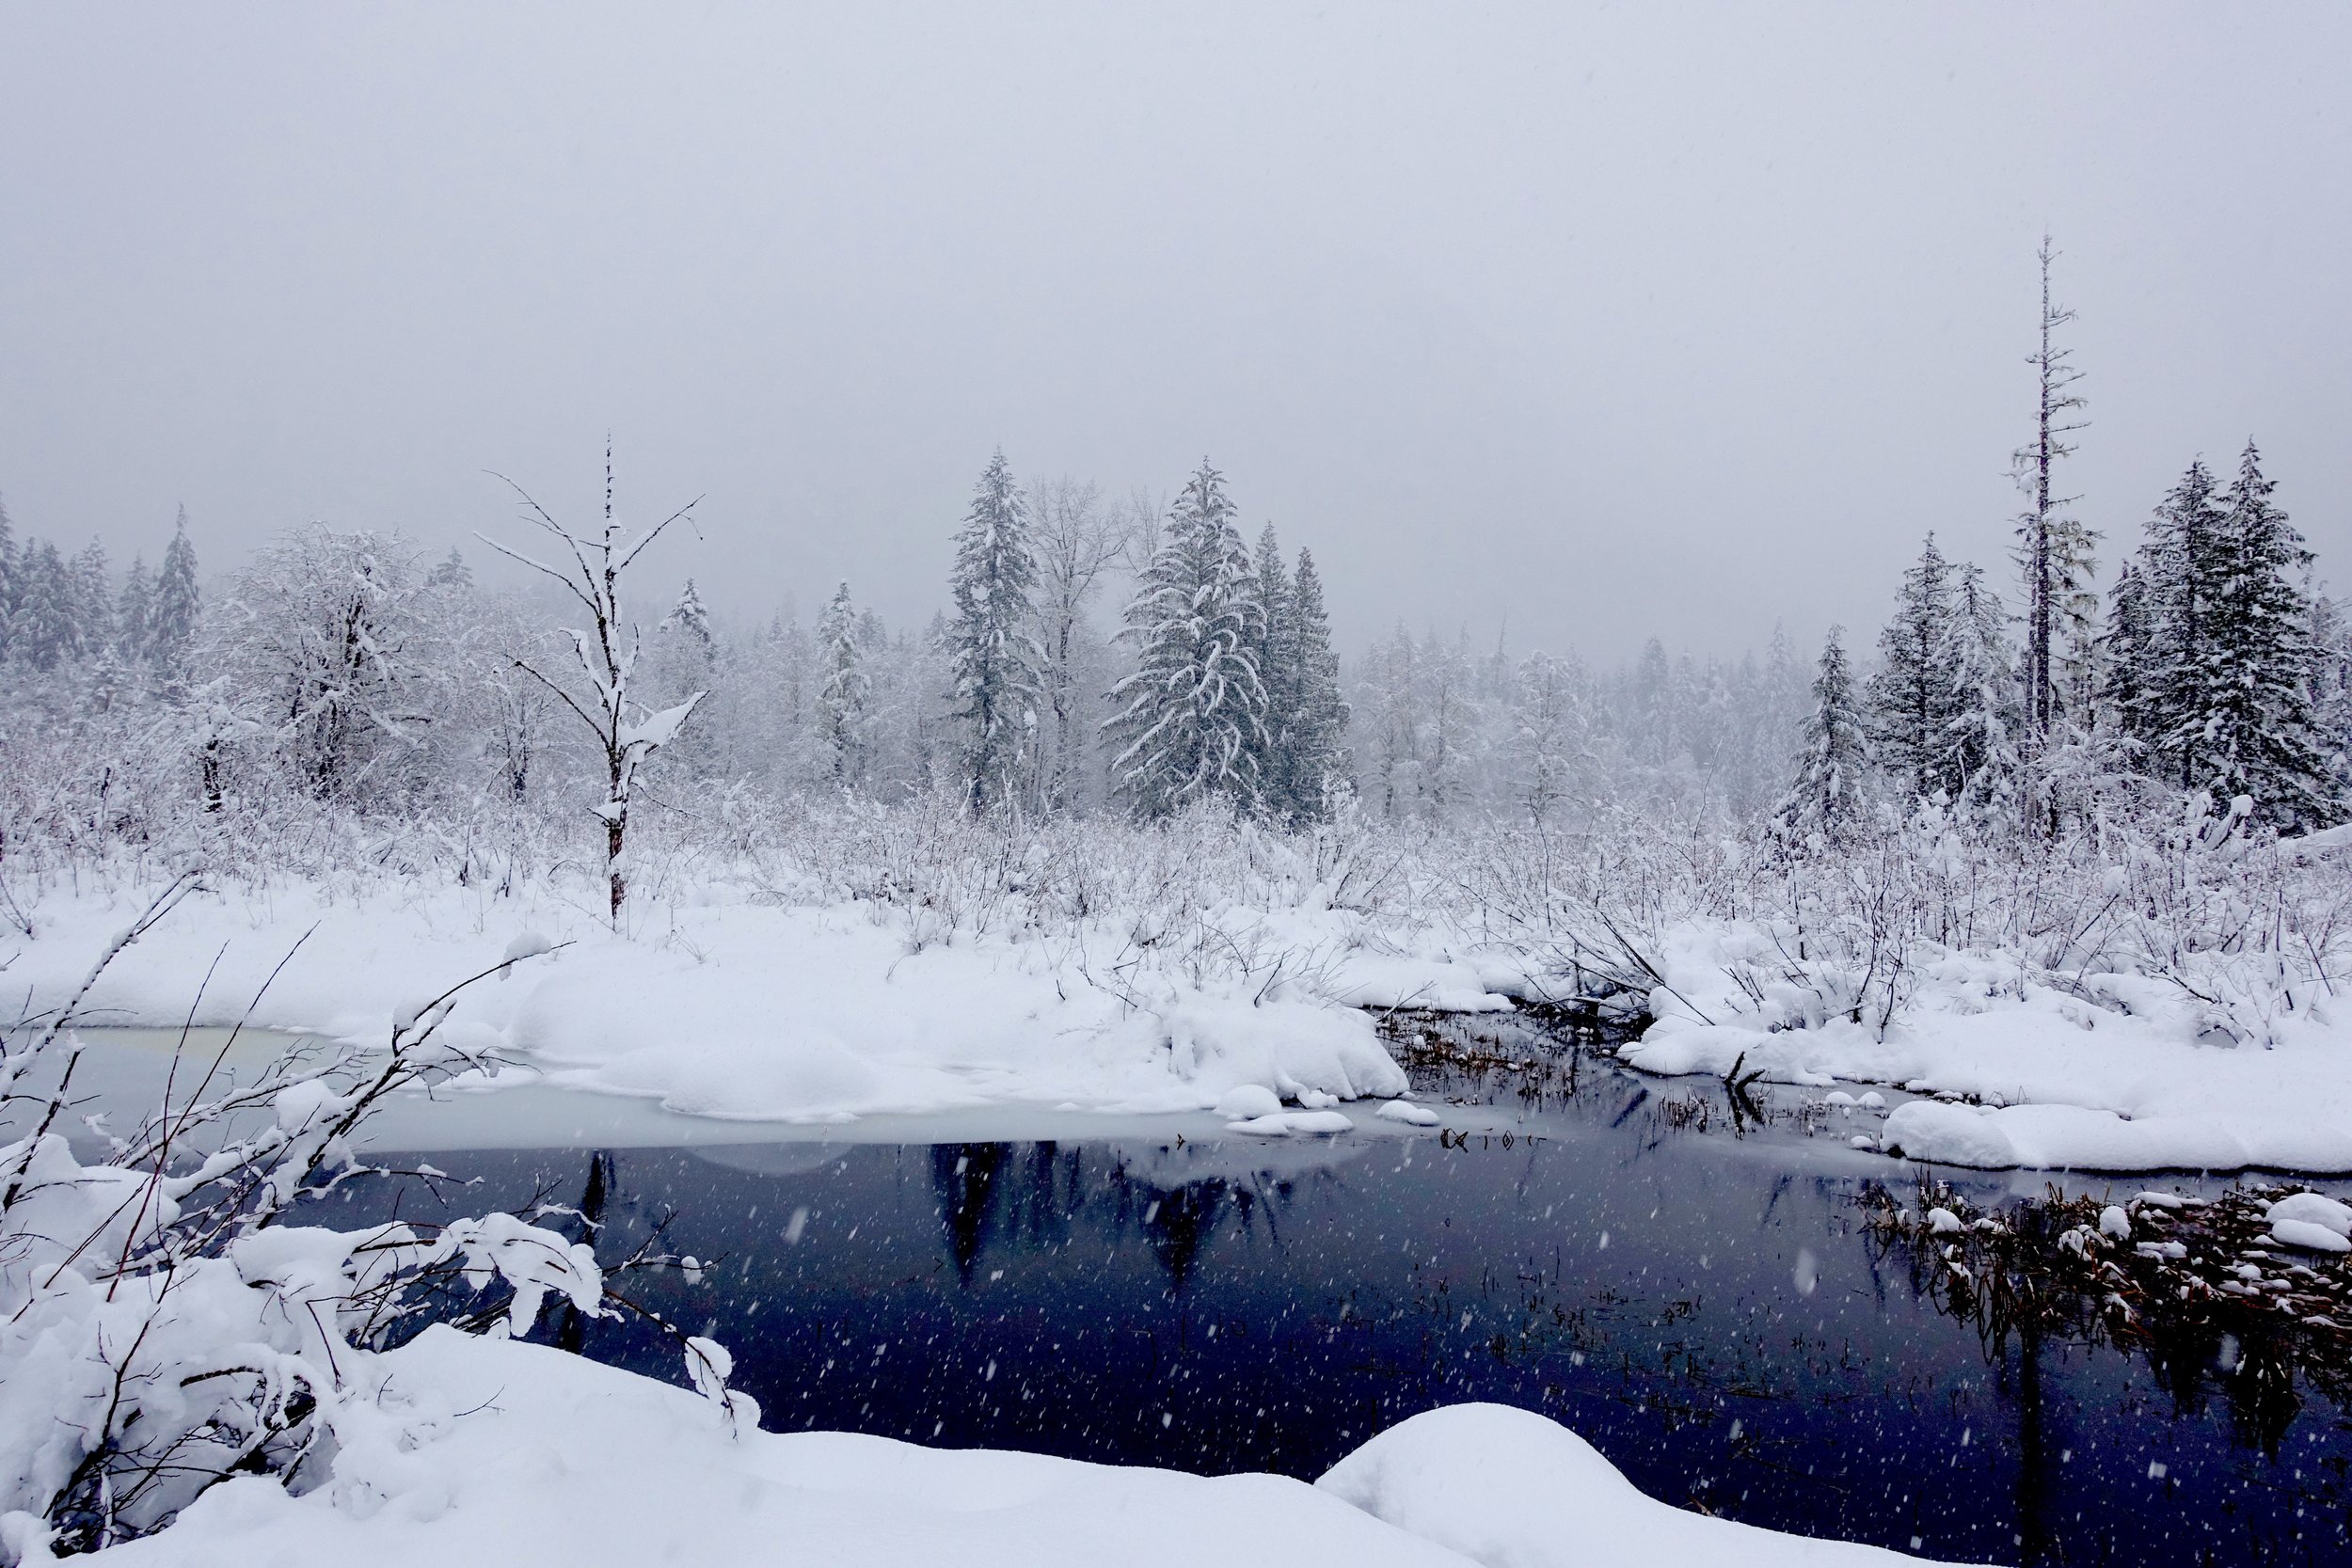
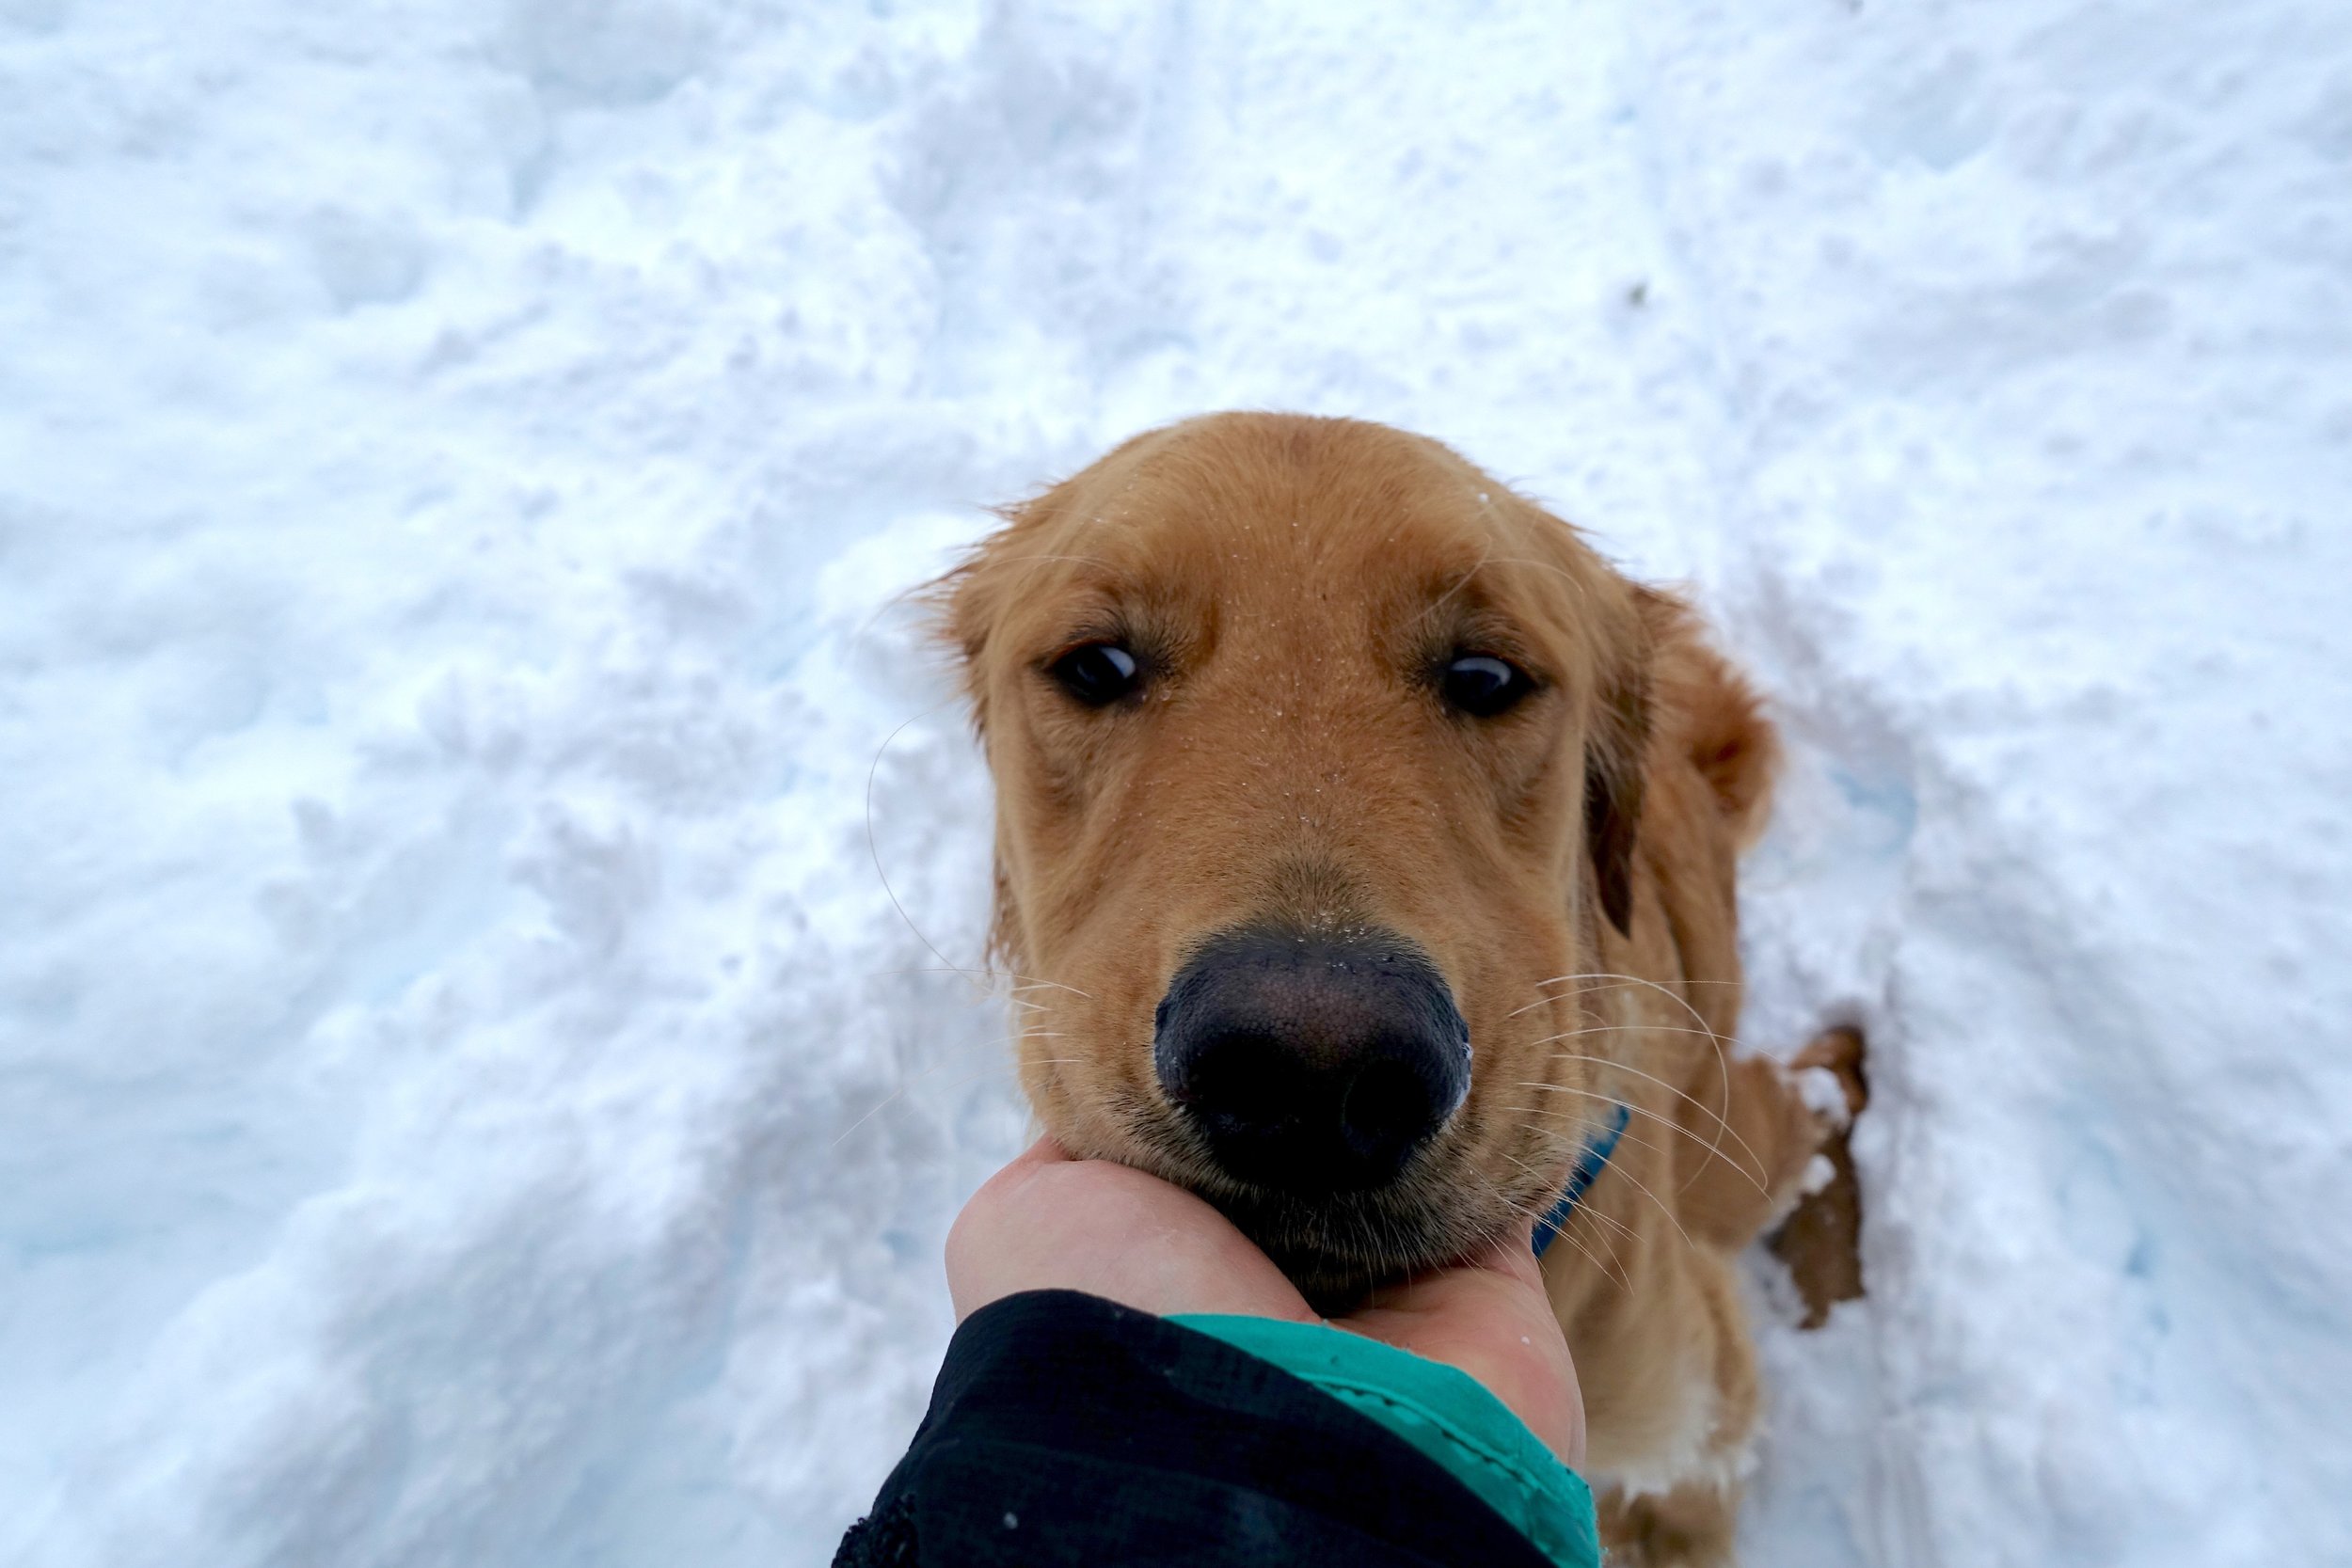
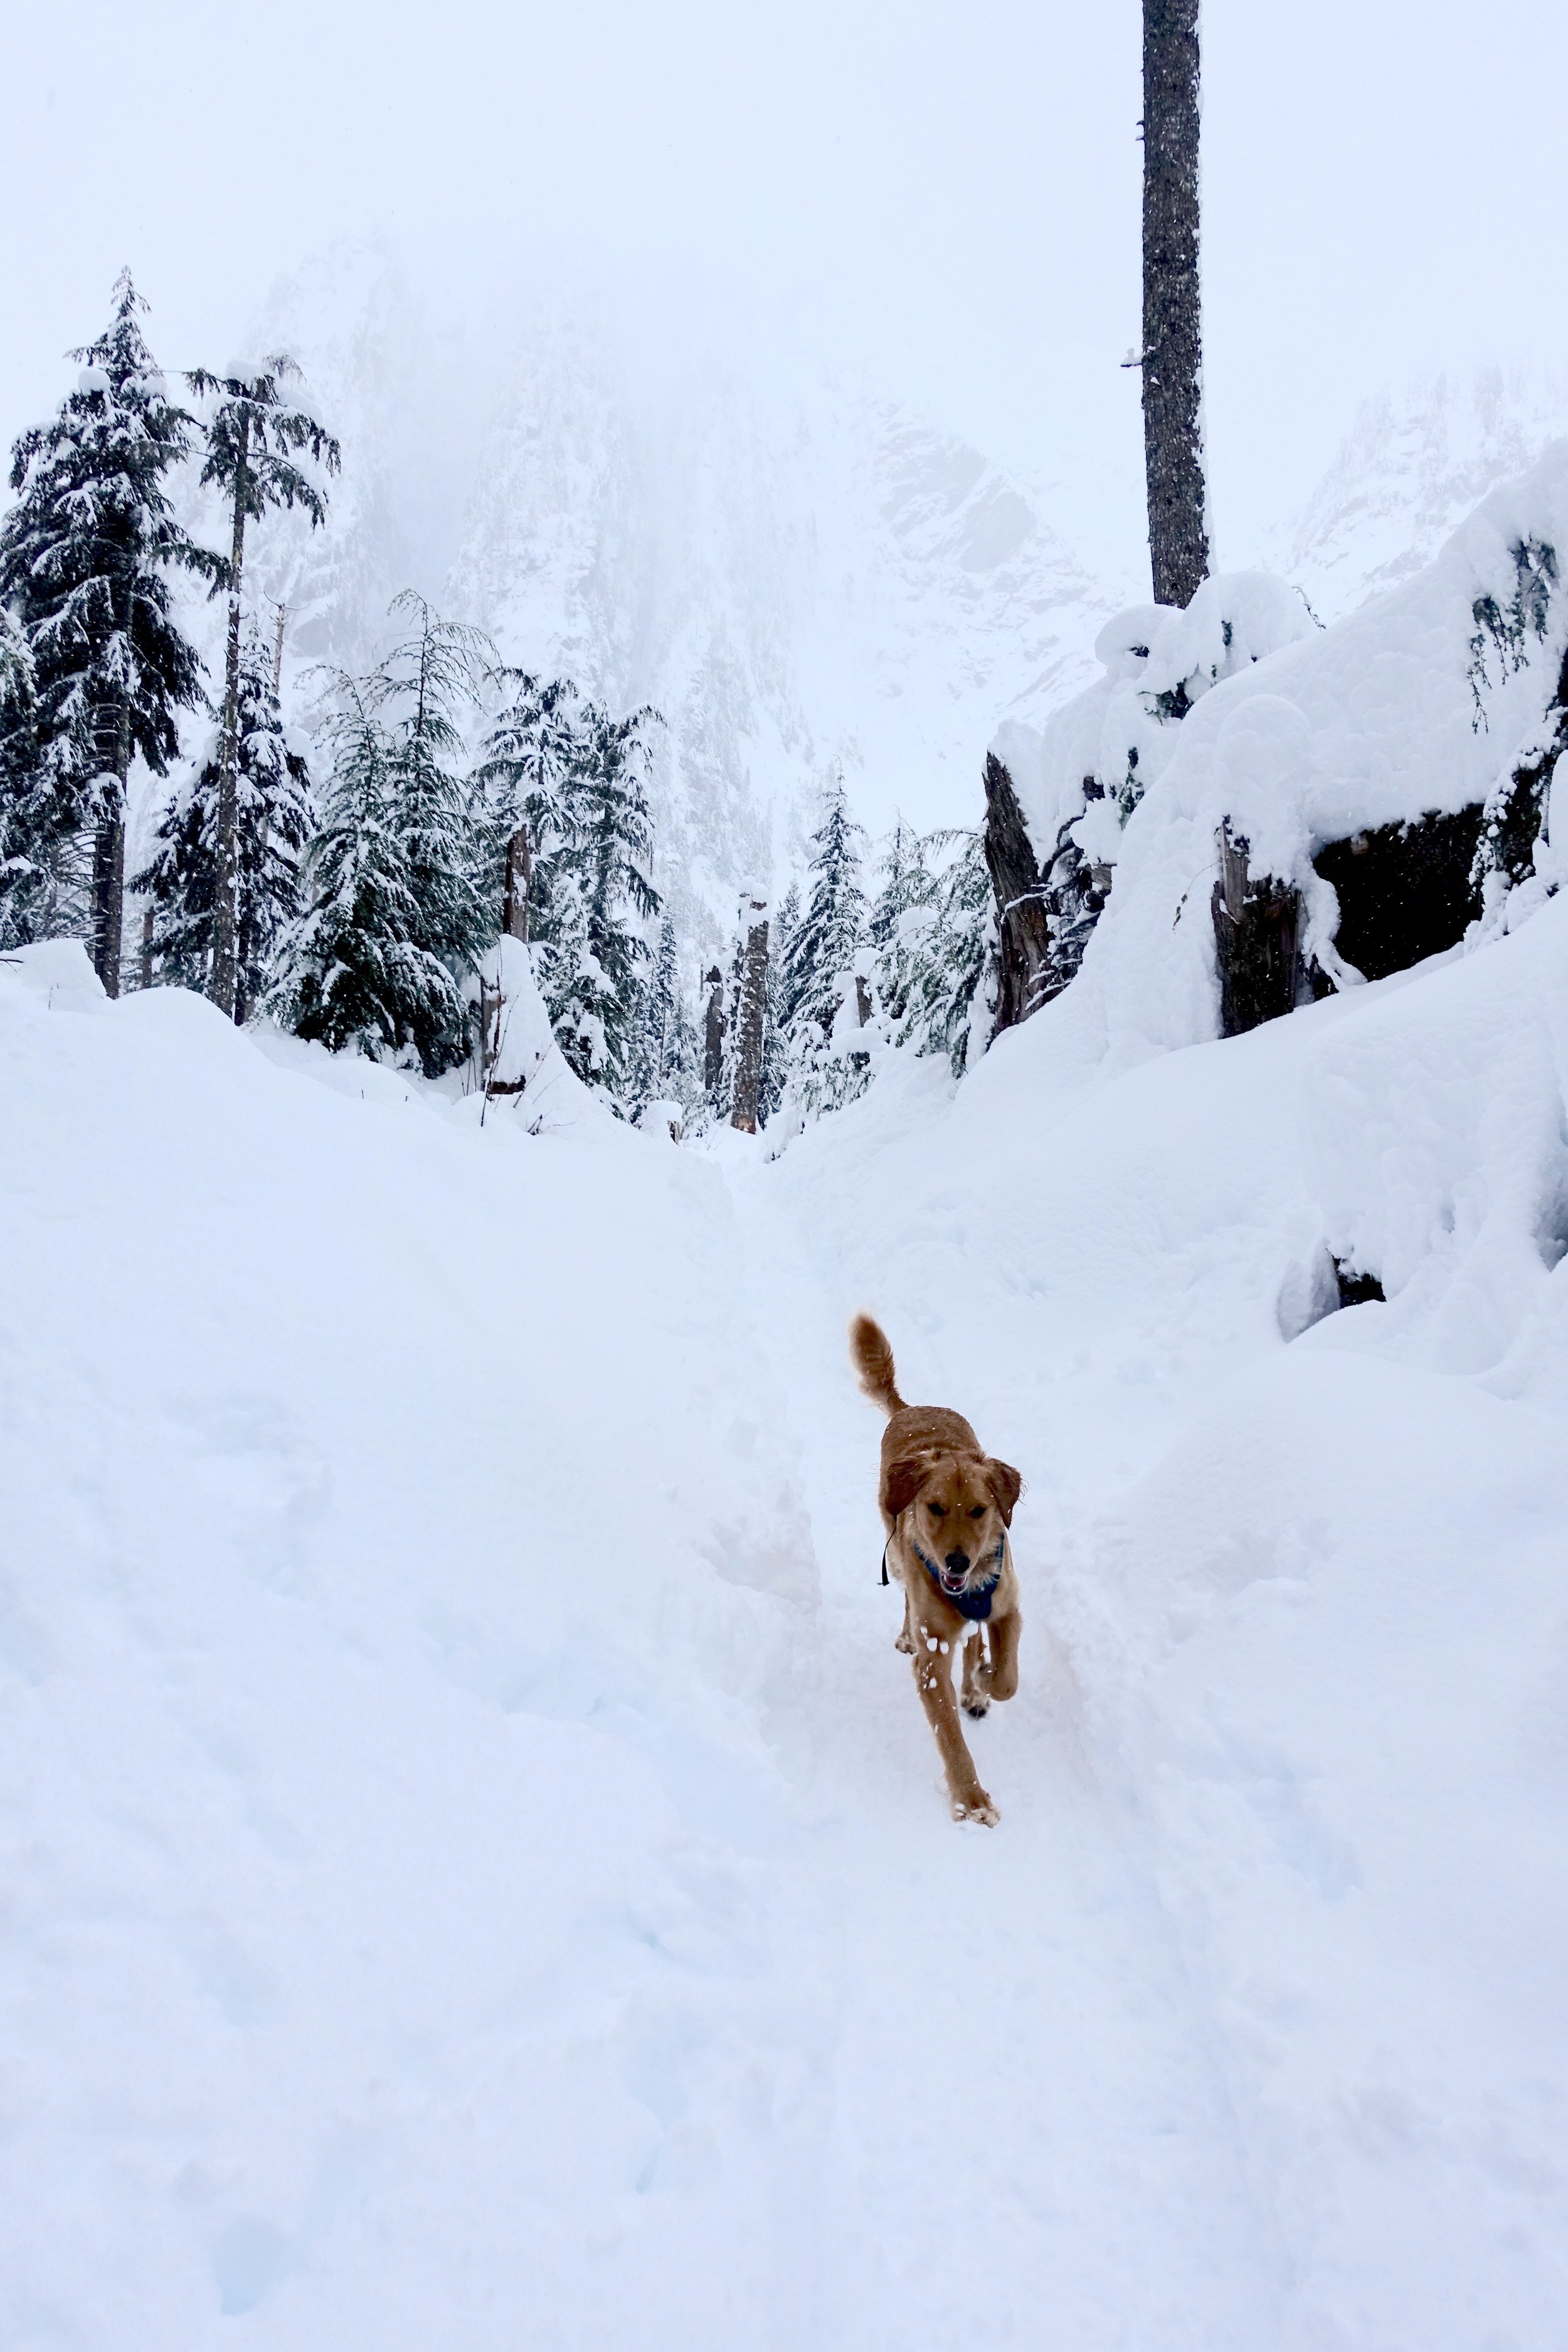
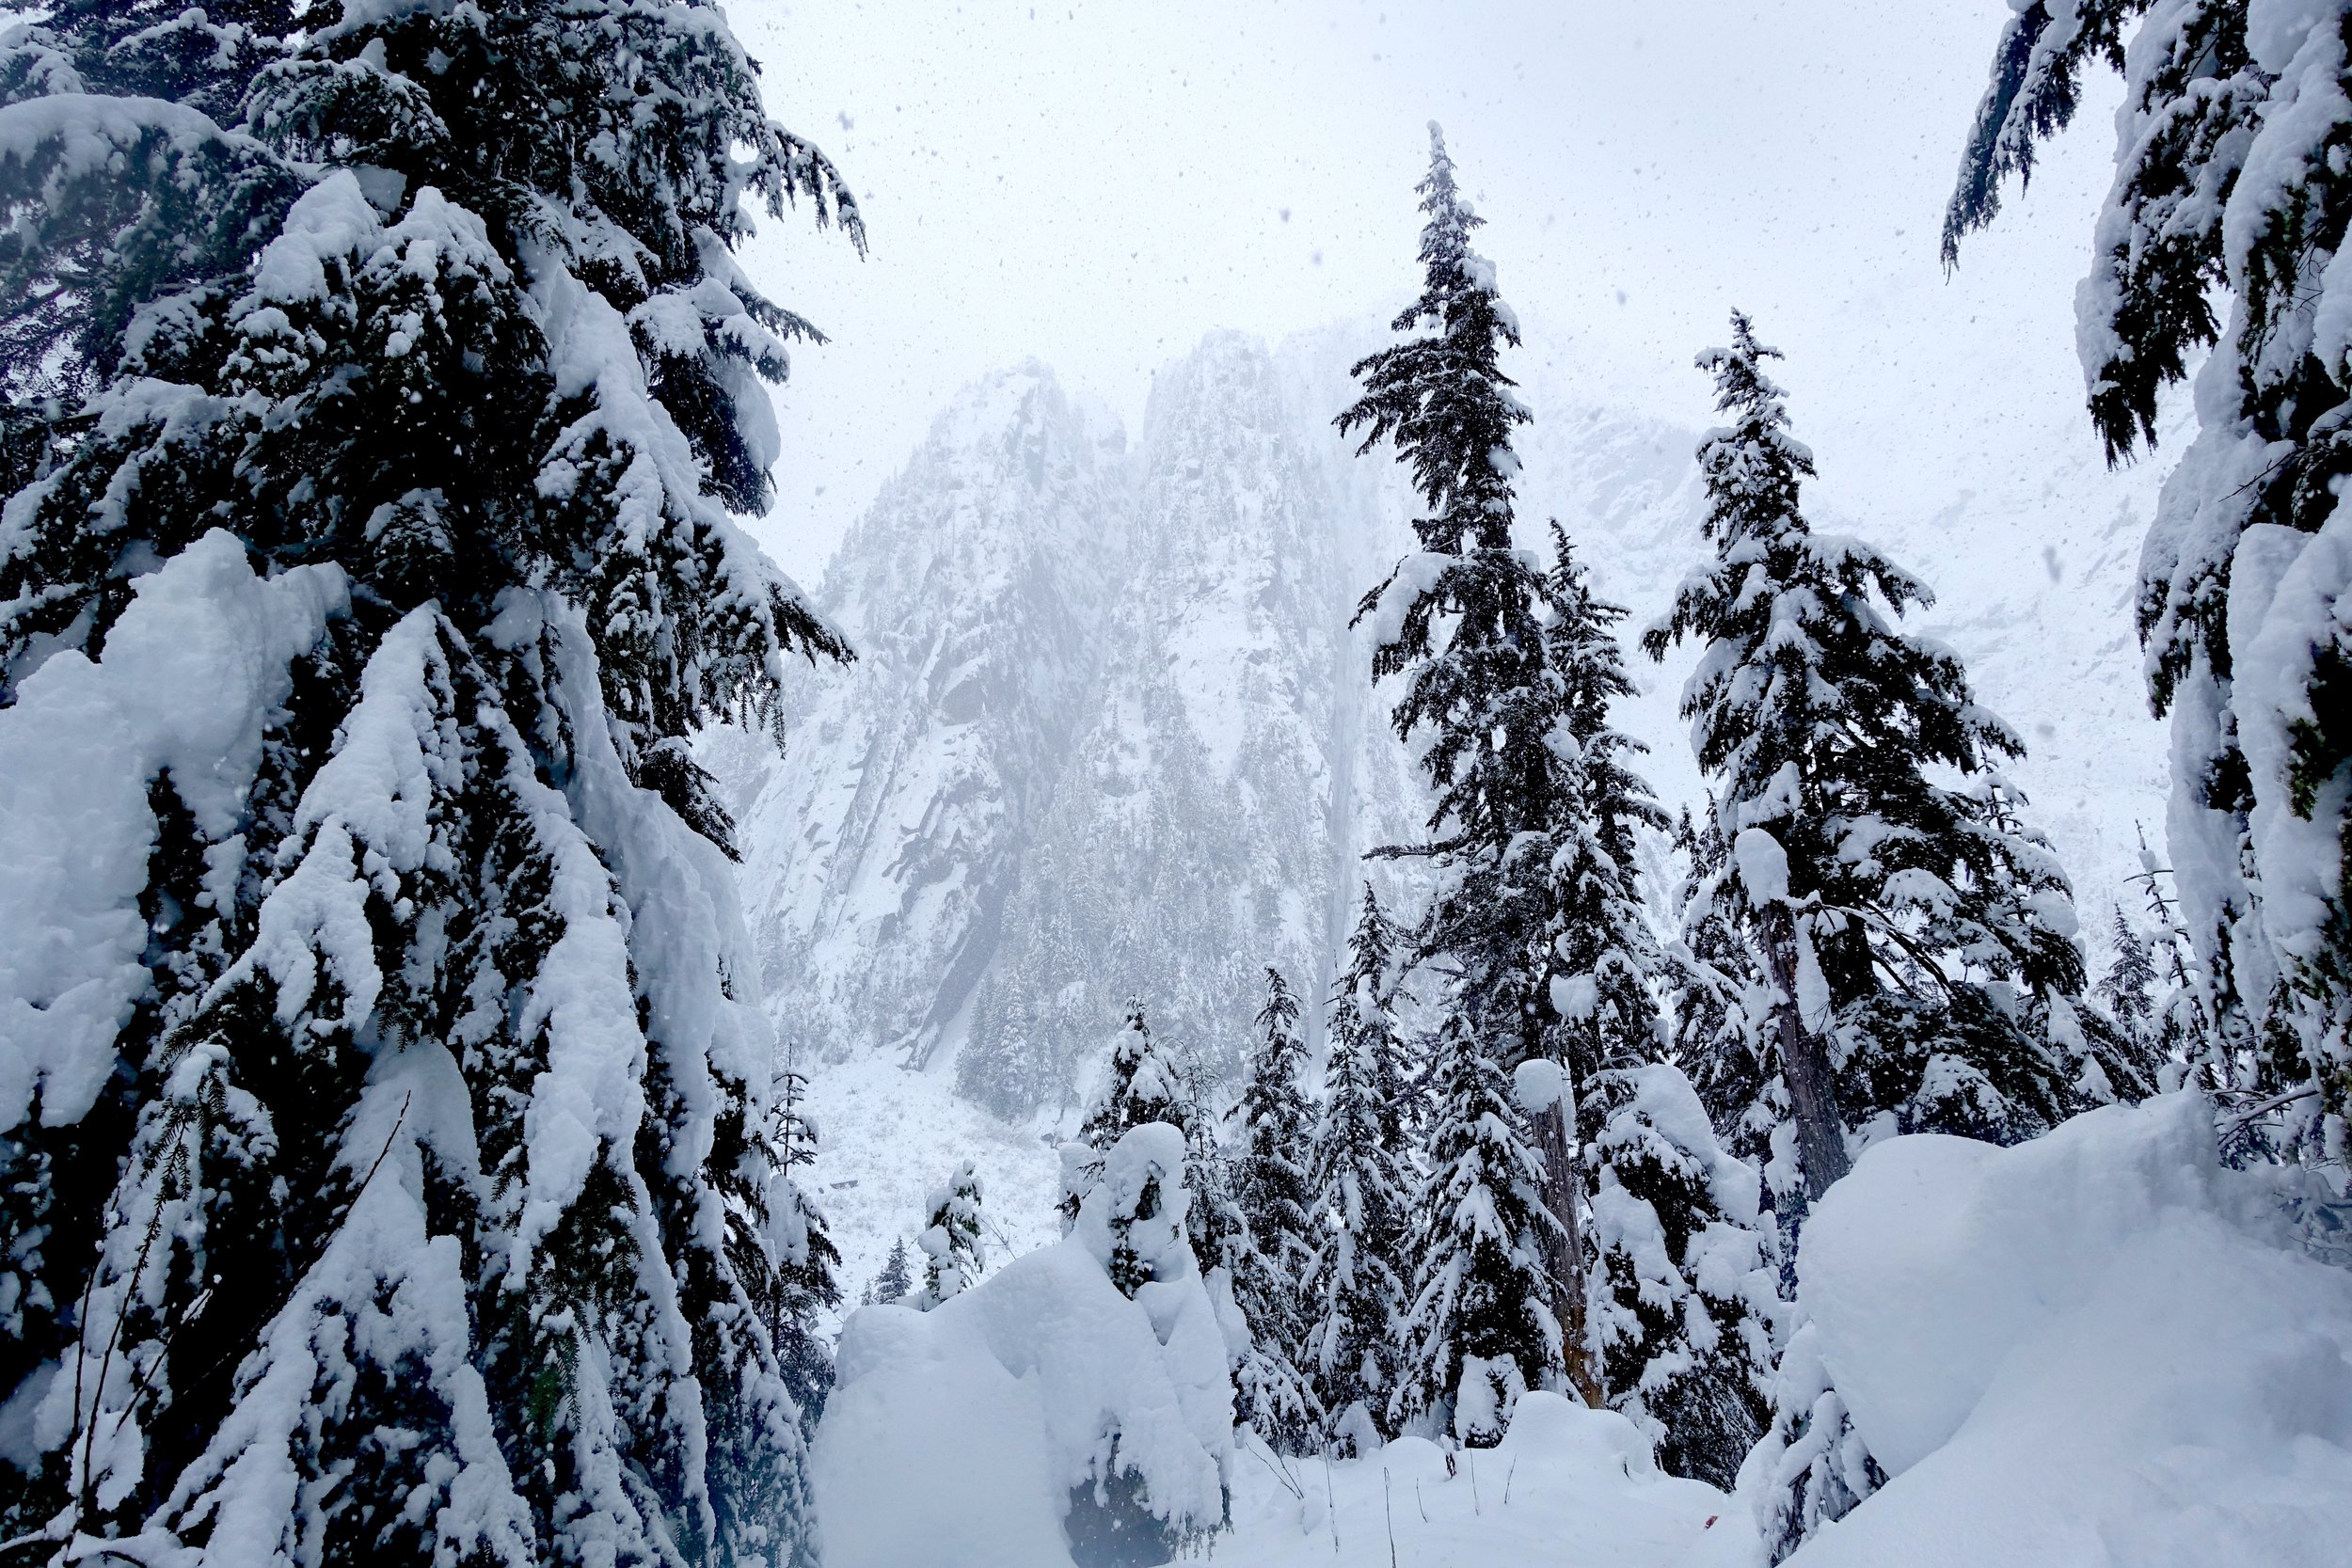

 First snowshoeing adventure- ever! Finally got to try out our new MSR Revo Explore in some fresh powder on the mountain loop highway. The road was full of snow/ slush/ ice and was pretty dangerous. The parking lot had not been closed off yet, but was full of deep snow. The 5 of us + 2 dogs donned the snowshoes and headed out on the trail. The snowshoes were not 100% necessary as the trail had been stomped down a lot. The trail is 2.4 miles roundtrip and little elevation gain. As we approached the turnaround we heard a loud noise and it was an avalanche at the end of the trail. Some people got caught in the dust of it, so we decided not to venture too close to the mountains. After some lunch we headed back and made it back to the car, but not before Cooper decided to jump in a half frozen pond. That dog. On the way out we saw a car deep in a ditch and stopped to pull over to help and lend our tow rope. Be careful on those roads out there!
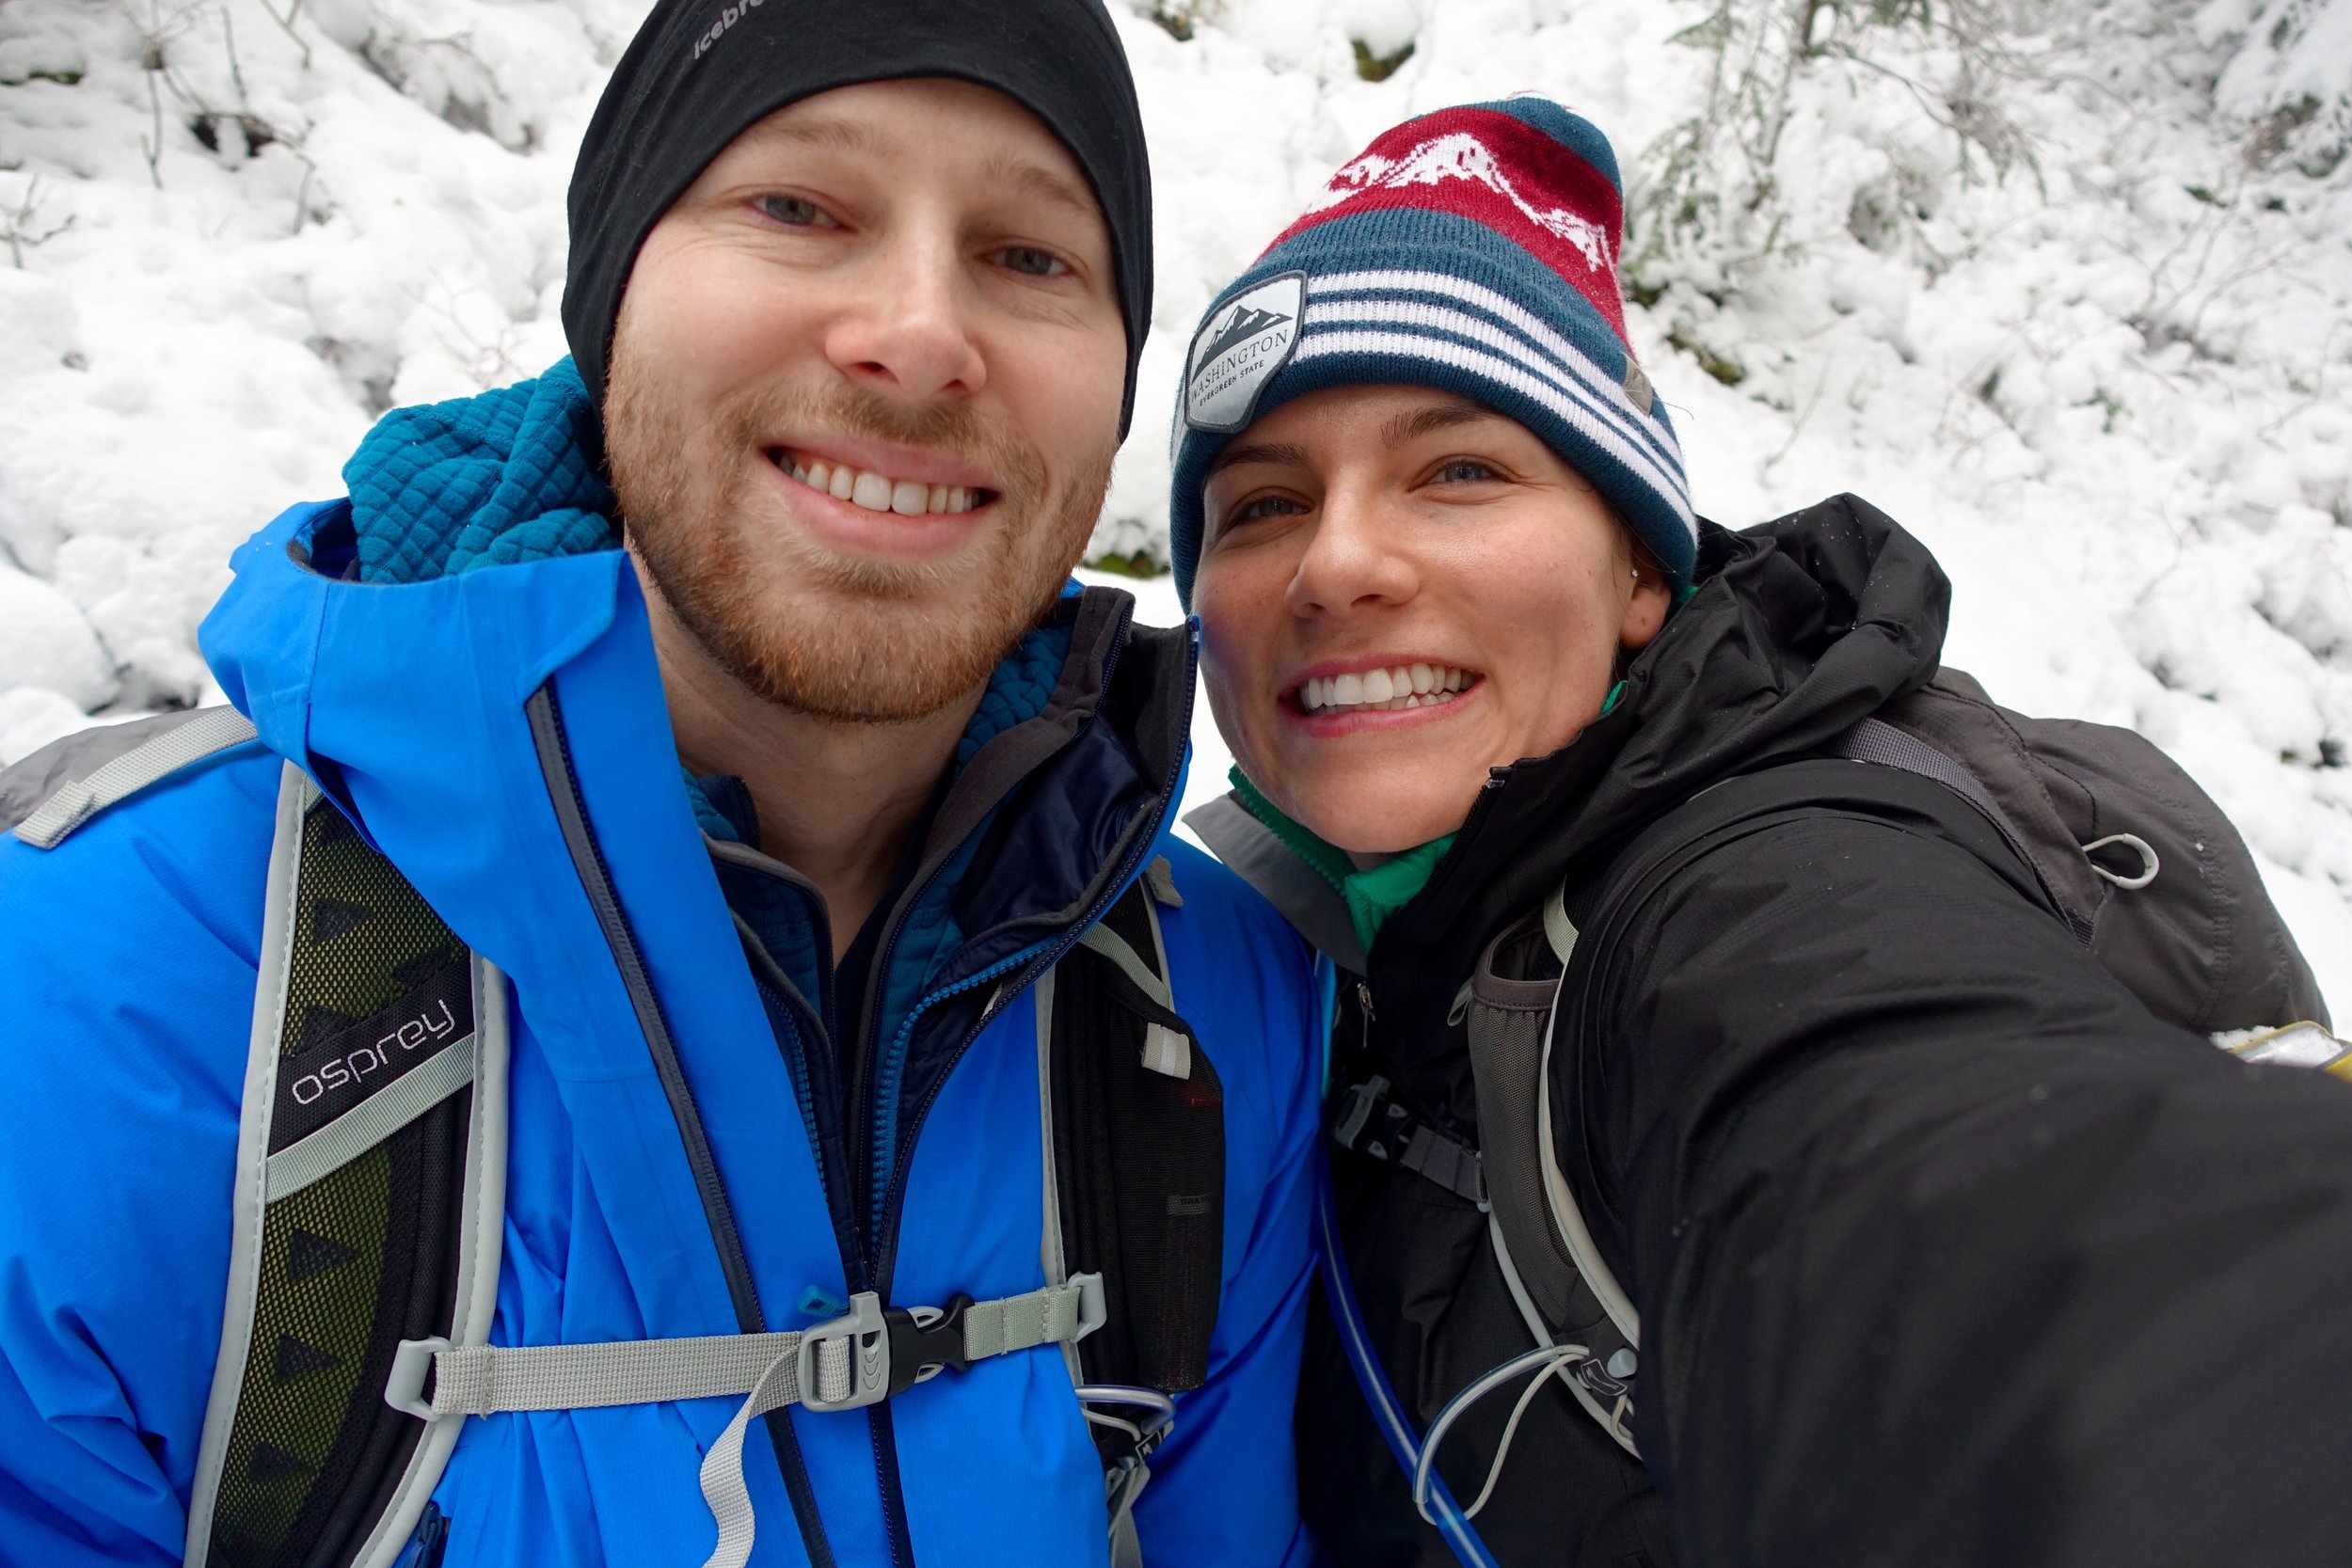
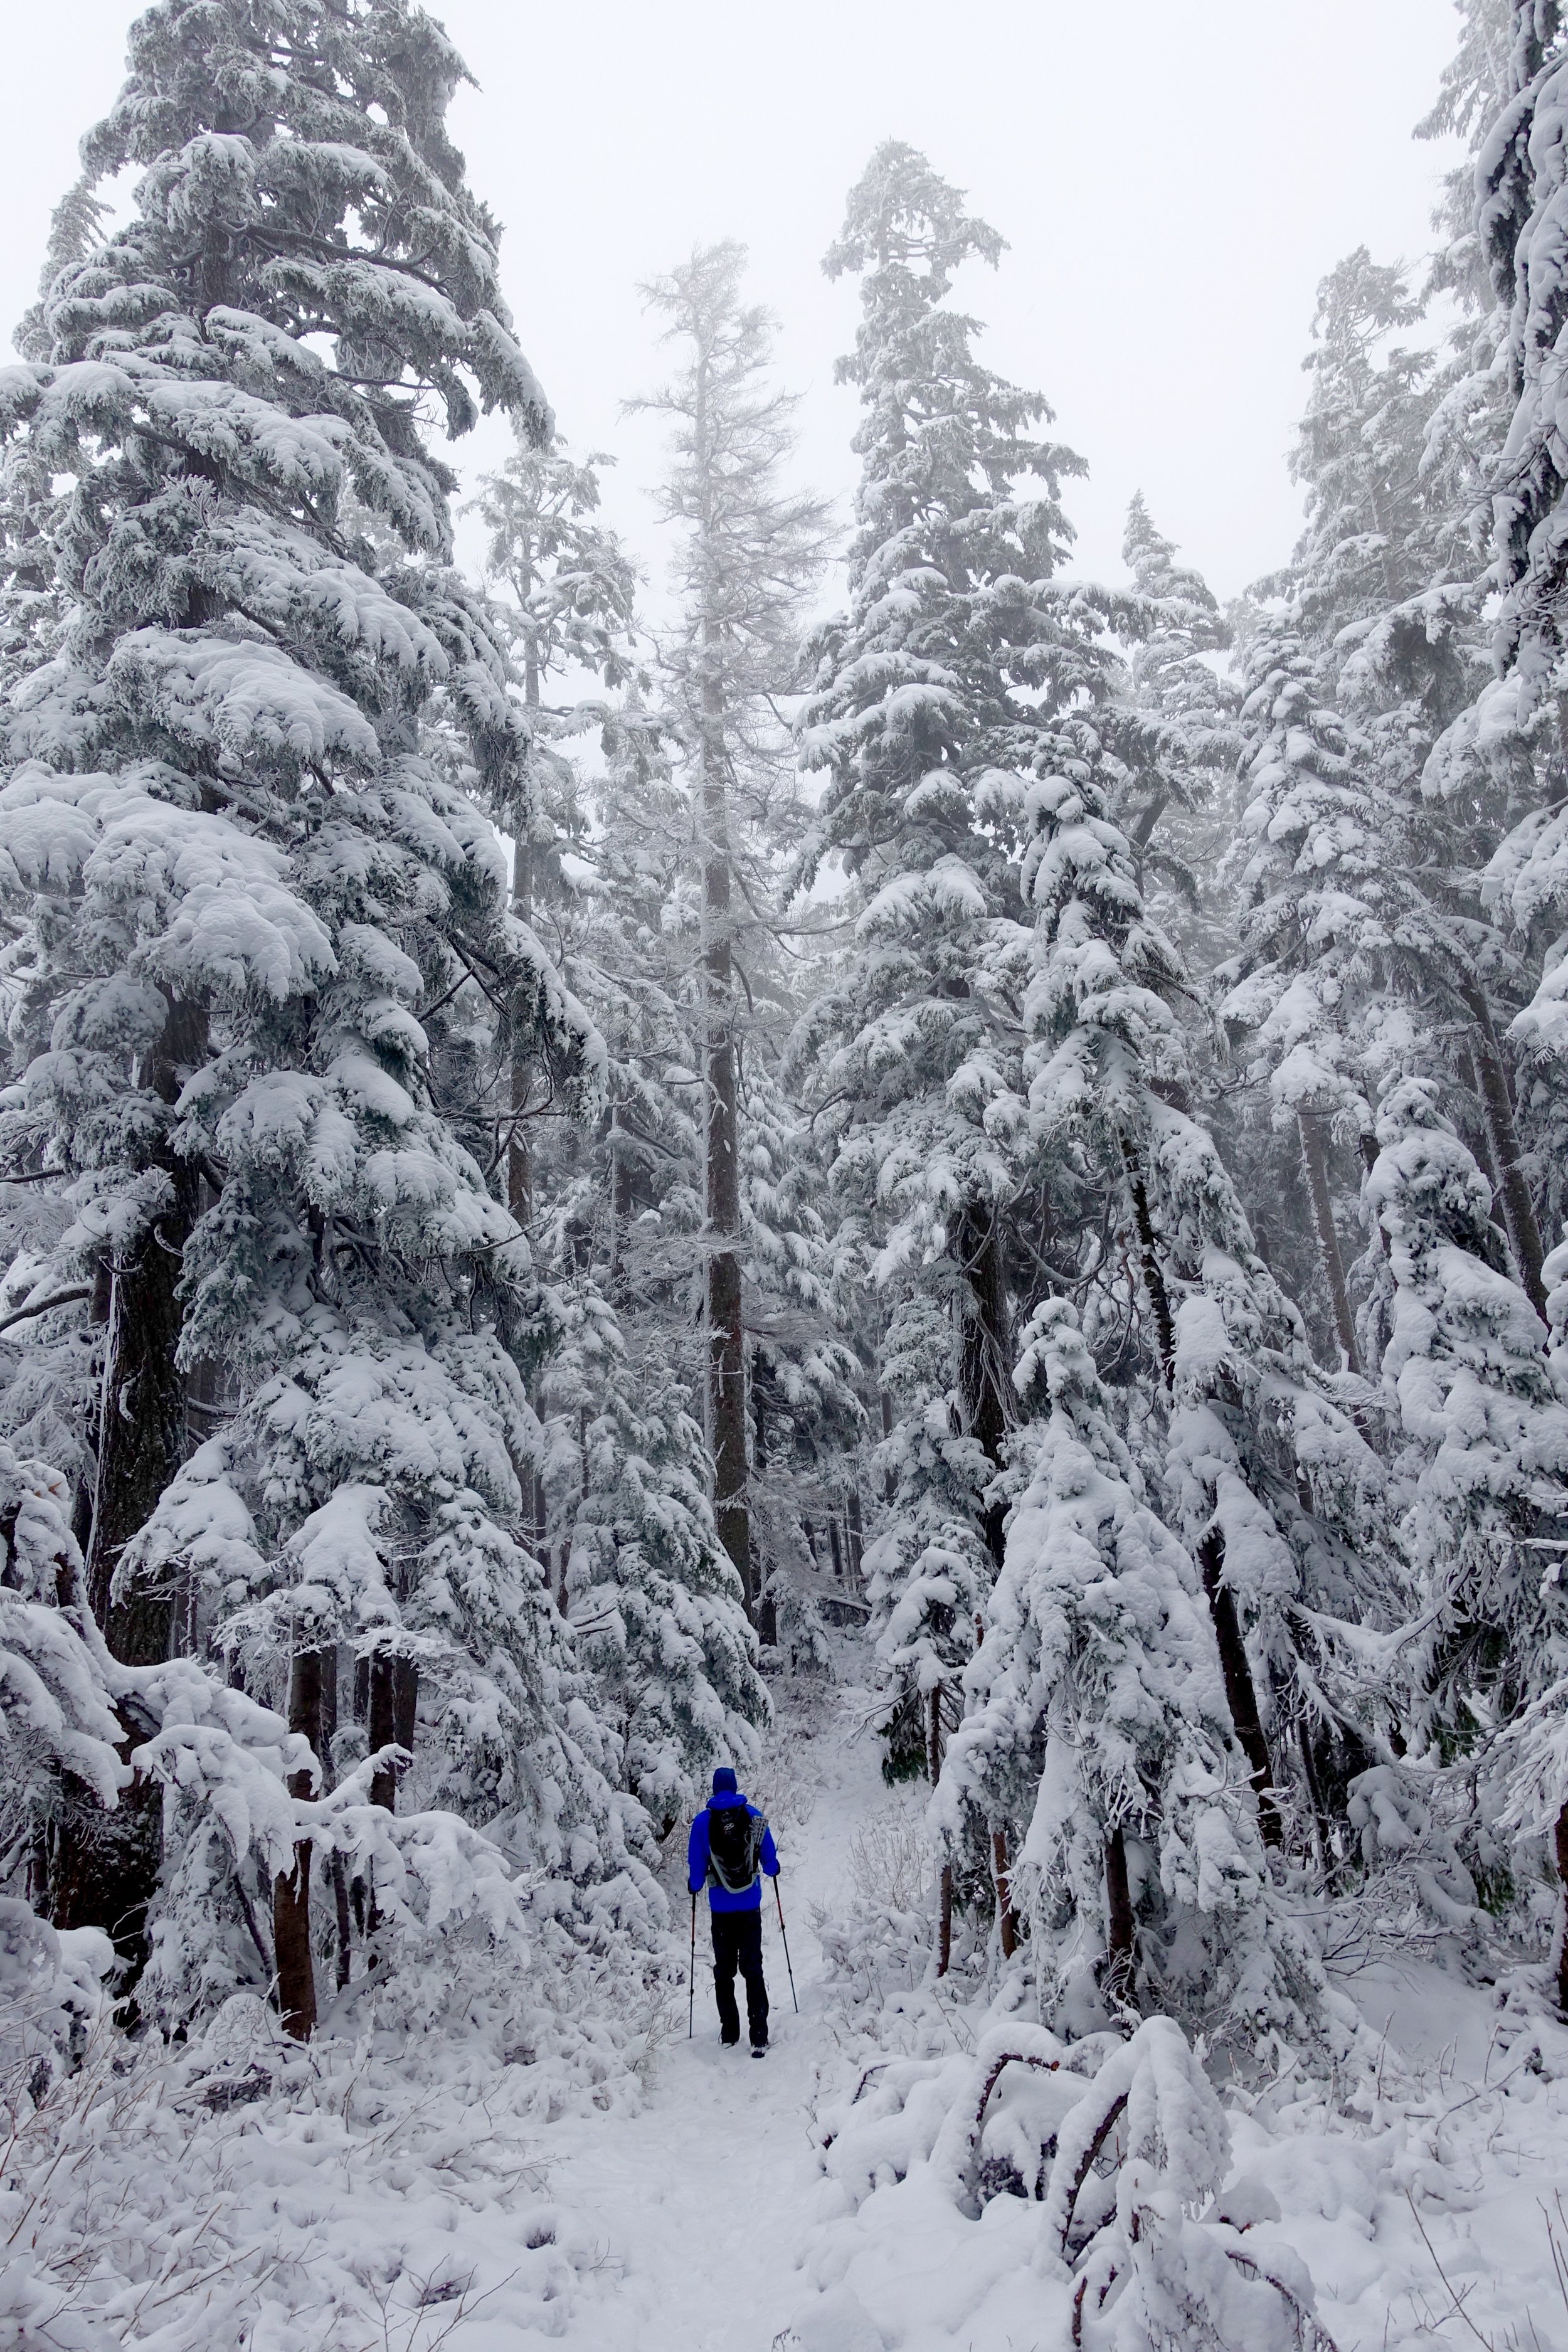
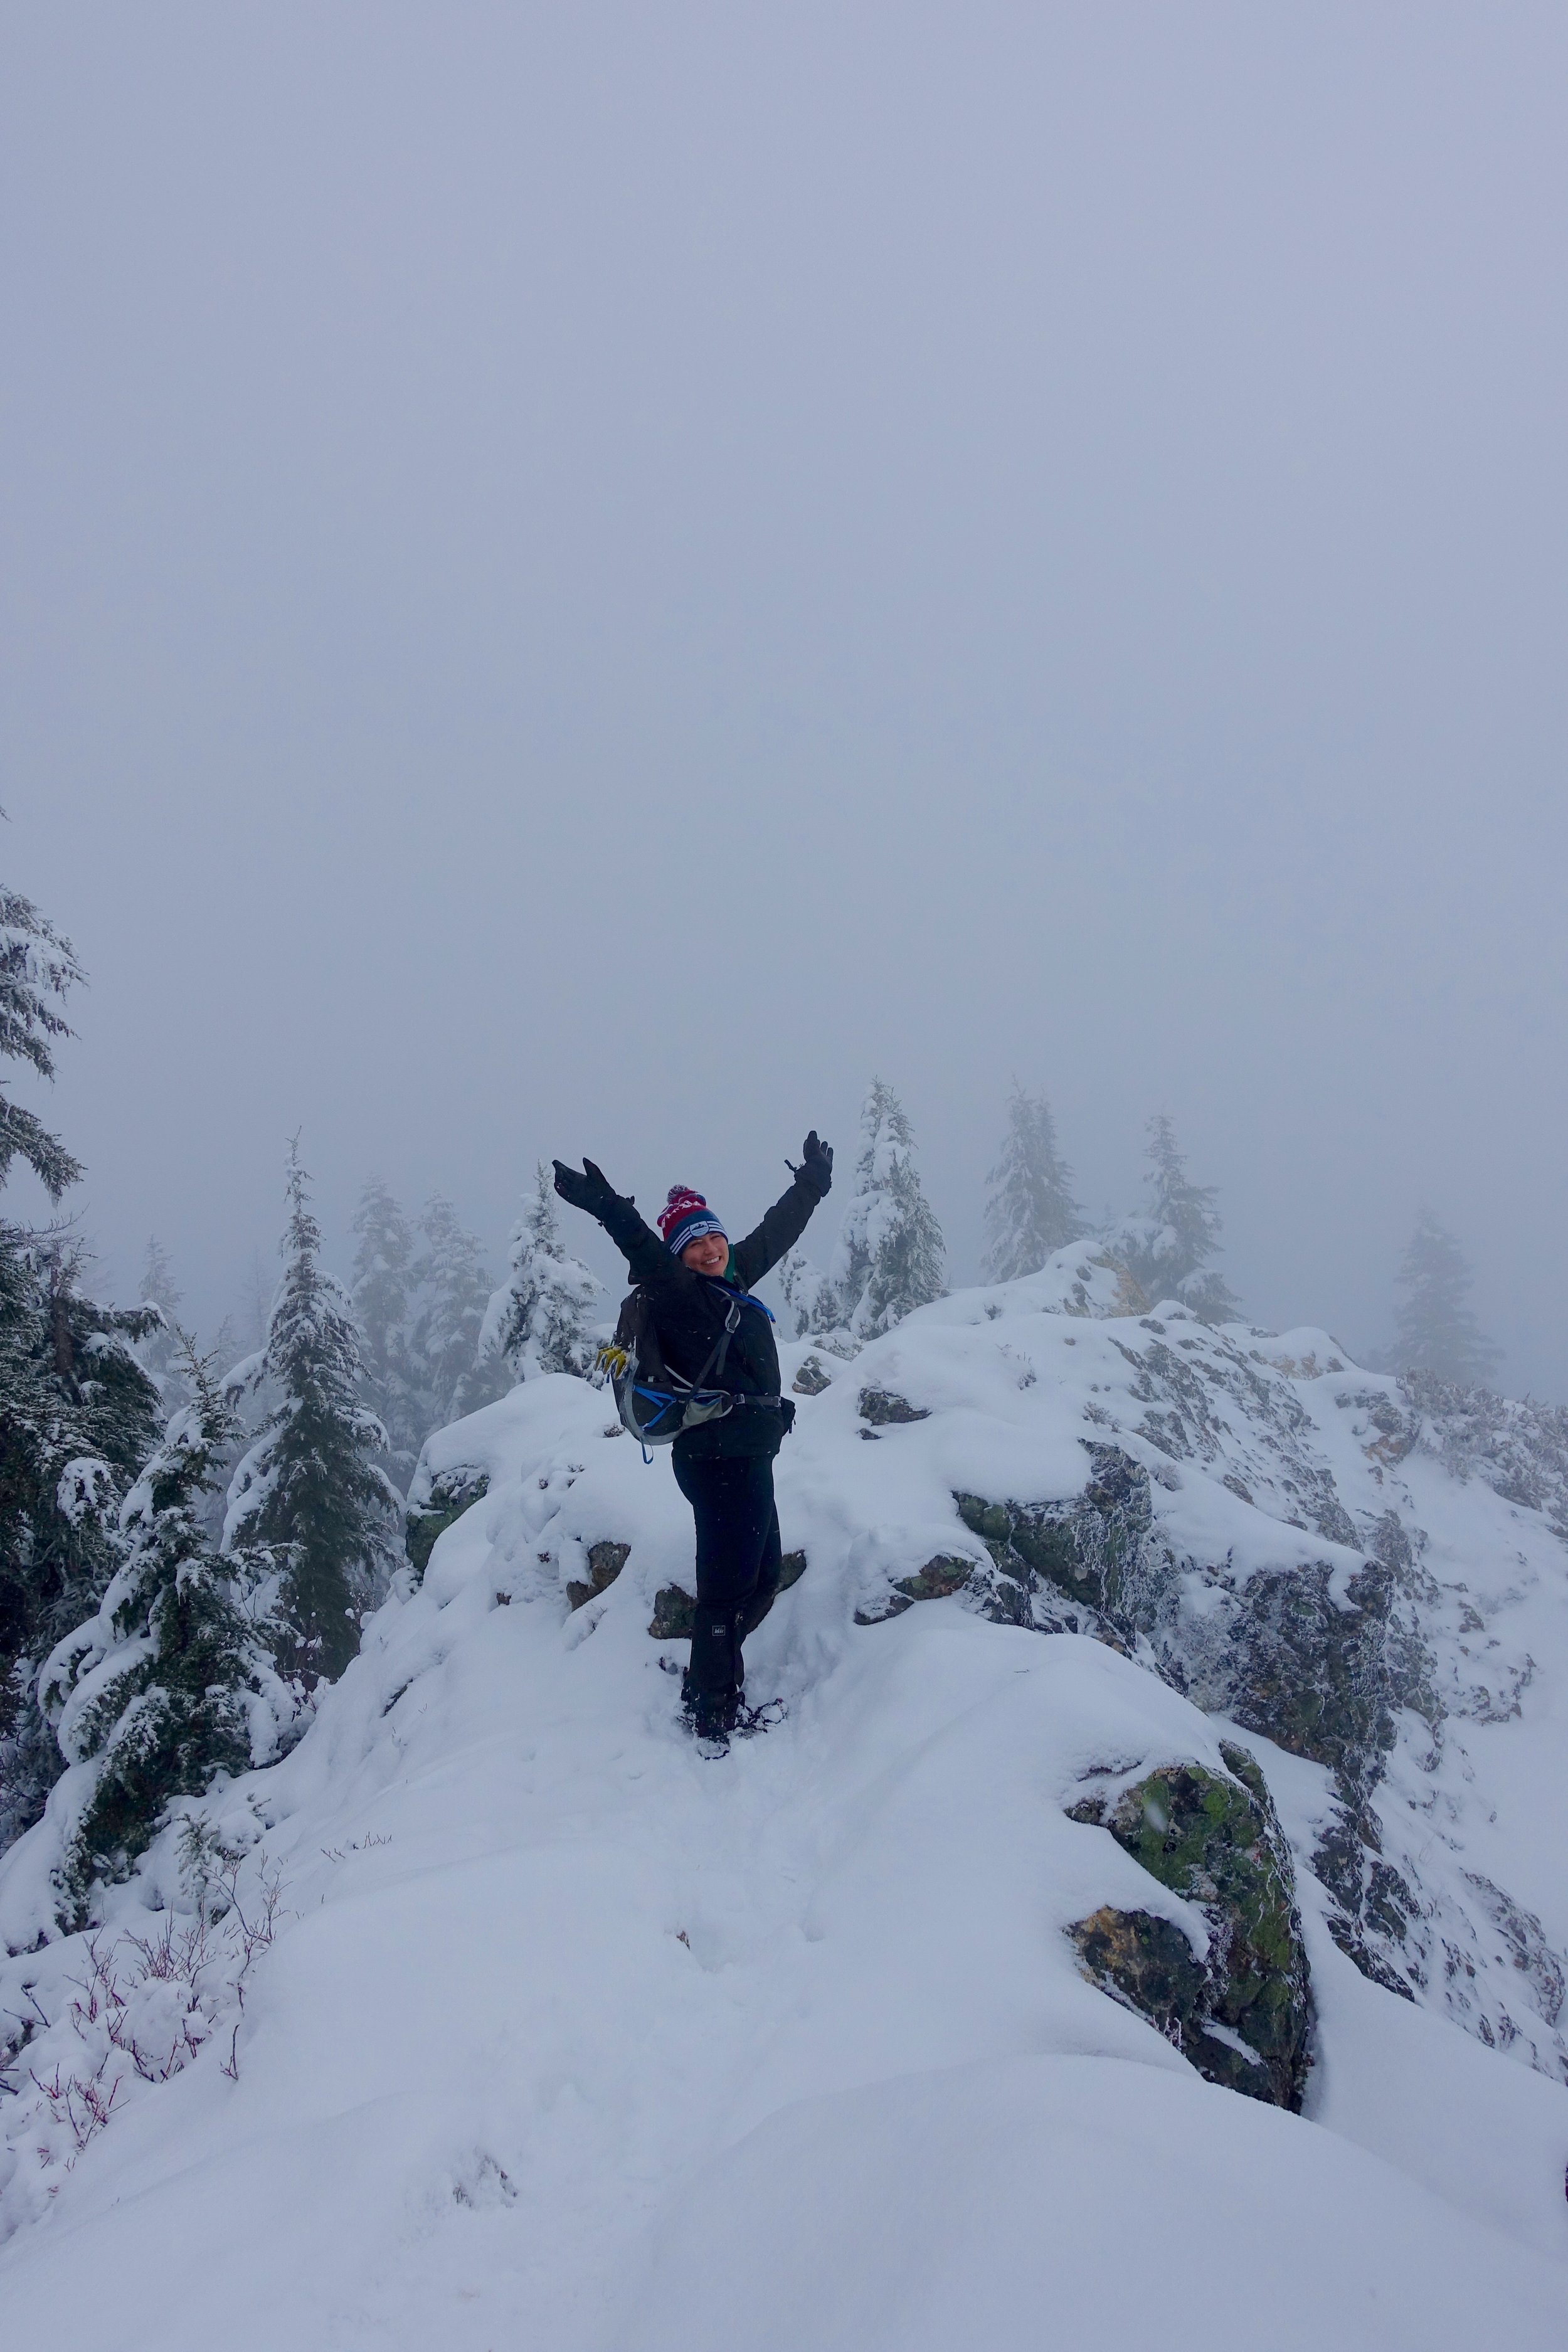
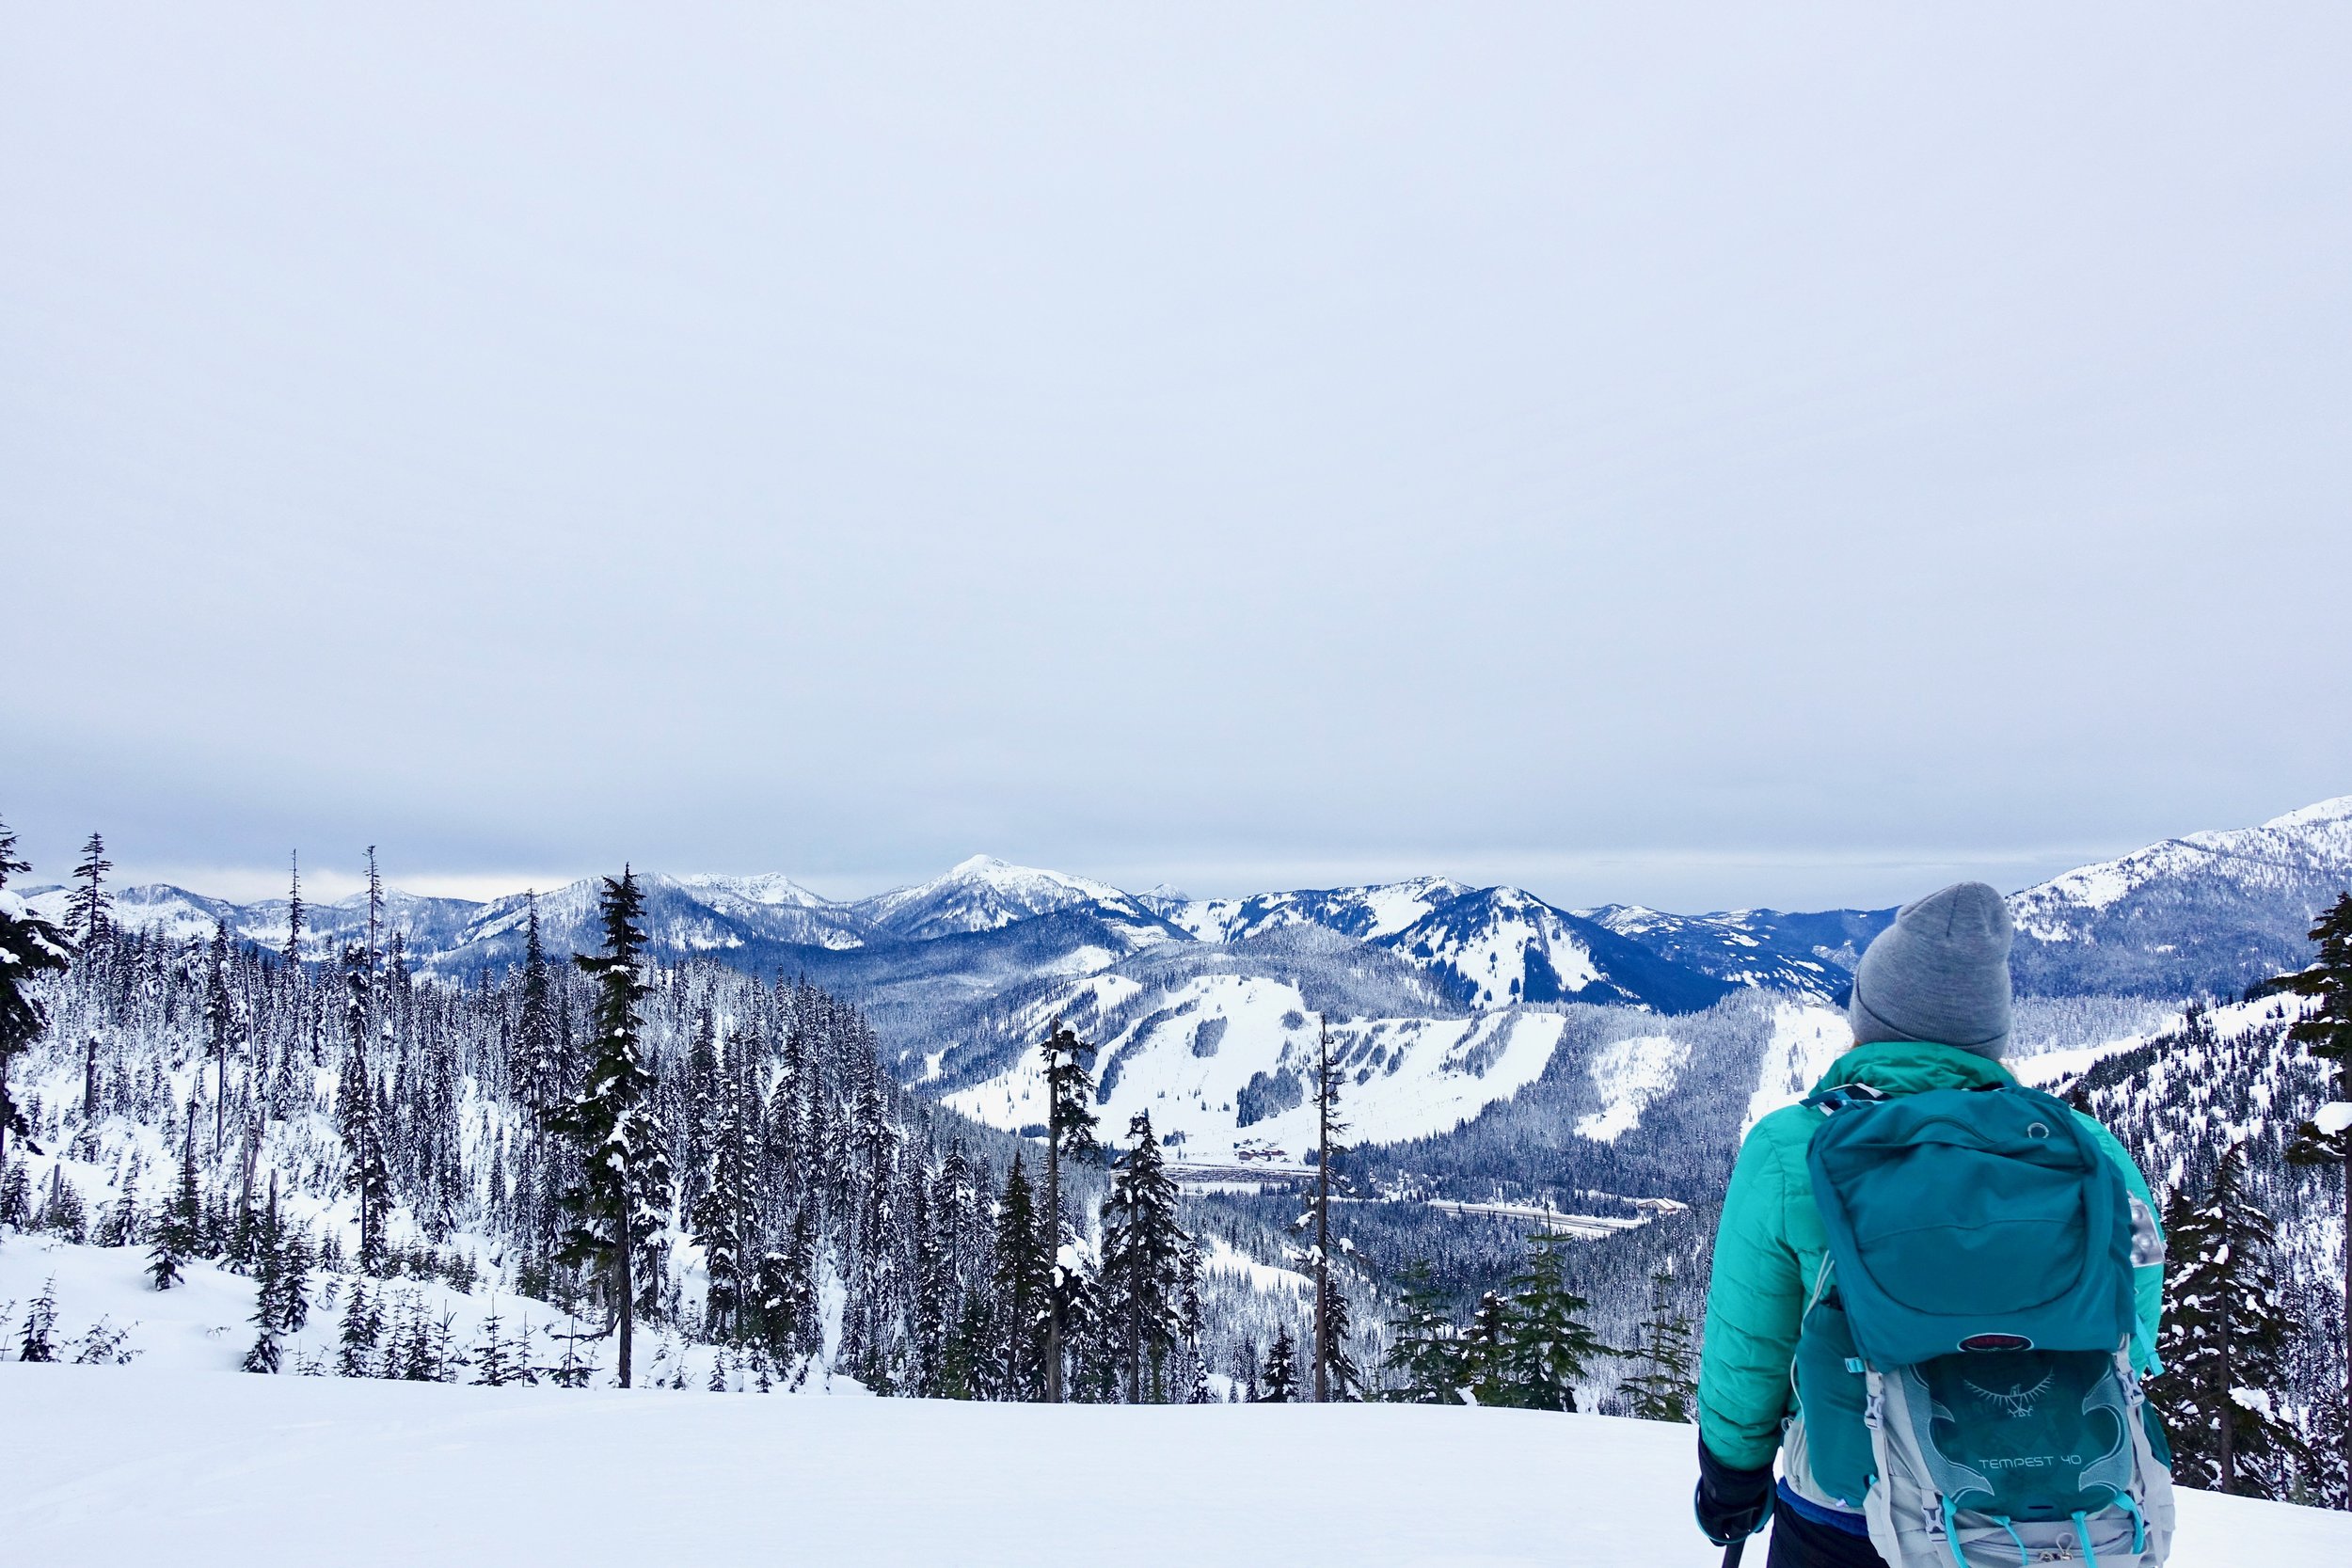
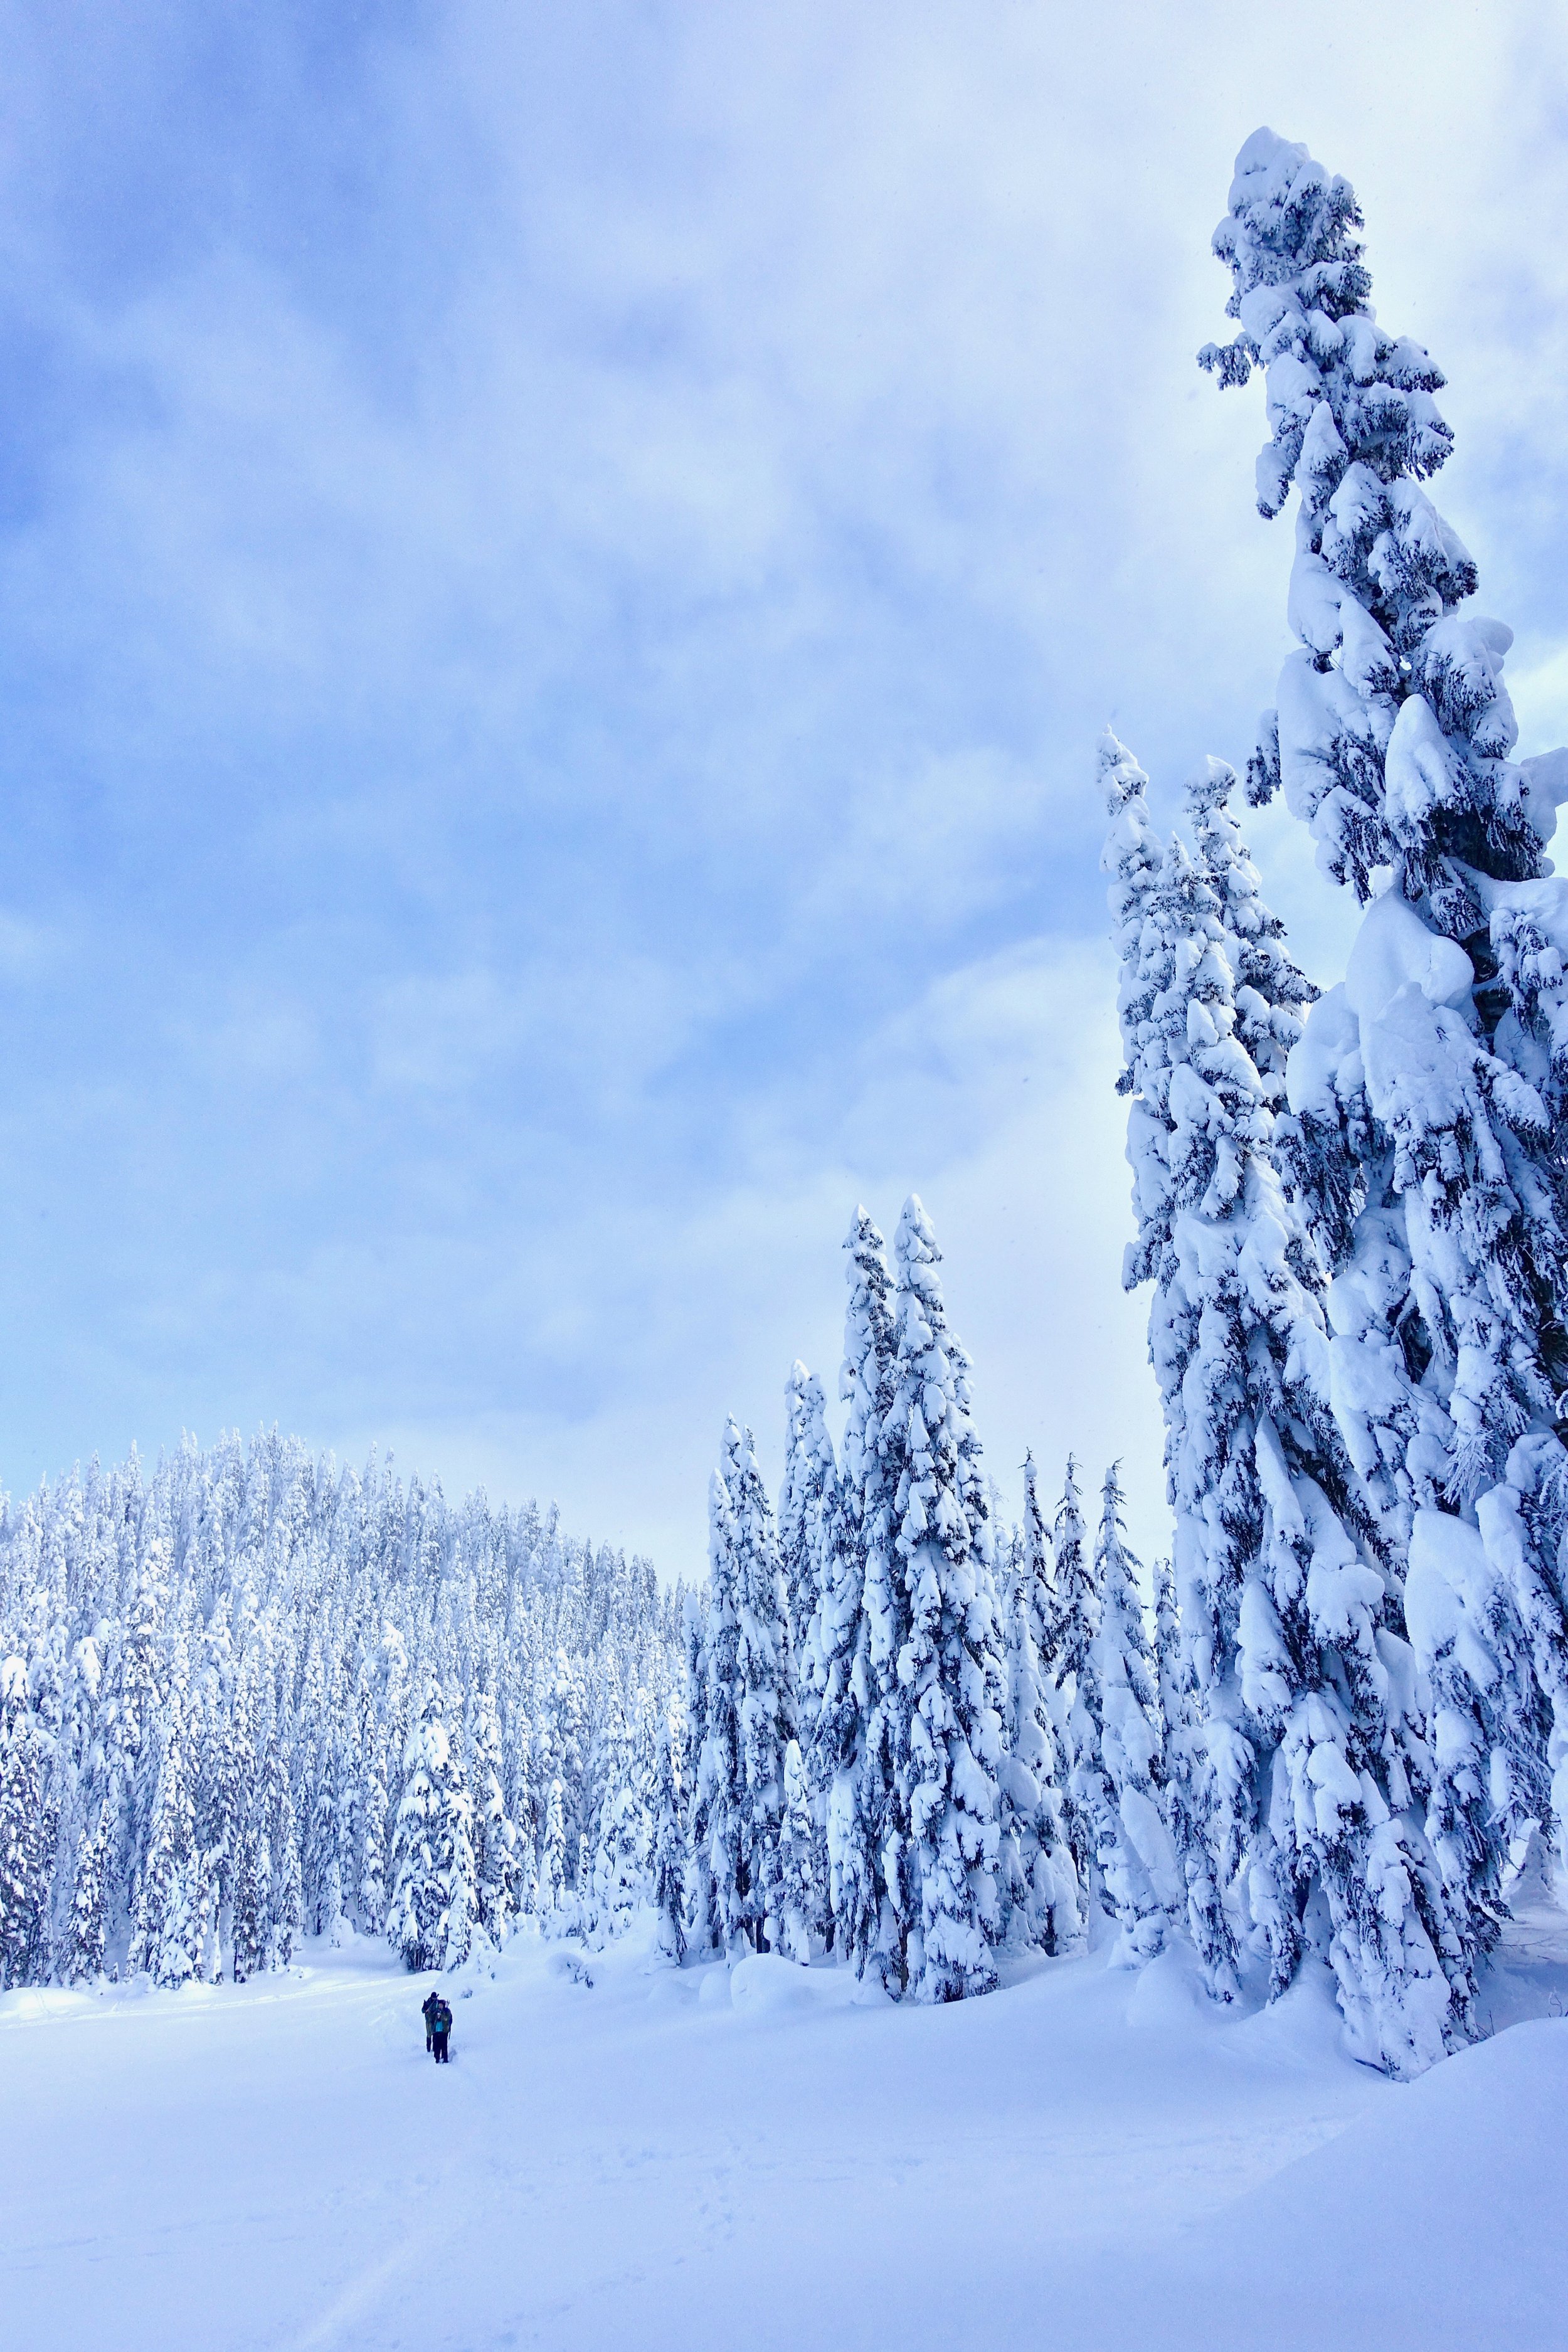
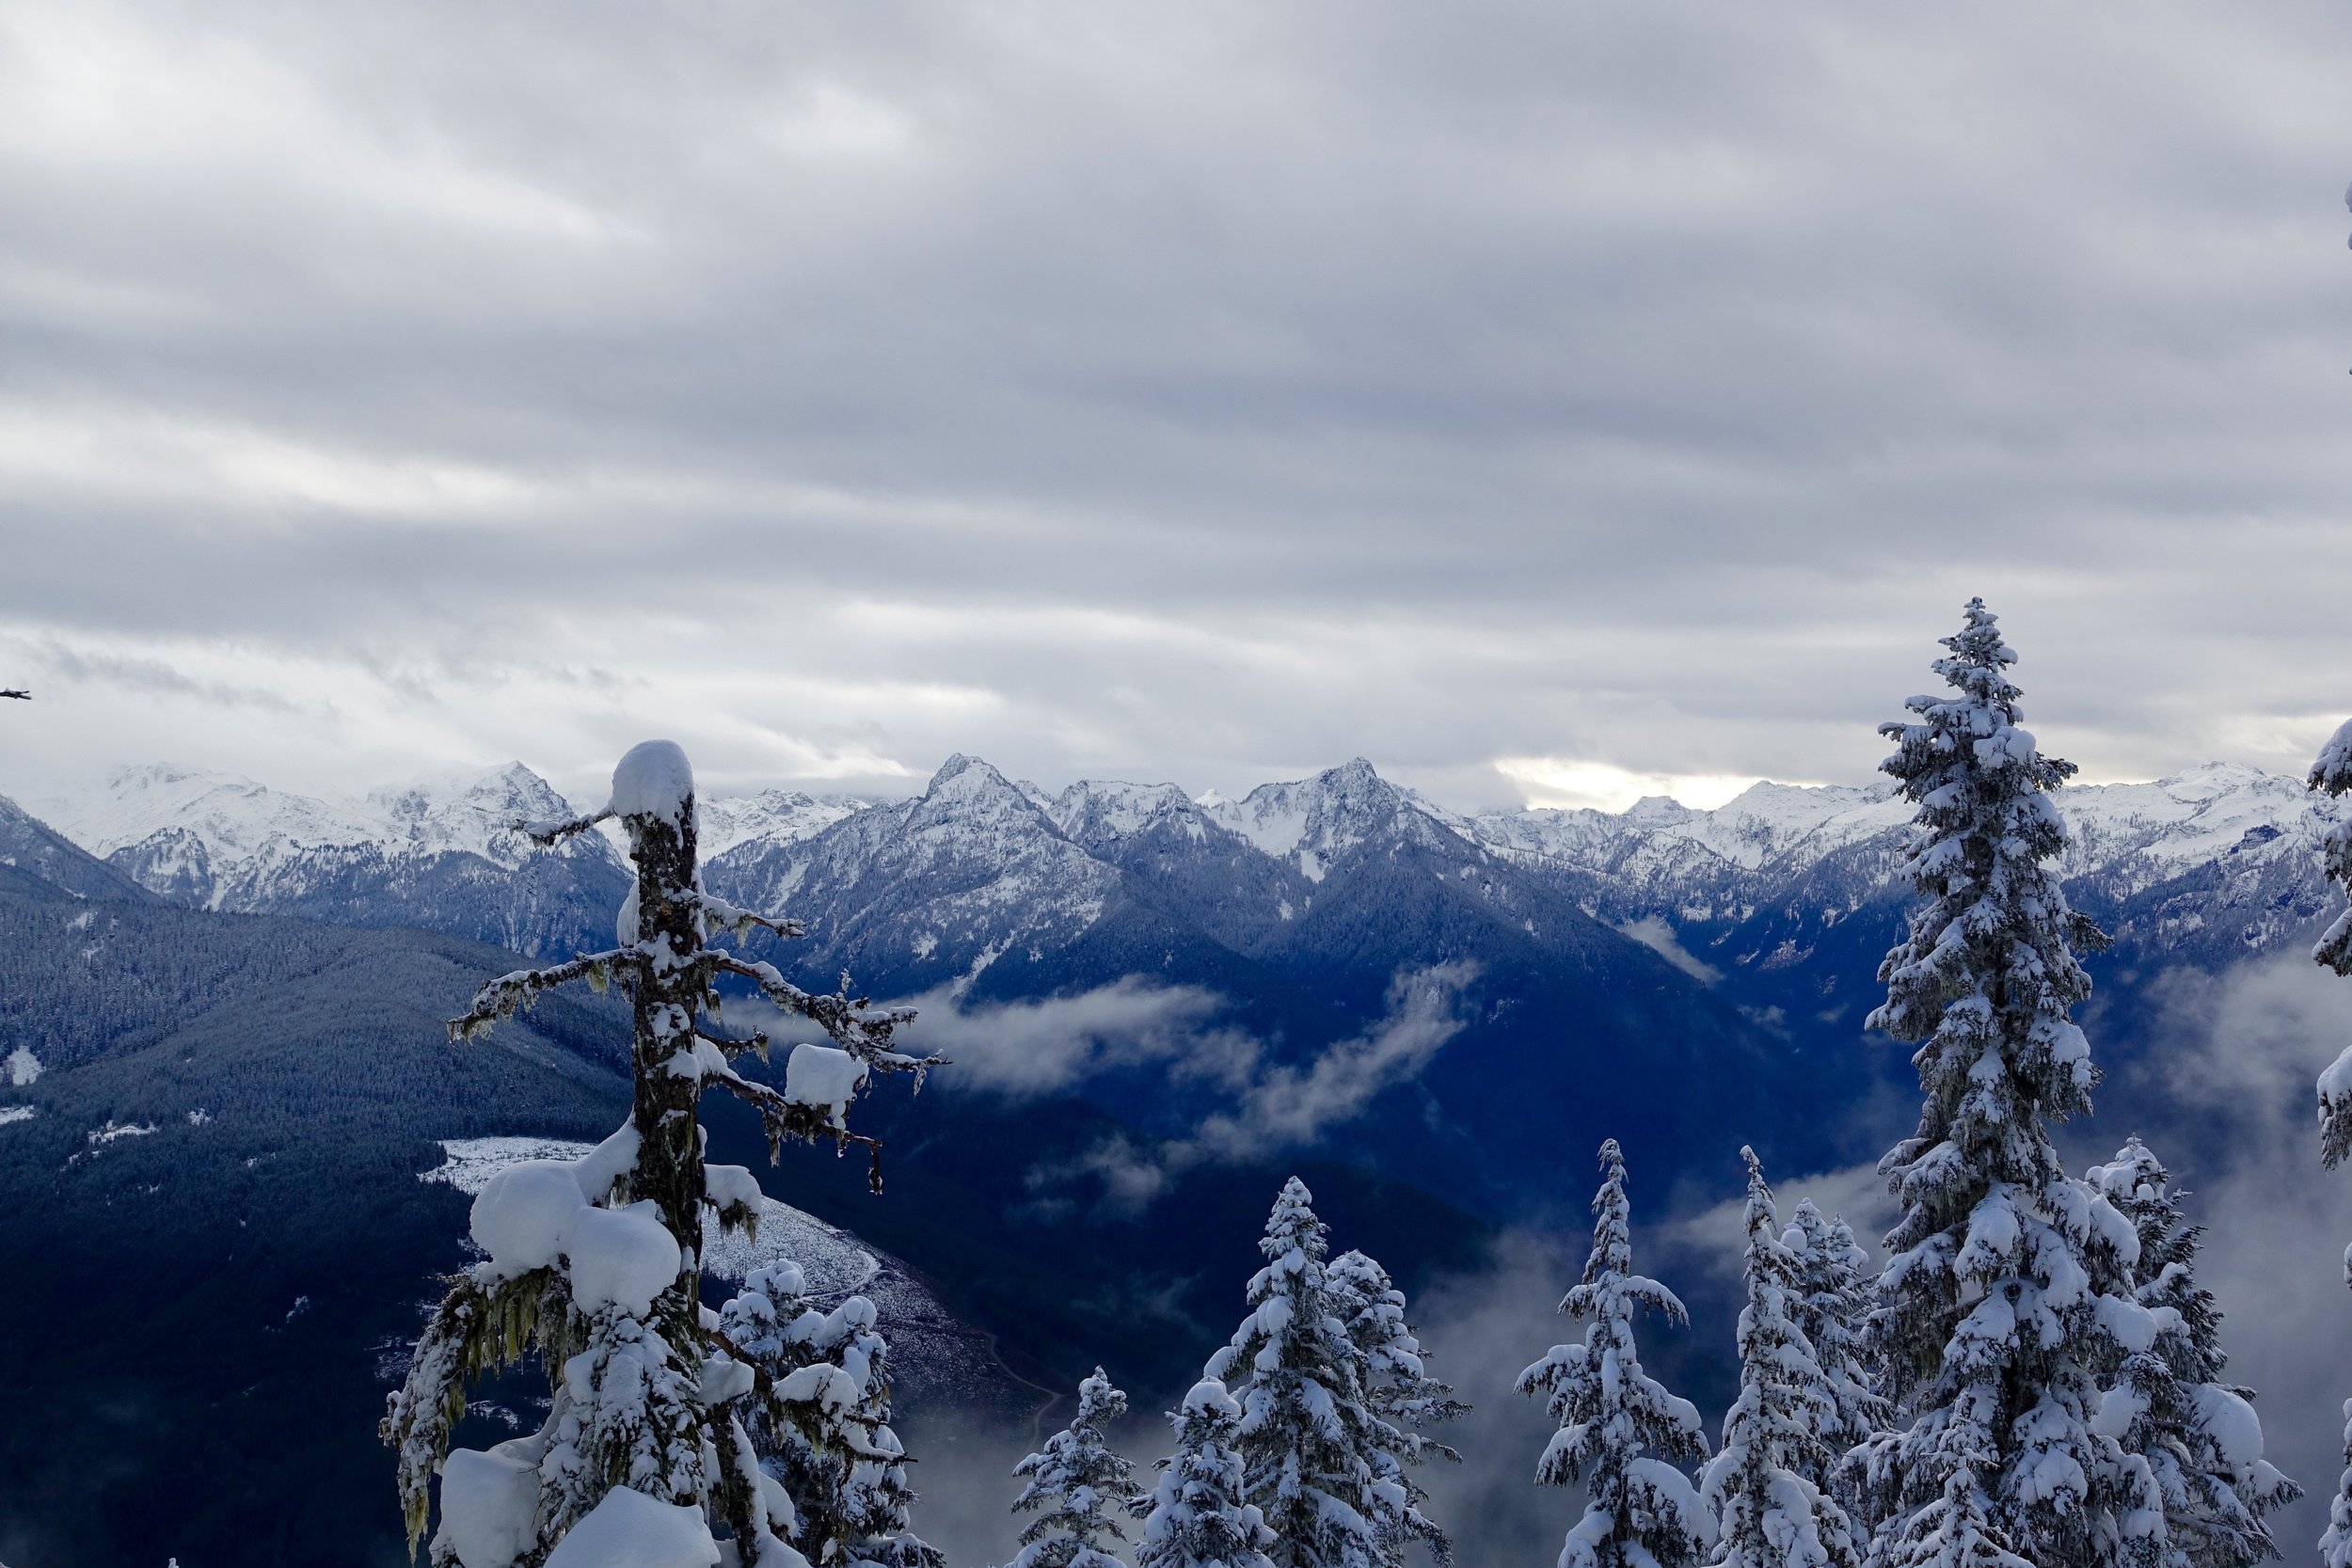
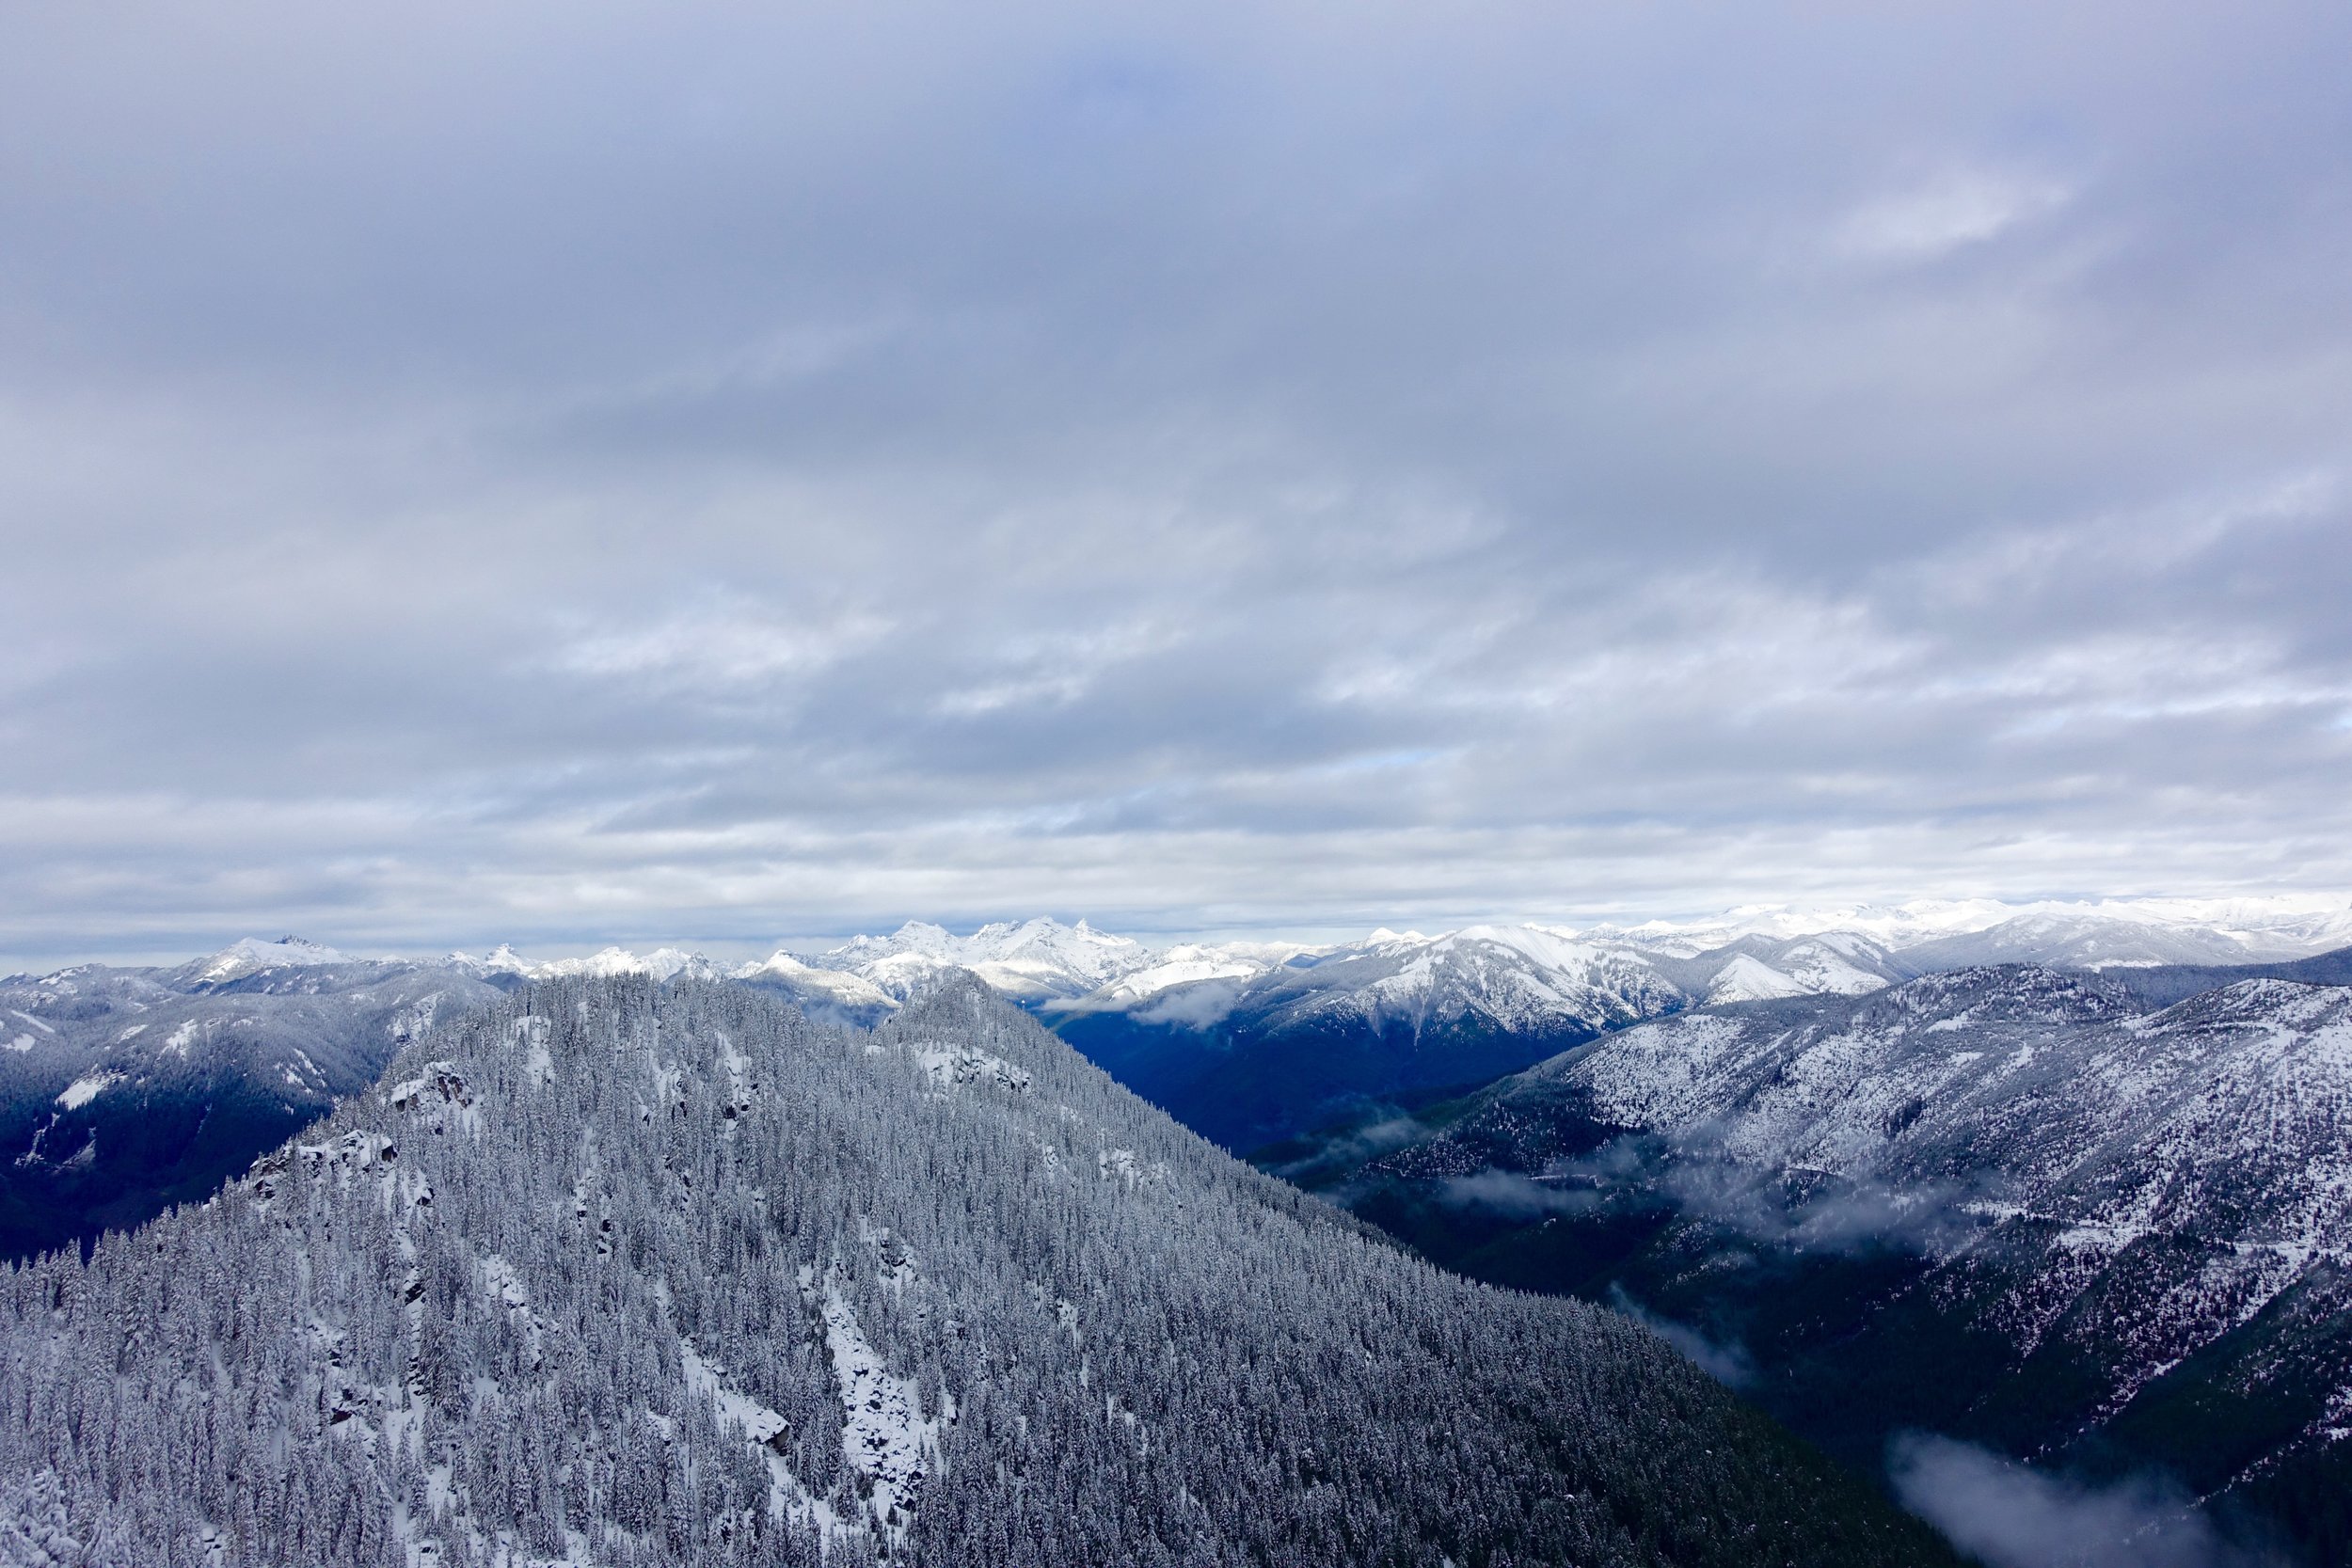
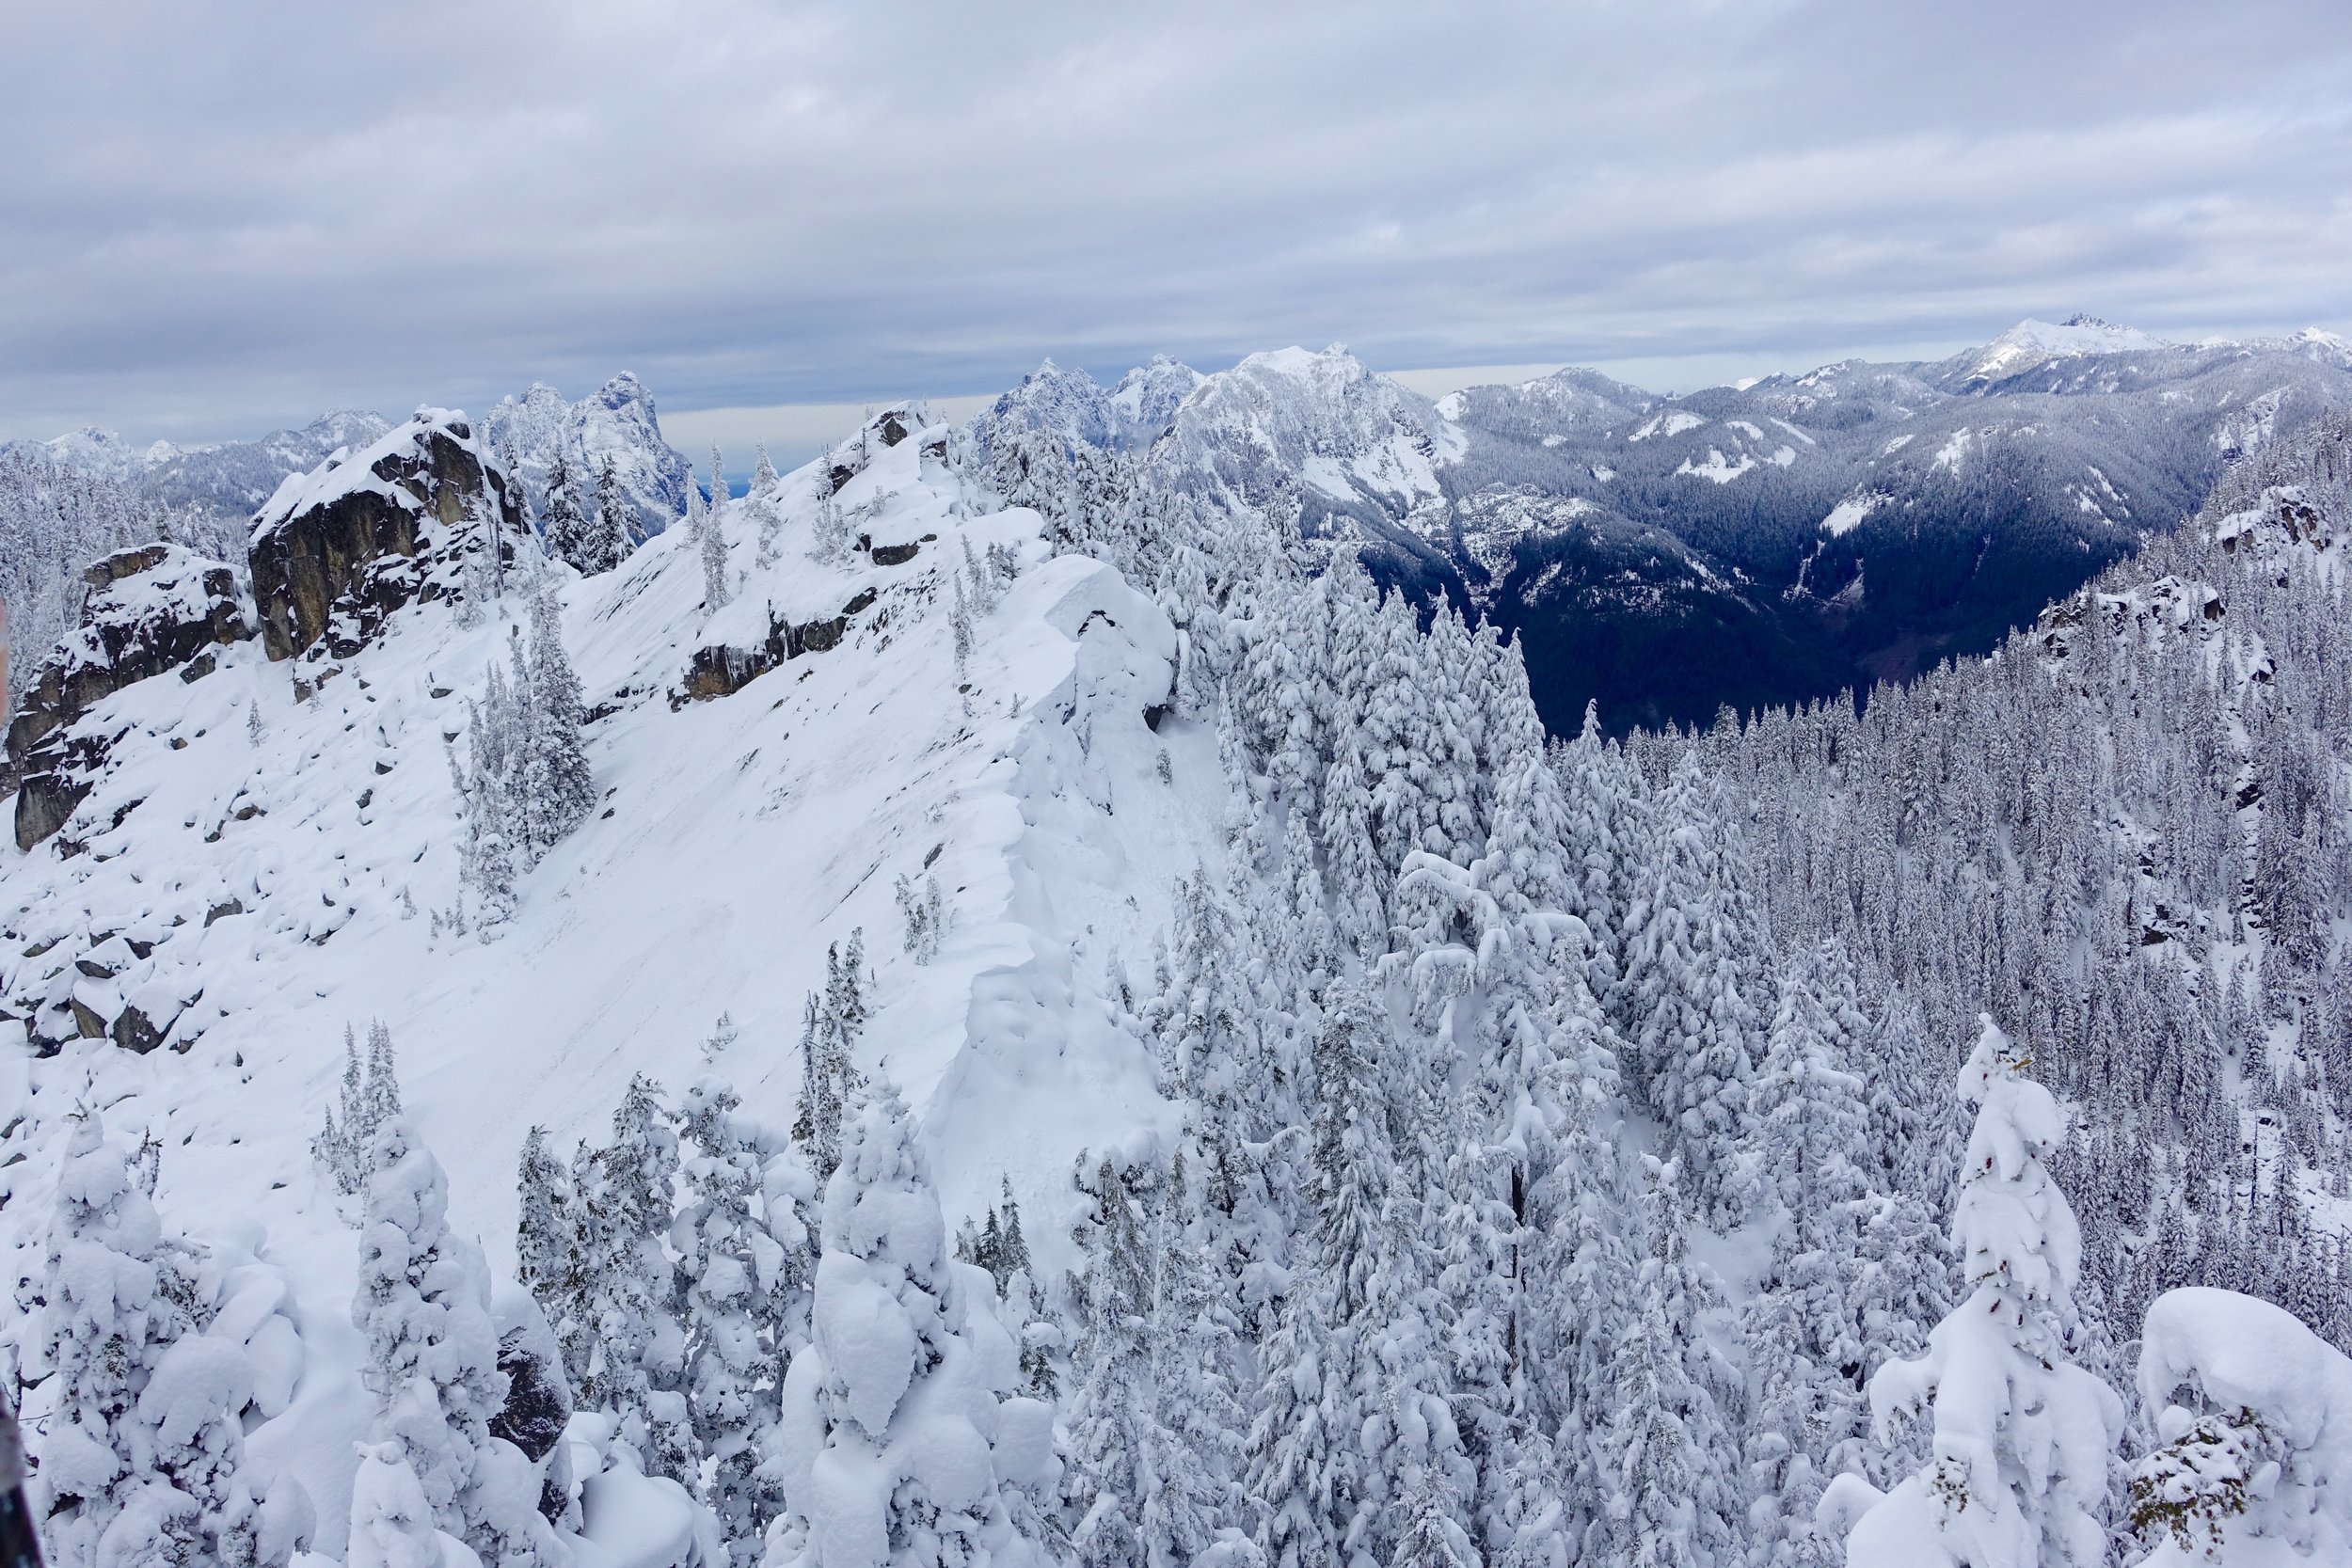
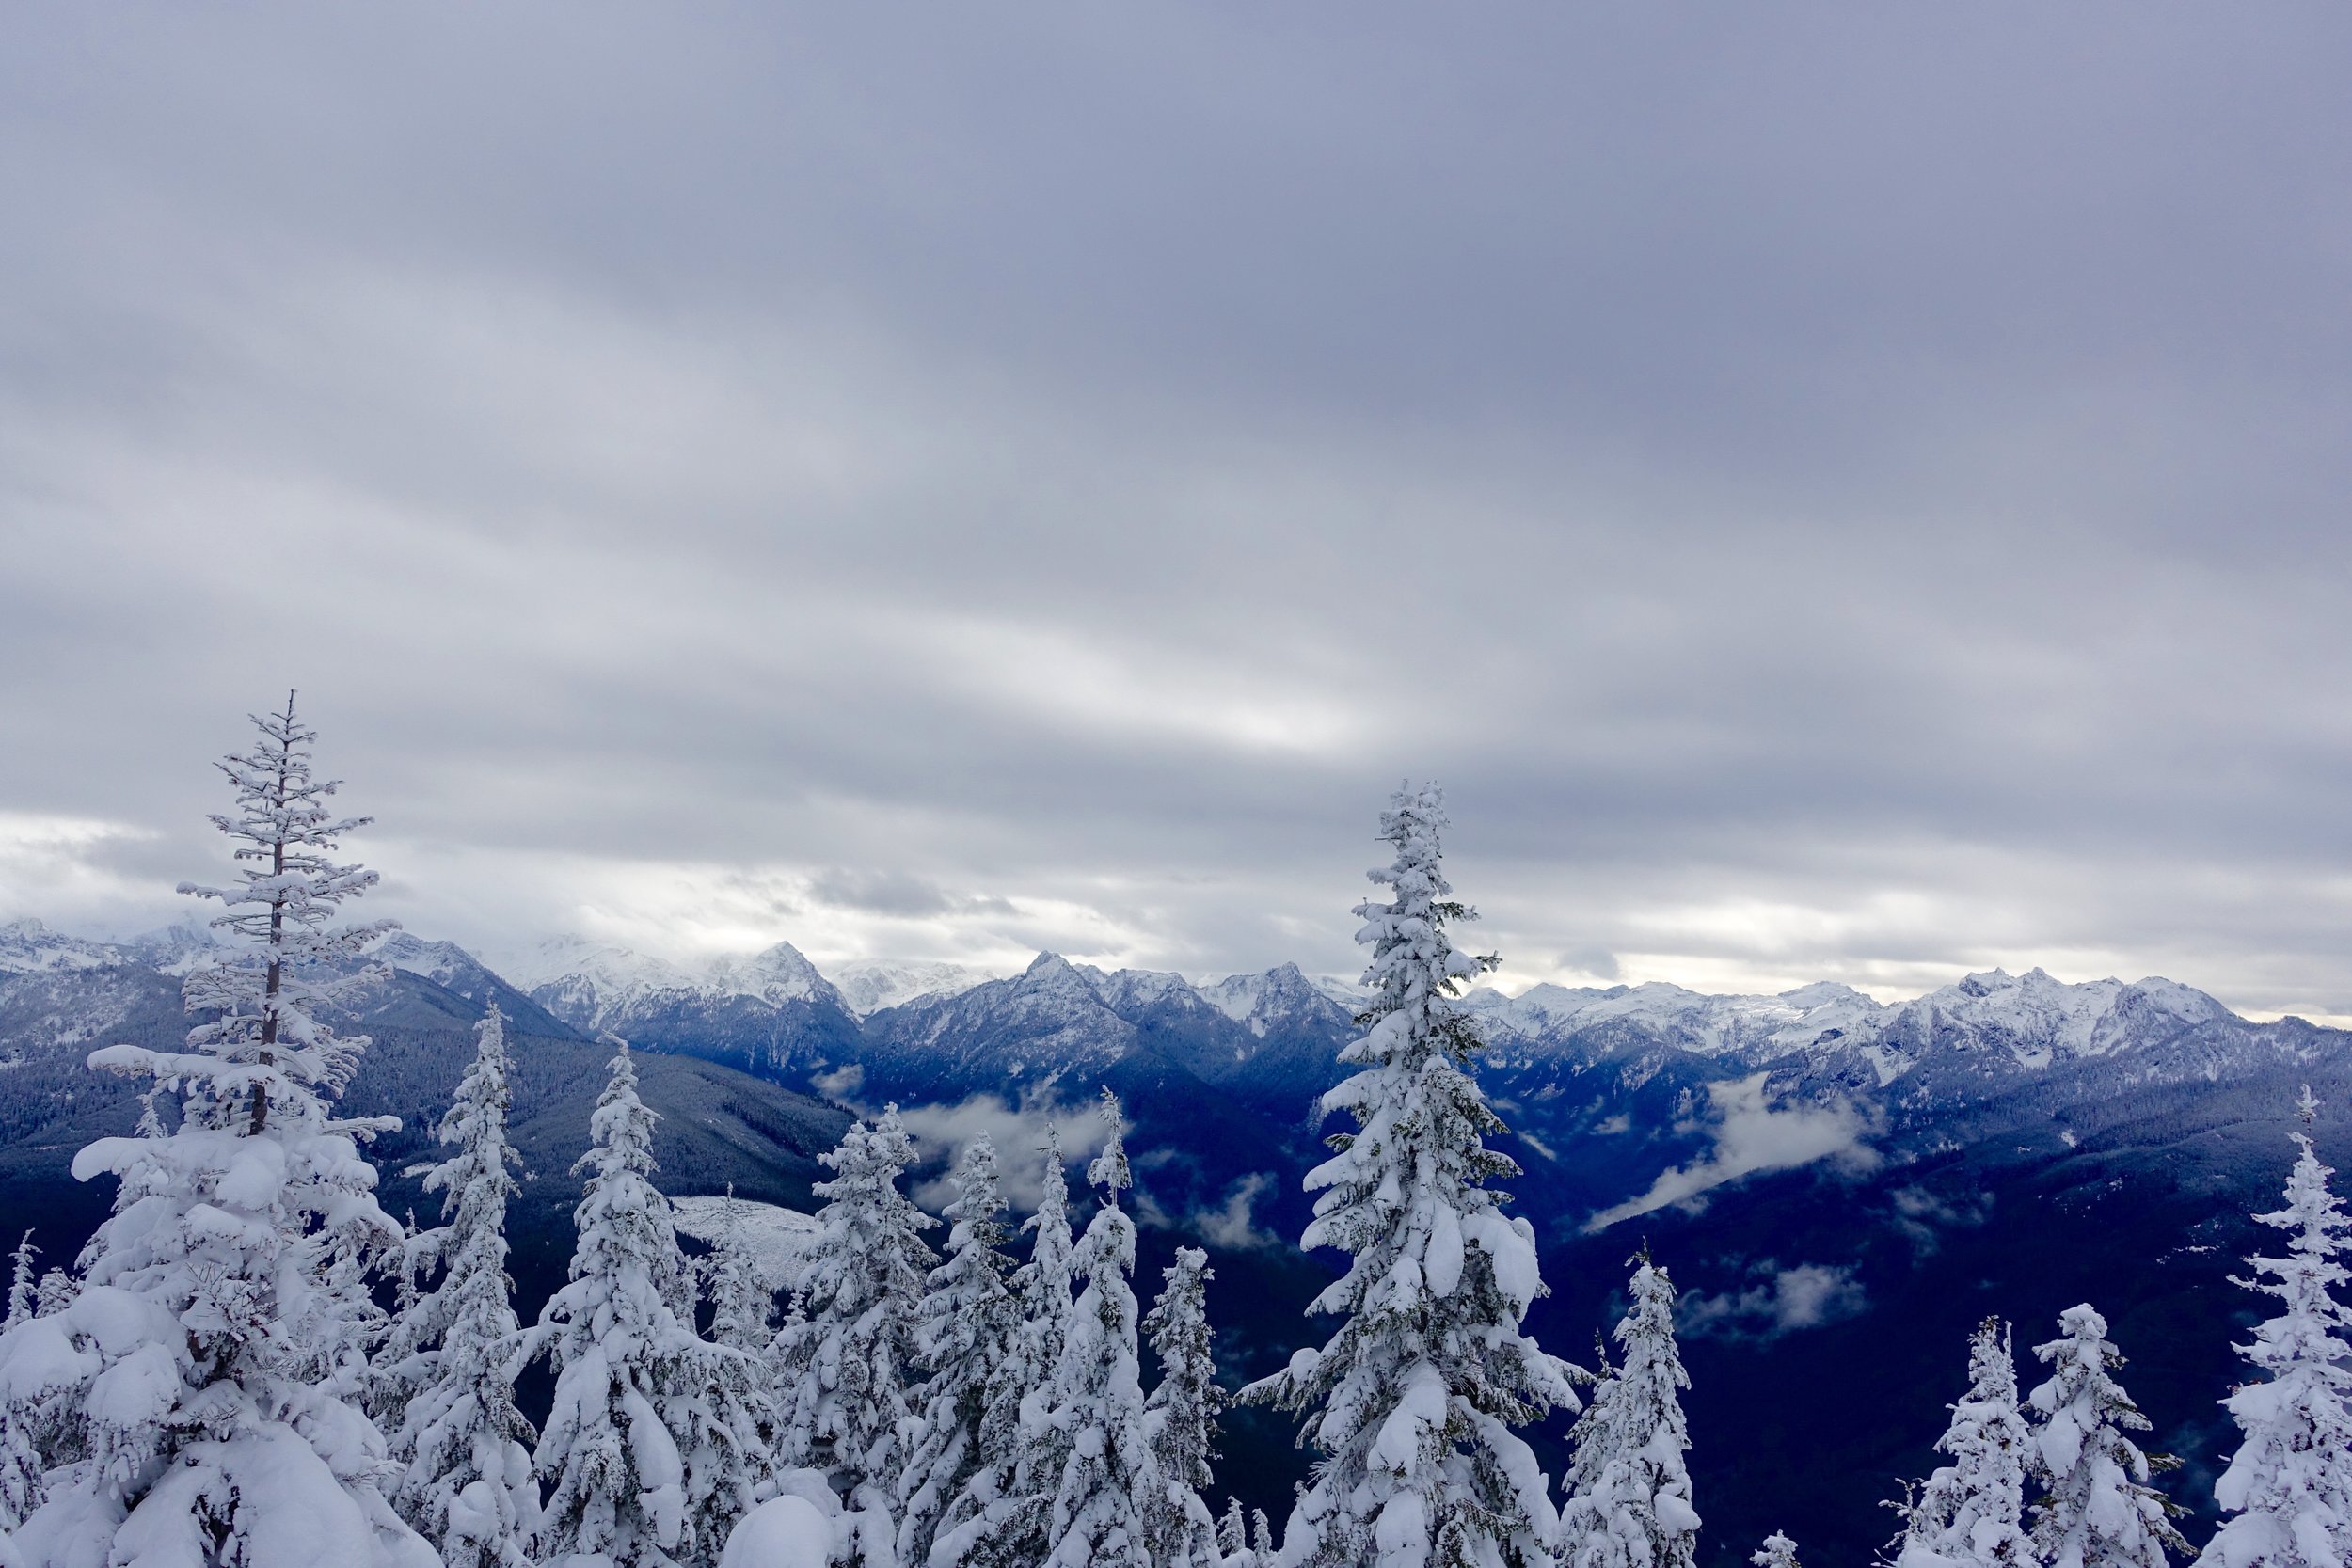
Beckler Peak
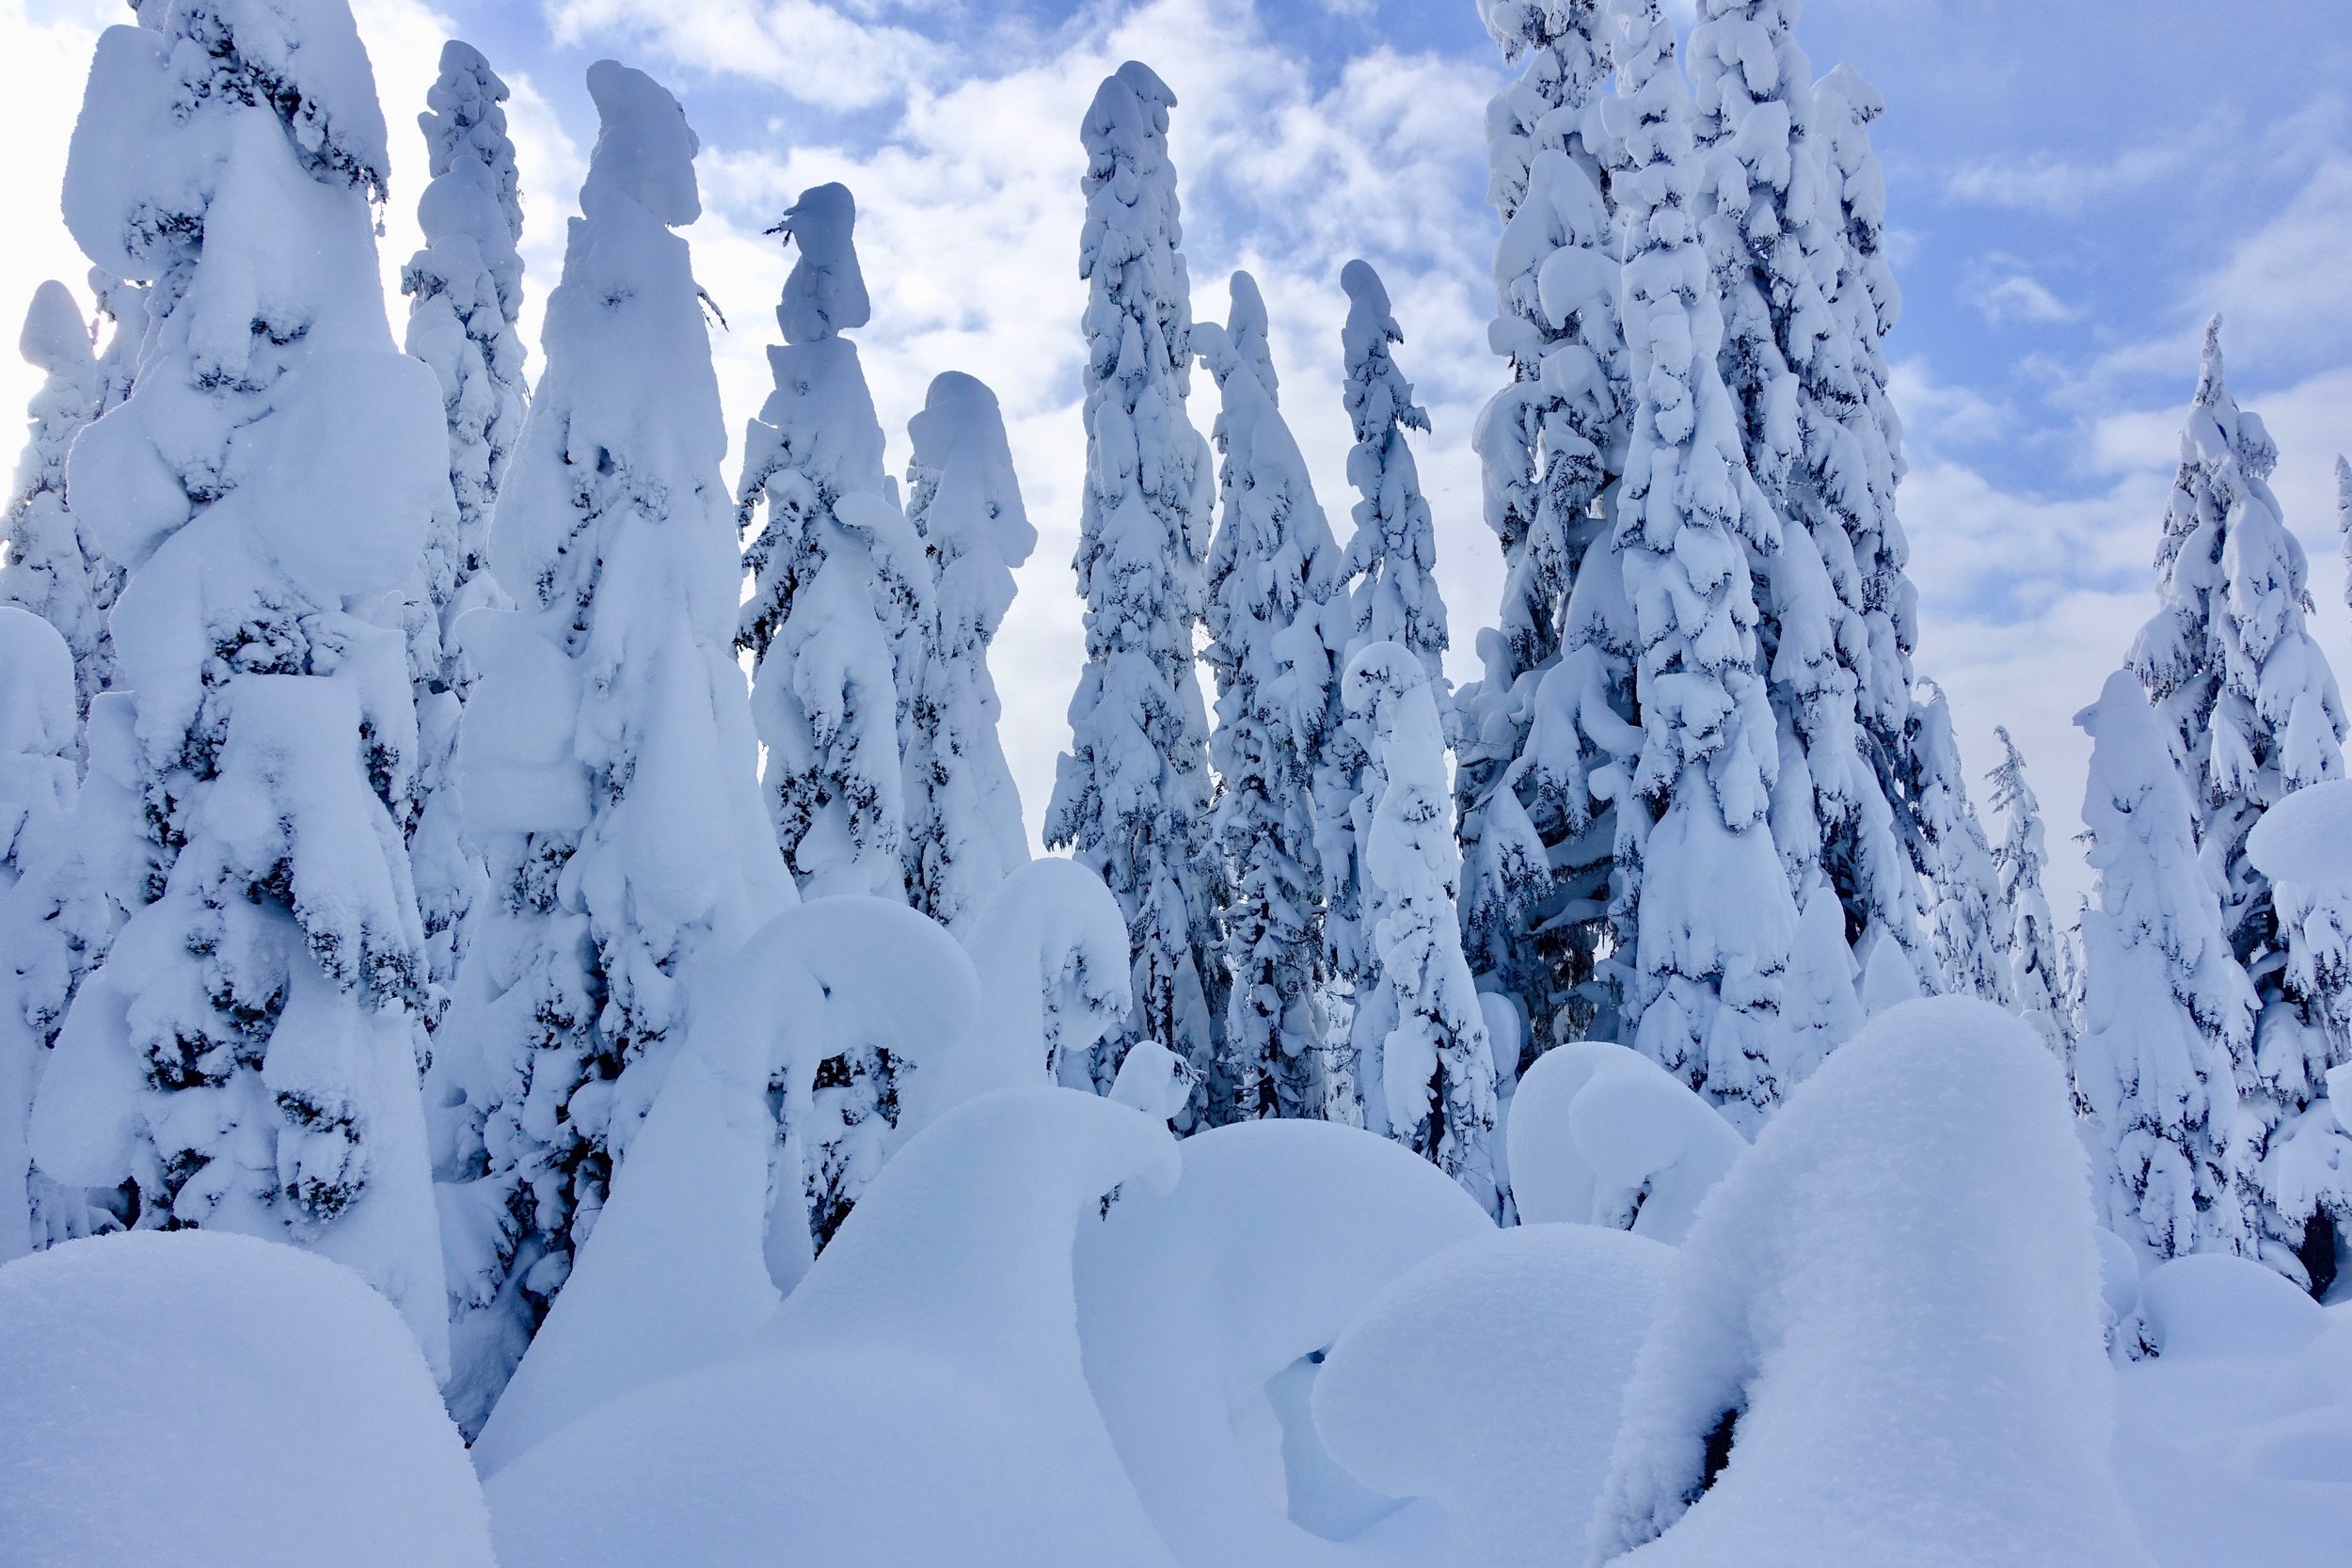
Mileage: 7.4/ EG 2,263 The day donned to opt outside.. by REI that is. I didn't need an excuse to go outside, but took advantage of the time nonetheless. My friend Caitlin and I had wanted to go to Colchuck lake to see the snow covered beauty, but a trail report a few days prior showed the road going up to it closed already. After that we thought about going to Artist Point to snowshow, but didn't want to drive so far. The first avalanche reports of the season came out the night before and the entire state was orange: which meant considerable. This meant that many hikes would be considered somewhat not safe with the conditions. Mt. Dickerman, which we were thinking of doing, was one of these. We opted for Beckler Peak as the conditions looked more safe. This was all decided at 10PM the night before. Gotta love winter hiking.
A side note about avalanches.. I knew absolutely nothing before going to an avalanche awareness class, which I recommend to anyone getting into winter hiking/ snowshoeing. The conditions can change fast day-to-day so it is important to check the reports to see where is safe to hike. Avalanches take many lives each year here in the PNW, so it is something to take very seriously. I would love to get my AIARE certification sometime.
The road leading up to the trailhead was in really good shape, for a change. We started hiking at 10 and saw a group already coming down, thanks for breaking trail for us! We brought our snowshoes with not sure if we would need them, but the boot path was compact enough to not need them. The hike was a good, consistent climb the whole time. Blue skies even peeked out above the white snow which was a beautiful contrast. The end was a hard climb to the very top. There was lots of snow at the top (probably 3 feet or so). The top gave views of snow topped peaks for as far as the eye could see. I have never felt snow was so beautiful as I have here in Washington. We sat up there for a long time with our ramen and hot cocoa. The trek down was fast and we were back to the car in no time.
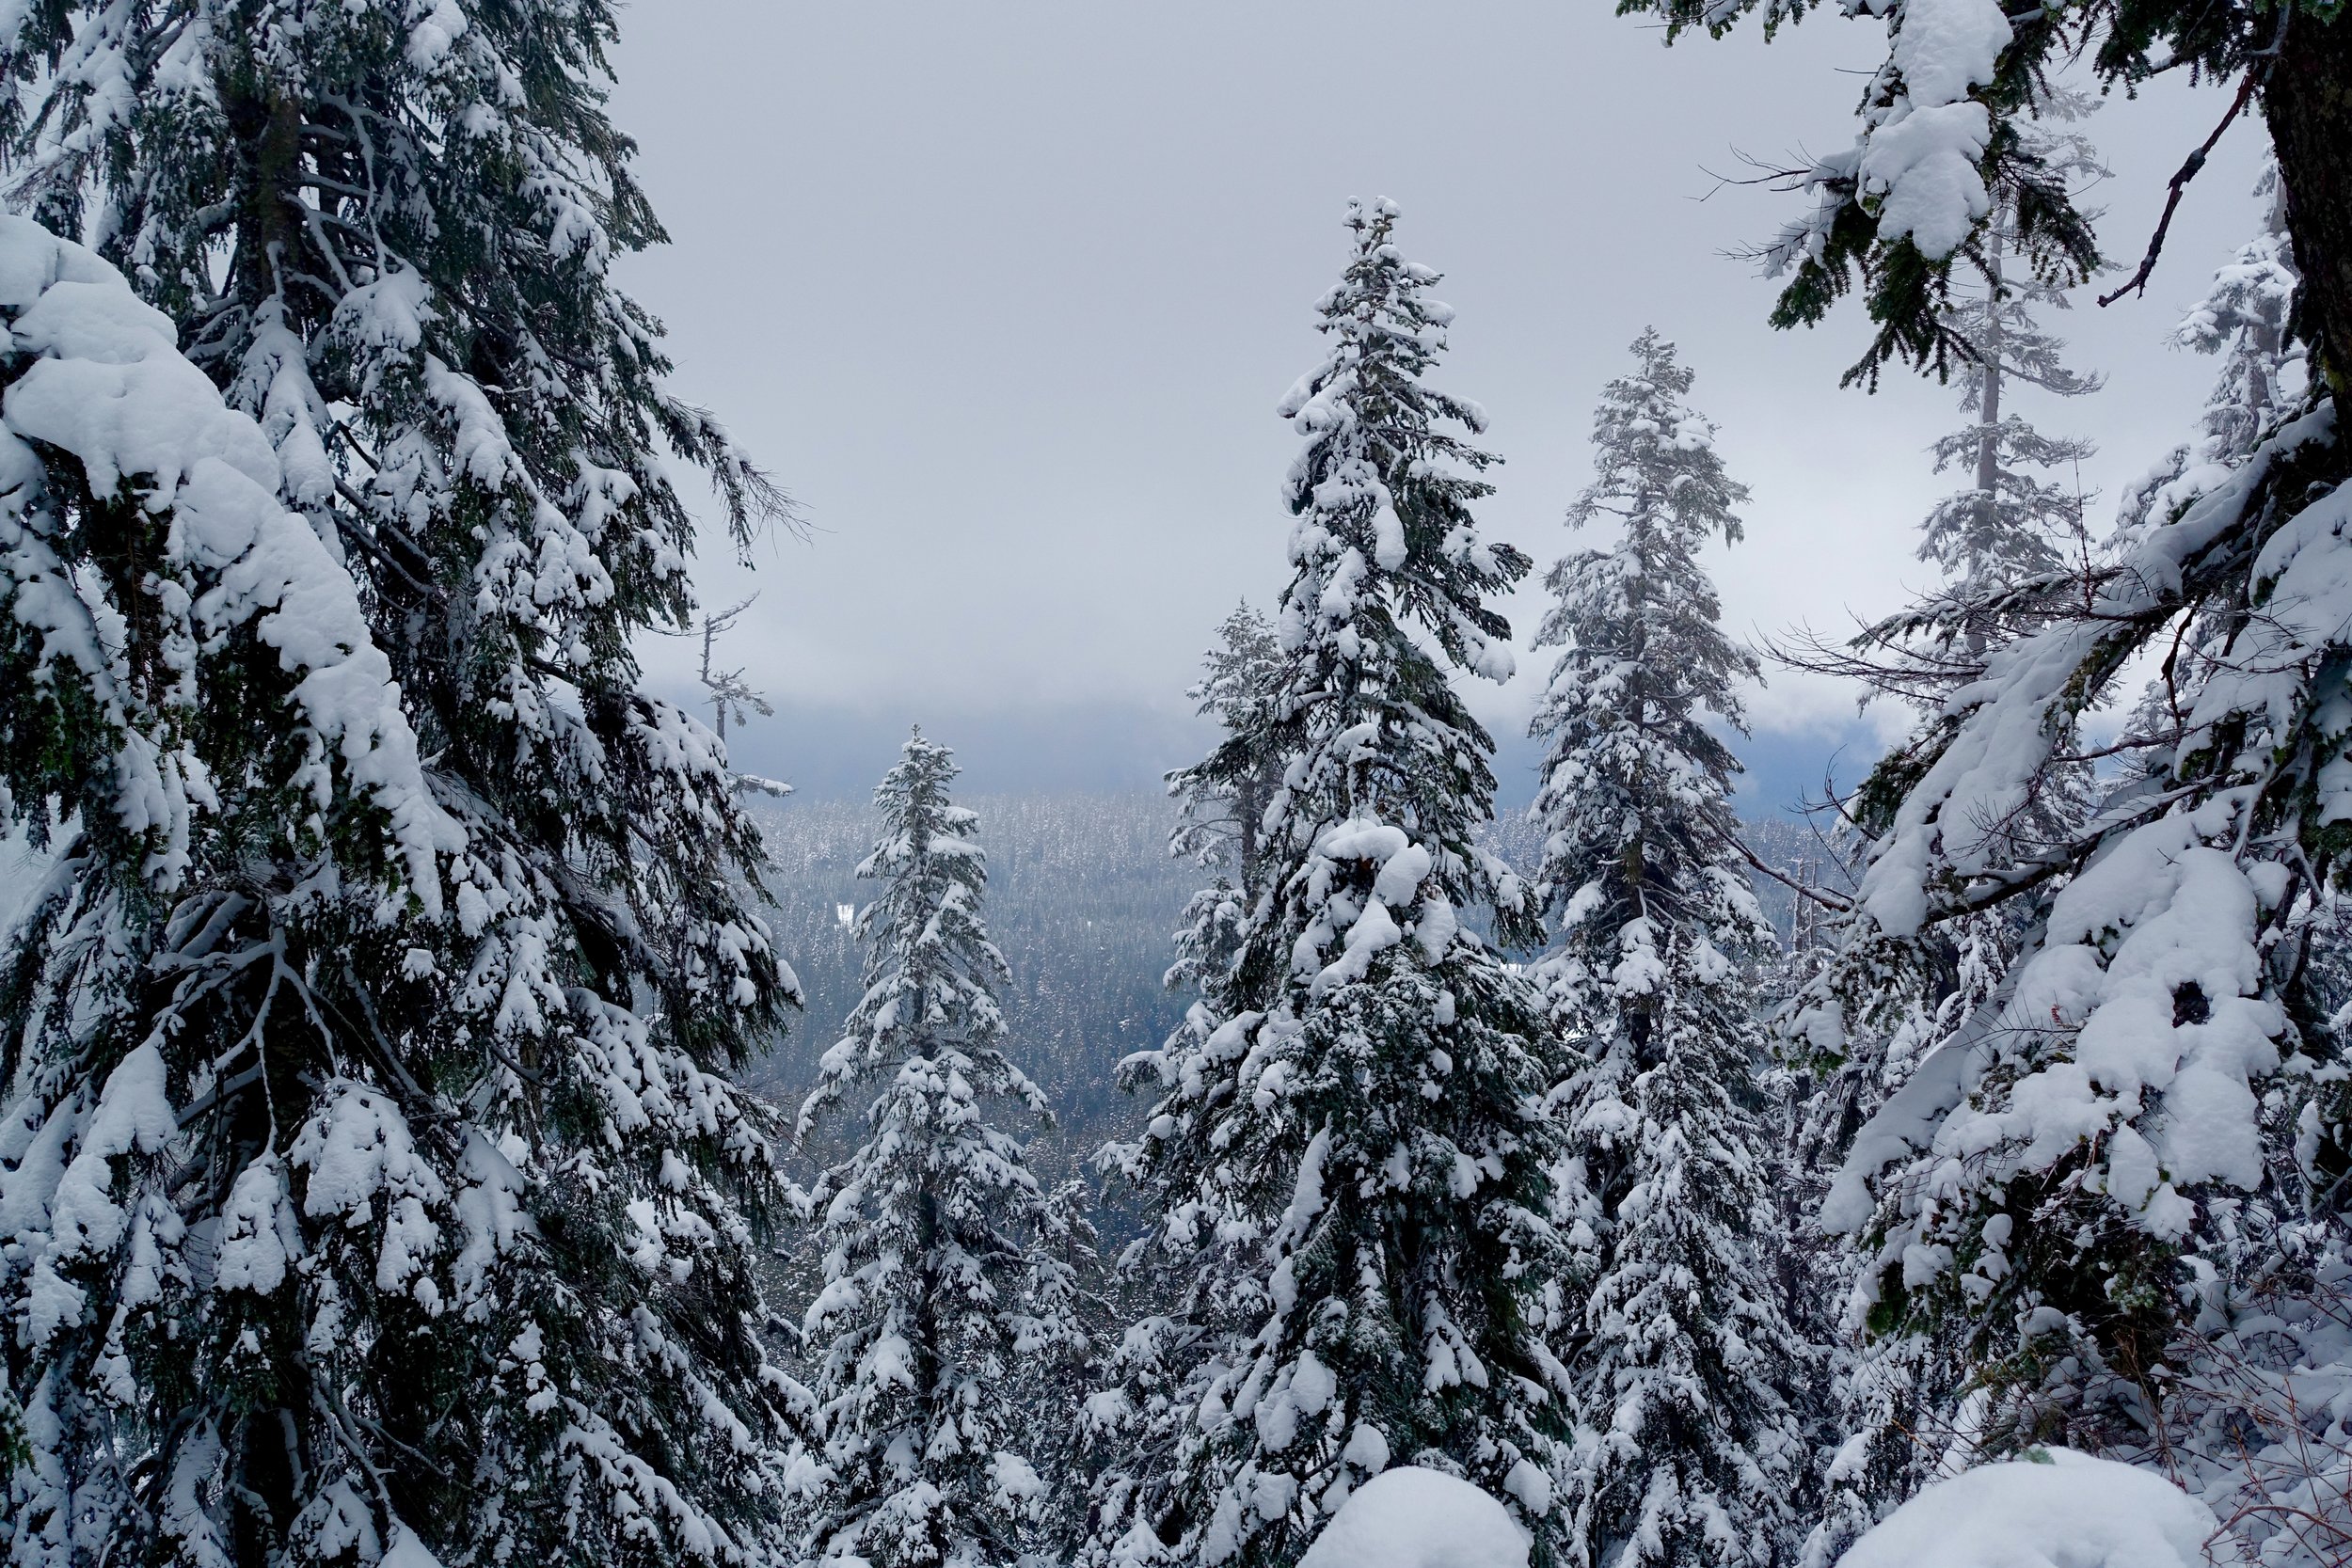
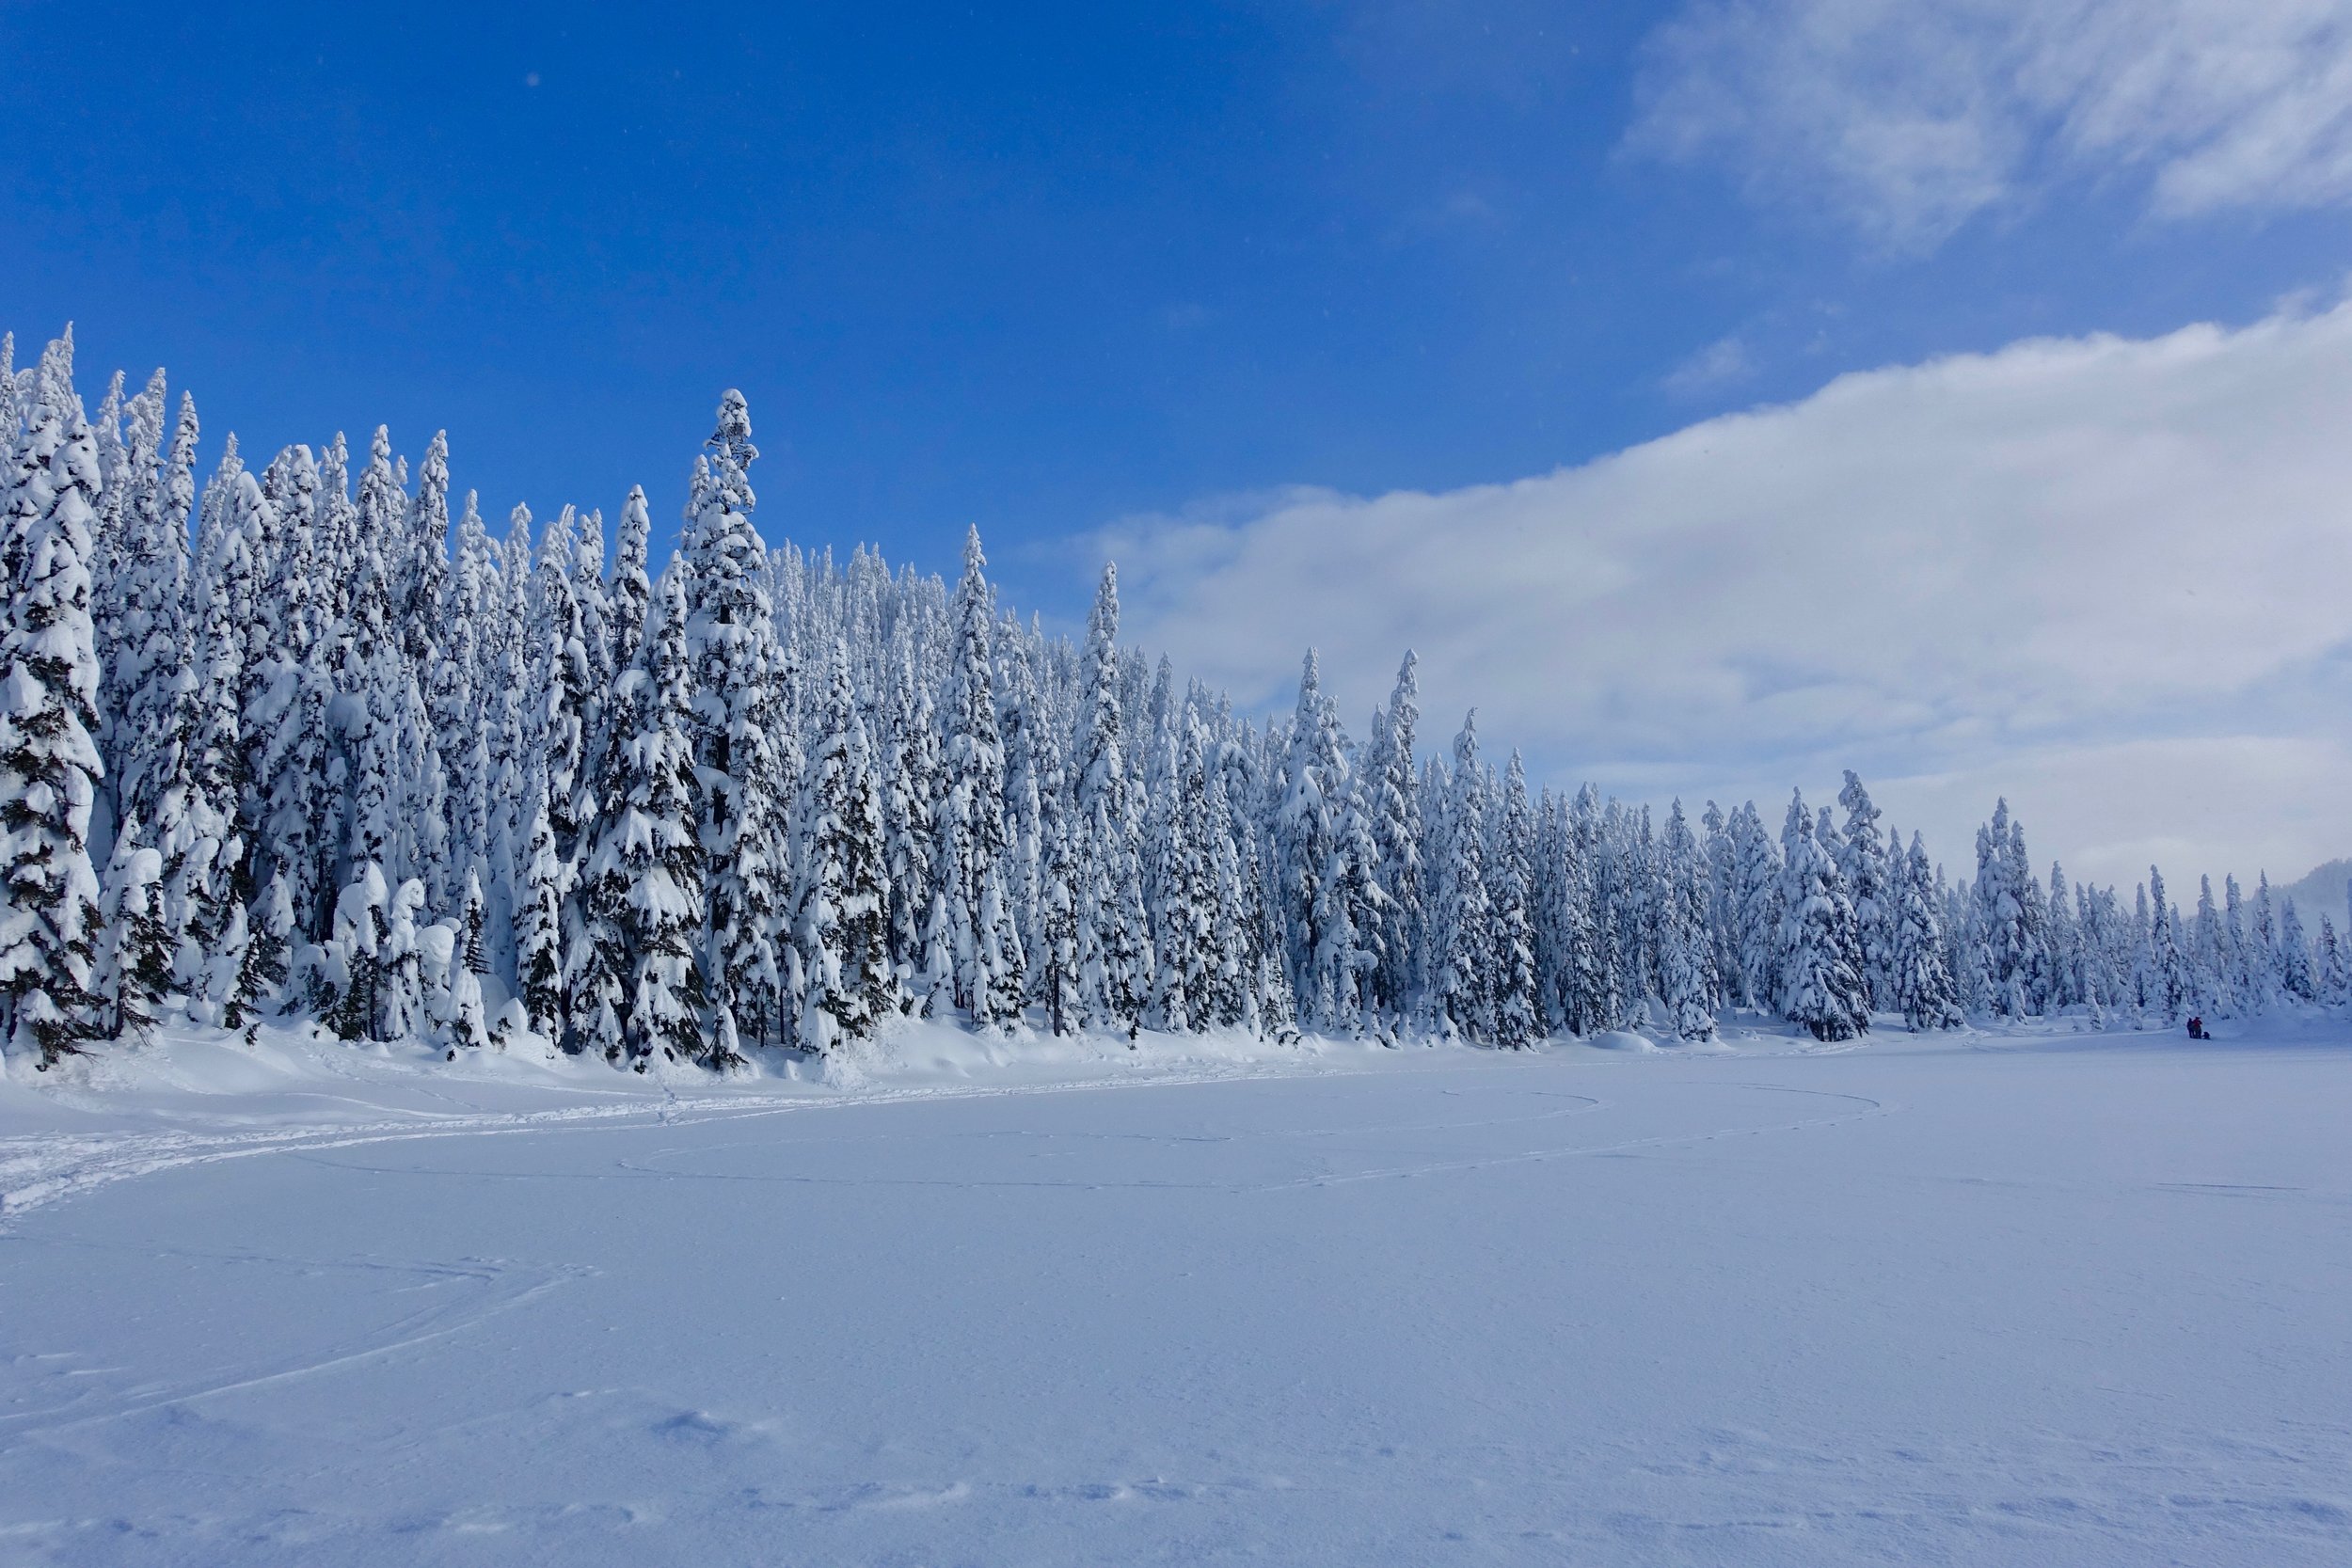
Lake Valhalla
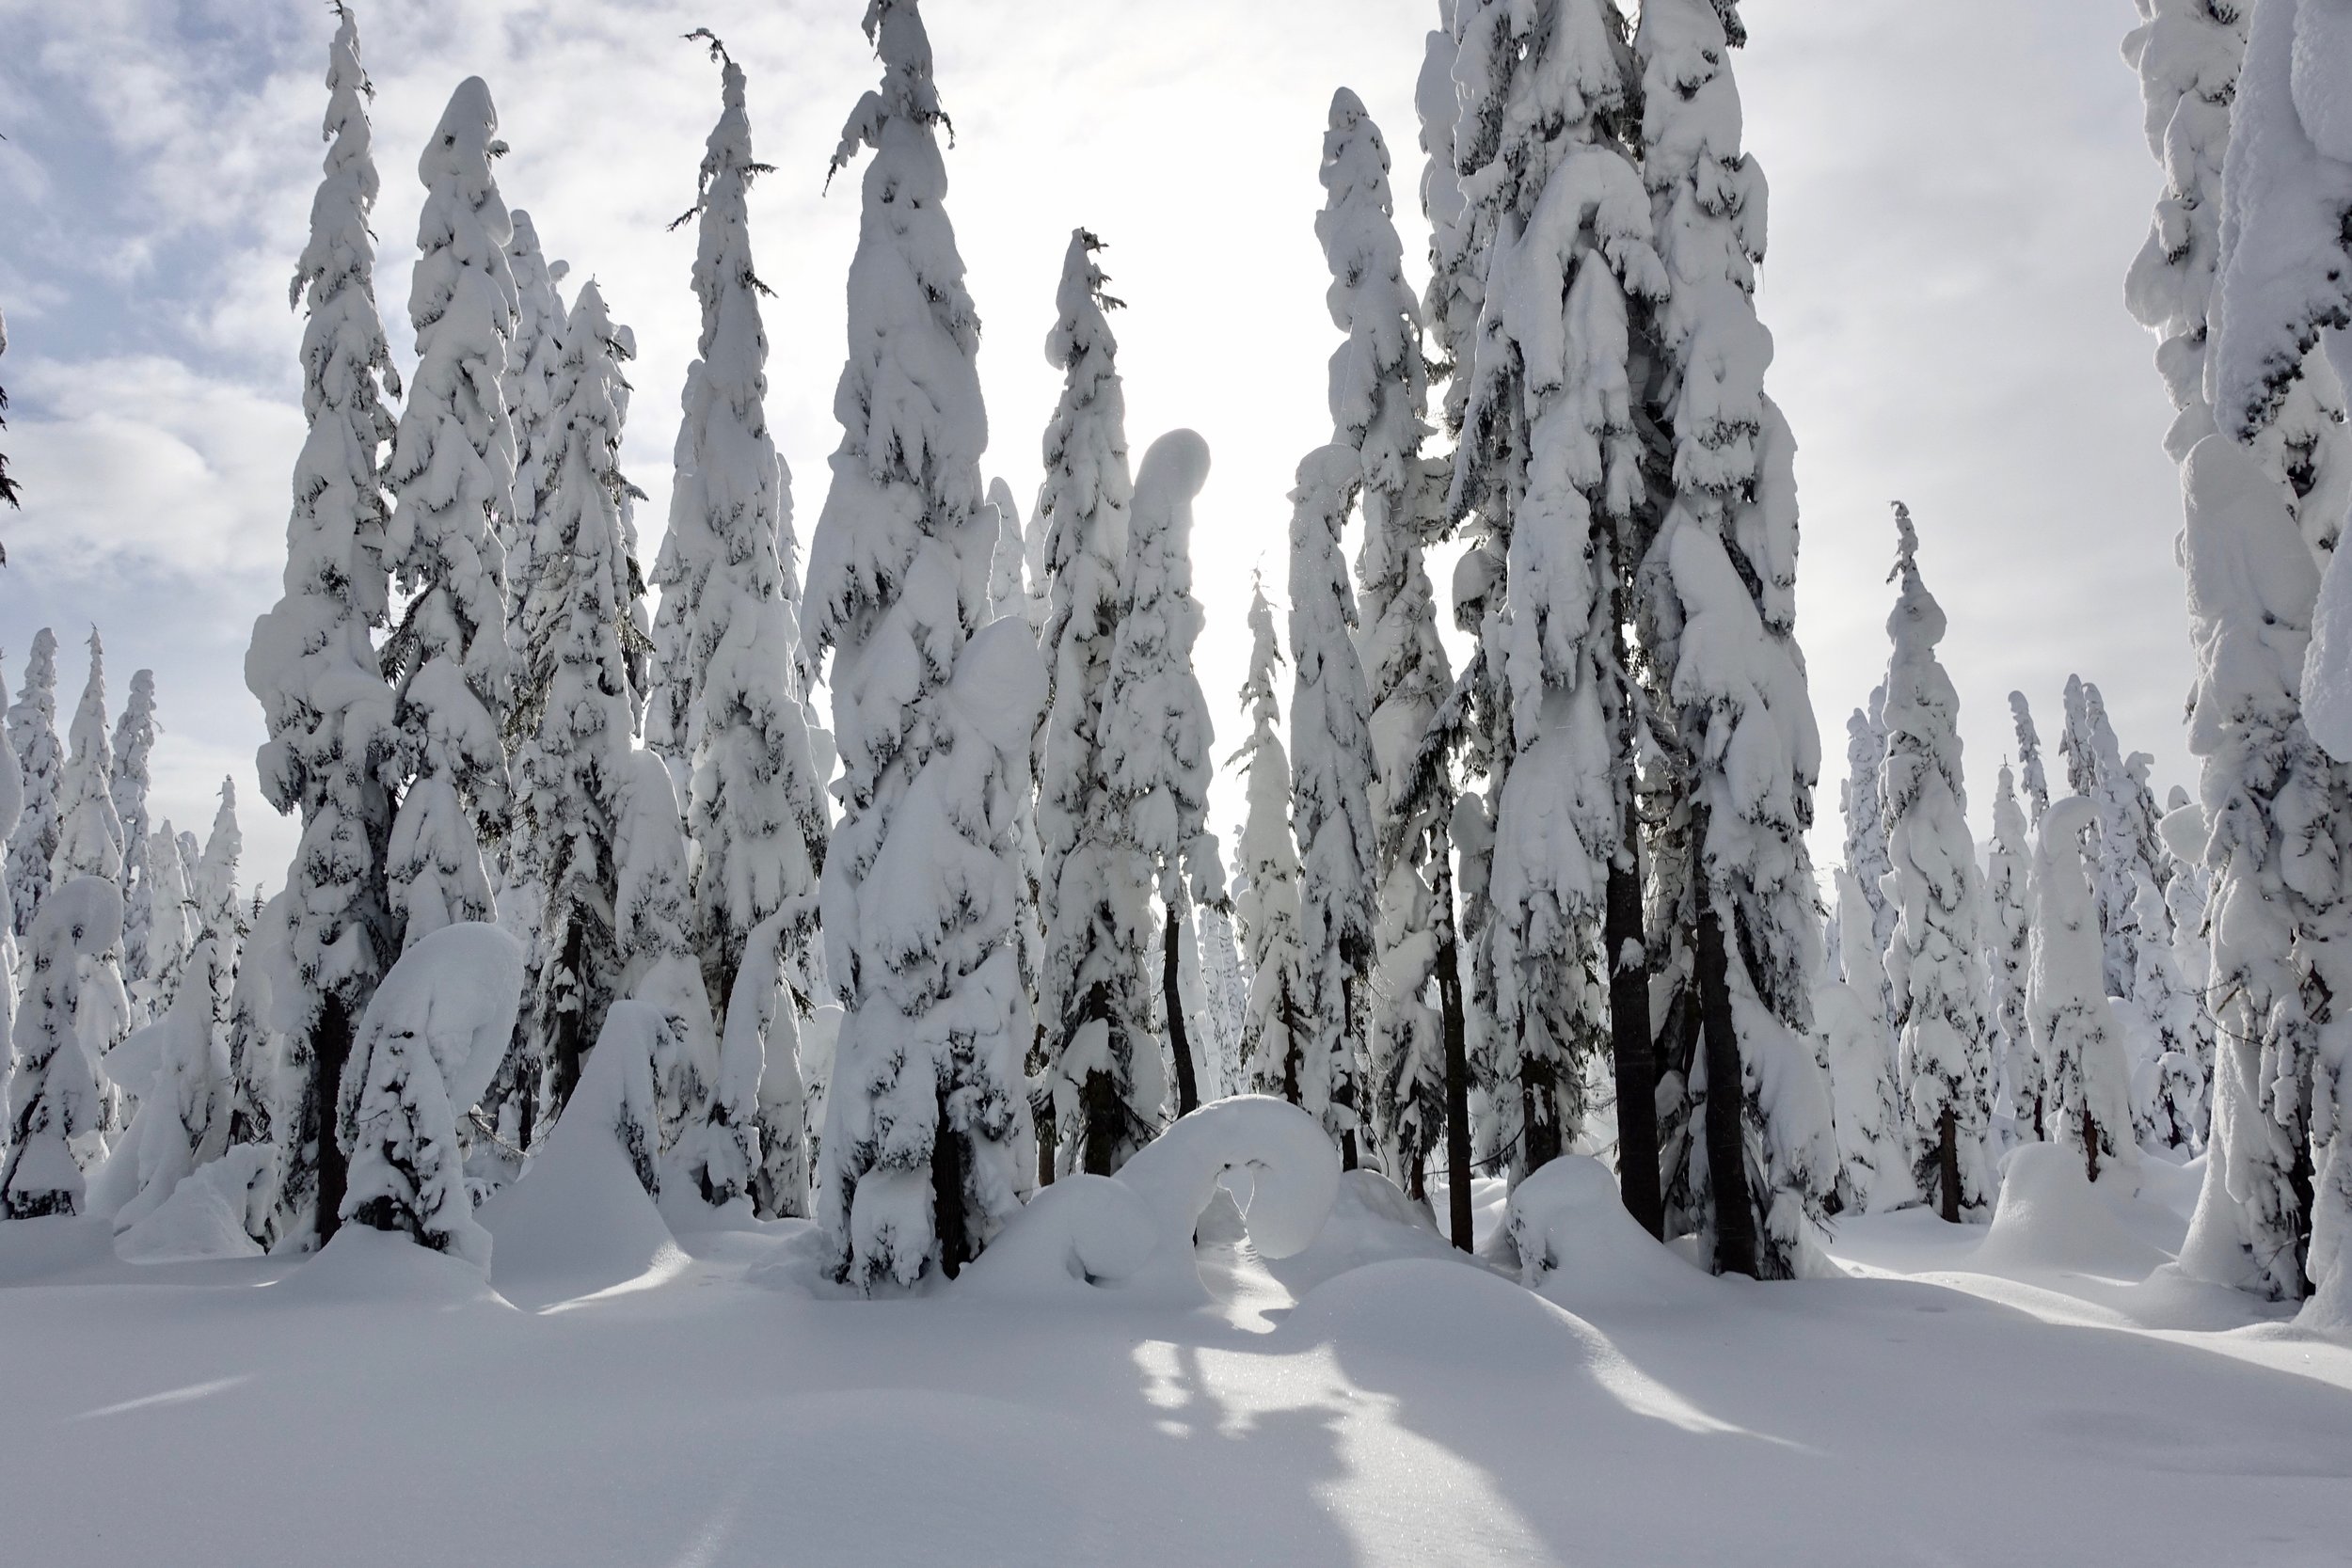
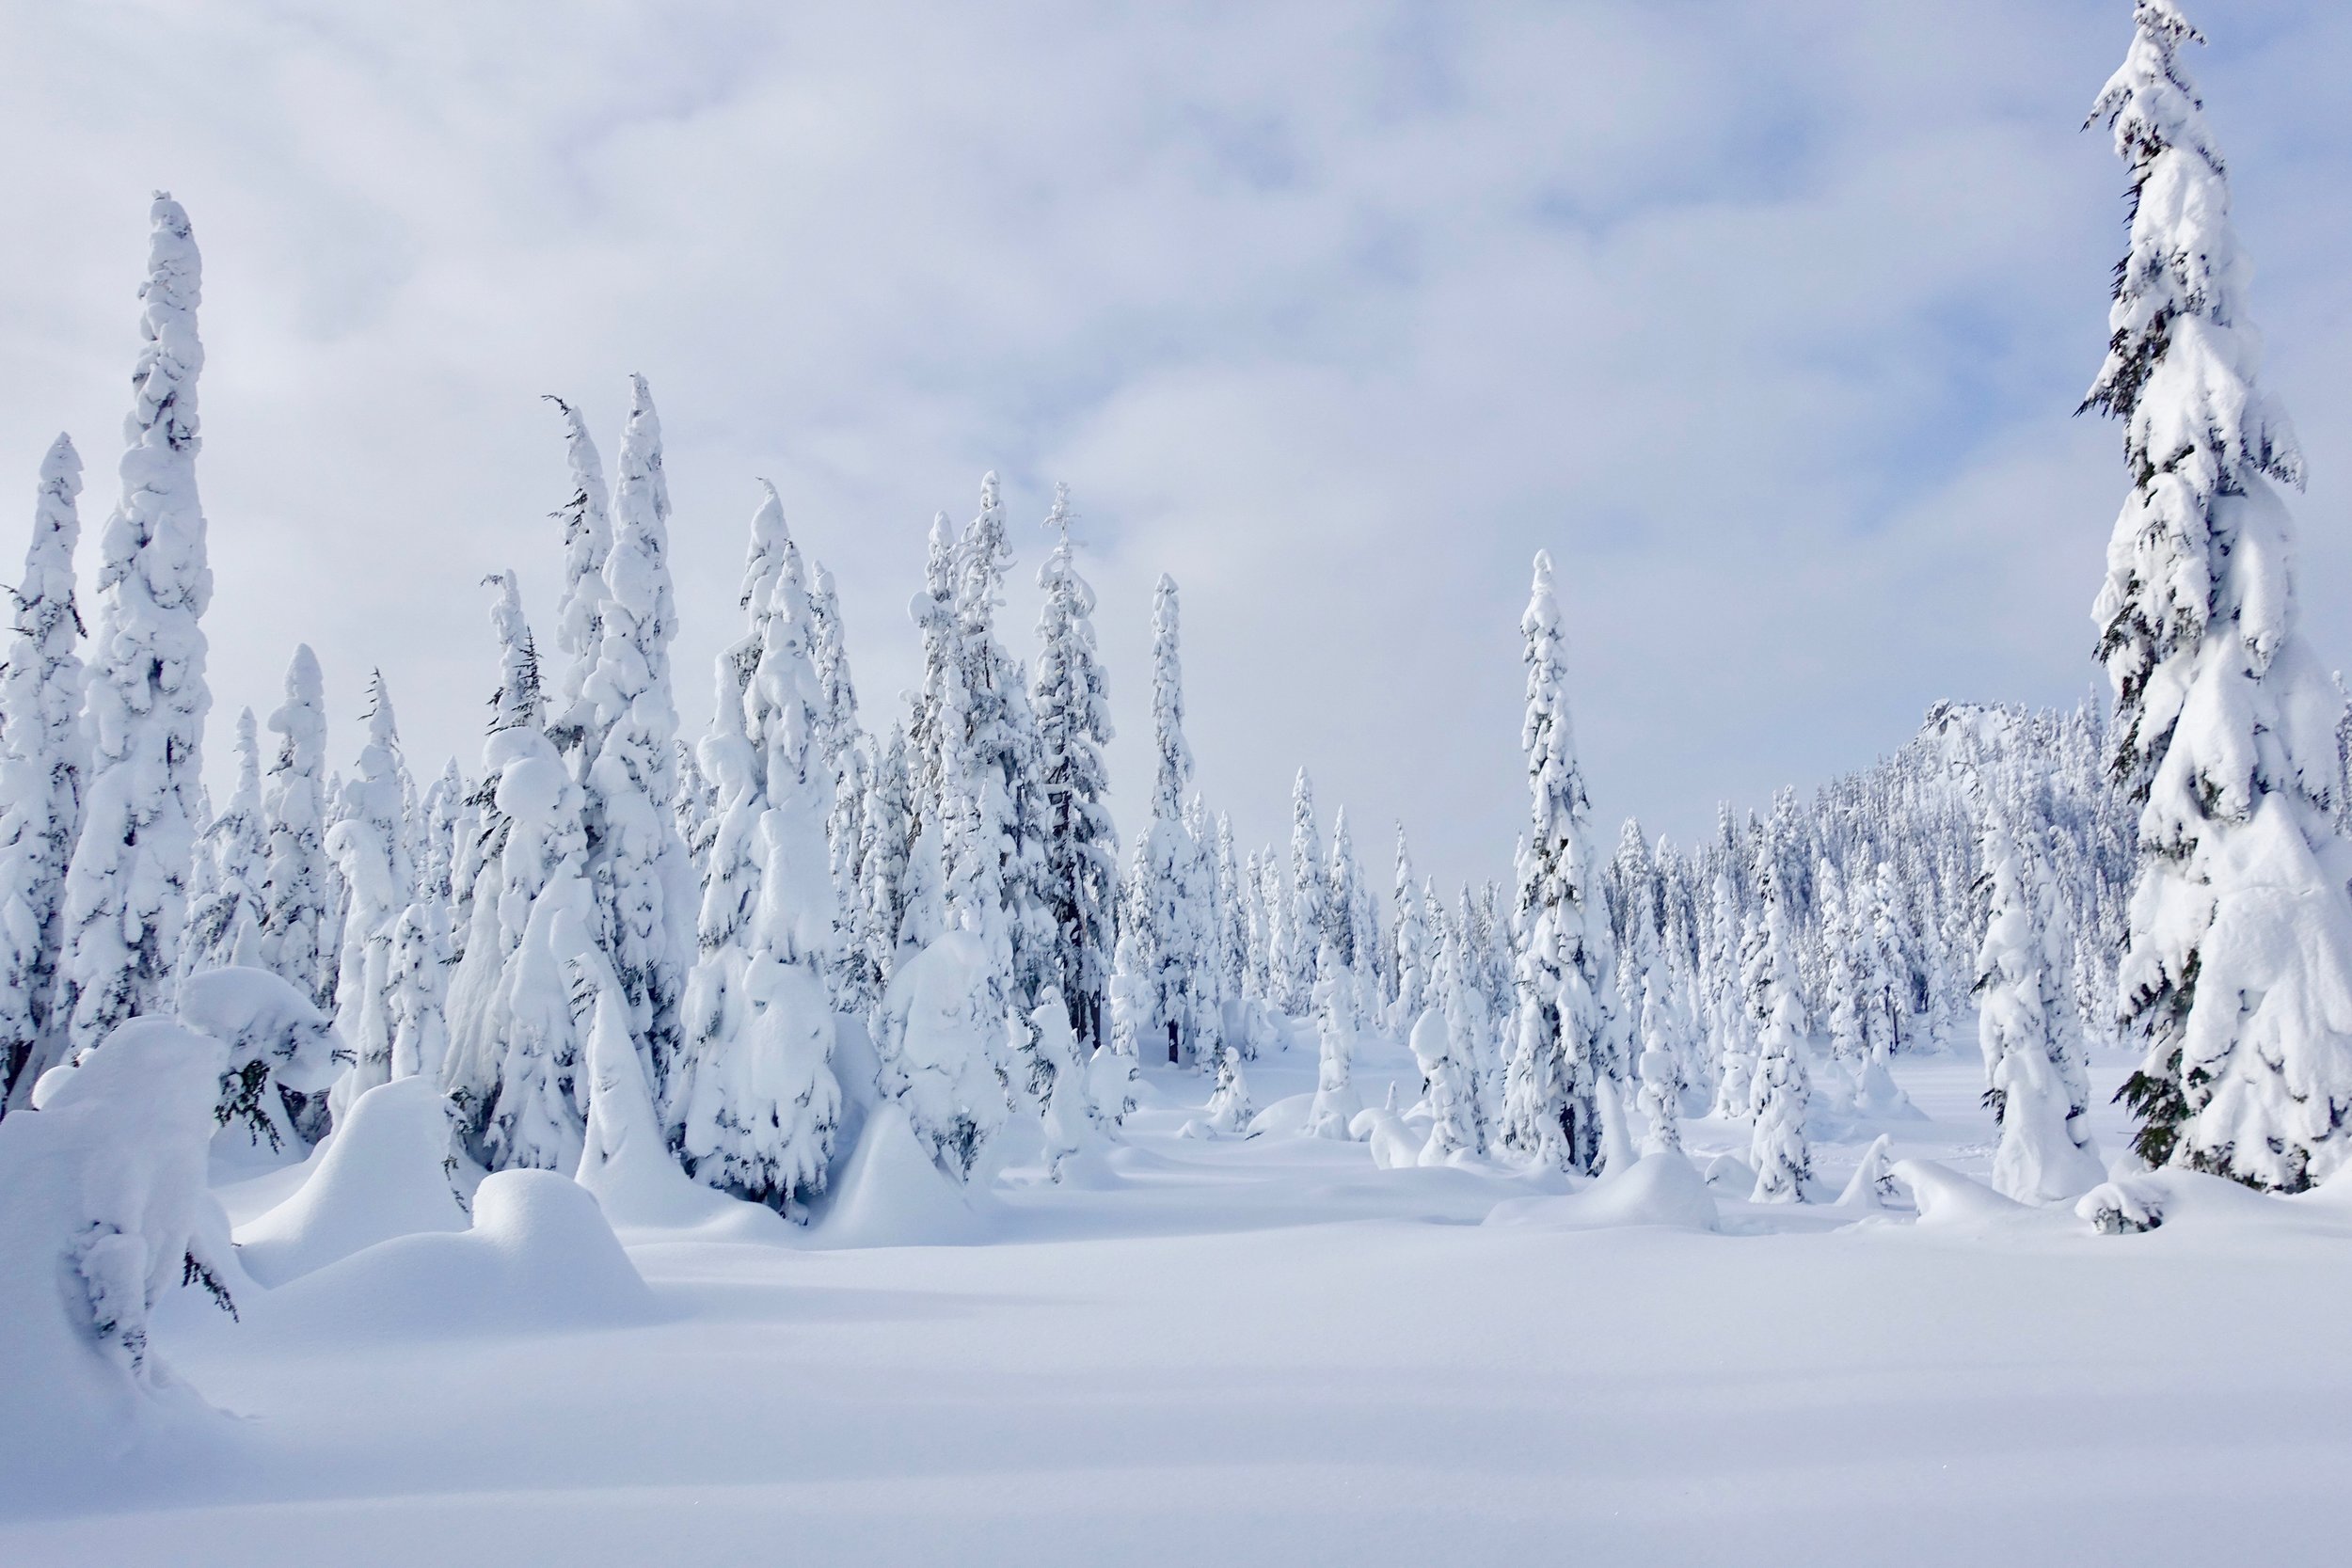
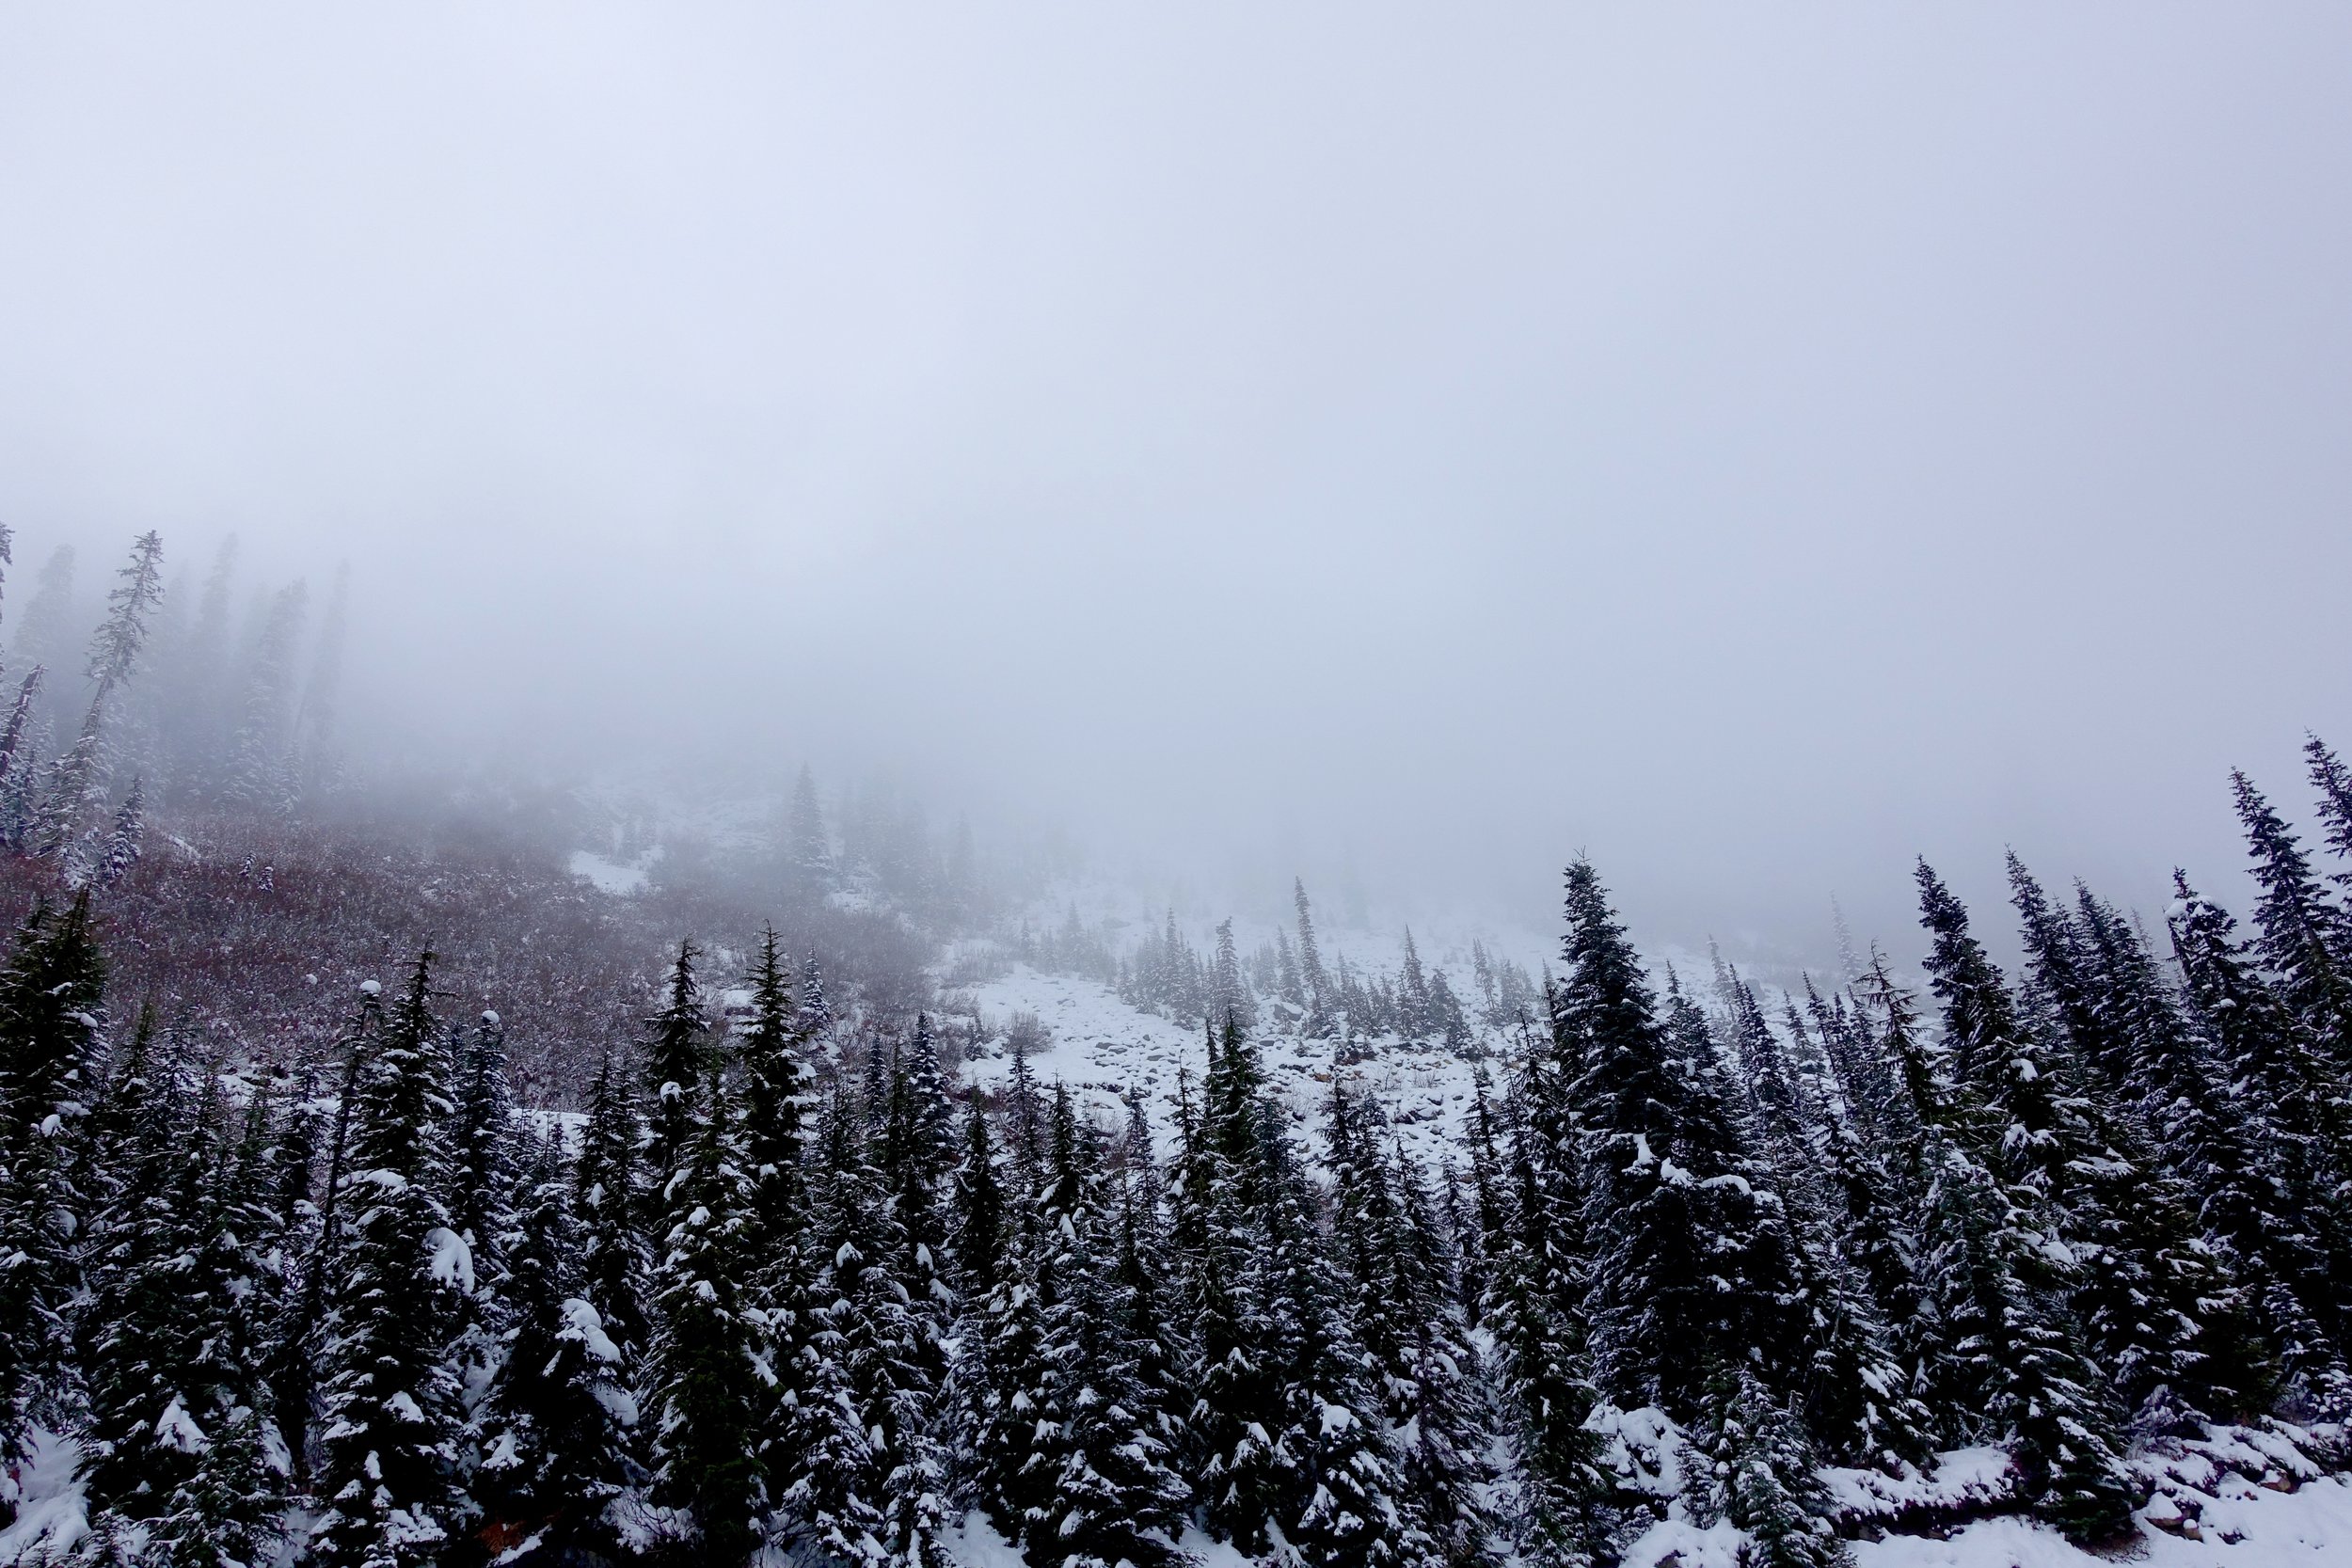
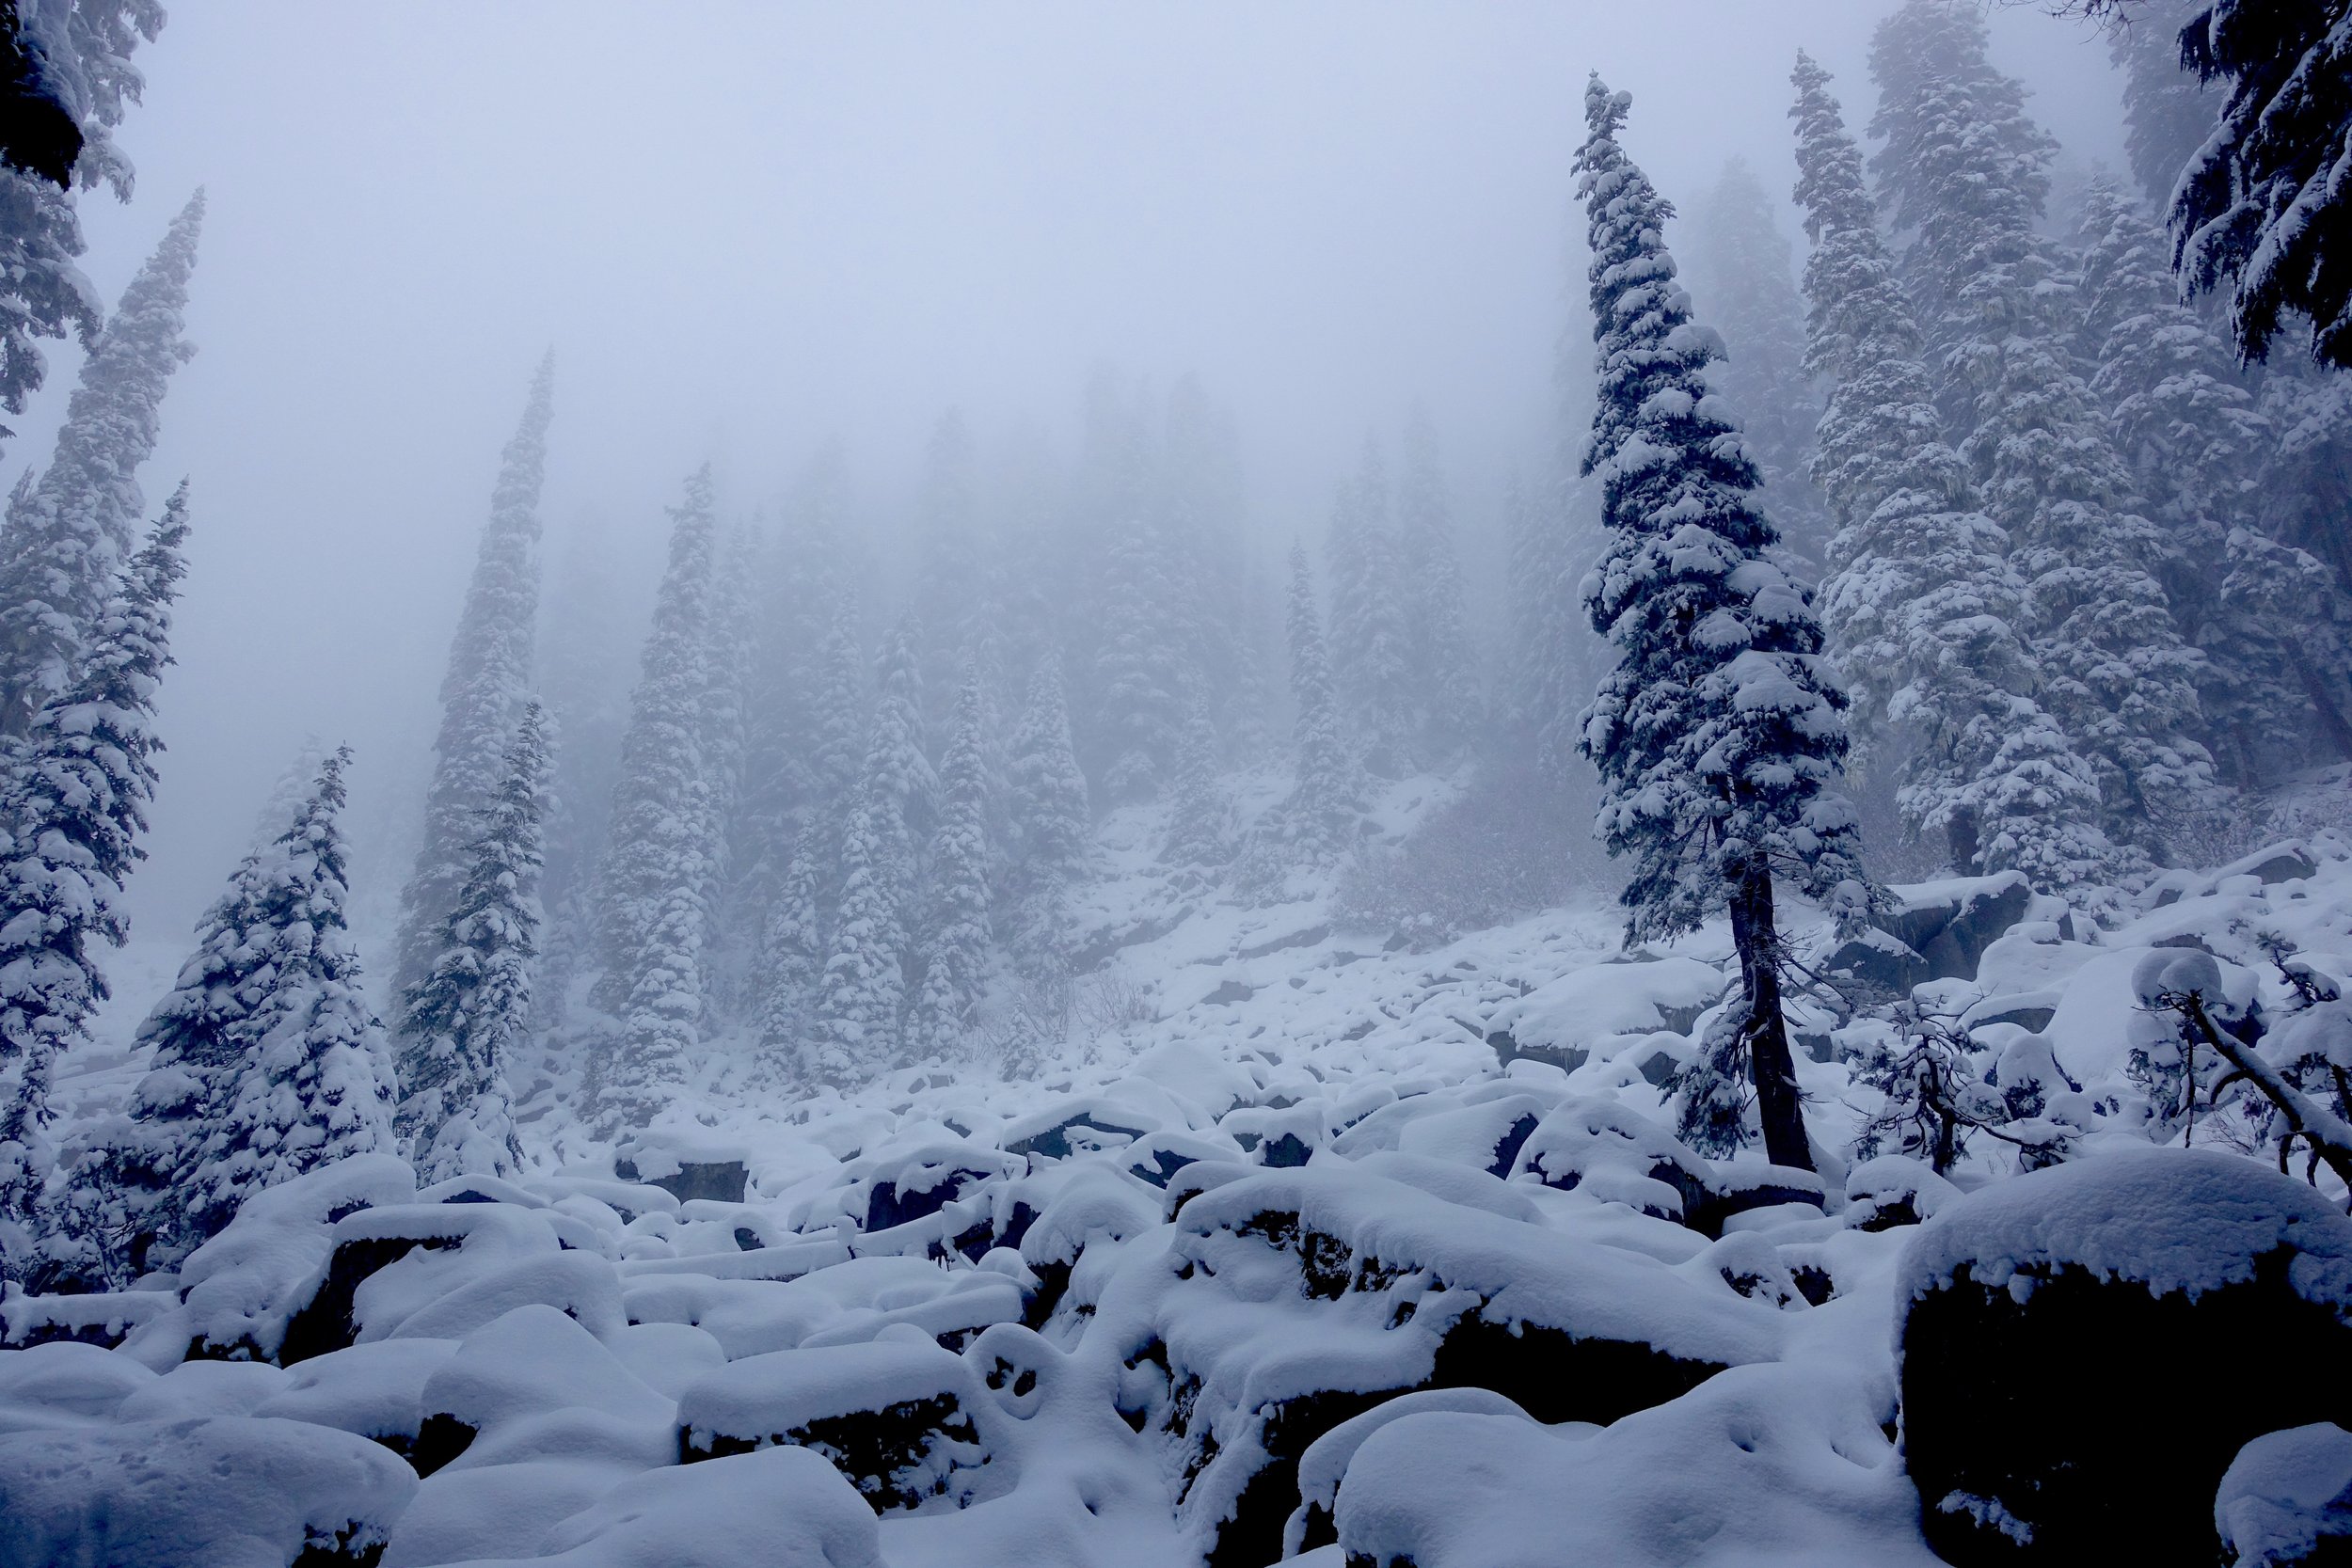
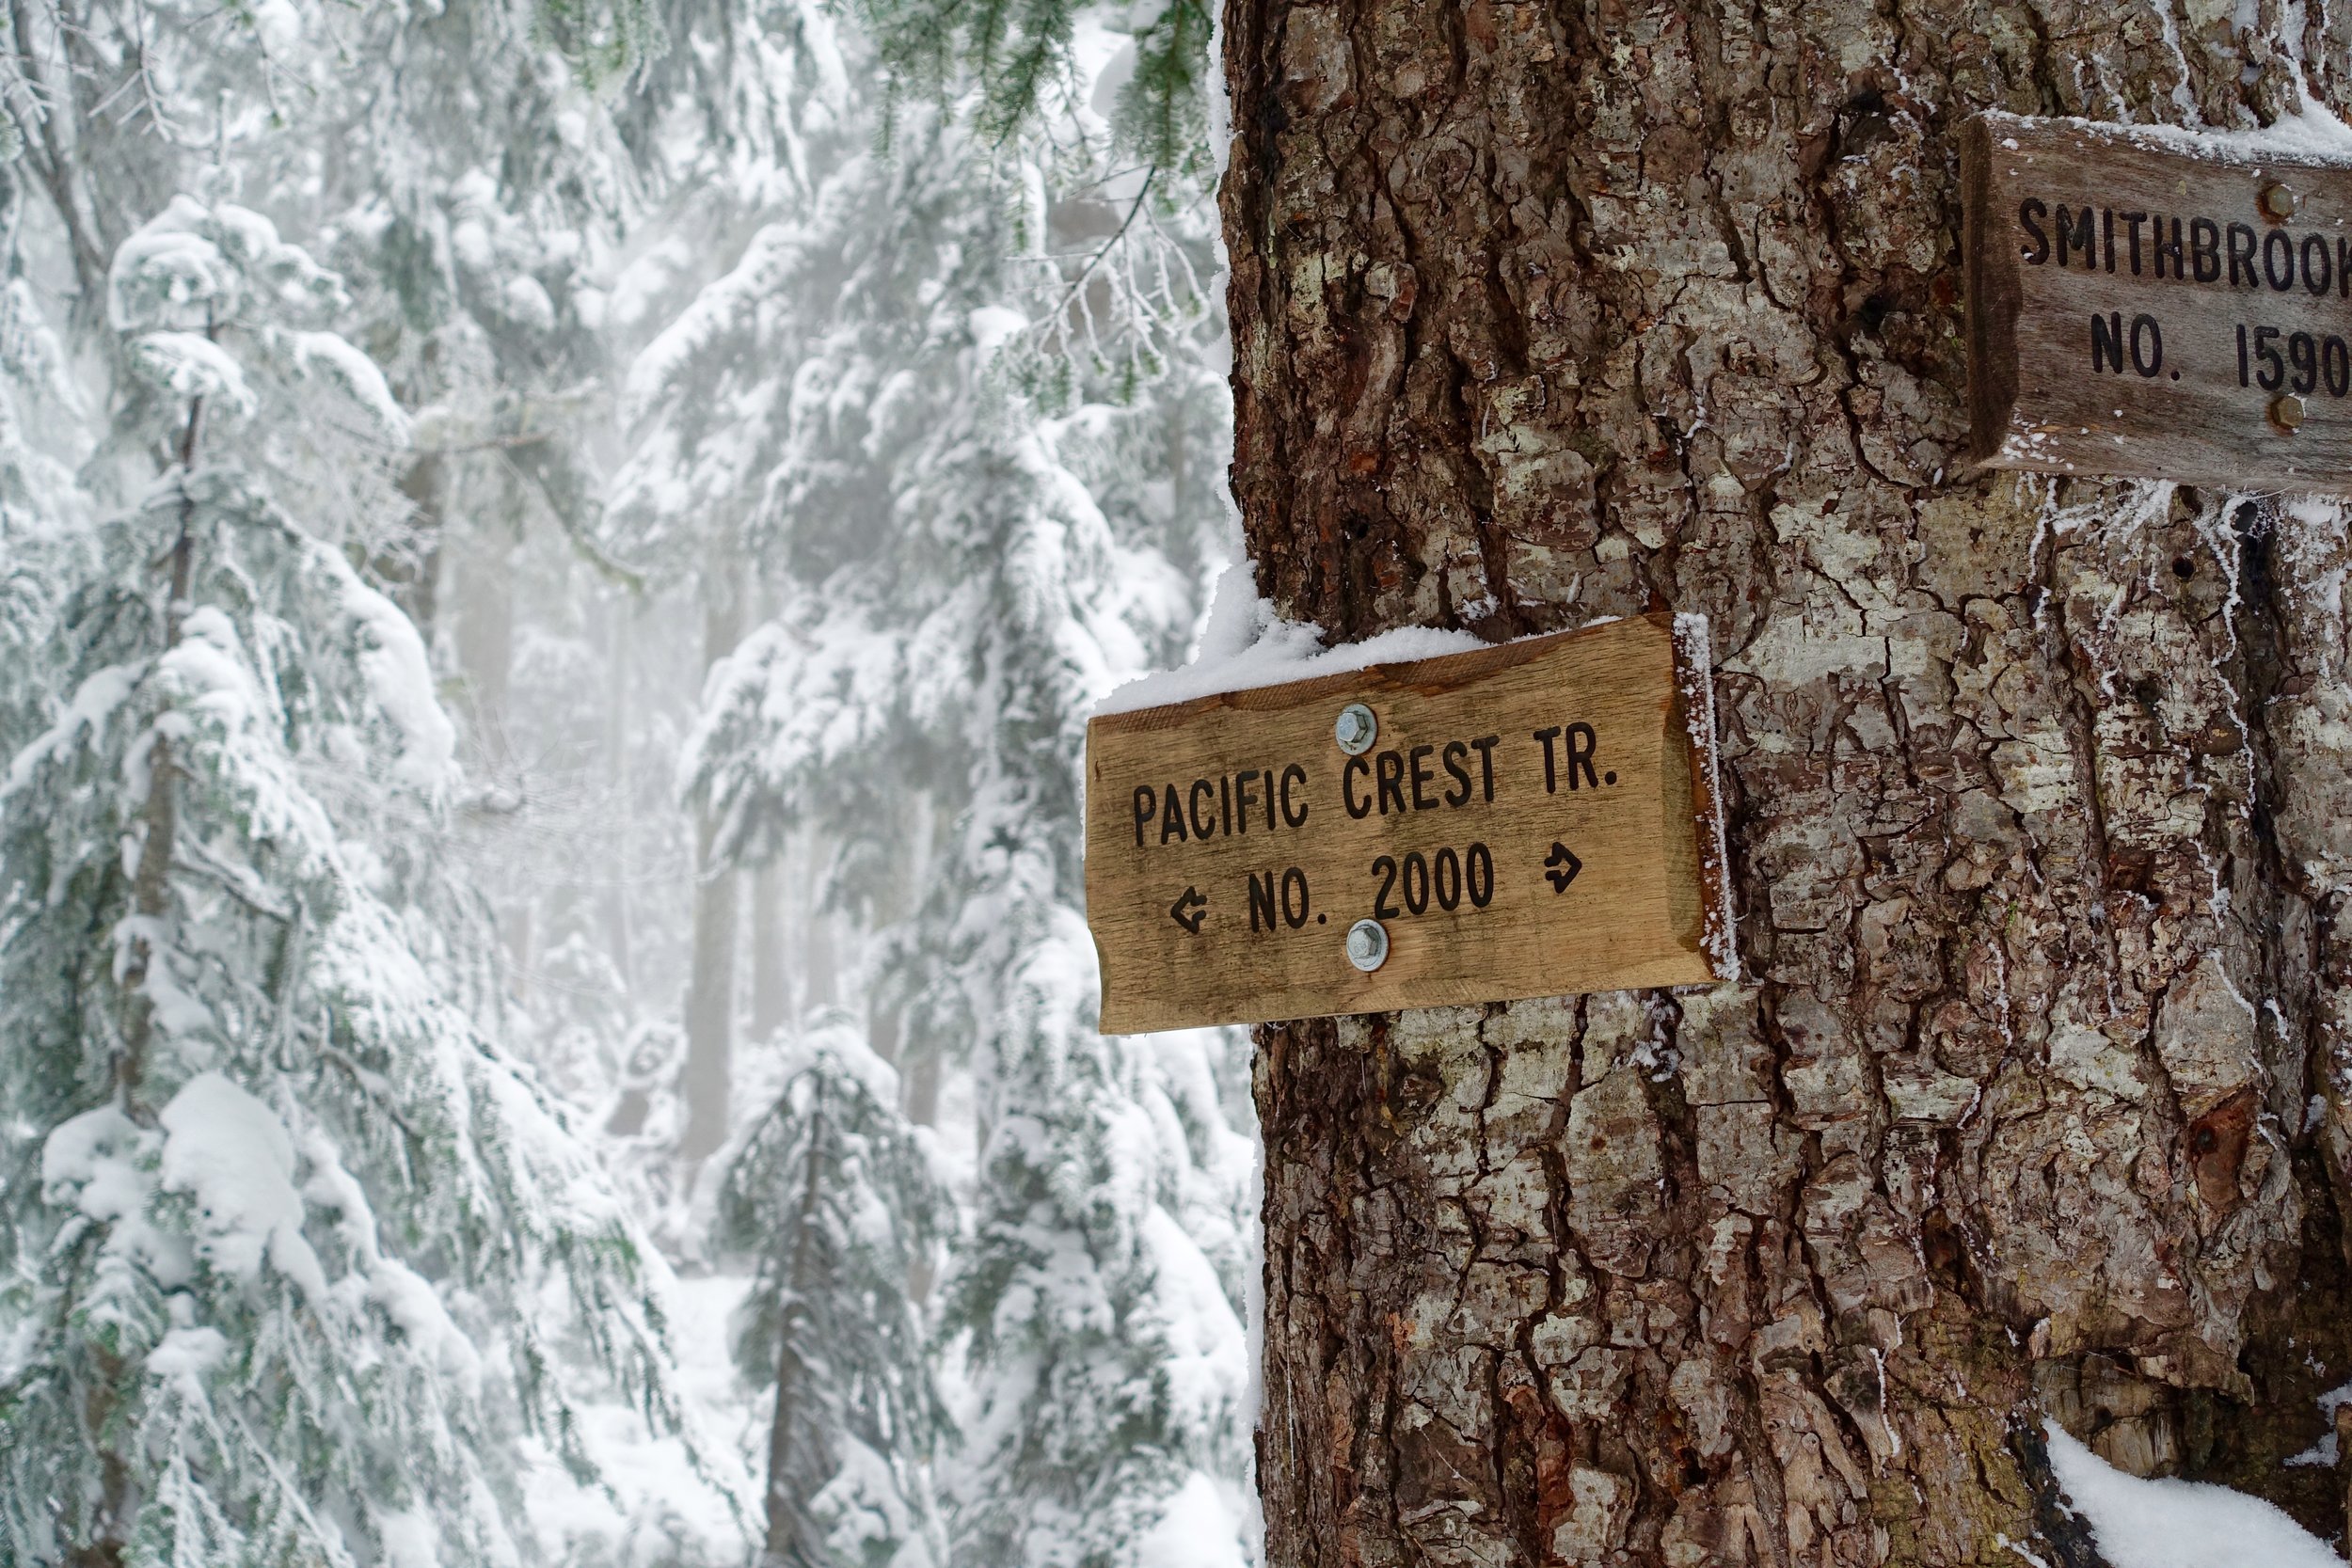
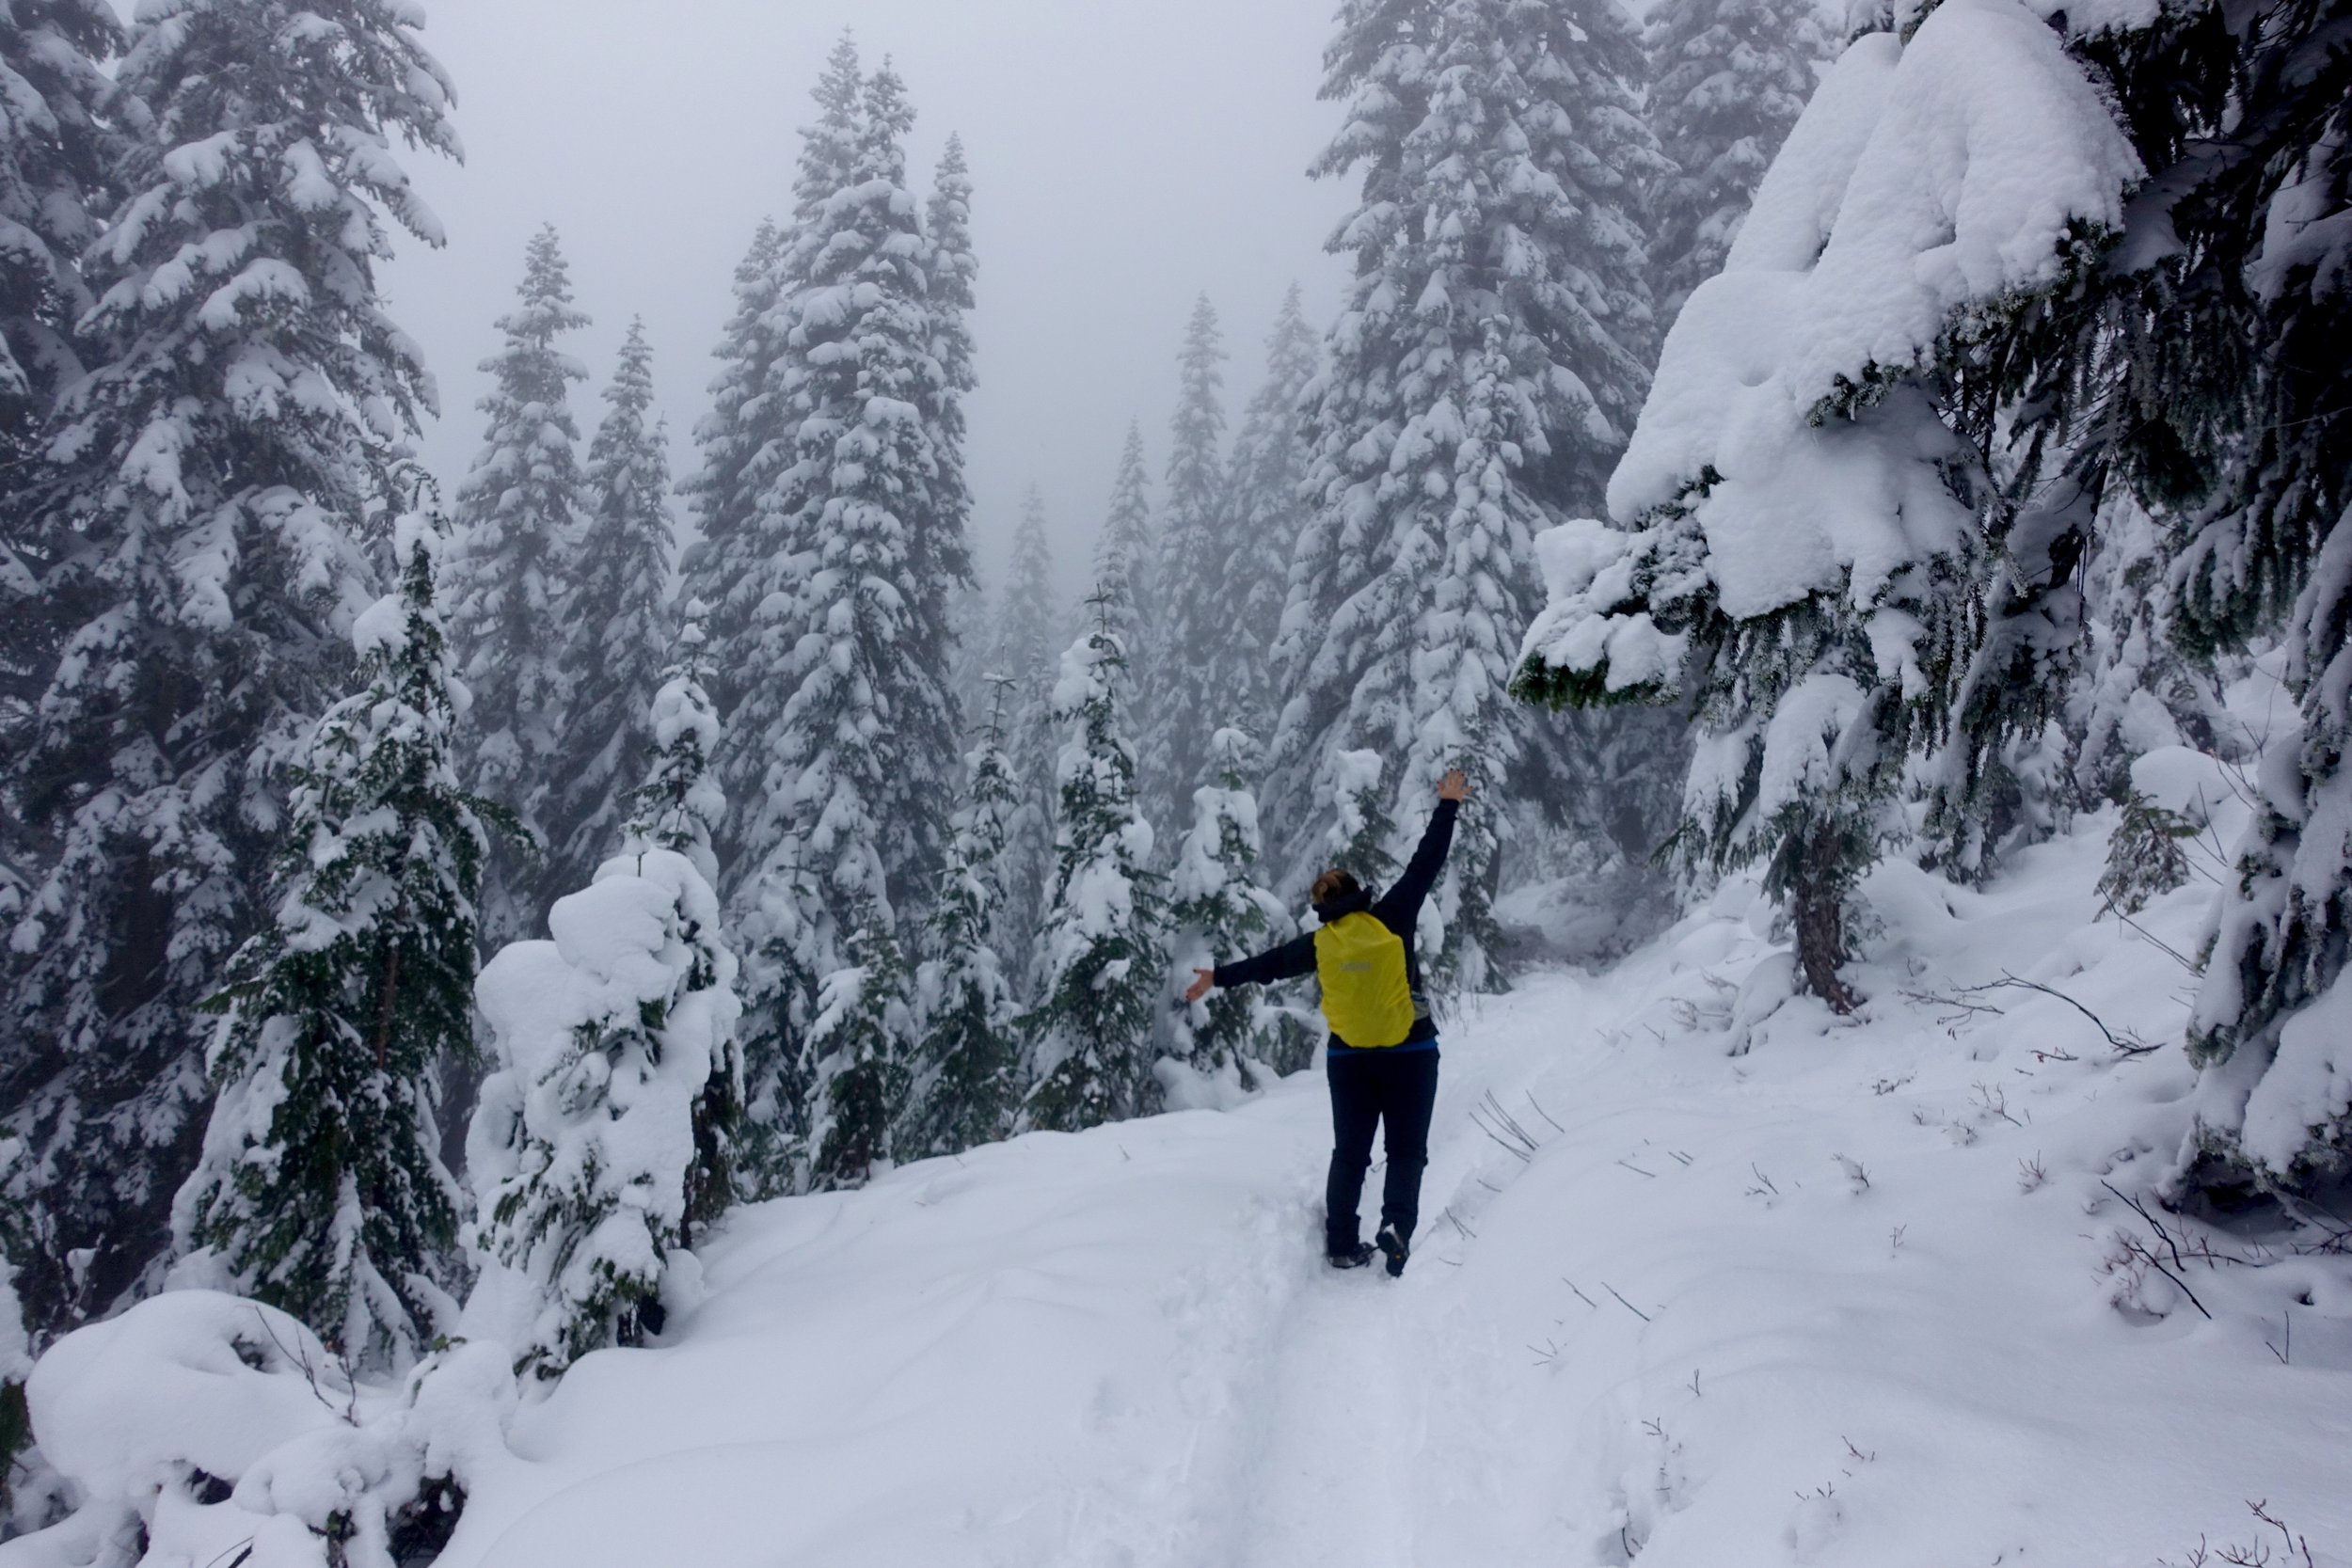
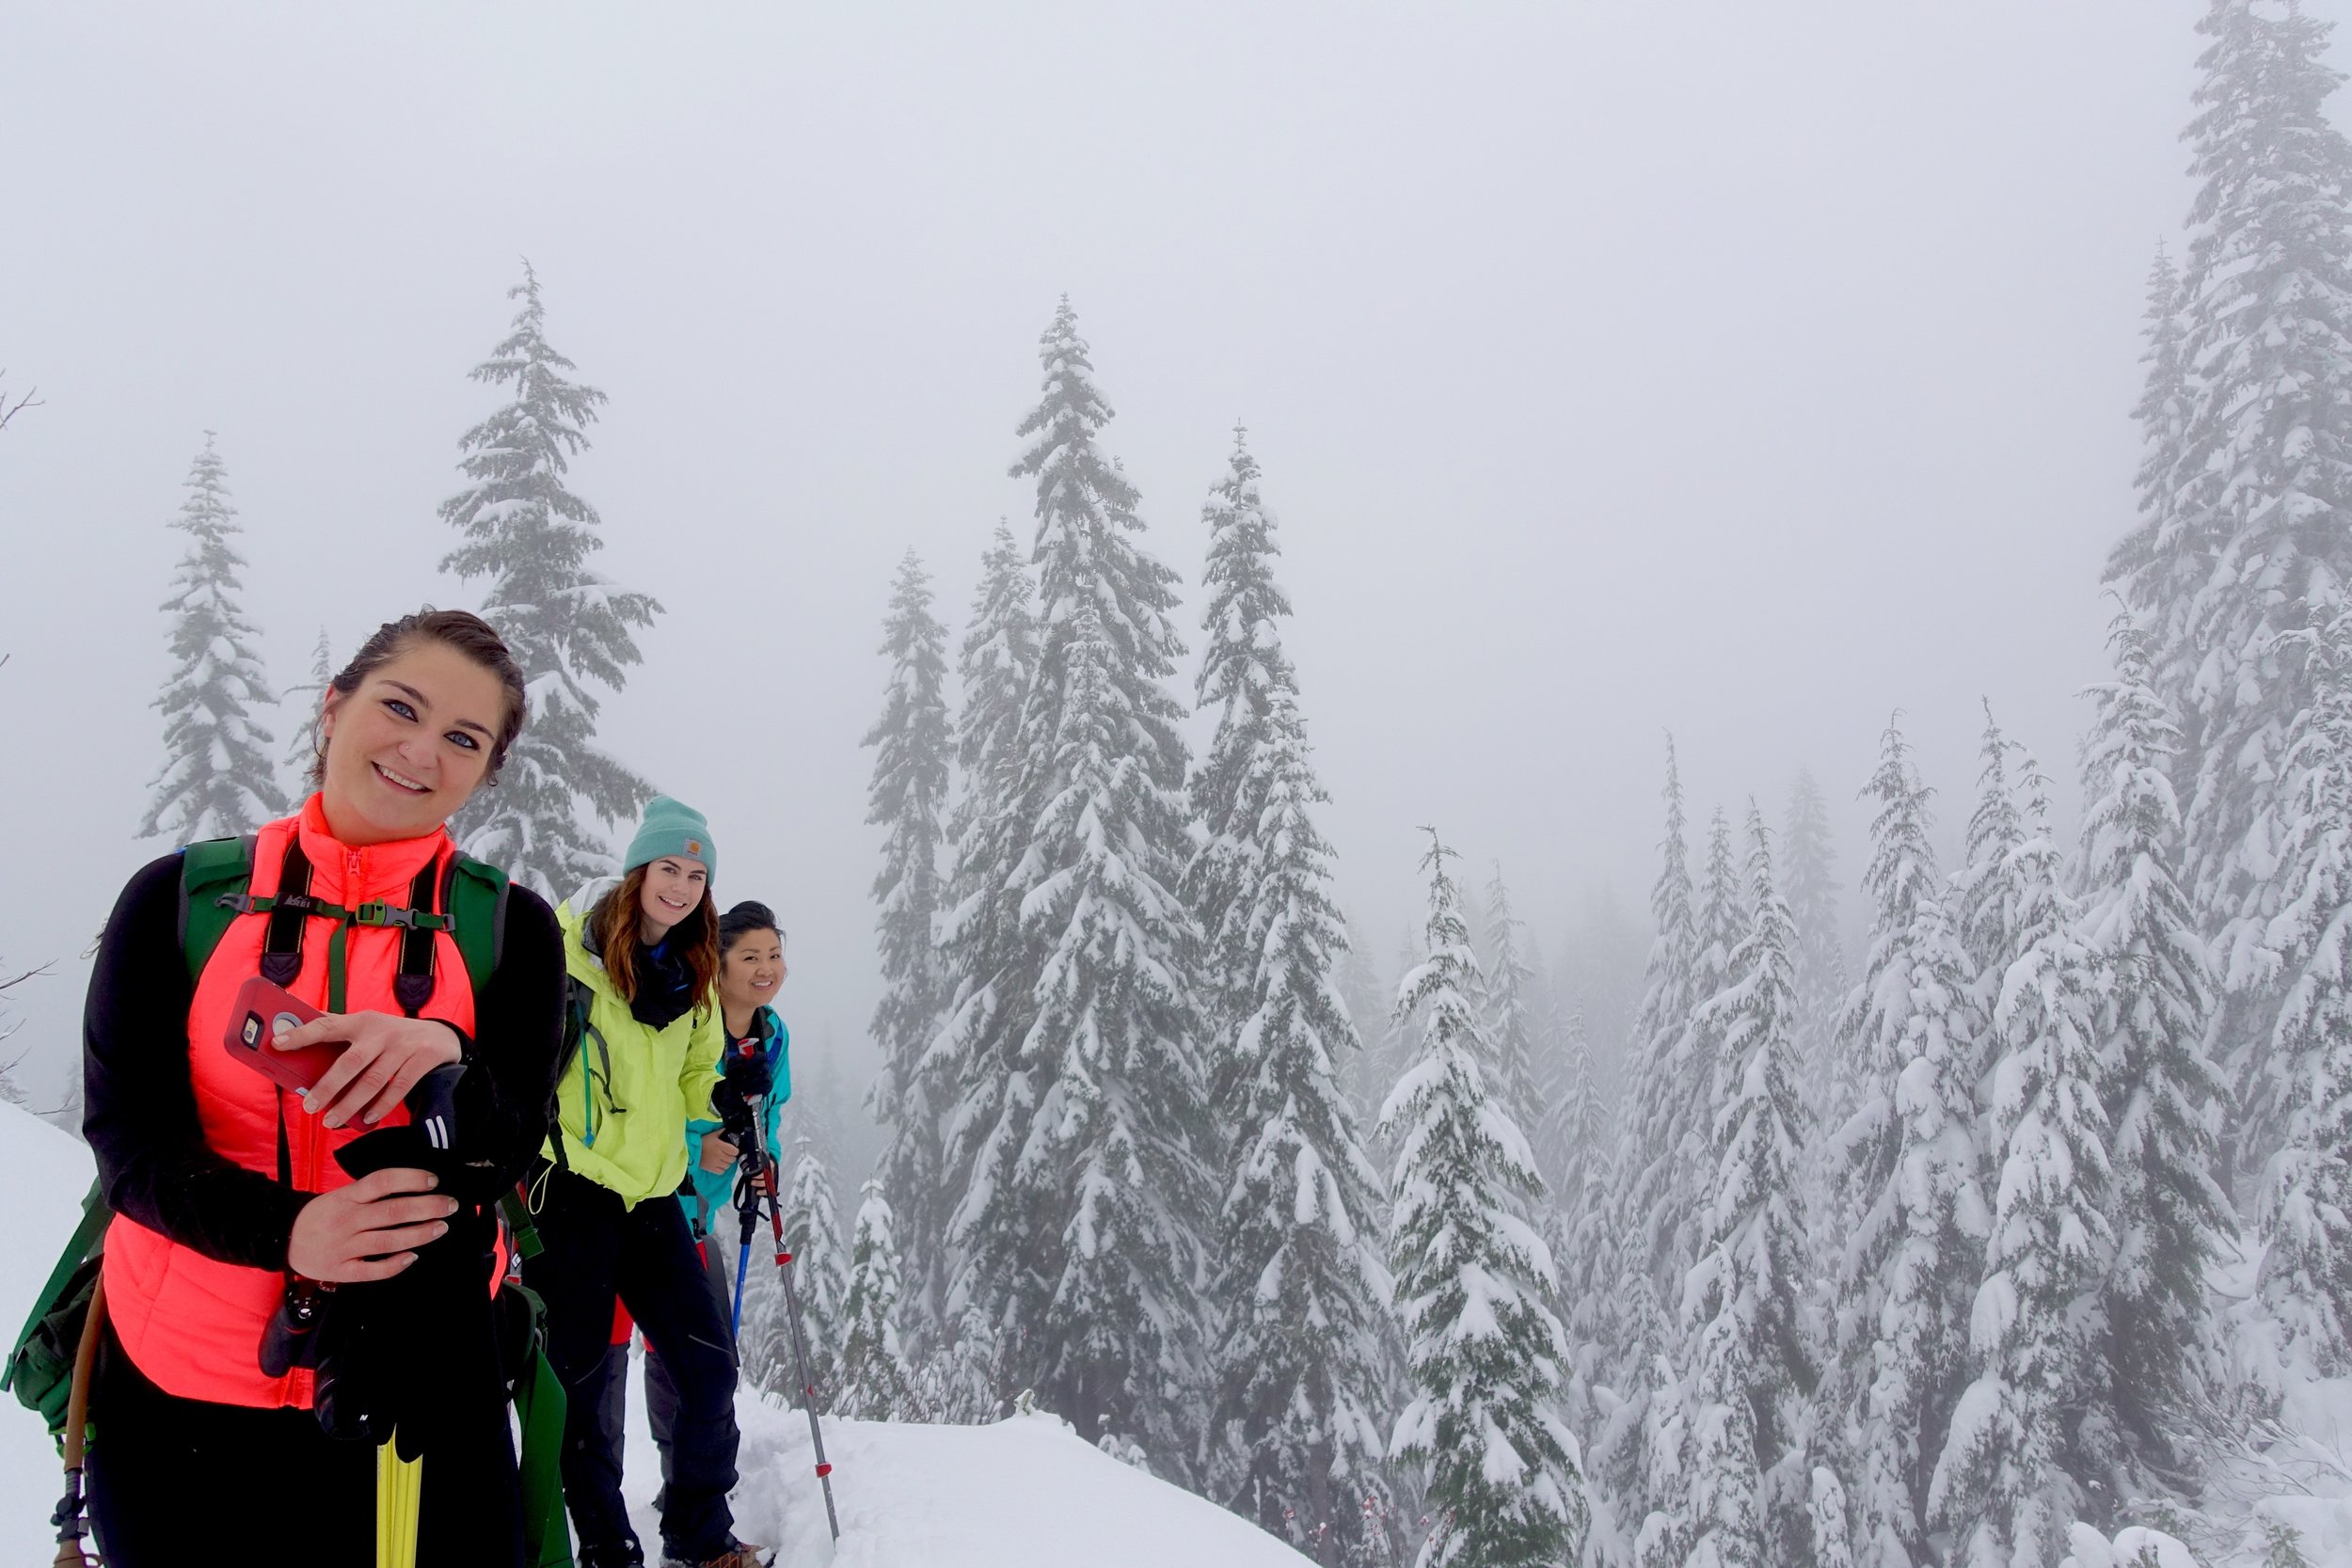
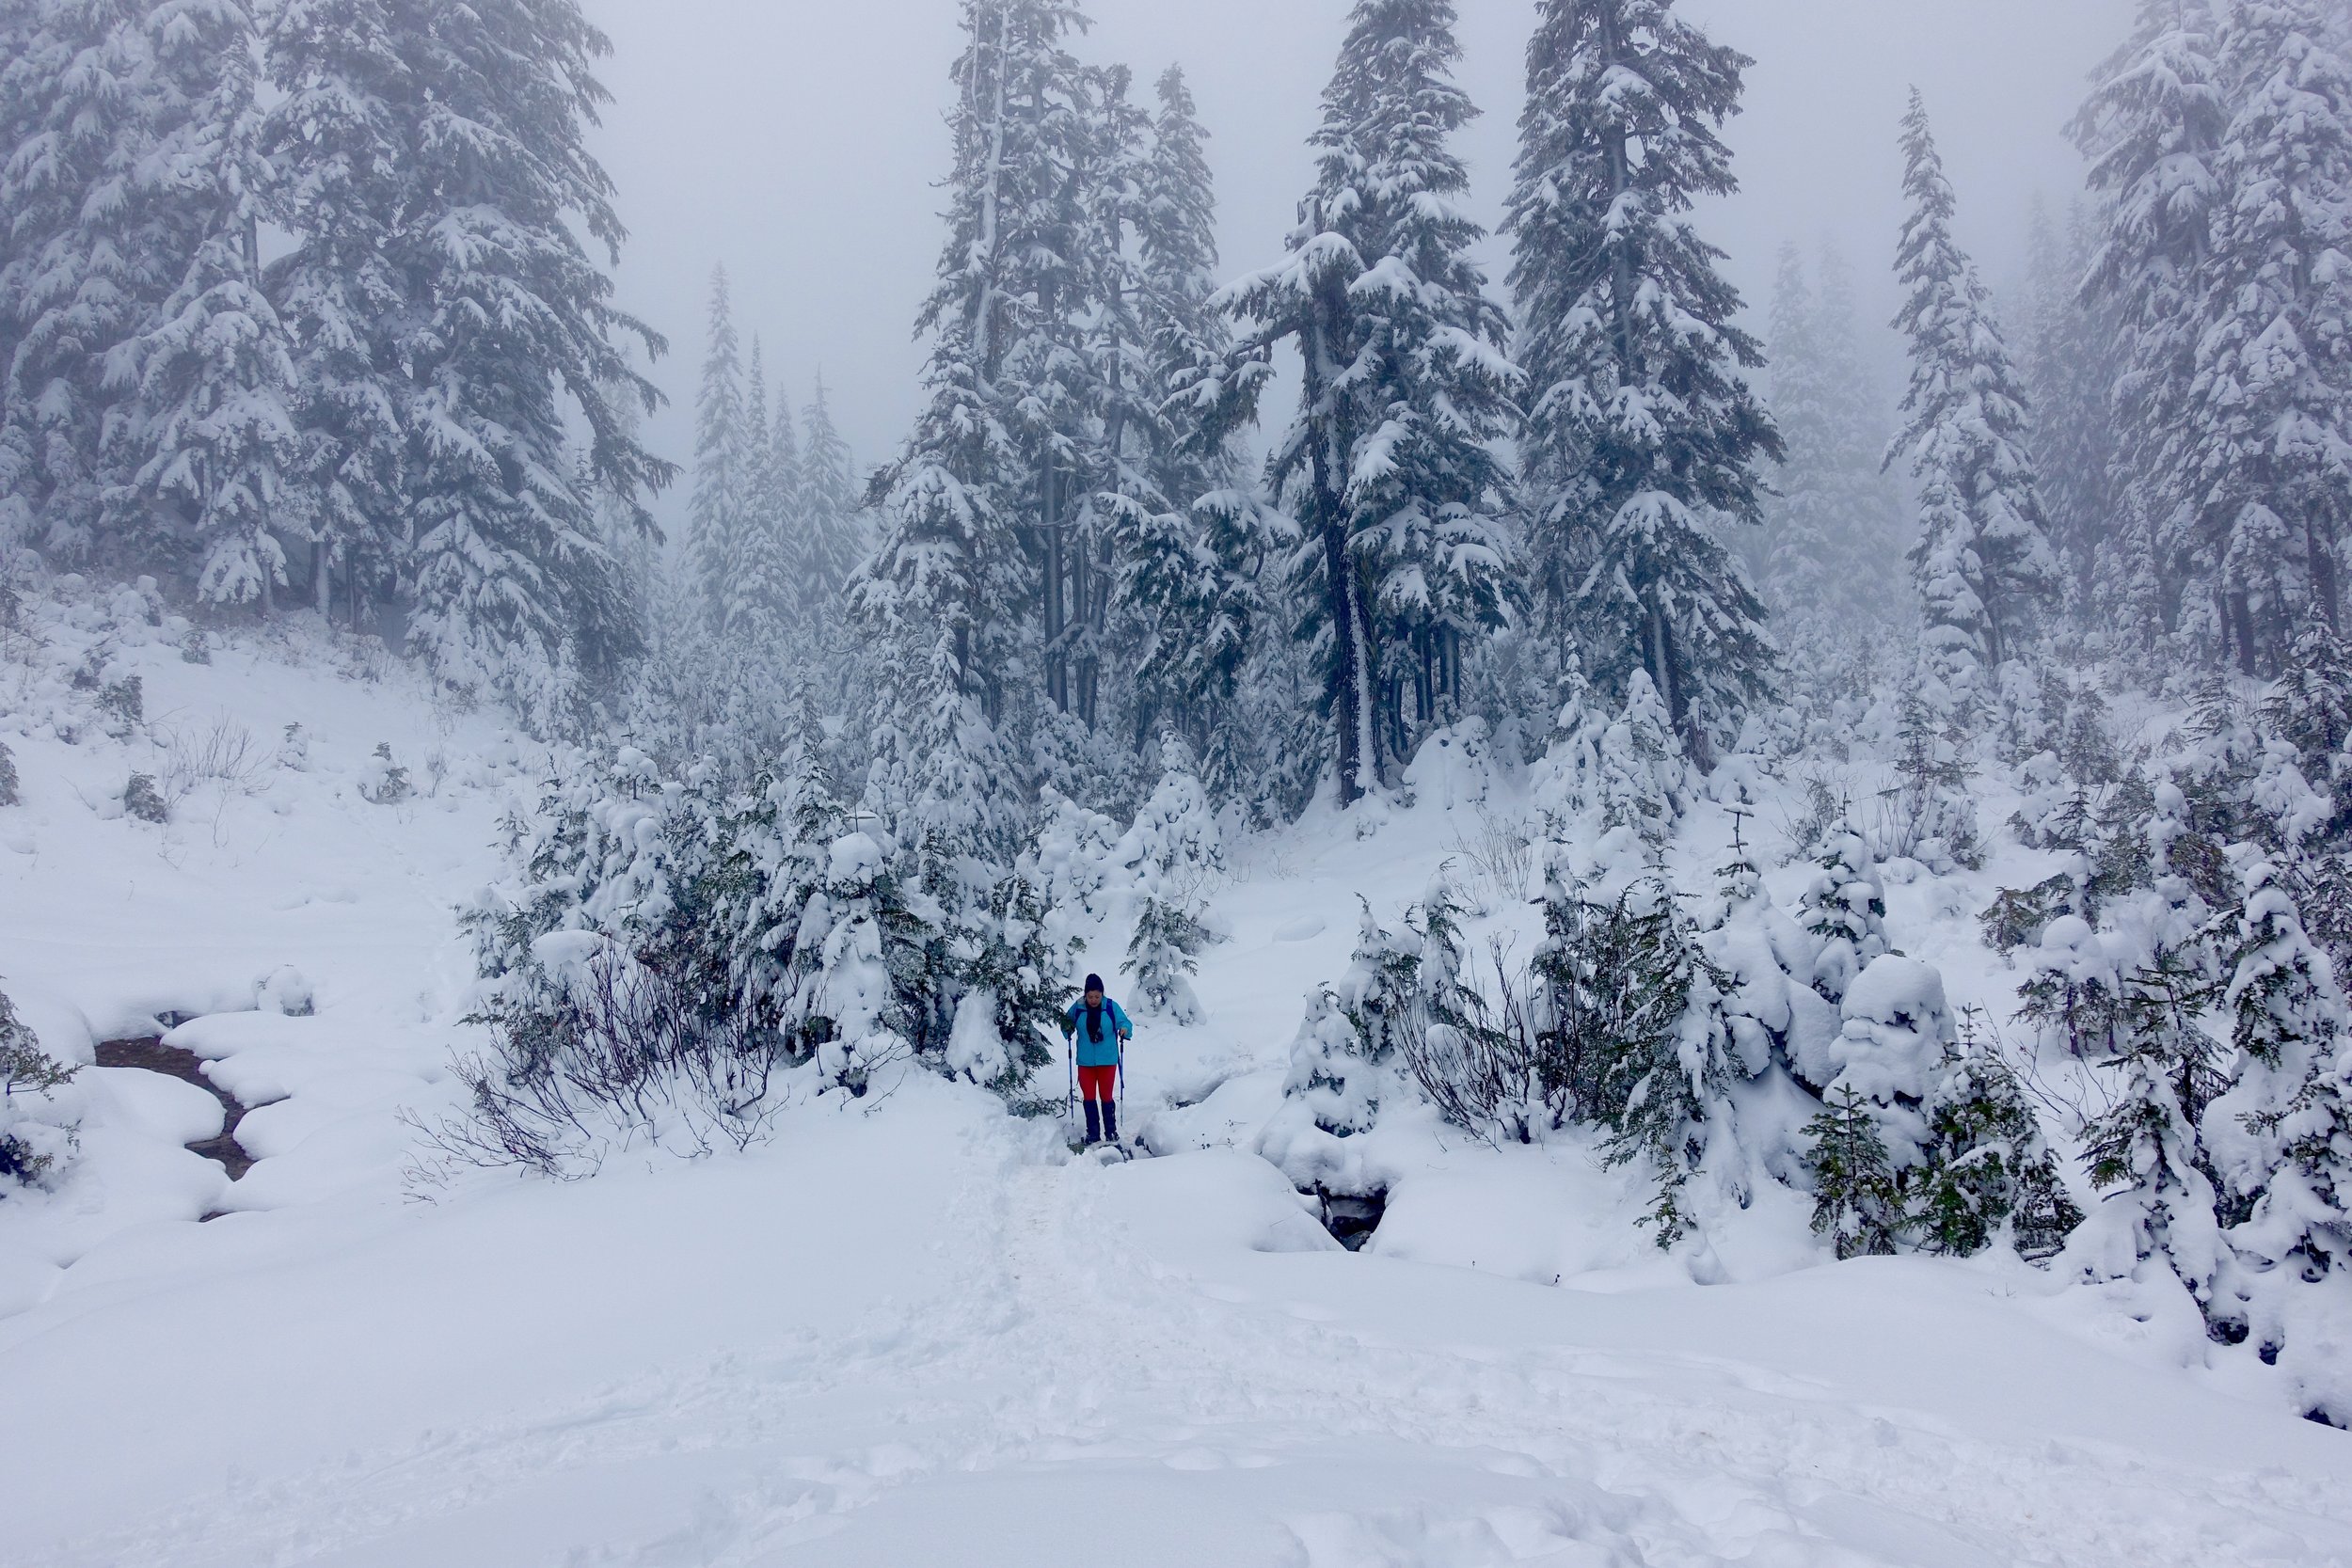
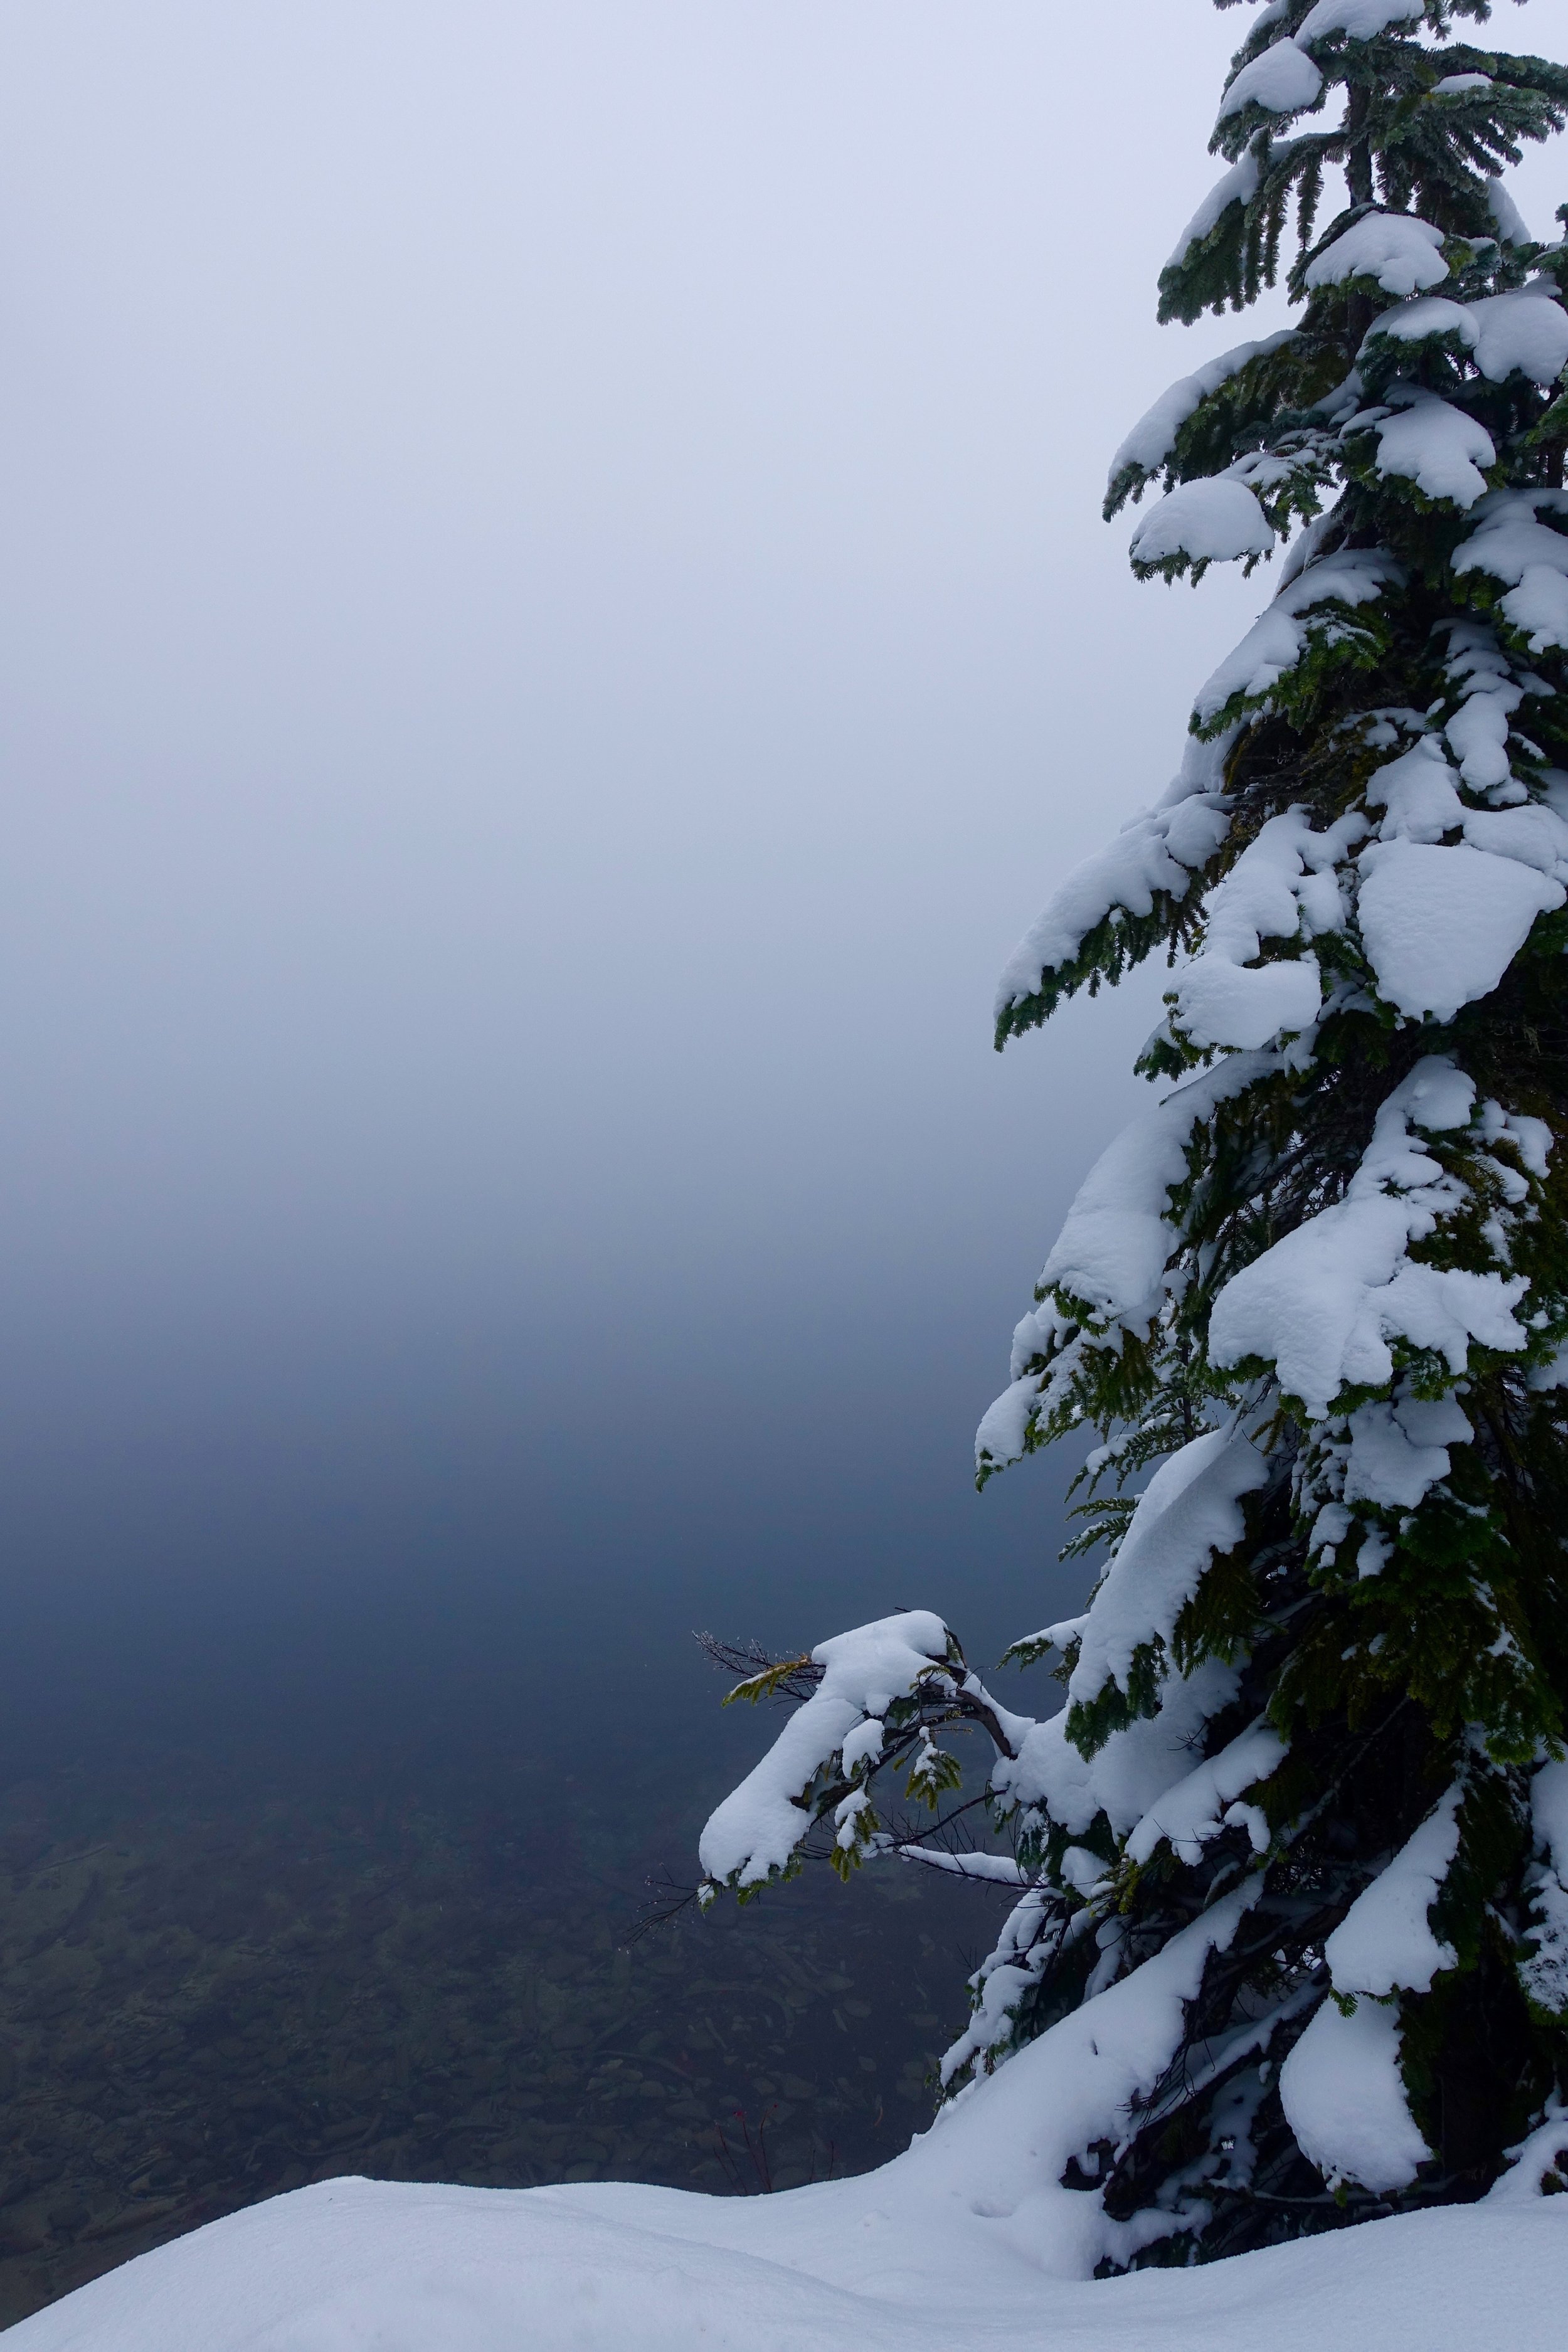
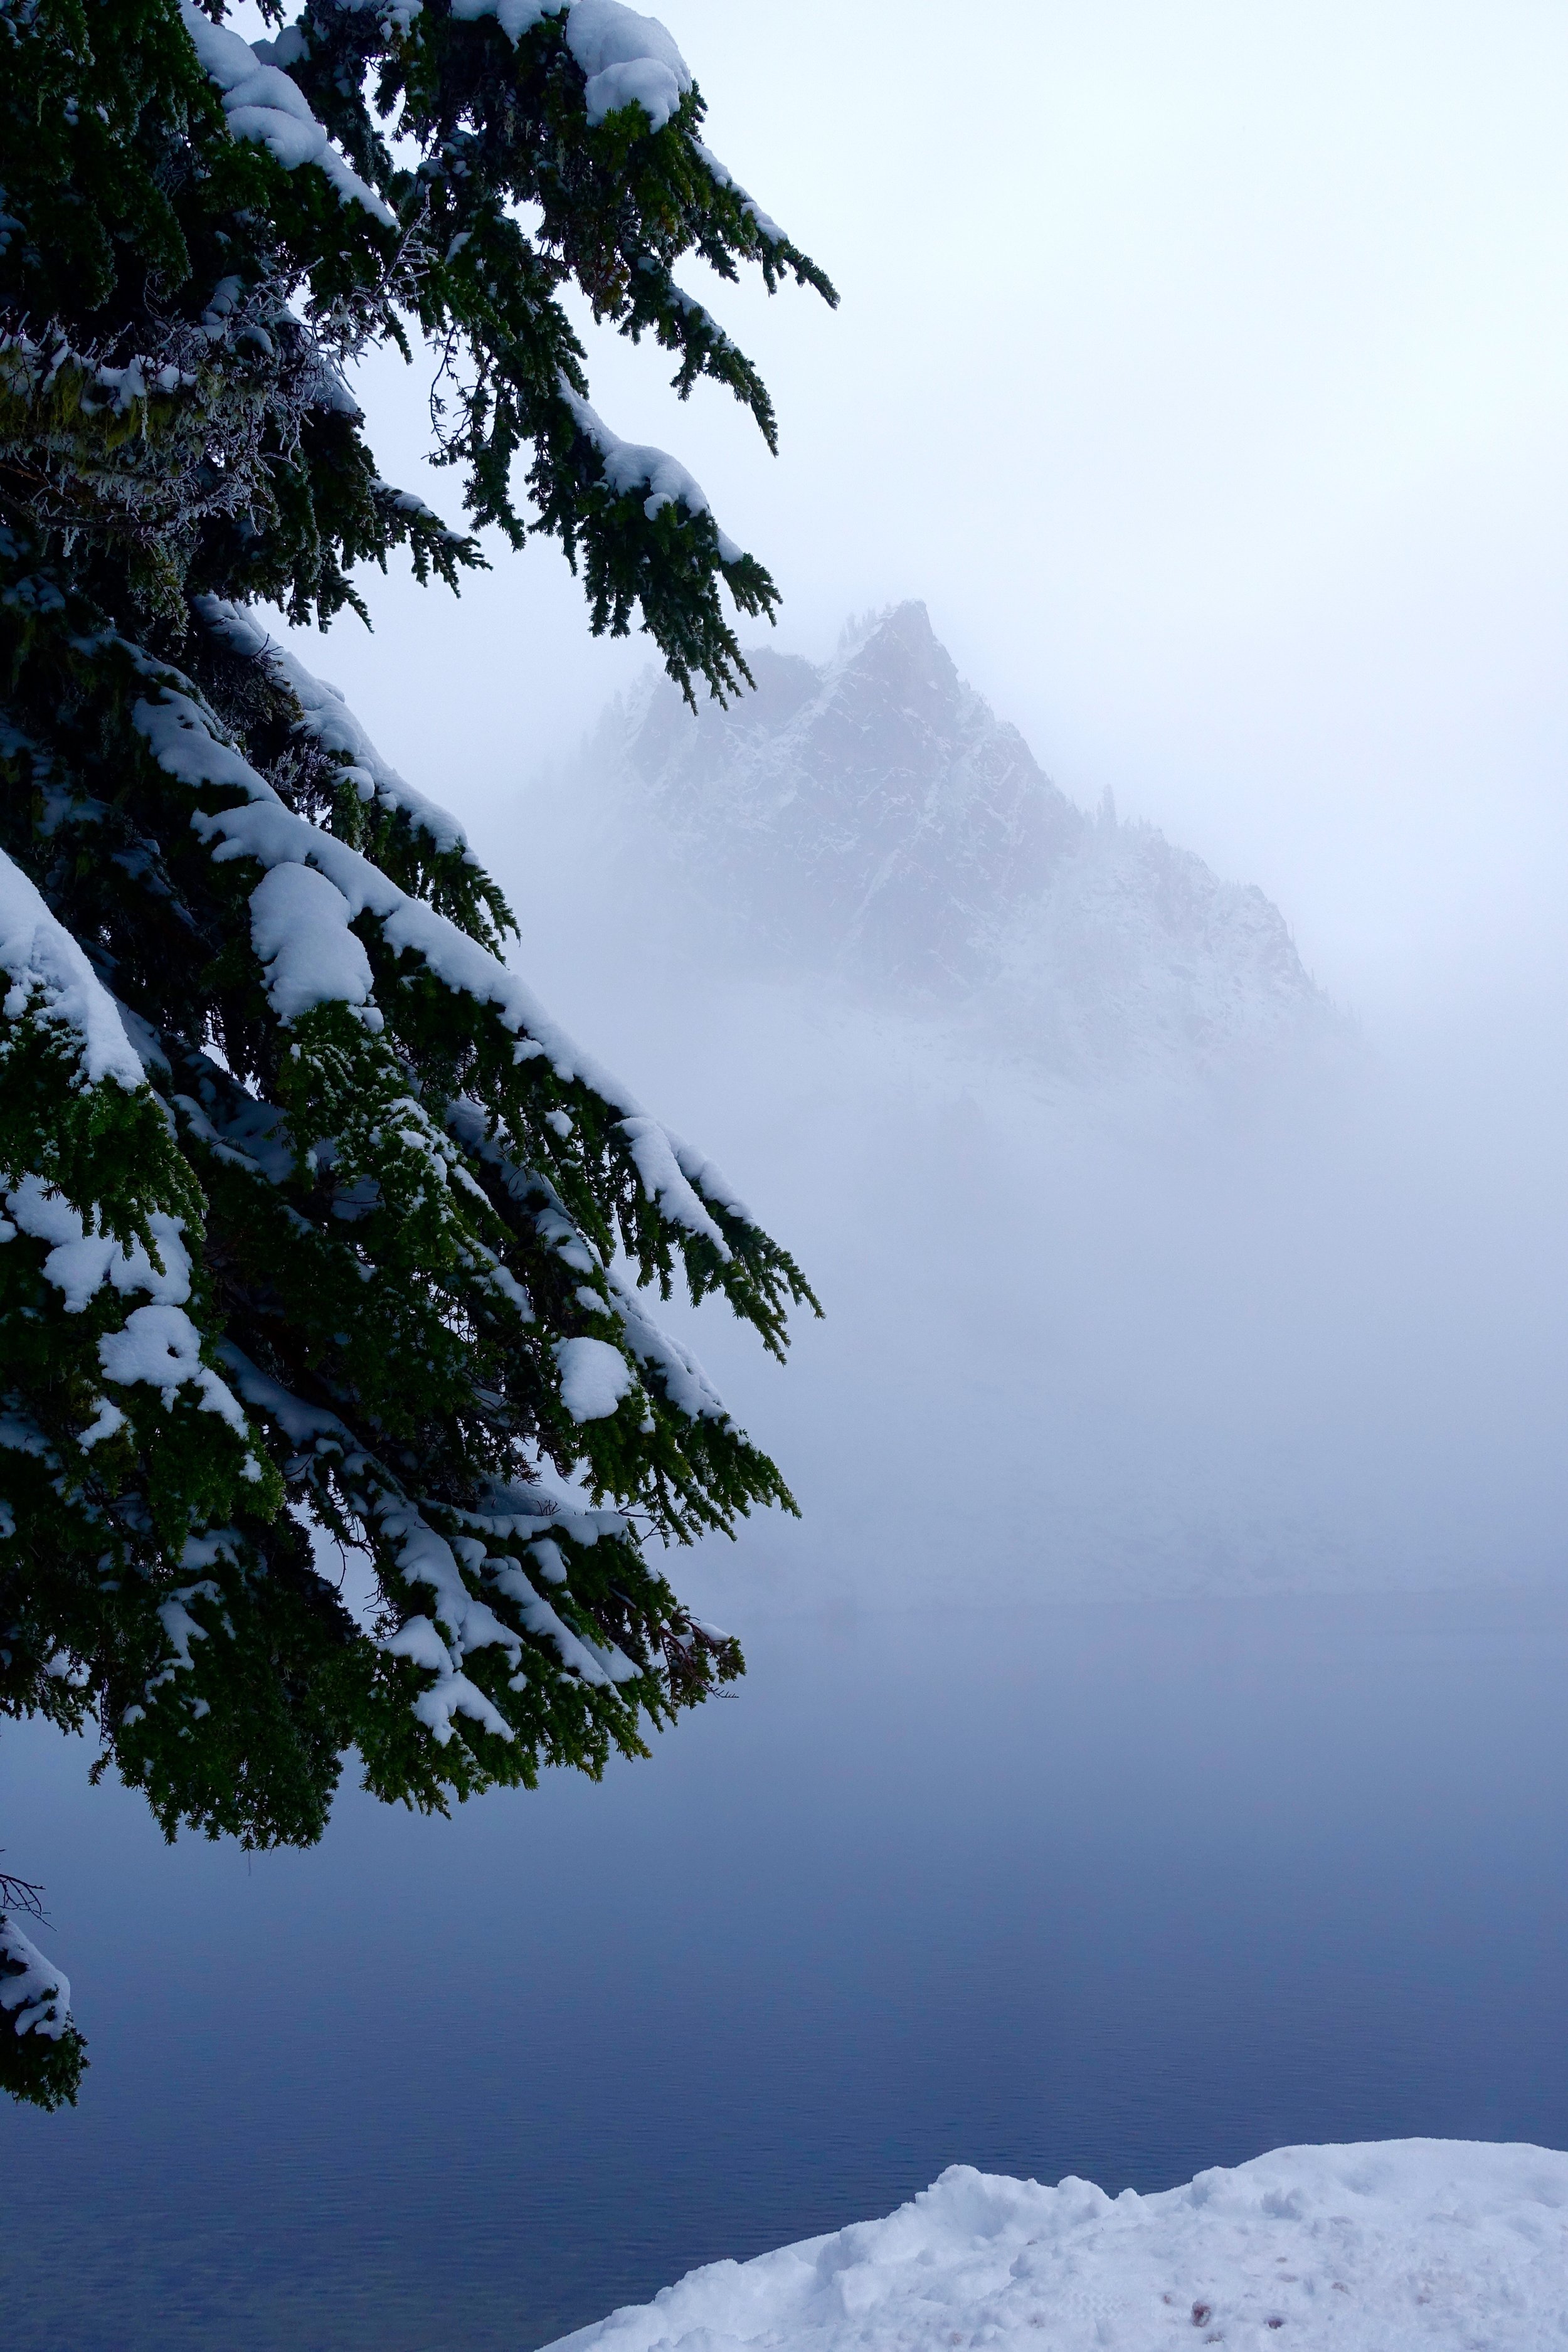
Mileage: 7/ EG 1500 Loved the snow so much that I had to come back for more the same weekend. 3 other girlfriends and myself headed to Lake Valhalla near Steven's Pass to enjoy some more of the fresh snow. The entire road leading up to the trail was covered in snow but still passable. The regular winter attire, as I'm learning, is a puffy down coat, hard shell rain coat, hat, good gloves, warm pants, rain pants, gaiters, poles, waterproof boots and microspikes. Much more than the average summer day hike.
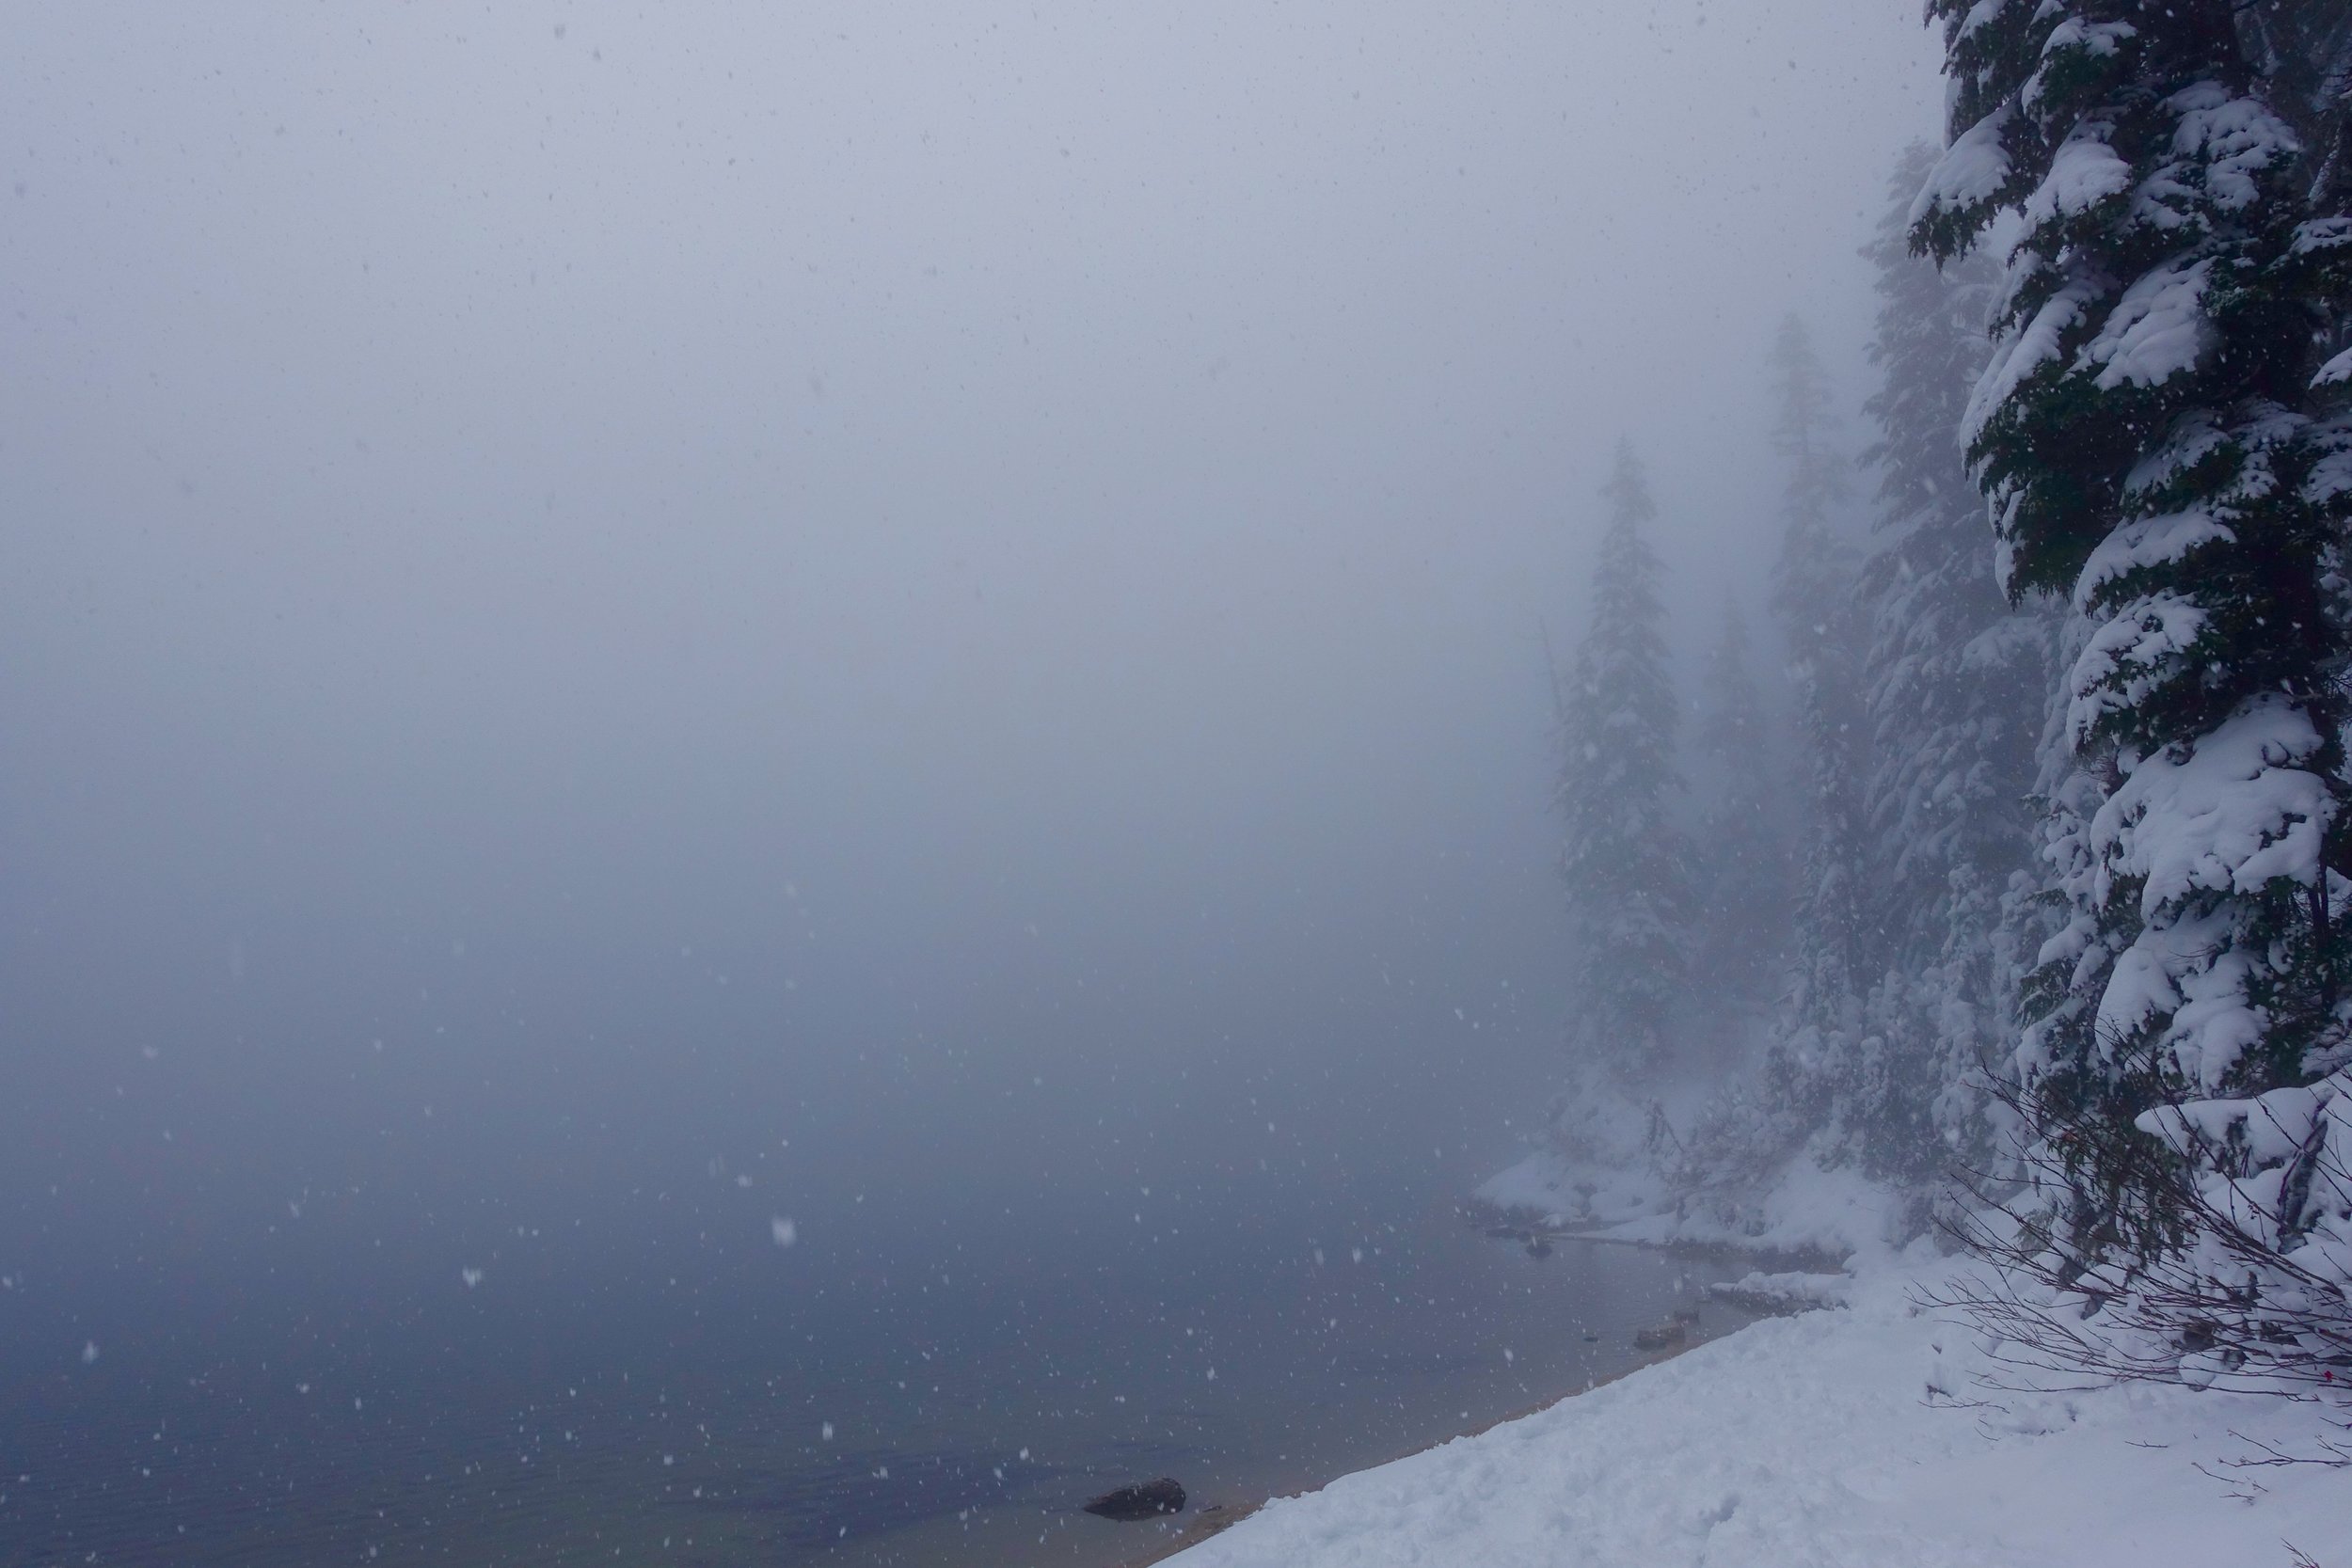
The incline was gradual and never too difficult. This trail meets up with the PCT and then you make your way to the lake. We got to the lake and it was socked in. We had a few times where the fog would pass and we could see a beautiful mountain peak peek out. We sat on our insulated seats, ate hot ramen and then quickly turned around to make it back before dark, which we were successful at.
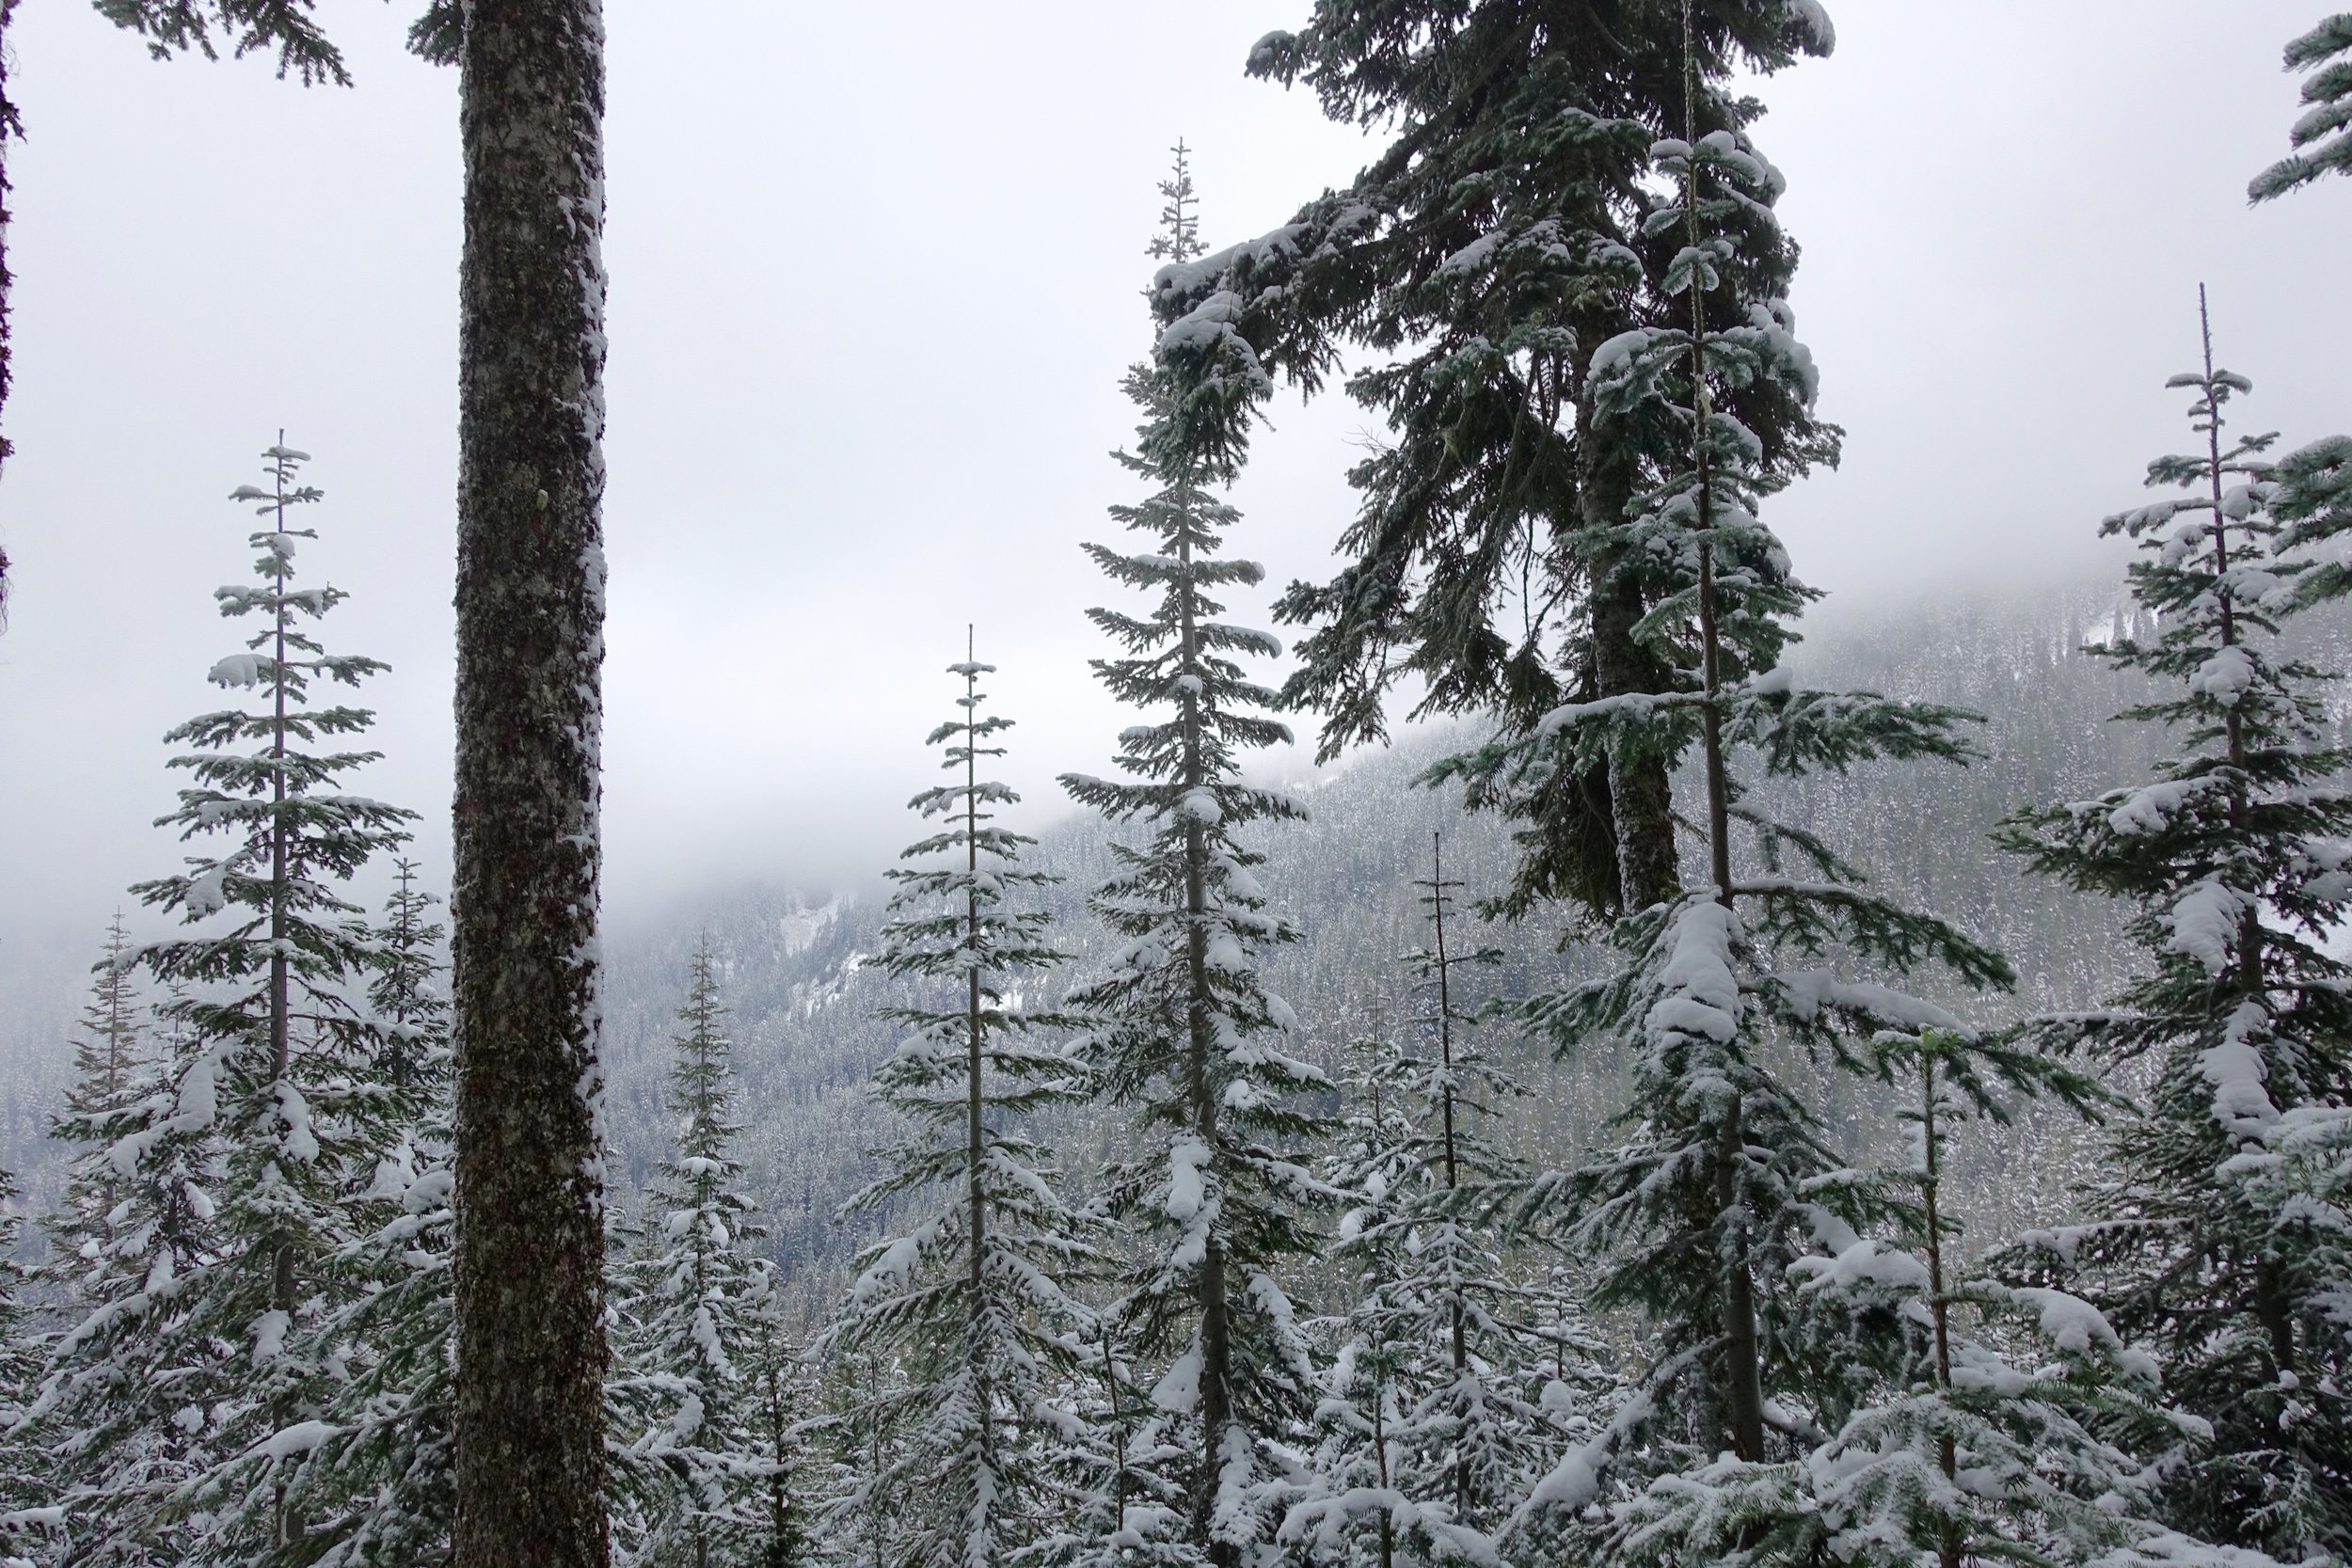
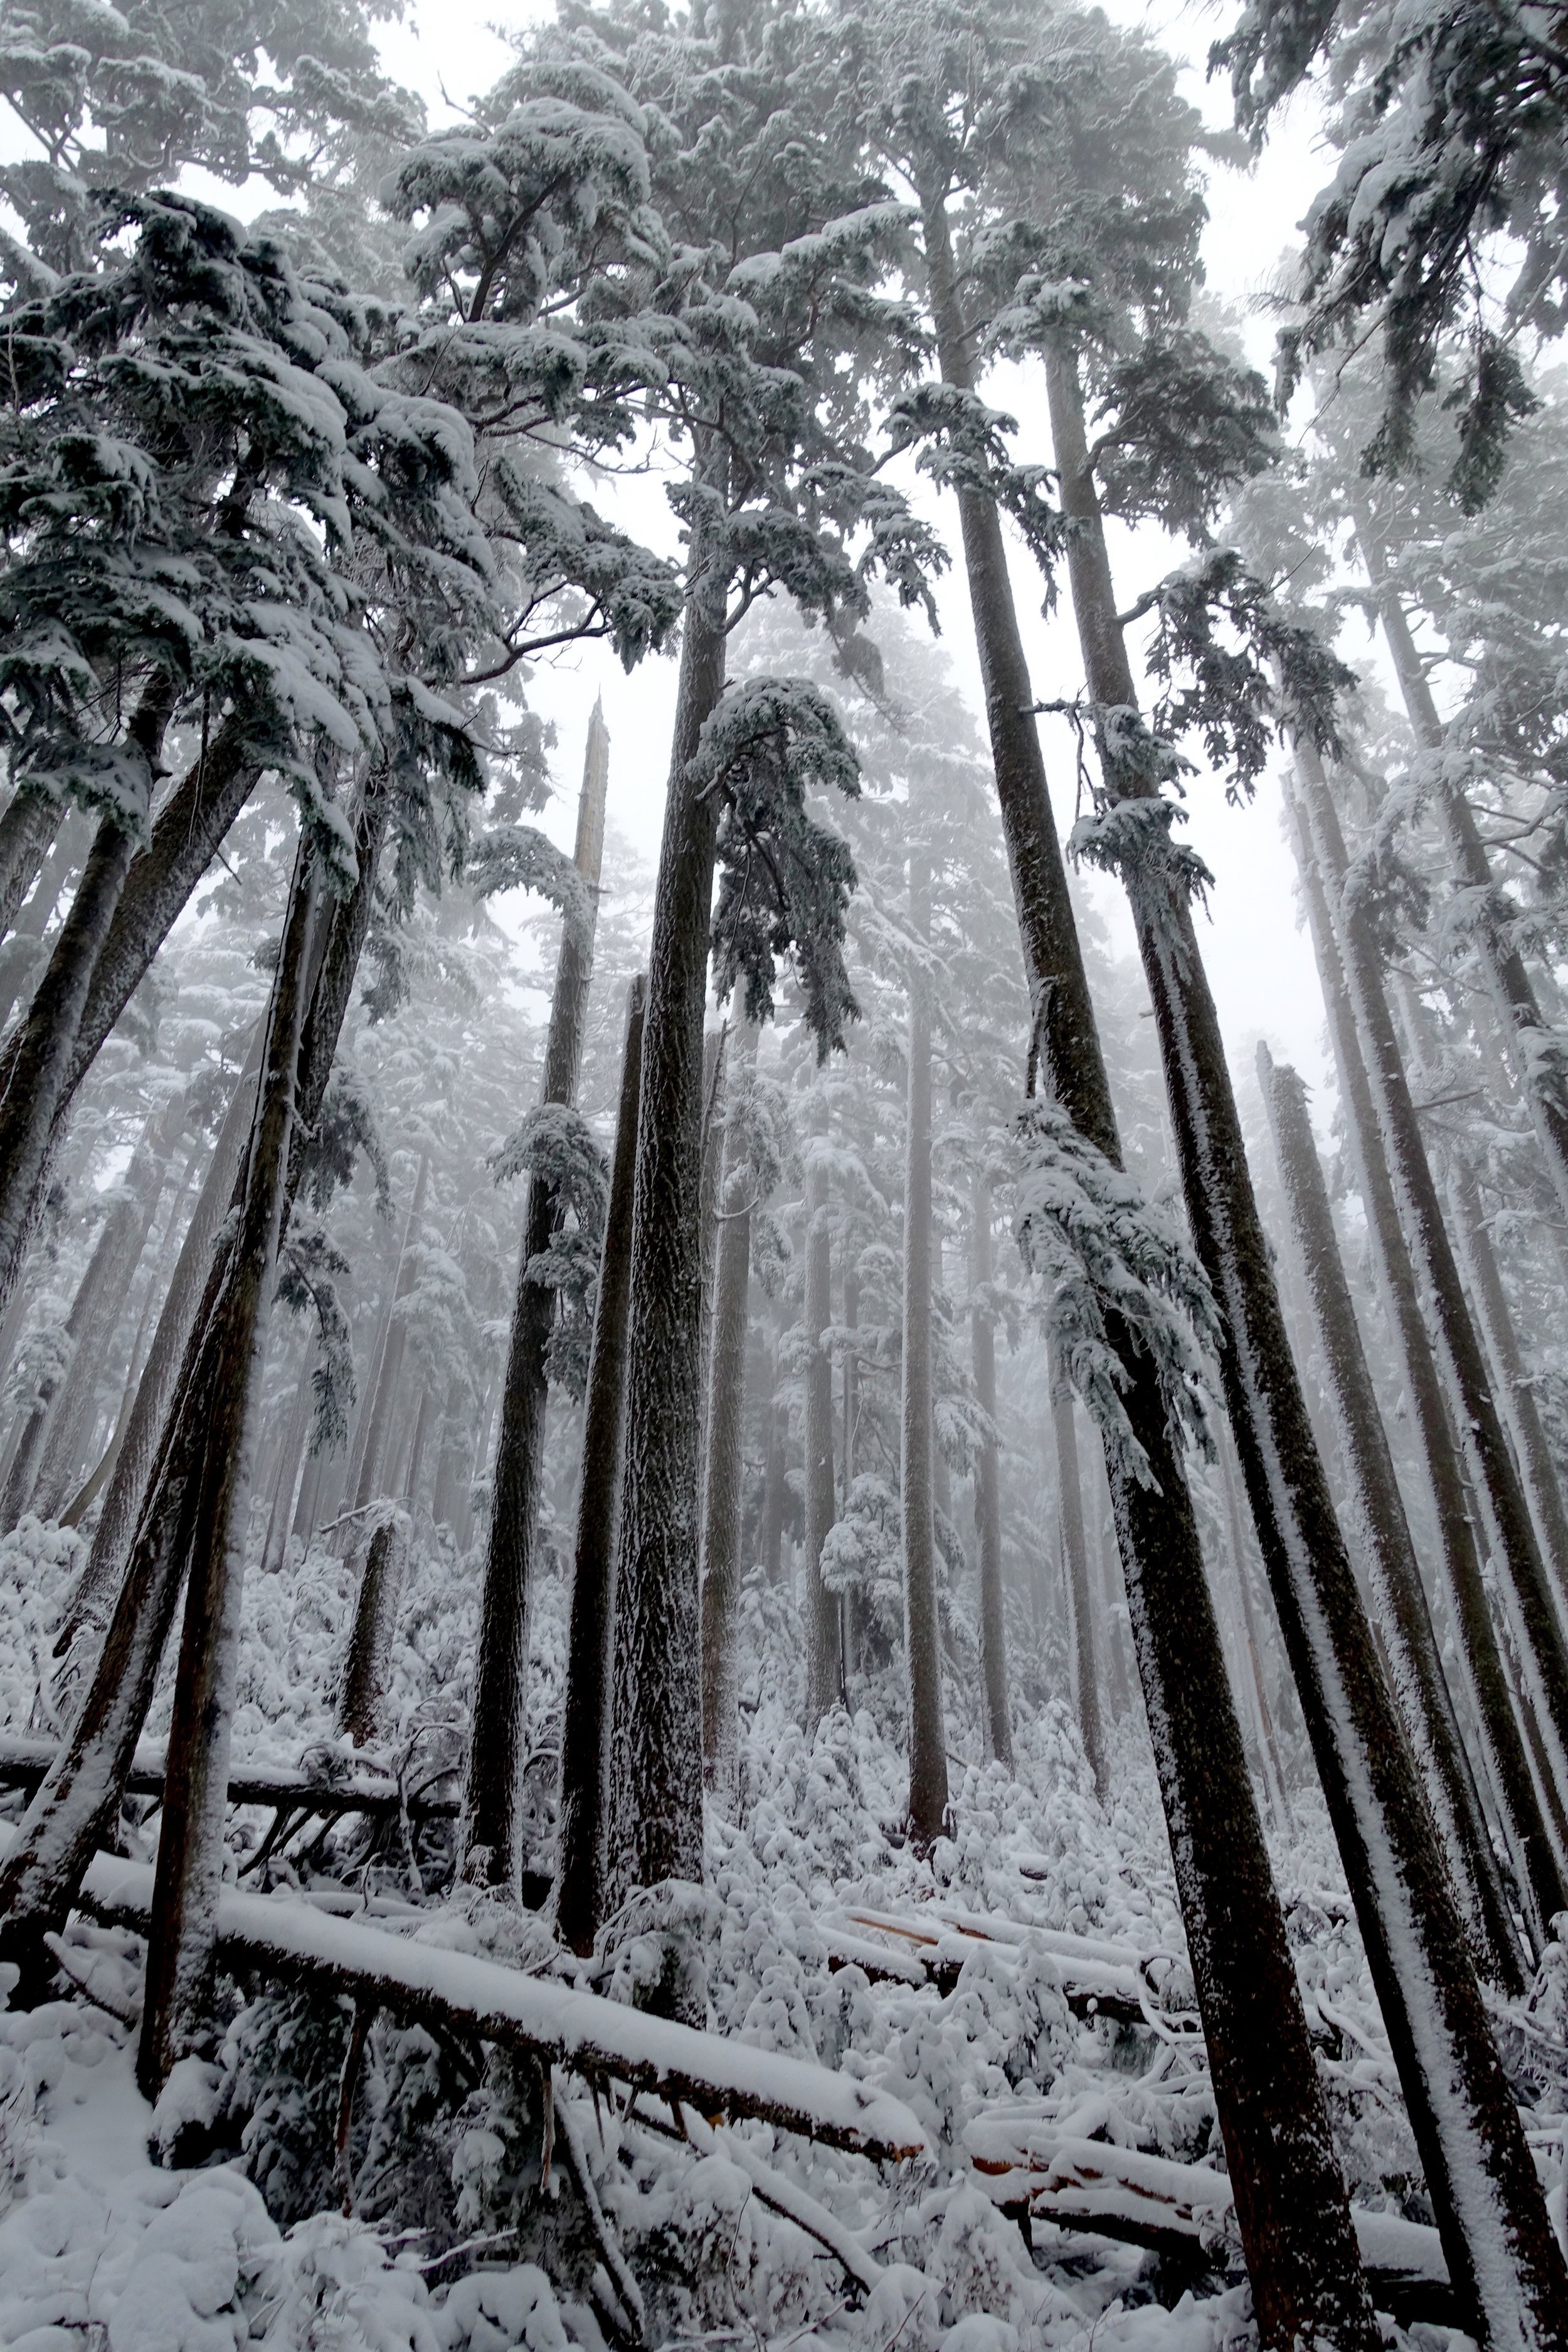
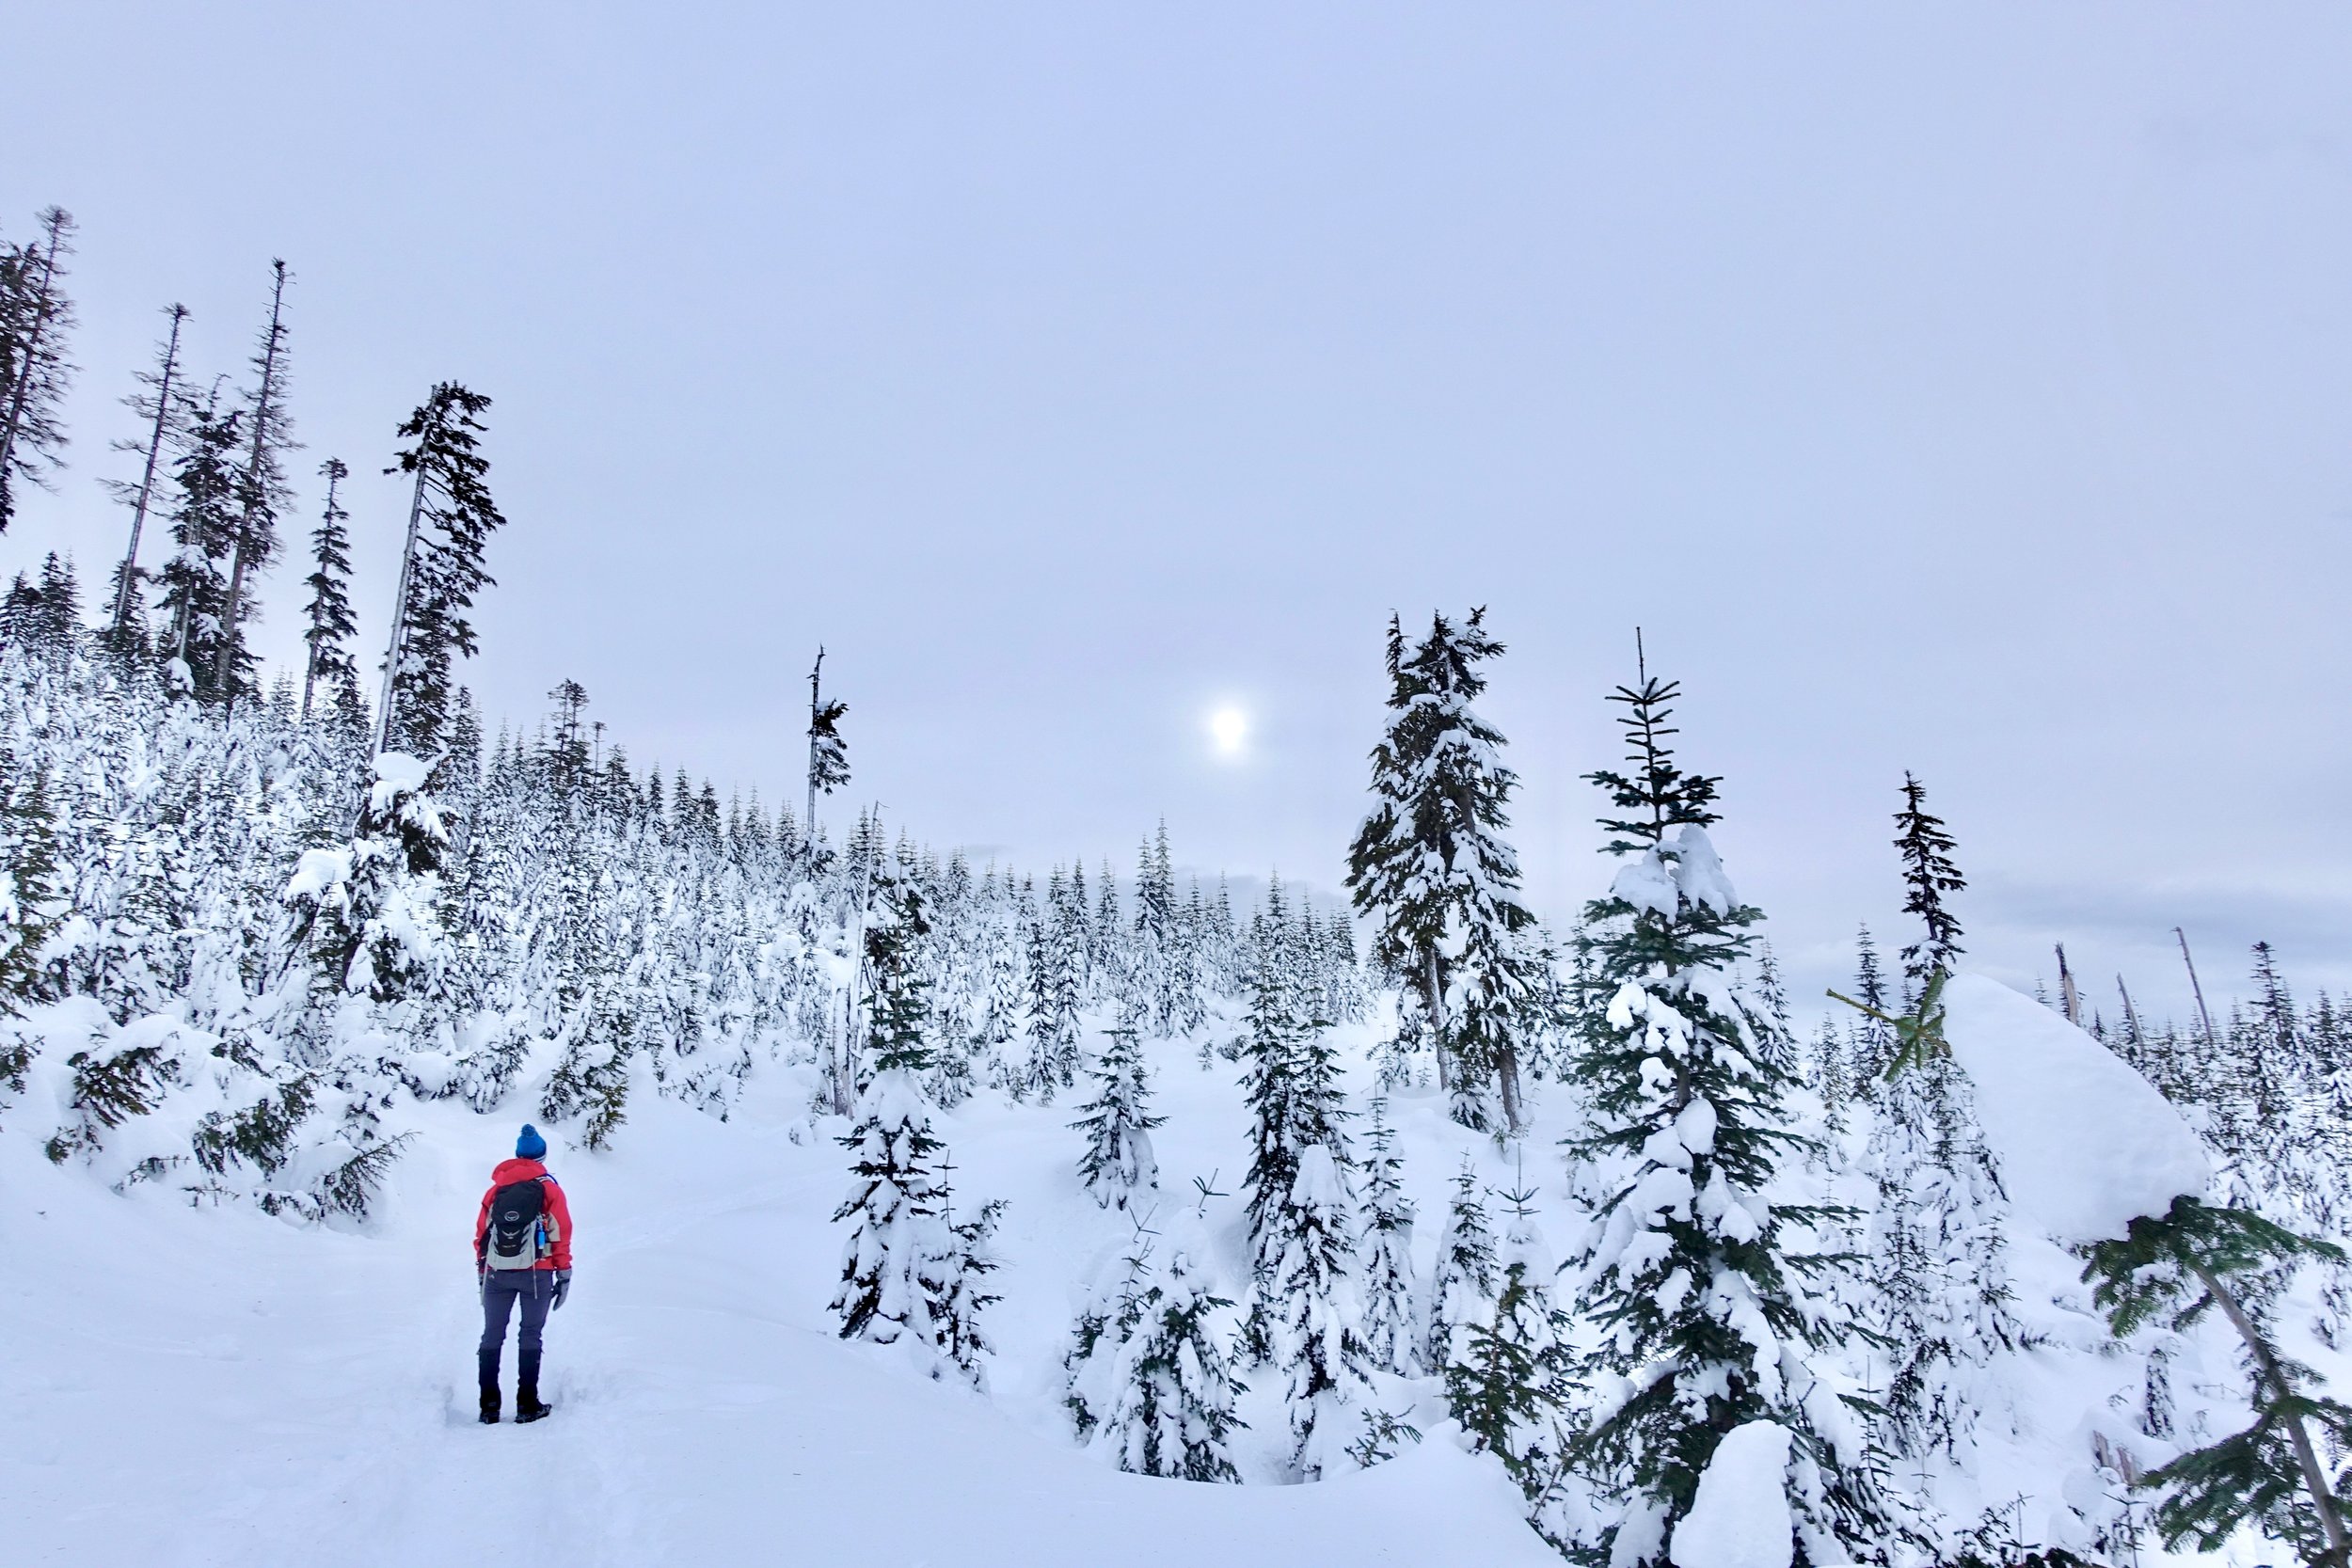
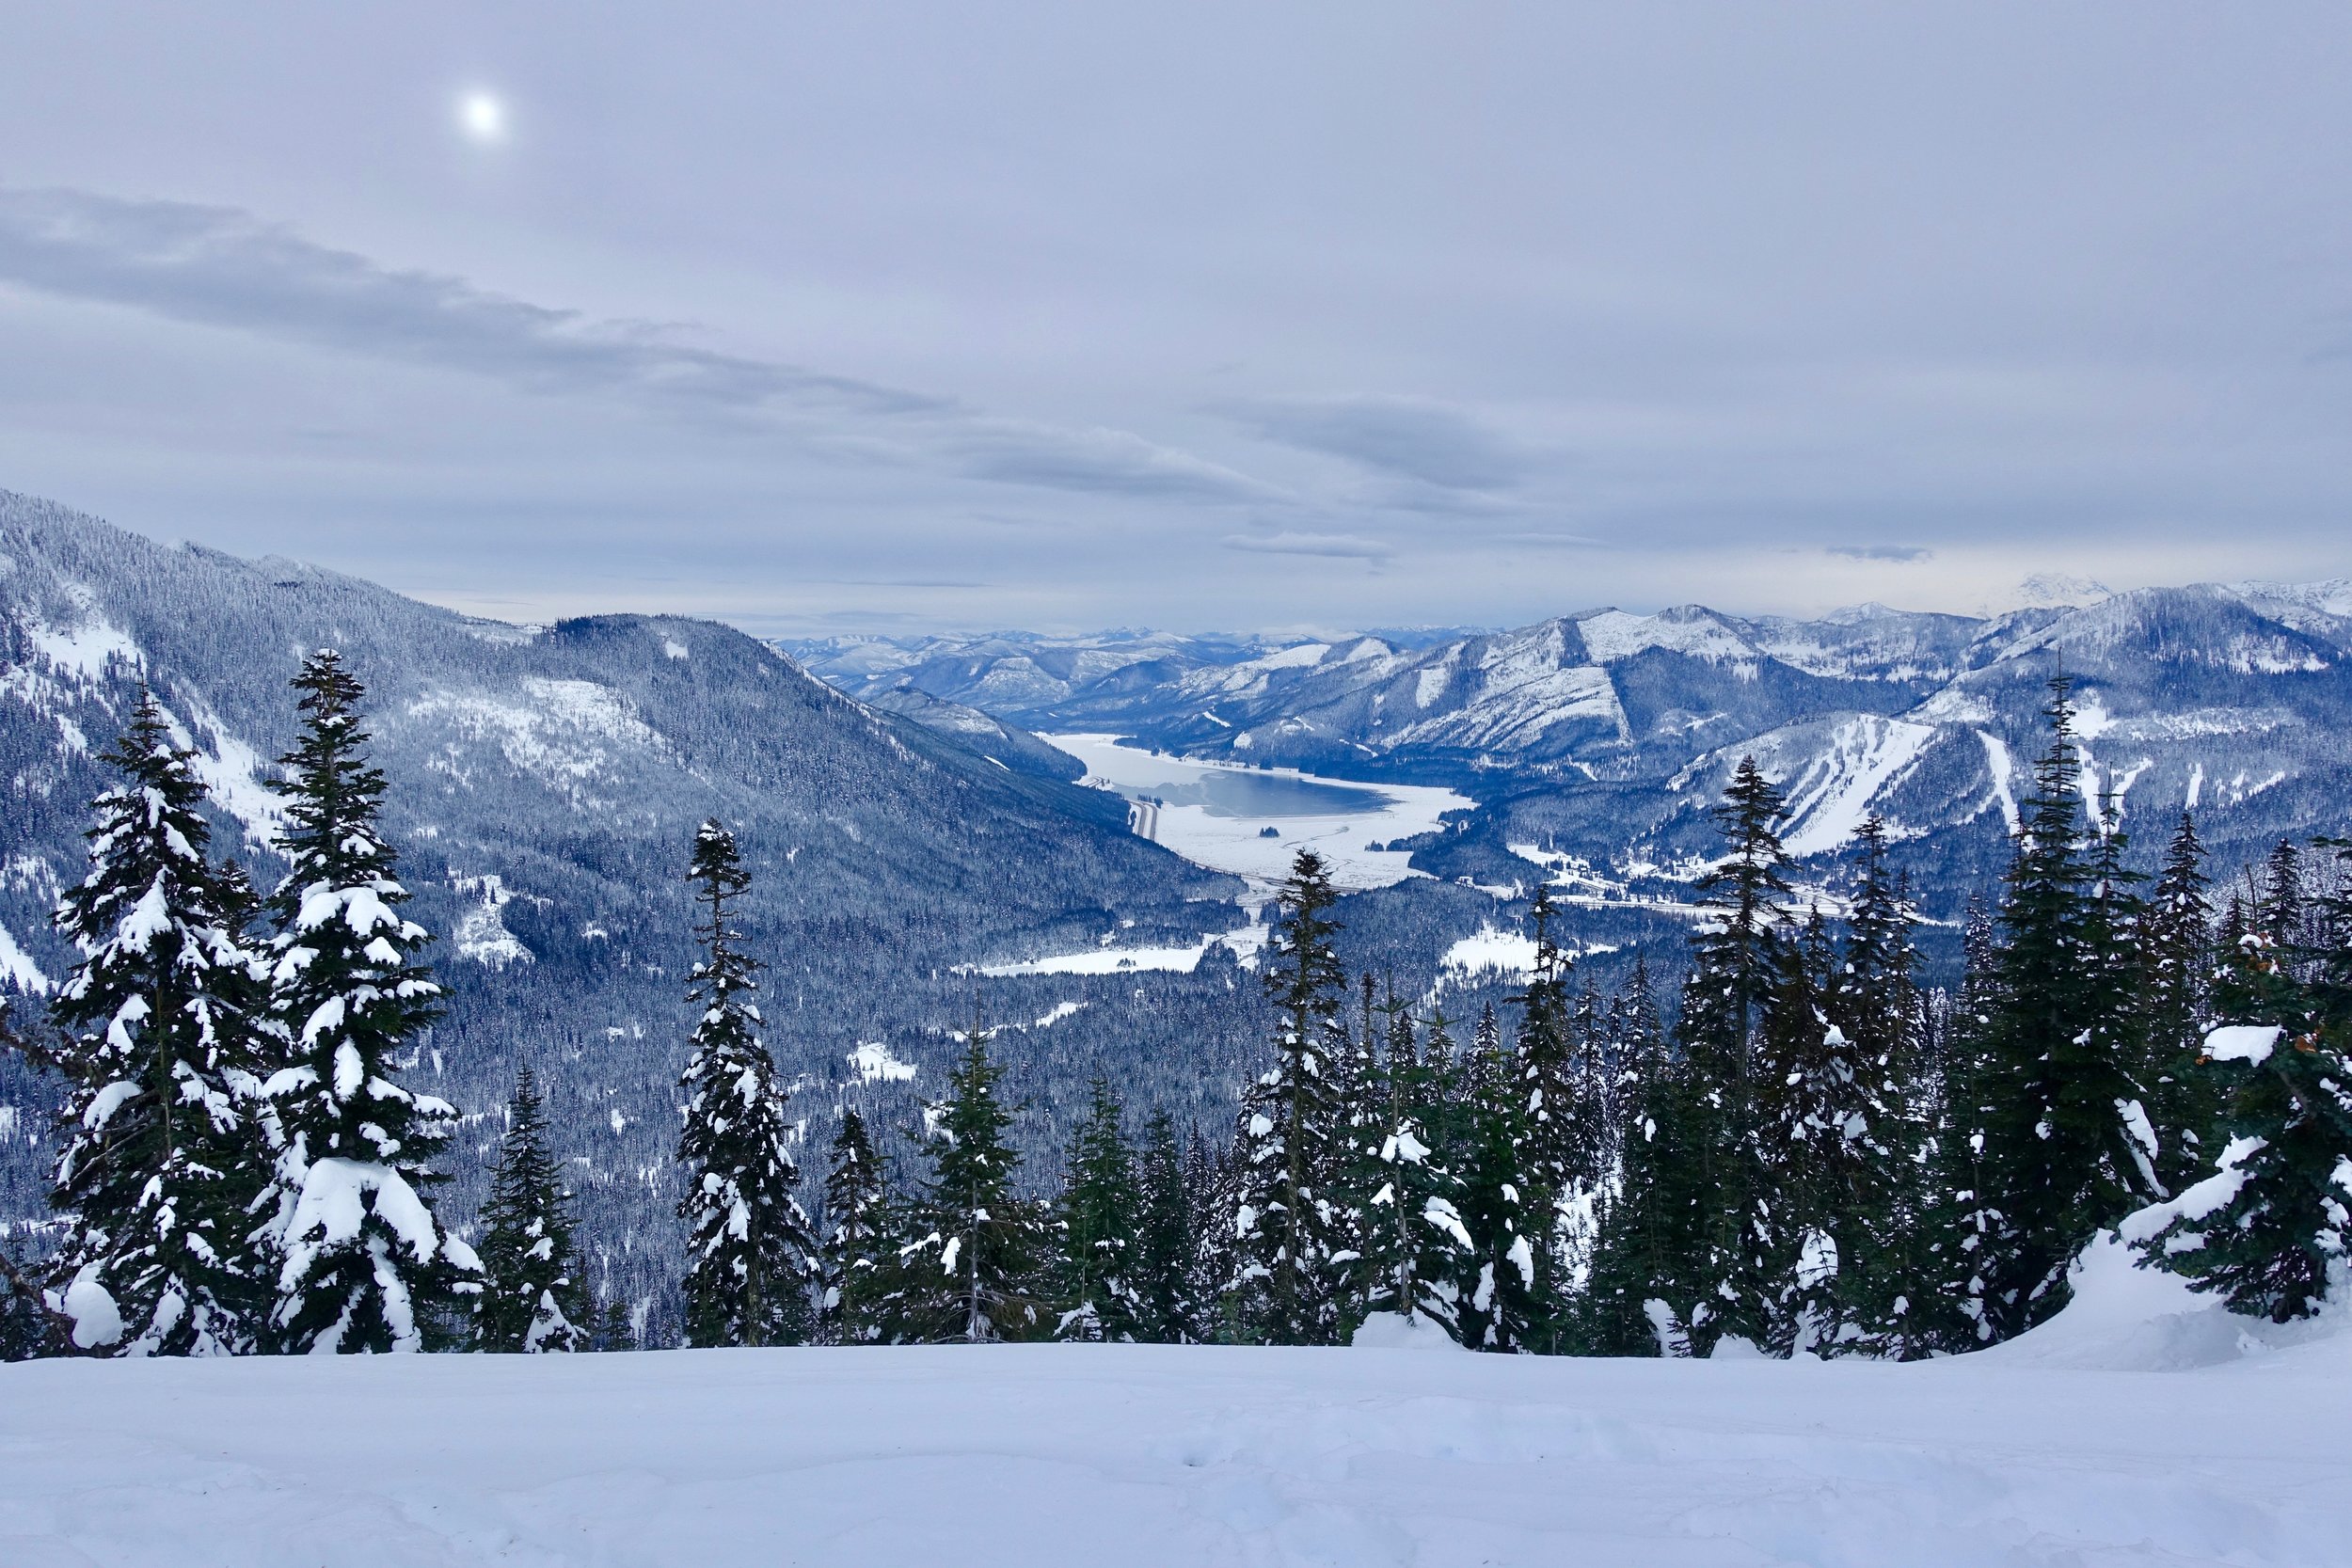
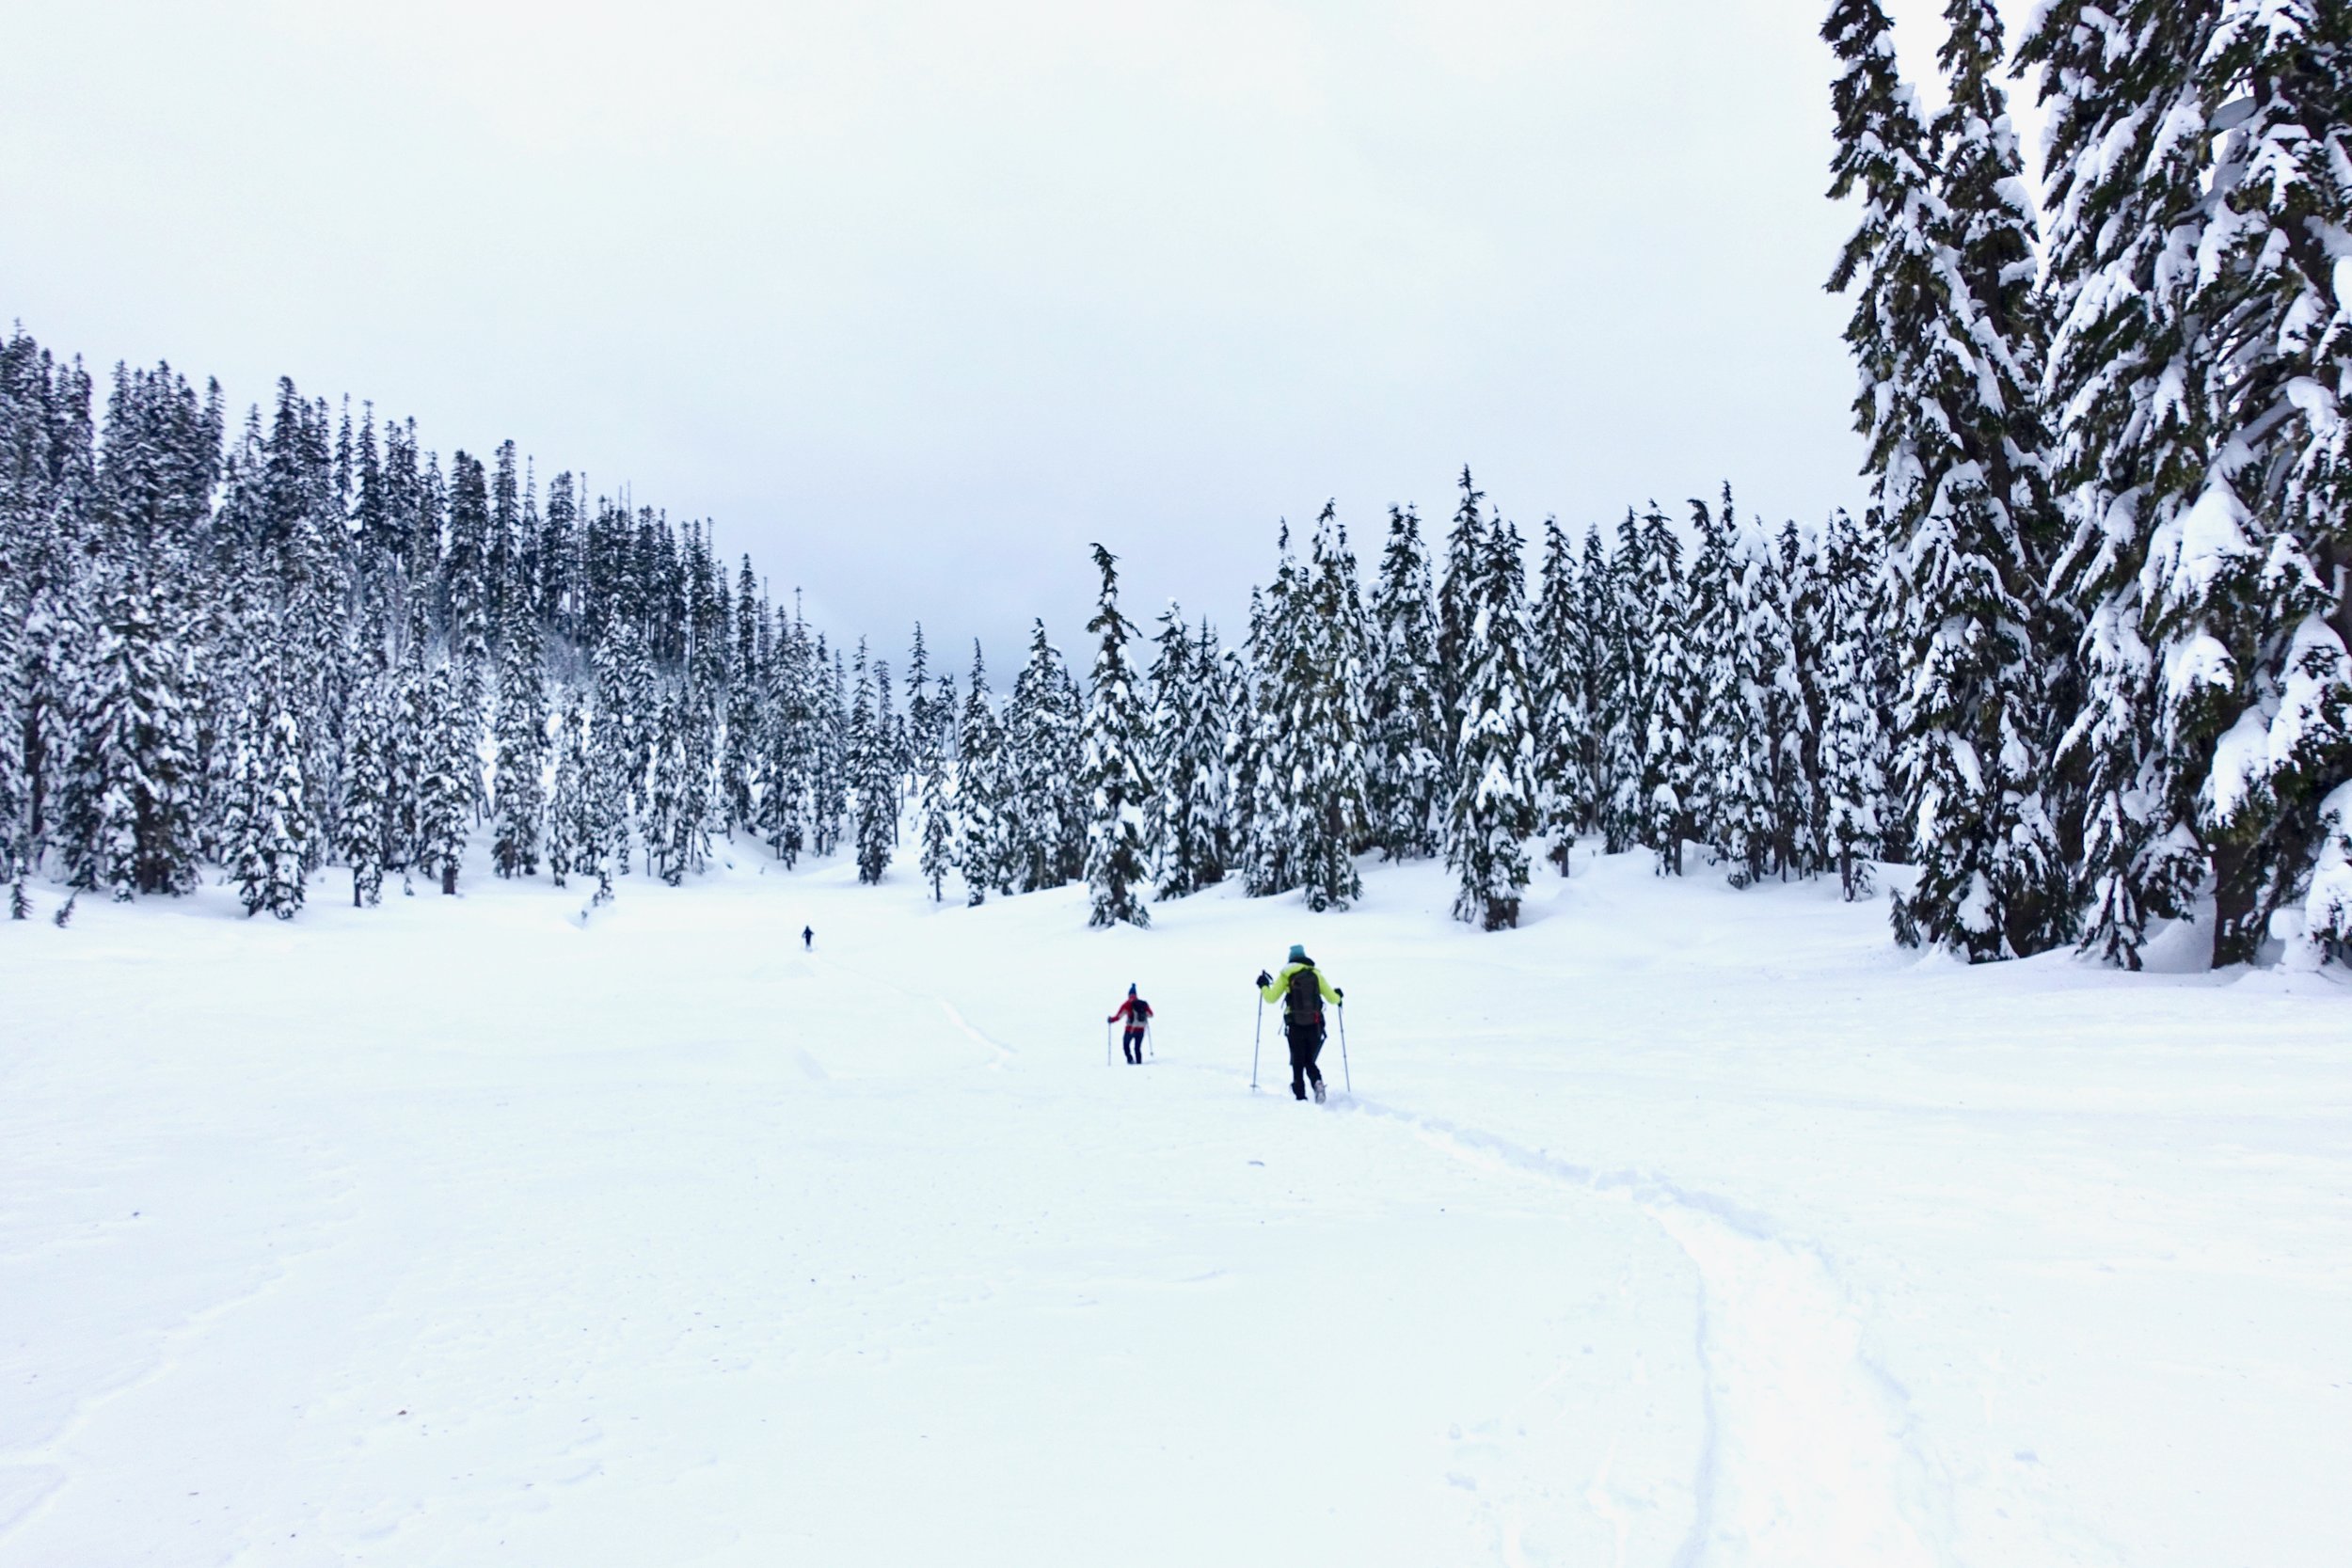
Mt. Catherine
It was right after the first big snow fall of the year and we were itching to play in it! We chose a short, random hike off of I90. Mileage: 3/ 1330 EG
The road heading up was pretty rough and washed out in some areas. The top half was covered in snow. The entire trail was covered in snow so we donned out gaiters and microspikes. We took too much time taking pictures of the snow and soaking it in. We made it to the top with socked in views, but we didn't care. We made it to back to the car and heading back down was super slippery. We skidded a bit and had to inch our way back down. A beautiful day in a winter wonderland.