
Snow Camping 101: Gear and Tips for Staying Warm

Artist Point Sunrise
Backpacking doesn’t have to stop once the snow falls! Winter camping can bring some of the most magical, pristine backcountry moments. Imagine sunsets and sunrises so vibrant with few people around. Places that do not allow camping in the summer months because of fragile meadow, become an endless winter wonderland with limitless options for camping.
My first time snow camping was two years ago with the PNWOW Facebook group. You can read about that experience here. This was a great opportunity to try out snow camping at Mt. Rainier, with only a 10 minute walk from the parking lot. With time and experience, I’ve honed in on my winter camping gear list and can now say I can comfortably snow camp and feel confident doing it. My friend Teresa, who leads the snow camping beginner groups, will be leading more of these groups through her company Cascade Mountain Adventures. If you wanted to be guided in your first snow camping experience, she is your lady!
Since my first time snow camping, I’ve gone a handful of times, which you can read about here. I’ve learned some tips and tricks along the way, which I’m excited to share!
Do I have to be an “expert” hiker?
No!
Heck, I don’t consider myself an expert, just someone that tries to get outside as much as possible and I don’t let the winter months hold me back from that!
You should be a comfortable 3 season backpacker though. Summer backpacking lays the ground work for what you need to know for winter backpacking. It does take a little extra gear to be comfortable, extra route finding and campsite selection considerations to make, but overall winter camping can be very accessible.
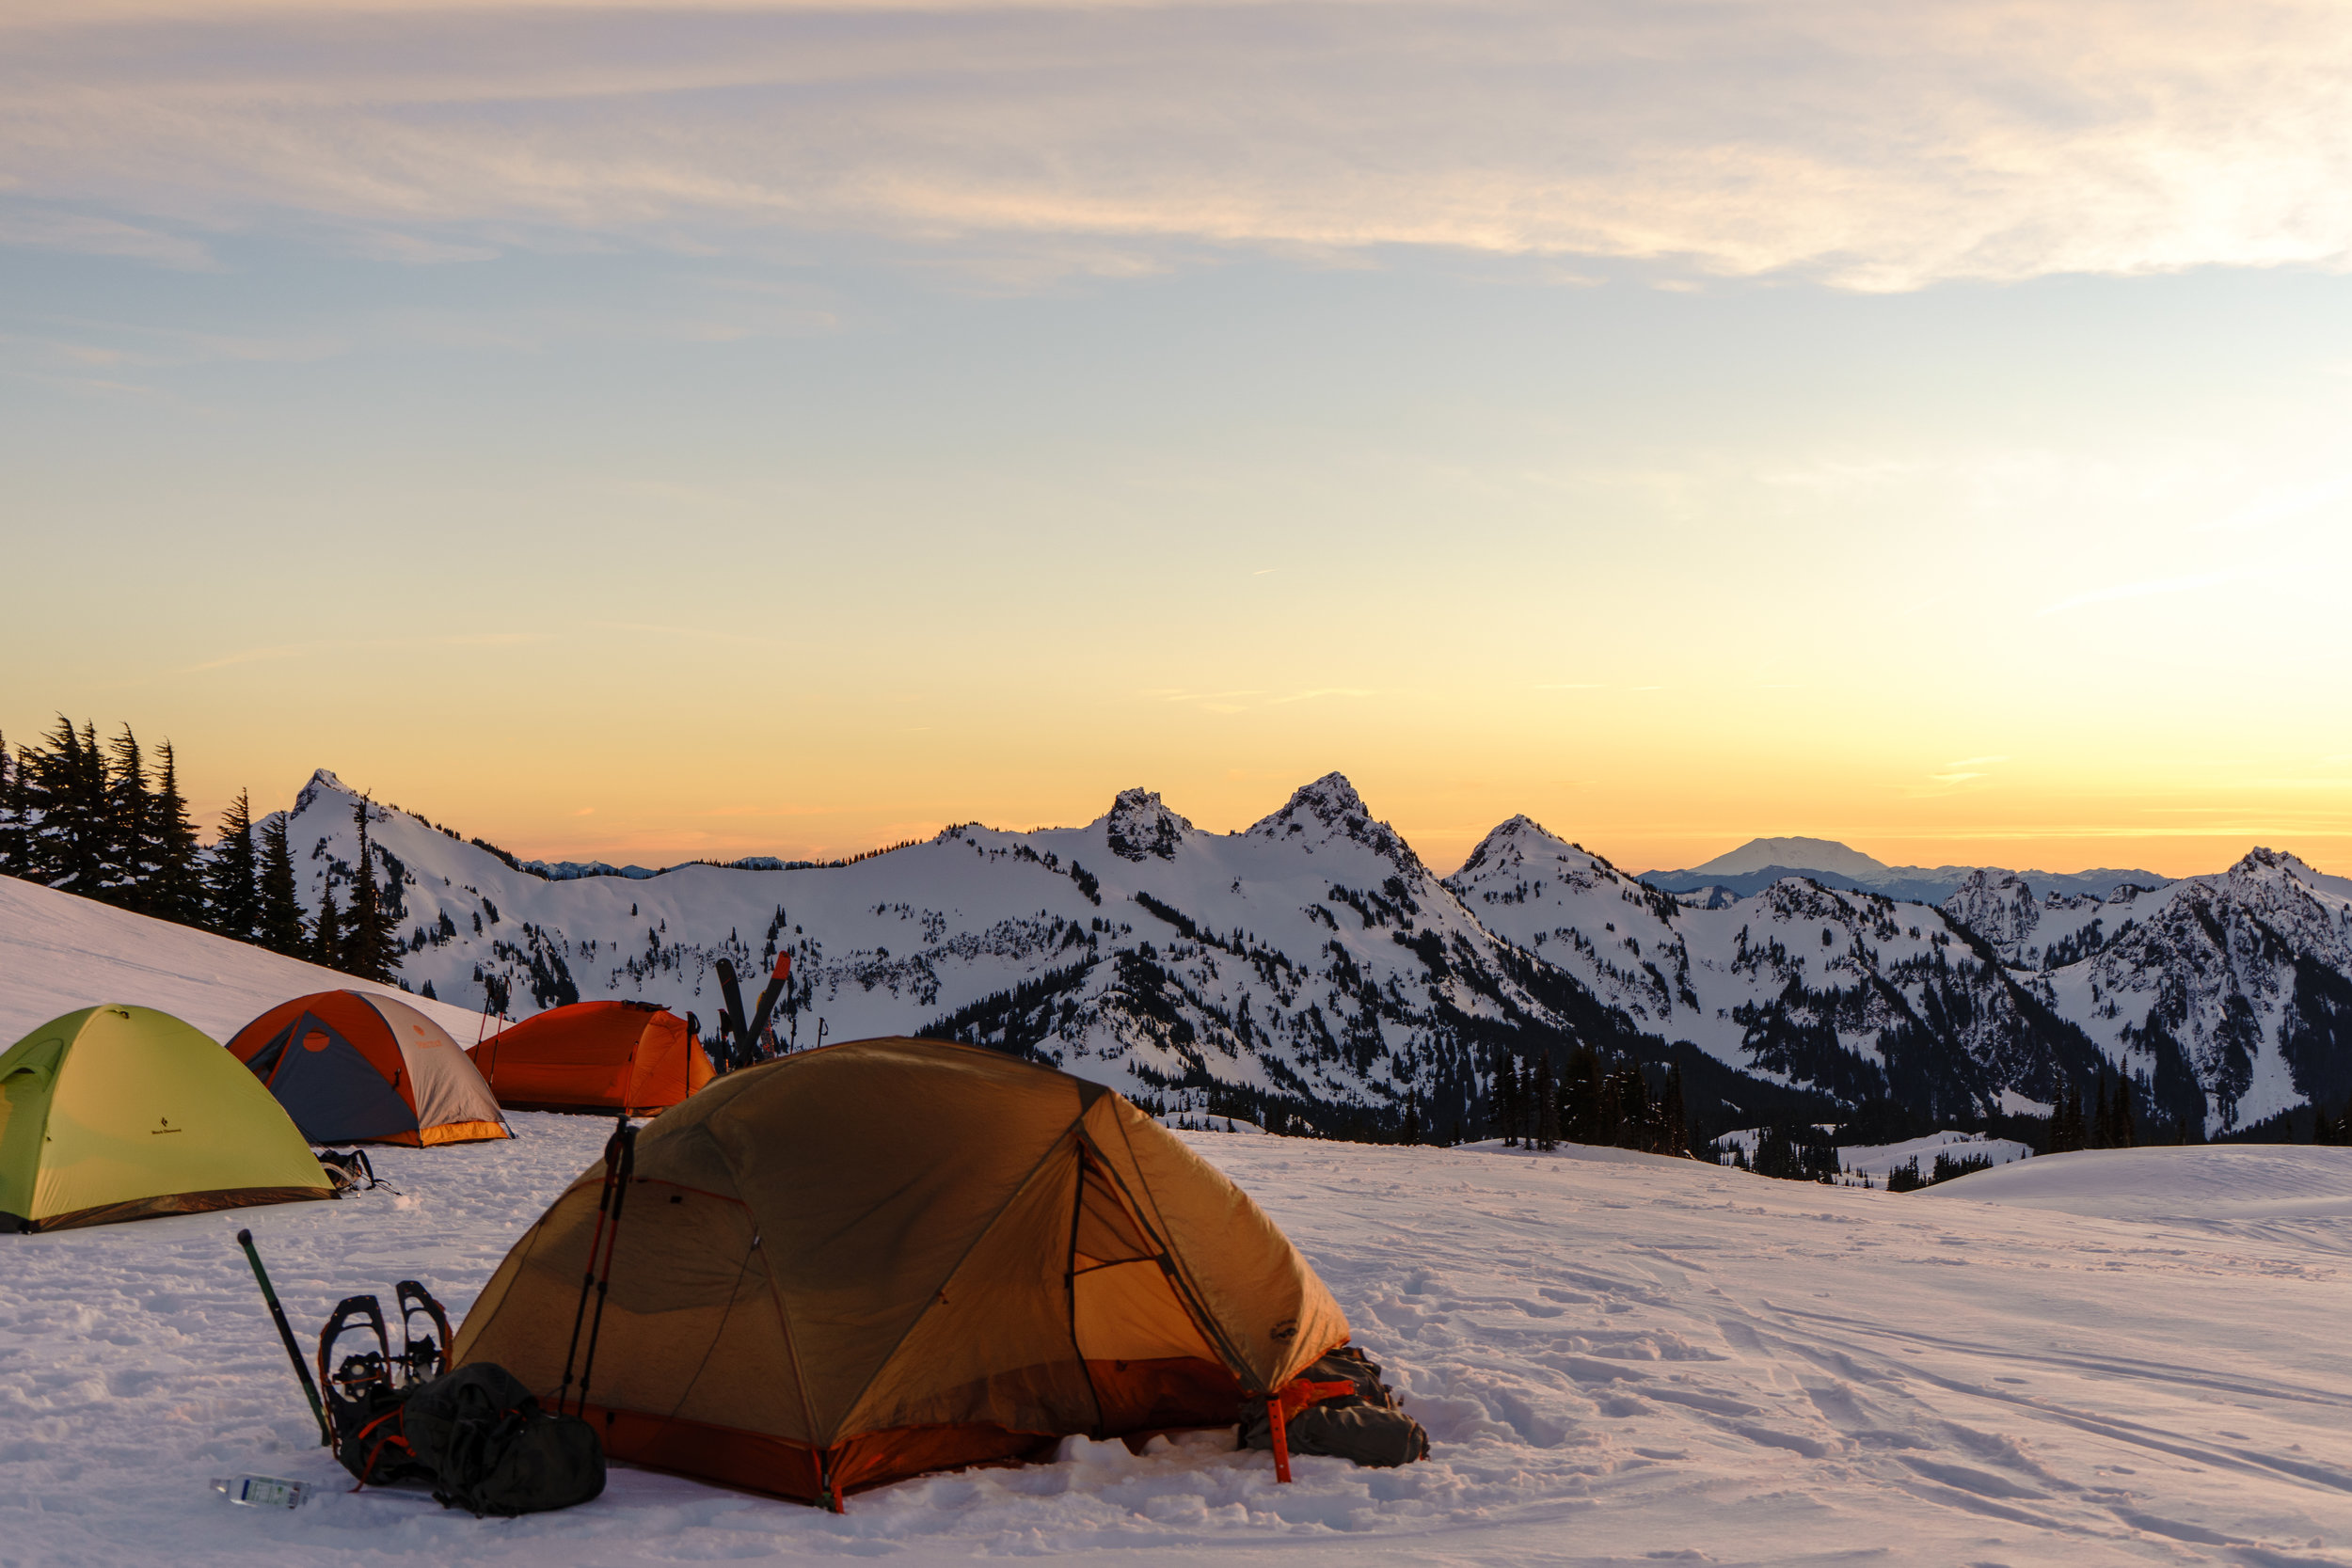
Seeing sunsets from places you normally can’t in the winter is a huge perk
Gear
The first time I went snow camping, I didn’t bring that much extra beyond what I bring for 3 season backpacking. I have, with trial and error, found things that work better for colder conditions now though.
Tent- 4 Season or 3 Season?
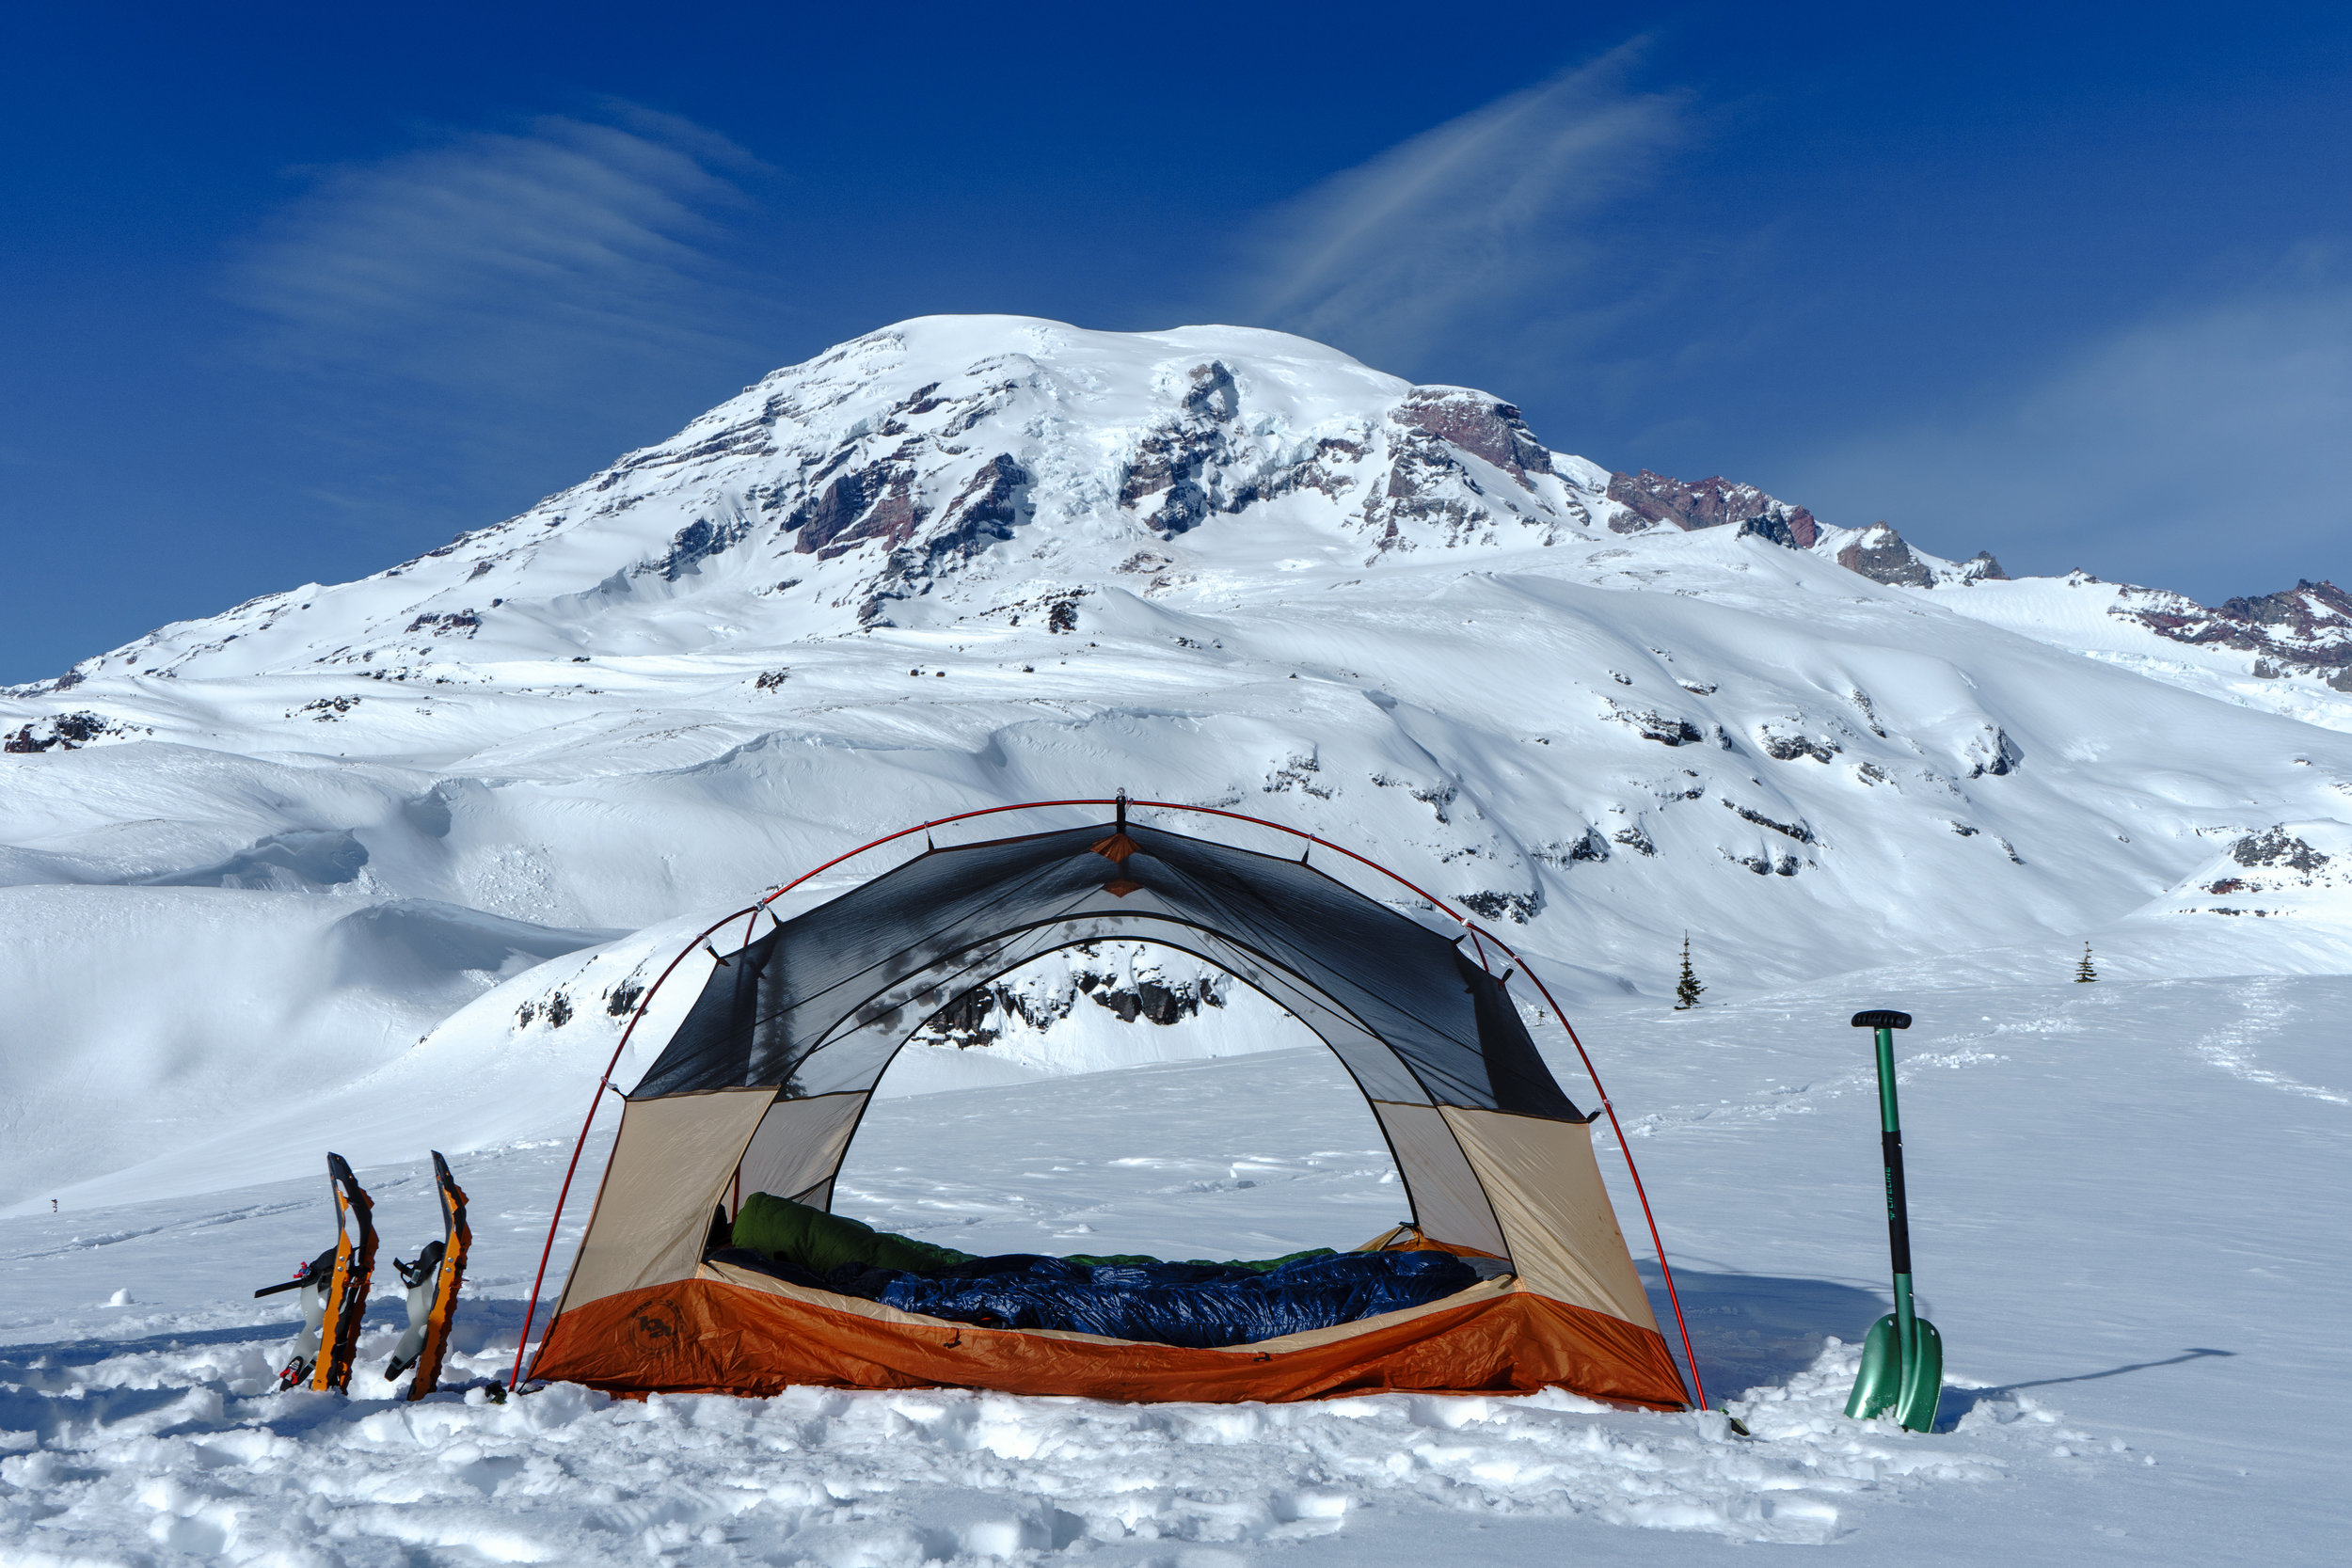
A big misconception is that you must have a 4 season tent for snow camping. If you are not going in really windy conditions and no precipitation is forecasted, a 3 season tent is fine. If the conditions are not ideal (super windy and snowing a lot), a 4 season tent does better. I personally only go in ideal conditions and with temperatures not lower than 20 degrees.

This is the Nemo Dagger 2P and has done fine for snow camping.

Nikki braved the cold and dug a pit to sleep in for the night! She can confirm it was colder than sleeping in a tent.

Even this ultra light backpacking tent did fine snow camping! Go with what you have.
Sleeping Pad
Your sleeping pad is an important piece of gear that will insulate you from the snow under you and keep you warm. You can make do with a summer one + insulated pad under it. I always put the Therm-a-rest Z Lite underneath my sleeping pad for extra insulation. Make sure to put the silver side up to reflect body heat back to you. It is also important to use a pad with a higher R value for warmth in the winter. I prefer Klymit sleeping pads and use an insulated one for winter.

Klymit Insulated pad

Therm-a-rest Z Lite- This sleeping pad works great to sit on during the day as well!
Sleeping Bag + Liner
I had been using my summer Enlightened Equipment quilt before and was always cold for snow camping. This winter I received the Klymit 0 degree bag and it keeps me so toasty, I’ve actually been too warm some nights with it! I would start with your summer sleeping bag and add a sleeping bag liner and see if you need a warmer bag from there. A sleeping bag liner is a helpful accessory to add to your sleeping set up to add warmth. They come in many different temperatures to add warmth.
You can always rent a warm sleeping bag for your first time snow camping to see if you like it and if it’s something you’d like to invest in.

This is the Klymit 0 degree bag and it’s a game changer!

Sleeping bag liner Sea To Summit. They have a few of them adding anywhere between 14 and 25 degrees of warmth.
Backpack
I use the Osprey Aura 65L and it’s the perfect size for winter camping. Don’t be afraid to attach extra gear to the outside of your pack if you are working with a smaller pack.

Pictured here is the mens version.I like being able to attach the Z-lite sleeping pad easily on the bottom.
Snowshoes
I believe that MSR snowshoes are the best on the market from what I’ve experienced. They have many different models for different price points as well. They do well on steep snow with the built in crampons. They also have heel risers to help with the uphill sections.

Stove
I’ve experimented with a couple different MSR stoves. I’ve found the MSR Windburner that I own did the best over the Pocket Rocket. I’ve seen the MSR Reactor outperform them all though. Bringing enough fuel to melt water is also important to remember as it can take much longer than you expect. I always carry way more than I think I’ll need for a winter camping trip.
MSR Pocket Rocket here. It took almost an hour to melt a pot water. The Windburner and Reactor are faster.
Clothing
Layering is key! Make sure to de-layer as you hike up to not have wet, sweaty clothes for the rest of the trip. The way I build my layers for winter hiking are a base layer, mid-layer and outer layer.

Love my shell!
Here are my go to pieces for winter:
Base layer top: Smartwool 250 (for sleeping), I’ll wear a light tank top or athletic t-shirt for hiking under my other layers
Mid-layer fleece: Mammut Runbold ML Hoodie
Mid-layer synthetic: Arc'teryx Atom lt hoody
Hardshell: Arc'teryx Beta AR
Down jacket: Arc'teryx Cerium LT
Pants: Leggings of many different brands. If it’s really cold I’ll wear my fleece lined Athleta ones.
Down Pants: Many of my friends have down pants and swear by them for sitting around camp
REI Wool bottoms for sleeping
REI Rain pants for around camp
Salewa boots for hiking
Ininji wool socks for hiking/ Smartwool for sleeping
Sunglasses: Make sure to have full coverage sunglasses on snow as the snow relfects extra light back onto your face
Thin gloves and thick gloves, wool buff, hat, OR gaiters
Snow booties: I found synthetic REI ones on sale. Feathered friends makes nice down ones.
Where to Go?
So you have the gear, now it’s time to choose where you want to go! If it’s your first time, it’s good to choose something mild with minimal elevation gain or miles as you will have a heavier pack than normal.
In Washington, some nice beginner areas are the Paradise area of Rainier and Artist Point at Mt. Baker. At Rainier, you need to pick up a permit from the ranger station at Longmire and they have a few more specific rules regarding camping in the park (ex.-must have a bear can).
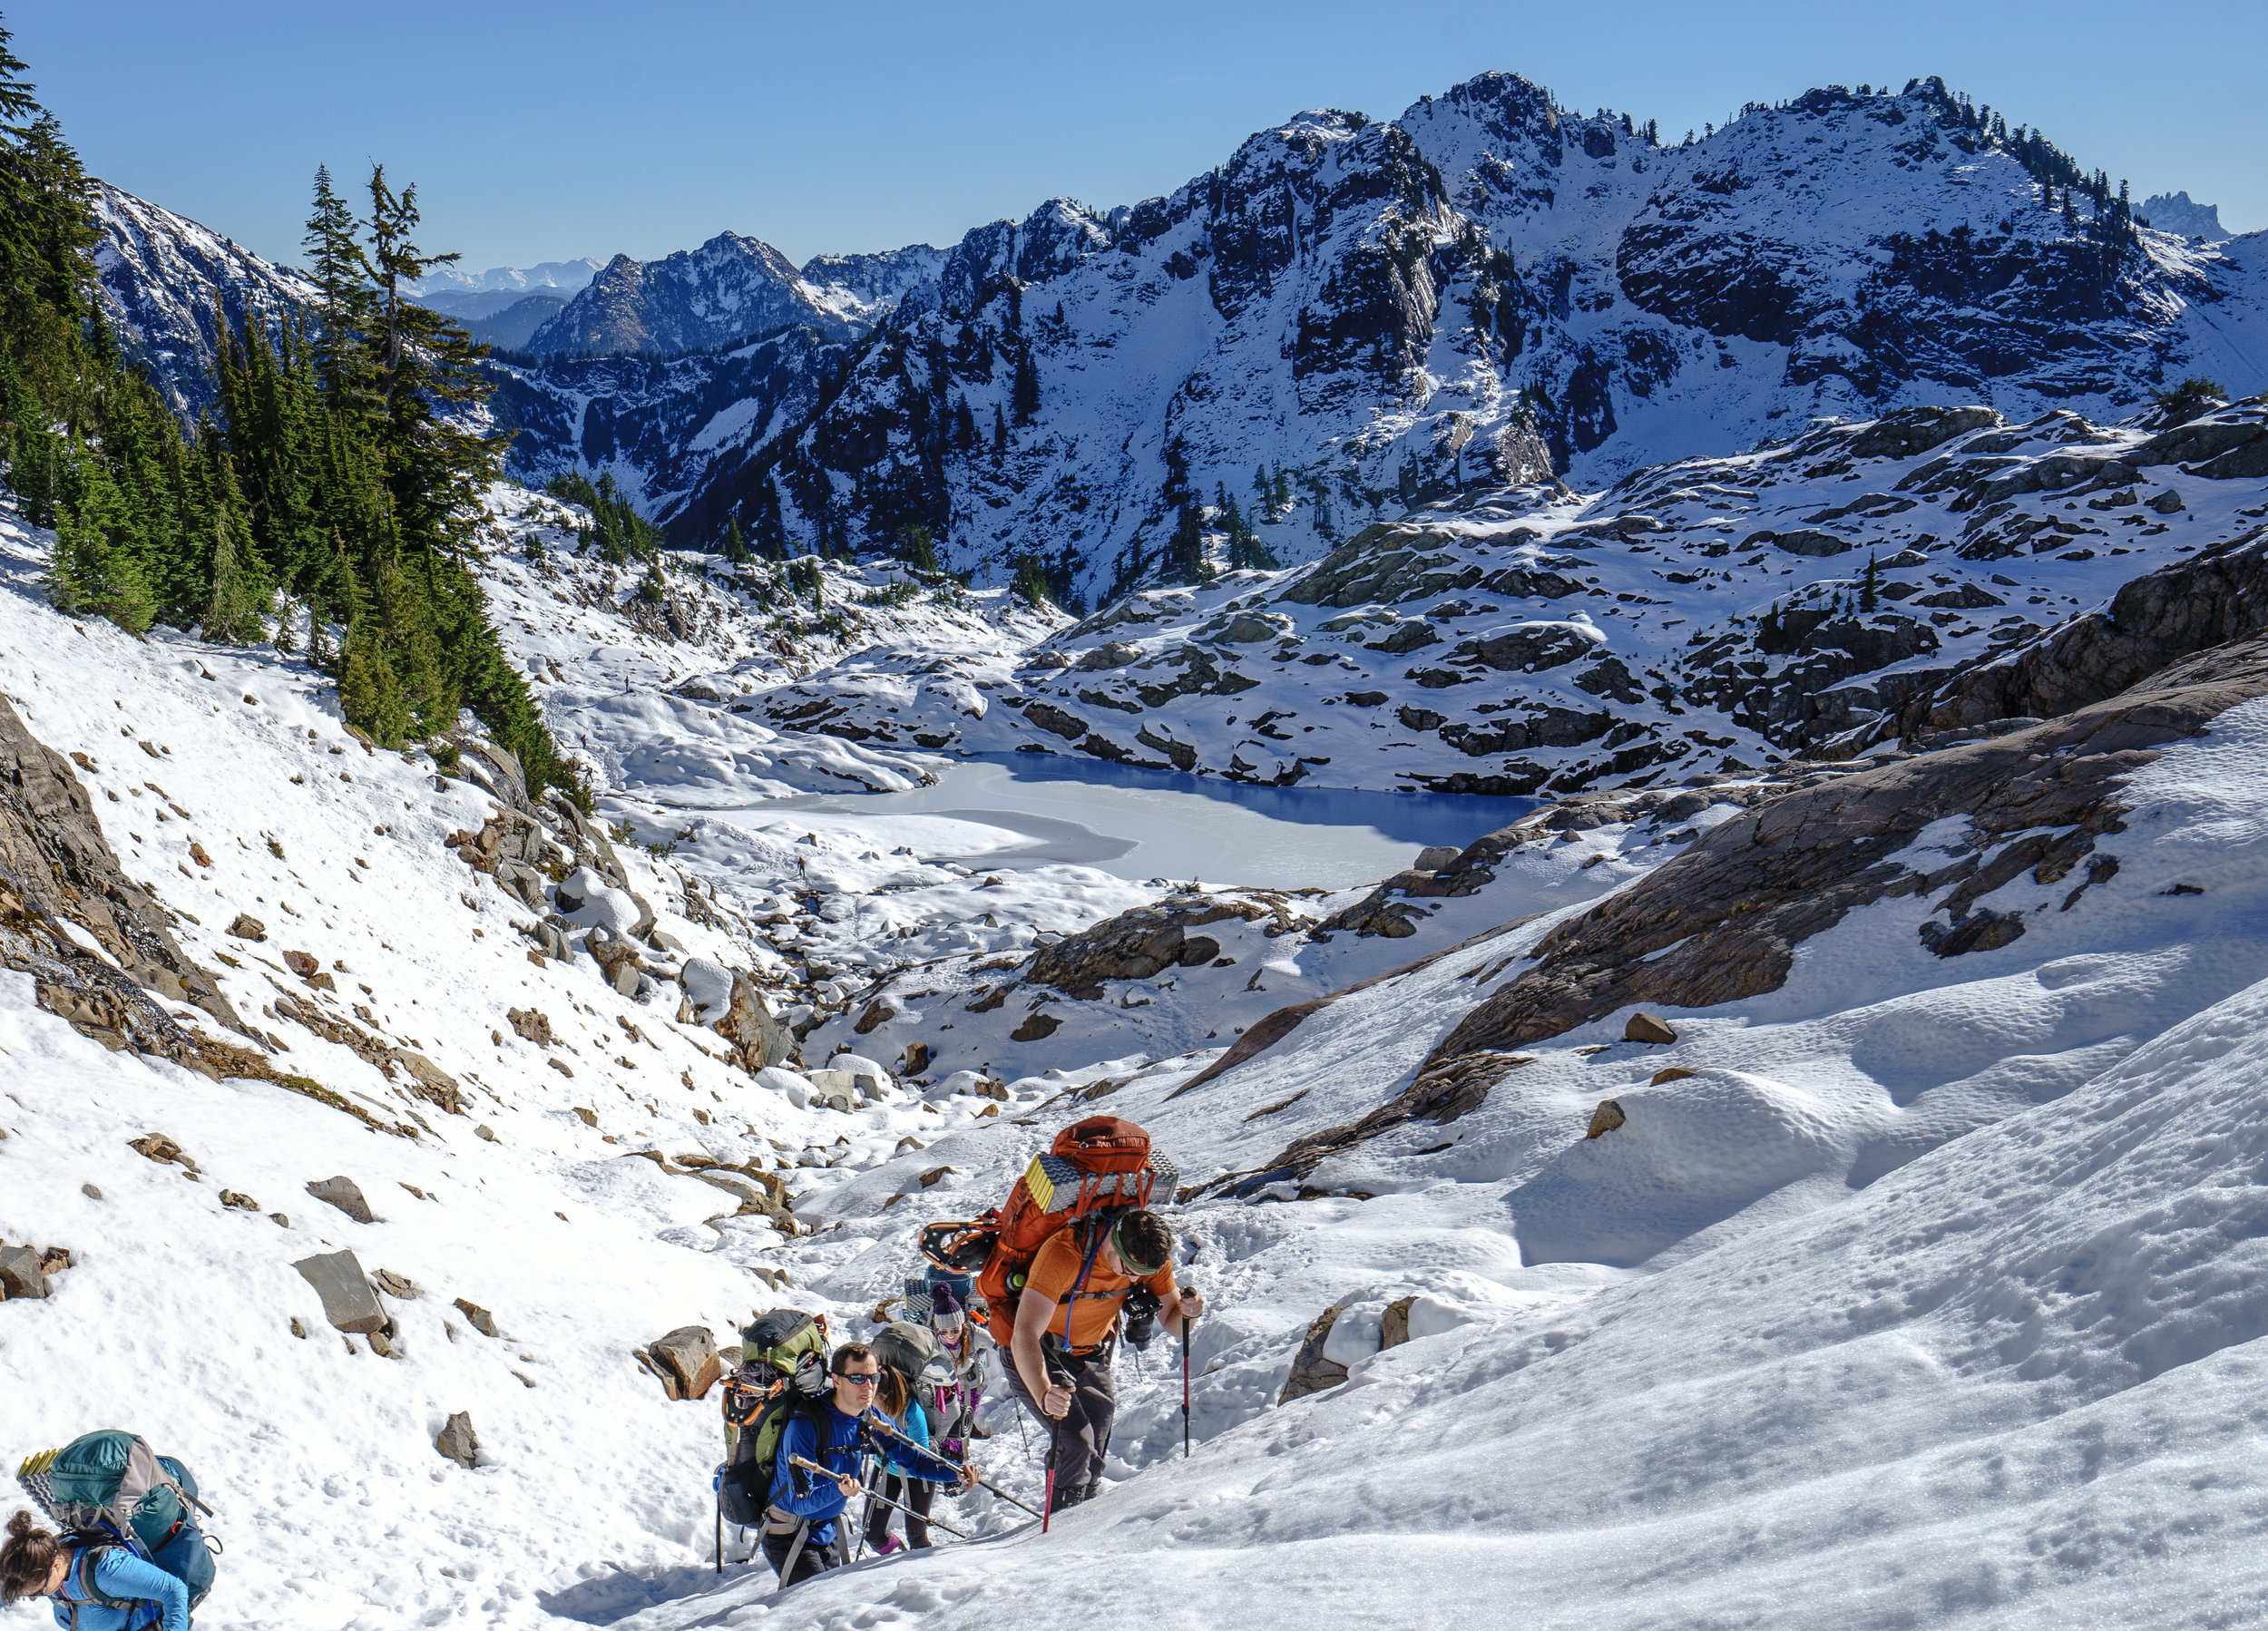
A winter pack is much heavier than a summer pack!
Choosing a Camp Spot
A few things to be mindful of when choosing a camp spot:
Avalanche terrain. Make sure to check NWAC (or your local avy forecast) for conditions. Choose a spot that is not in avalanche terrain or in a runout area. I usually like to pick places that are wide open for sight seeing (but that is not so good for wind).
Creek, river beds and lakes. They are likely all frozen, but depending on the time of year it is something to look out for. I wouldn’t camp on a seemingly frozen alpine lake with running the risk of breaking through.
Not setting up camp under trees for potential snow bombs. As the sun heats up the snow it can drop large amounts on to unsuspecting victims below. We don’t want that on our tent!
Cornices. Make sure you aren’t setting up on a cornice or under one.

Group site at Paradise, Rainier. Special permit needed for a group of this size.
Setting Up Camp
Sometimes you won’t have to dig. This has happened to me a couple times when certain spots are windblown and super solid and compact, but I always bring a shovel anyways since you can’t plan on this. Some people have nice light weight shovels. I’ve brought my cheap small one I keep in the car. Do with what you have!
First, dig a large platform for your tent that is larger than the tent. Next, build the walls up as high as you want for wind protection. Then stomp down the area with snowshoes to flatten and compact it down. You’re then ready to set up your tent! One other thing to note is I will usually bring my large Amazon snow stakes . Regular stakes can get lost in the snow.
Always make sure to take down your campsite after, meaning fill in the tent pit with snow to leave no trace for others.

Dig, dig, dig!

Group site at Gothic Basin. No digging needed here.

It’s fun to dig a group kitchen for a large group as well!
How do I go #1 and #2?
#1 When you’re in a group it’s good to make a designated spot for this and keep it far from camp where you will be grabbing snow to melt for water. Make sure to cover it up when breaking down camp as well for the curtesy of other hikers.
Bring a Kula cloth! Get yours here.
#2 Blue bagging it. The not so glamorous side of winter camping. You can’t dig like in the summer, so you have to carry all human waste out with you. You can grab a blue bag at all ranger stations.

Kula cloth- AKA a pee rag
Melting Snow, Making Water and Eating!
Water:
Find clean snow to melt (clear off the top layer of snow) and add water to your pot as you melt it to prevent your pot from burning
Make water for the next morning at night
Hydration pack straws will freeze, so it’s better to bring water bottles
Store water bottles upside down in the snow as they freeze top-down
Fuel:
Use fresh fuel and carry more than you need as melting snow can consume a lot of fuel
Keep your fuel and stove off the snow to prevent it from freezing
Avoid cooking in your tent because of the dangers of carbon monoxide
What food to bring:
You can mostly bring anything you would for summer backpacking, but keep in mind it will likely freeze during the night.

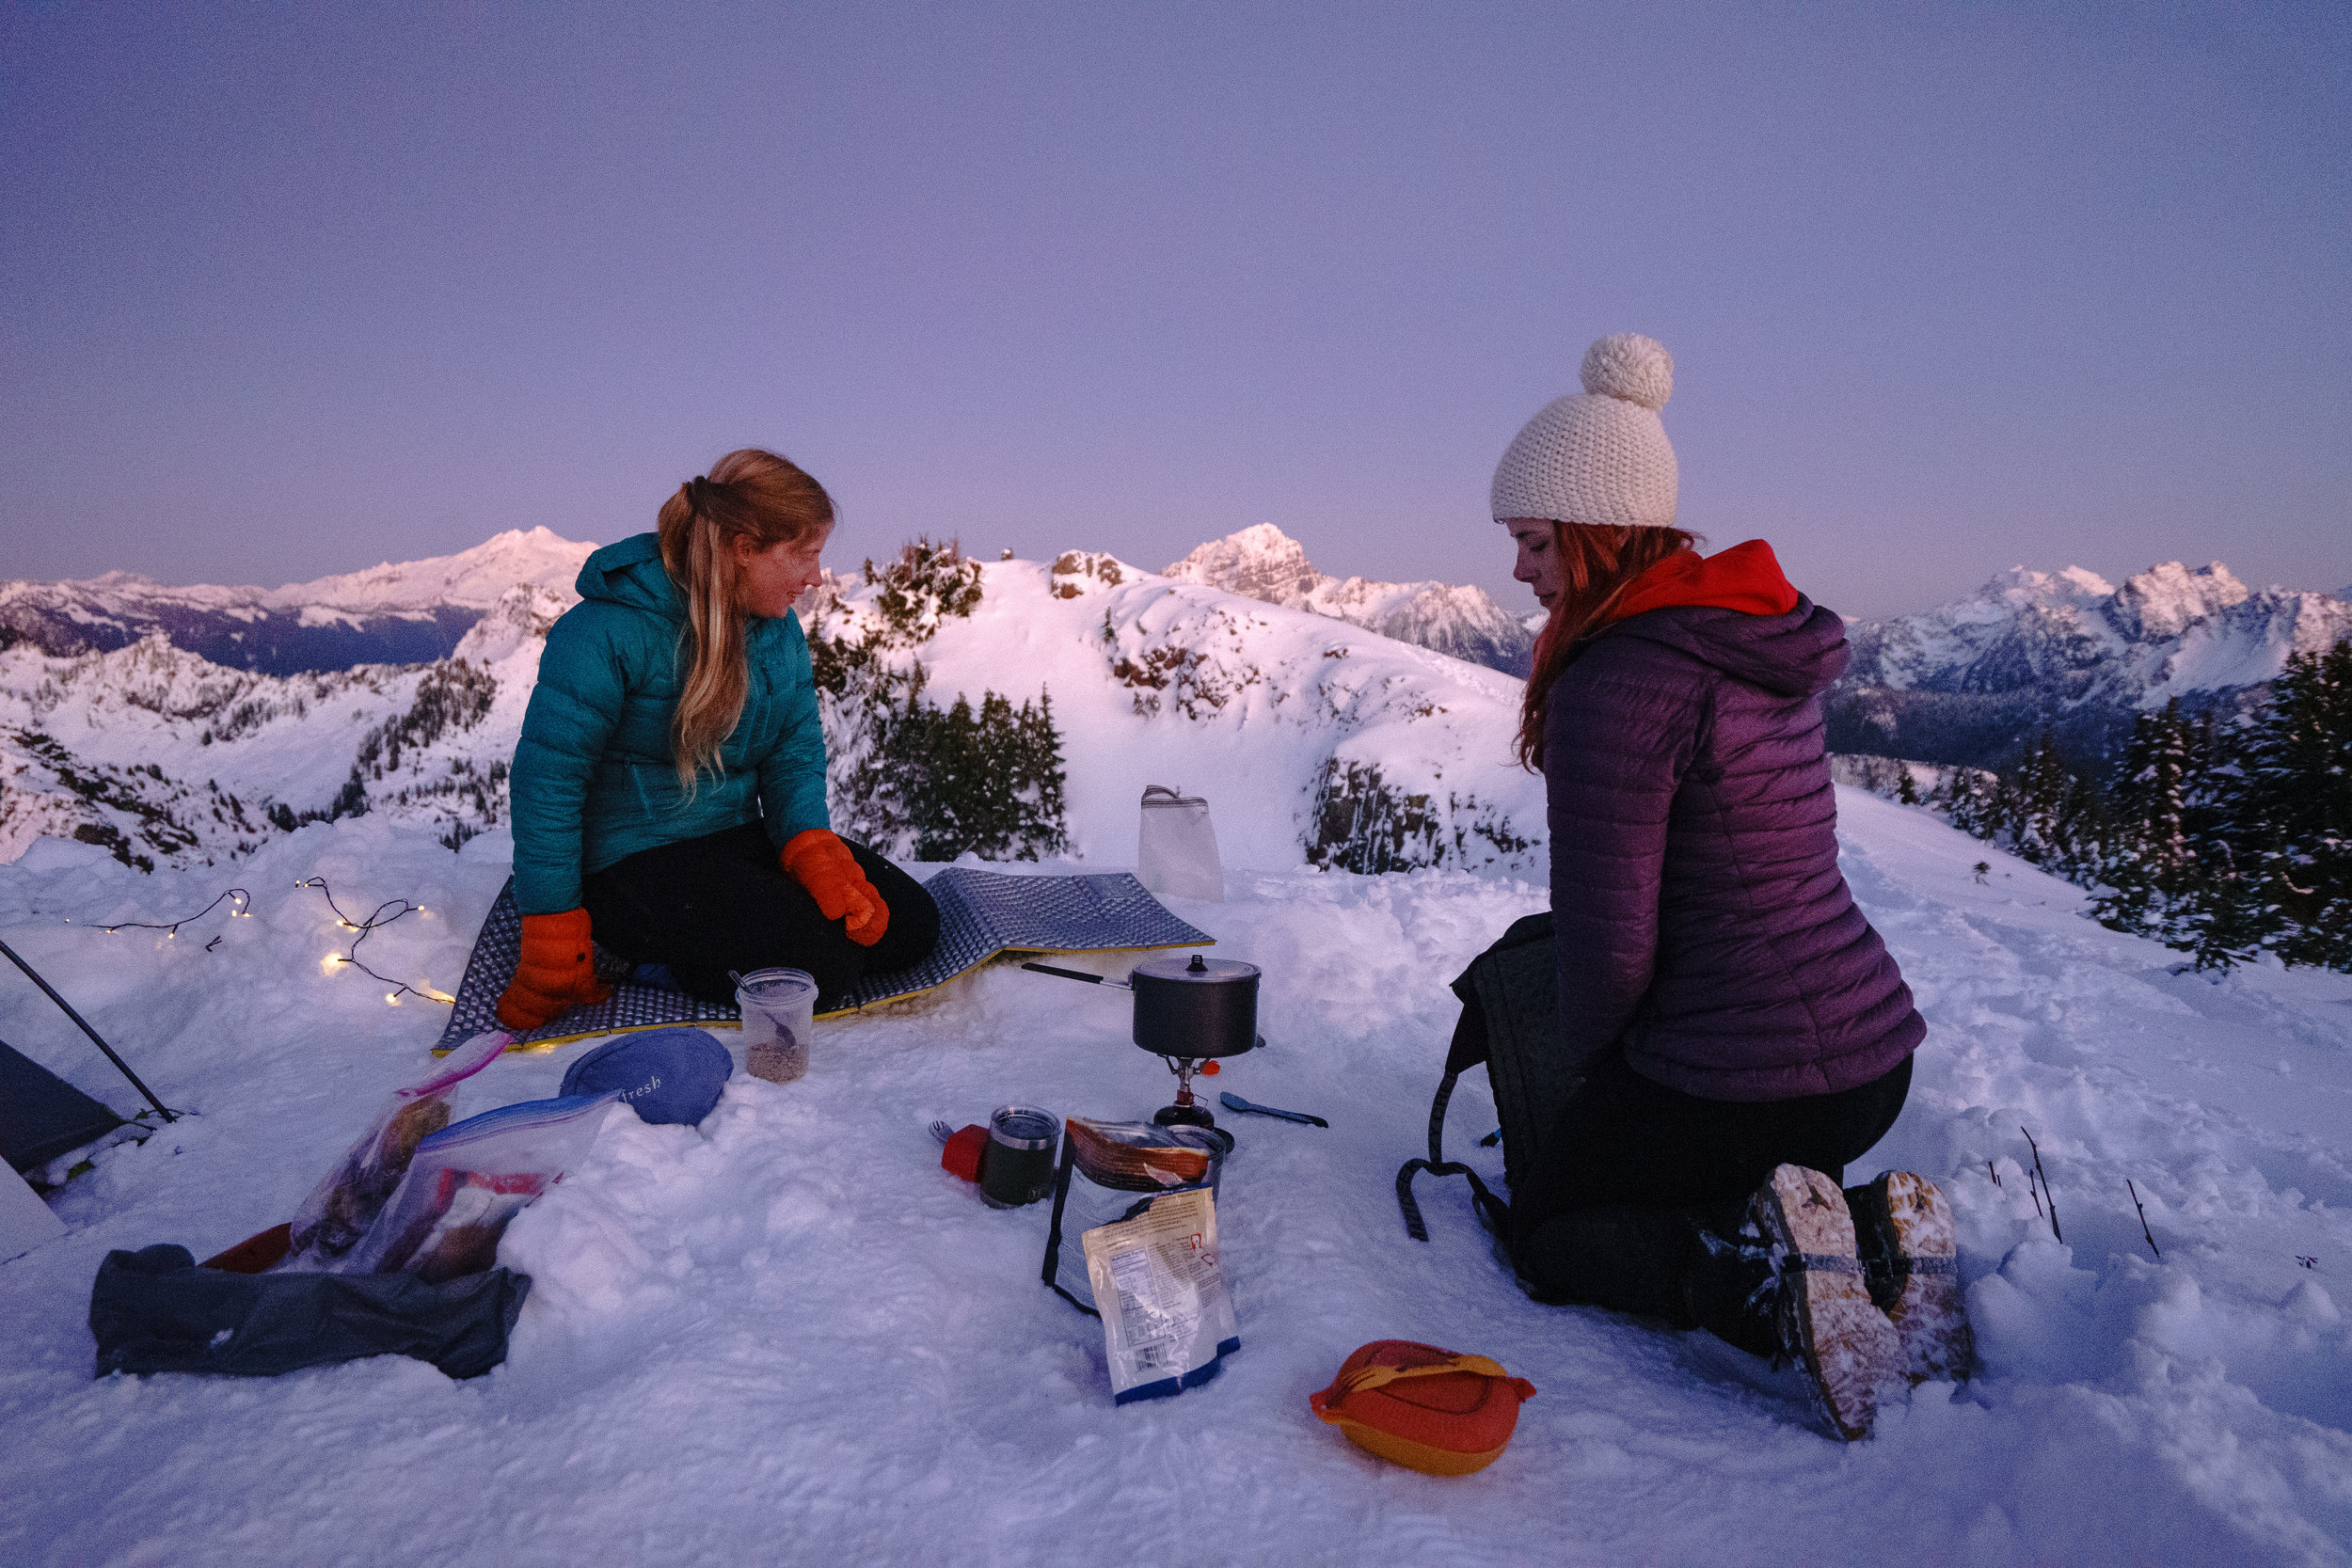
The fuel is on top of insulation to help it not freeze

Warm food for breakfast is something I always look forward to winter camping!
Extra Tips and Tricks for Snow Camping and Staying Warm
Sunscreen! Sometimes it’s the last thing on my mind in the winter, but the sun reflects harshly back on to your skin. Many snow camping days I’ve been down to a tank top because of the nice weather.
Heat up your nalgene before going to bed and put it in your sleeping bag with you. It heats you up fast and will help you sleep warmer.
Sleep with all electronics and anything else you don’t want to freeze during the night.
Learn night photography to keep you busy when the sun goes down at 4 P.M. If you are running around taking photos, less time to get cold.
Download a book to read in the tent. I’m often in the tent for up to 12 hours when I snow camp.
Hand/foot warmers, put them in your boots and other places that get cold faster.
With all of these tips, I can’t guarantee you won’t be cold. I can almost guarantee for moments of every snow camping trip you will be. With these tips, hopefully you can minimize being cold and maximize the joy and wonder of snow camping.
What additional questions do you have? Let’s chat, leave a comment below!


